


Are you looking for a fun and creative way to decorate your home for Halloween? Why not try painting a ceramic ghost? This easy and budget-friendly project will add a touch of spooky charm to any room. Just follow these simple steps to create your ceramic ghost masterpiece.
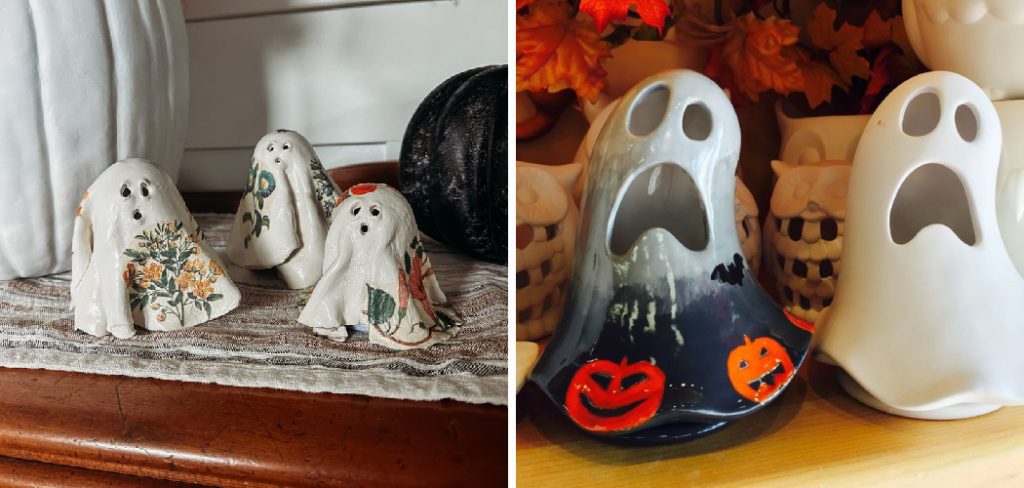
Painting a ceramic ghost is a fun and creative way to add a personal touch to your seasonal decorations, whether for Halloween or a themed display. With the right materials and a bit of imagination, you can transform a plain ceramic ghost into a charming or spooky centerpiece.
This guide on how to paint a ceramic ghost will walk you through the steps needed to prepare, paint, and finish your ceramic ghost, ensuring your project is both enjoyable and rewarding. Let’s get started!
What Are the Benefits of Painting a Ceramic Ghost?
There are several benefits to painting a ceramic ghost, including:
- Personalization: Painting your ceramic ghost allows you to add your own unique style and creativity to the piece. You can choose the colors, patterns, and designs that best suit your taste and home decor.
- Cost-effective: Purchasing pre-painted seasonal decorations can be a cost-effective option. By painting your ceramic ghost, you can save money while still having a one-of-a-kind piece for your home or event.
- Stress-relieving: Crafting and creating art is known to have therapeutic effects. Taking the time to paint a ceramic ghost can help reduce stress and promote relaxation.
- Fun Activity for All Ages: This project is great for all ages, making it a fun and inclusive activity to enjoy with family and friends. Children can express their creativity while adults can enjoy a nostalgic trip down memory lane.
- Eco-friendly: By reusing an old ceramic piece or purchasing a second-hand one, you are contributing to reducing waste and promoting sustainability.
What Will You Need?
- A ceramic piece (vase, mug, plate, etc.)
- Acrylic paint or ceramic paint
- Paintbrushes
- Water cup and paper towels for cleaning brushes
- Optional: stencils, stickers, or other decorative elements
- Oven (if using ceramic paint)
Once you have gathered your materials, it’s time to get started on your ceramic painting project.
10 Easy Steps on How to Paint a Ceramic Ghost
1. Prepare Your Workspace
Start by selecting a clean, flat, and well-lit area where you can work comfortably on your project. Cover the surface with newspaper, a plastic sheet, or an old tablecloth to protect it from paint splatters. Arrange all your materials within easy reach, ensuring your paint, brushes, and water cup are neatly organized.
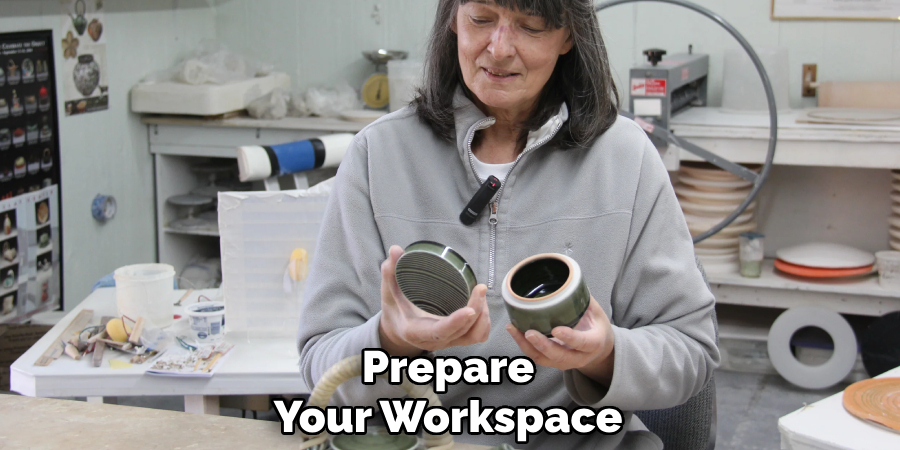
If you’re using stencils, stickers, or any other decorative elements, set them aside in a convenient spot. Make sure you wear clothes you don’t mind getting a bit of paint on, or put on an apron for extra protection. Finally, ensure the room is well-ventilated, especially if you’re working with ceramic paint that requires baking later.
2. Clean the Ceramic Piece
Before beginning the painting process, it’s crucial to thoroughly clean your ceramic piece to ensure the paint adheres properly. Start by washing the item with warm, soapy water to remove any dust, grease, or residue that may be present. Use a soft cloth or sponge to gently scrub the surface, paying extra attention to any nooks or textured areas.
After washing, rinse the ceramic piece under clean water to remove all soap, and dry it thoroughly with a lint-free towel. If your ceramic has been handled frequently, you may also consider wiping it down with rubbing alcohol to eliminate any lingering oils from your hands.
3. Sketch the Ghost Design
Using a pencil, lightly sketch the outline of your ghost design onto the ceramic surface. Start with simple shapes, such as an oval or a rounded triangle for the body, and add details like eyes, a mouth, and any other features you want to include. If you’re unsure about your design, practice on paper first to refine the look. Keep the lines faint so they won’t be visible beneath the paint later, and adjust the sketch as needed until you’re satisfied with the composition.
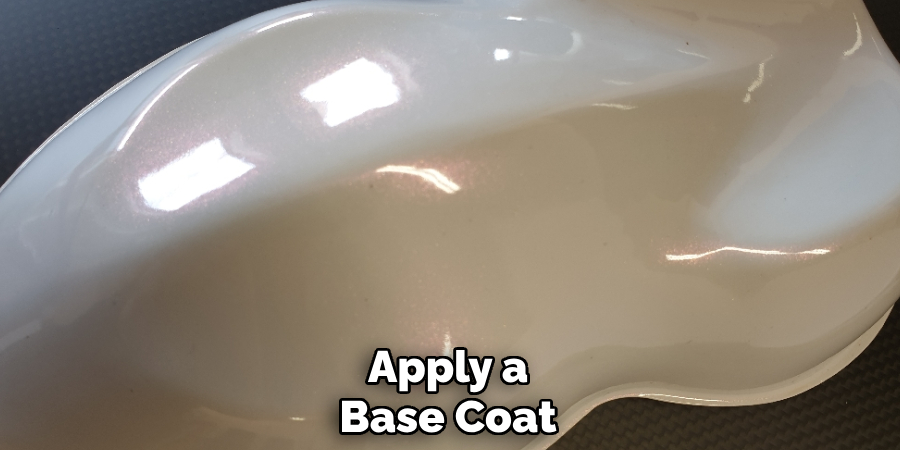
4. Apply a Base Coat
Once your sketch is complete, start by applying a base coat of paint to set the foundation for your ghost design. Use a flat or wide paintbrush for even coverage, and choose a color that complements your design—white is a popular choice for a classic ghost look. Apply the paint in thin, even layers to avoid streaks or clumps, allowing each layer to dry completely before adding another.
5. Add Shadows and Highlights
To bring depth and life to your ghost design, incorporate shadows and highlights. Start by choosing a slightly darker shade than your base color for the shadows and a lighter, almost translucent shade for the highlights.
Use a small, fine-tipped paintbrush to carefully add shadows along the edges and areas where the light would naturally be less intense. For highlights, focus on areas where light would naturally hit, such as the top of the ghost’s head or flowing edges. Blend the colors gently to achieve a seamless transition between the base color, shadows, and highlights.
6. Paint Facial Features
For the facial features, use a fine-tipped paintbrush or a detail brush for precision. Begin by lightly sketching the features with a pencil if needed, such as the eyes and mouth. Choose a color that contrasts well with the ghost’s base color—commonly black or dark gray—to make the features stand out.
Carefully paint the eyes as simple ovals or circles, and add a small curved line for the mouth to depict a friendly or spooky expression, depending on your desired outcome. If you’d like to add more character, consider including subtle eyebrows, blush tones, or even tiny fangs.
7. Decorate with Details
Add final details to give your ghost a unique personality. You can glue on accessories such as small bows, hats, or even tiny glasses to make your ghost stand out. Use glitter, sequins, or stickers to create a shimmering effect, or draw patterns like stars or swirls on the fabric for extra flair.
If your ghost is part of a Halloween setup, consider adding themed decorations, such as miniature pumpkins or spider webs, around it. These finishing touches will make your ghost craft truly one-of-a-kind and perfect for the occasion.

8. Seal the Design
To ensure your ghost craft remains intact and durable, apply a sealant to the design. Use a clear spray sealant or a brush-on fabric glue sealer to lock in any decorations or embellishments you’ve added.
This step will help protect your creation from wear and tear, especially if it will be displayed outdoors or handled frequently. Allow the sealant to dry thoroughly as per the product instructions before moving or storing your ghost. Once sealed, your design will be ready to showcase its charm!
9. Touch Up the Design
After the sealant has dried, inspect your ghost for any areas that might need additional adjustments or enhancements. Check for uneven paint, missing decorations, or areas that could benefit from additional detail. Use paint, markers, or additional embellishments to perfect the design.
This is also an opportunity to add any finishing touches, such as glitter accents, small props, or creative shading, to enhance depth and character. Taking the time to fine-tune these details will ensure your ghost looks polished and complete, ready to impress anyone who sees it!
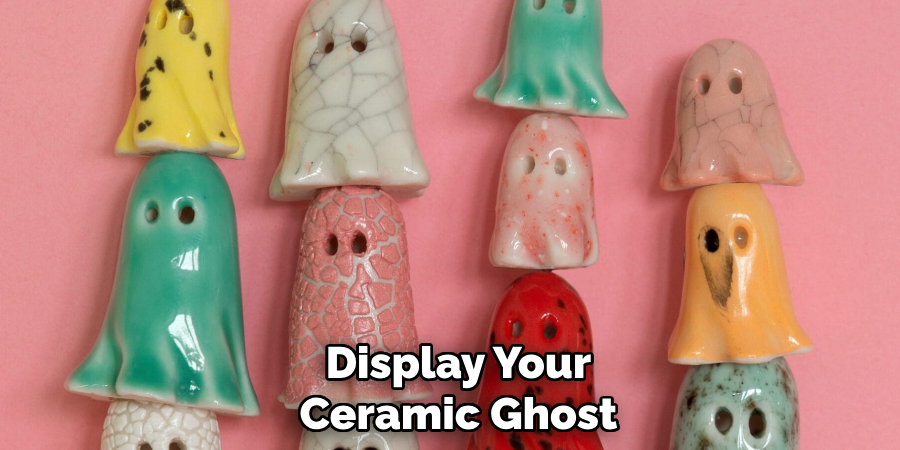
10. Display Your Ceramic Ghost
Once your ceramic ghost is complete, it’s time to find the perfect spot to showcase it. Consider placing it on a mantel, shelf, or windowsill where it can be admired. For a spooky effect, pair it with candles or string fairy lights nearby to cast a warm glow over your creation.
If you’ve crafted multiple ceramic ghosts, arrange them together for a playful, haunted theme. Whether it’s part of your Halloween décor or a whimsical conversation piece, your ceramic ghost will stand out as a unique and charming addition to any space!
Now you have a charming ceramic ghost to enjoy as seasonal décor or a year-round spooky companion!
5 Things You Should Avoid
1. Rushing the Drying Process
Allow each layer of paint to dry completely before adding additional details or colors. Trying to work on a wet surface can cause smudging and uneven blending, which can detract from the final look of your ghost.
2. Using the Wrong Type of Paint
Avoid using paints not suited for ceramics, such as watercolor or regular acrylic, without proper sealing. Always use ceramic-specific paints or seal your work to ensure durability and a polished finish.
3. Skipping the Primer
Failing to prime the ceramic ghost before painting can result in uneven paint application and colors that don’t adhere well. A good primer ensures a smooth surface for your artistic vision.
4. Overloading the Brush
Applying too much paint to your brush at once can result in streaks, drips, or paint pooling where you don’t want it. Work with a small amount of paint for better control and even coverage.
5. Ignoring Cleanup
Failing to clean up your mistakes as you go can make it more difficult to correct errors later. Use a damp cloth or fine brush to address any smudges or stray marks while the paint is still fresh.
Conclusion
How to paint a ceramic ghost can be a fun and rewarding project when approached with care and creativity.
By avoiding common mistakes, such as overloading your brush or neglecting proper cleanup, you can ensure your design turns out smooth and polished. Take your time, use quality materials, and remember that practice makes perfect.
With attention to detail and patience, your ceramic ghost will come to life as a unique and spooky masterpiece to be proud of!
Specialization:
- Master of wheel-throwing, hand-building, and advanced glazing techniques
- Focus on creating both functional pottery and decorative art pieces
Recognition:
- Celebrated by collectors and art enthusiasts for creating one-of-a-kind pieces that blend artistry with functionality
- Participates in local and national exhibitions, earning accolades for his innovative designs and craftsmanship
Passion:
- Deeply committed to exploring and pushing the boundaries of ceramic artistry
- Continuously experiments with new materials, firing techniques, and artistic concepts to evolve his craft
Personal Philosophy:
- Believes in the transformative power of art, aiming to evoke emotions and connections through his ceramic creations
- Advocates for sustainability in ceramics, using eco-friendly materials and practices whenever possible