


A bust sculpture is a three-dimensional artistic representation focusing on a person’s head, neck, and shoulders. These sculptures capture the essence of an individual’s likeness or character, making them a timeless medium of expression.
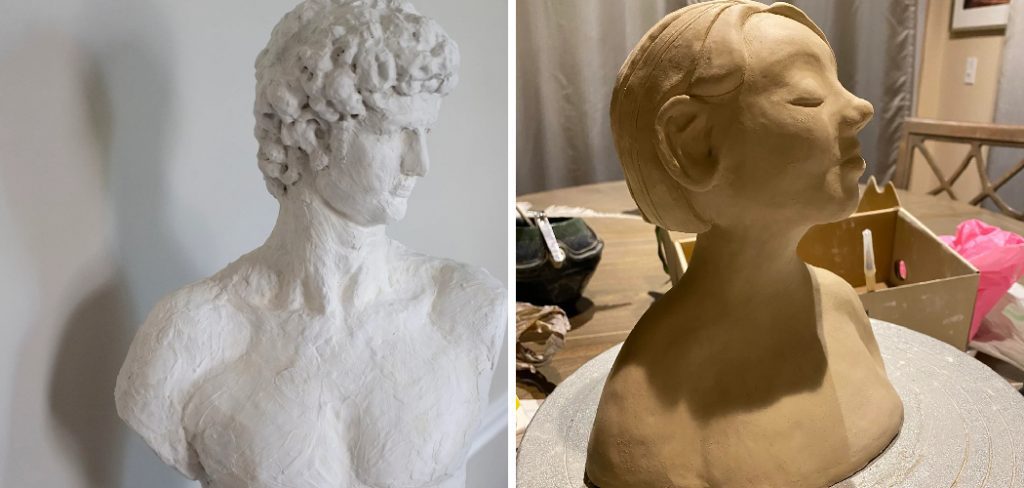
Historically, bust sculptures have held significant cultural importance, often used to commemorate influential figures, decorate public spaces, or honor personal achievements. From the grandeur of classical statues in ancient Greece and Rome to modern pieces adorning galleries or private collections, bust sculptures continue to blend tradition with contemporary creativity.
The purpose of this article is to provide a comprehensive, step-by-step guide on how to make a bust sculpture. Designed for beginners and intermediate artists alike, the guide aims to simplify the process, from initial concept and tools required to adding fine details and finishing touches. Whether you are pursuing it as a hobby or a professional skill, bust sculpting offers endless opportunities for artistic exploration and personal growth.
Choosing Materials and Tools
When beginning your bust sculpture, selecting the right materials and tools is crucial to achieving the desired outcome. Whether you are creating a permanent masterpiece or a practice piece, the materials and tools you choose will greatly impact the process.
Common Materials
For the sculpture medium, popular options include clay (oil-based or water-based), plaster, or polymer clay. Oil-based clay remains malleable for long periods, making it ideal for detailed work, while water-based clay is easy to work with and versatile. Plaster offers durability and is sought after for casting, while polymer clay is excellent for capturing fine details and can be baked at home. To provide sturdy internal support, use armature materials such as aluminum wire, foil, or metal rods.
Essential Tools
Having the right tools on hand makes the sculpting process smoother and more enjoyable. Common tools include loop tools, spatulas, knives, and smoothing brushes, which are essential for shaping and refining details. Additional supporting items like a turntable for rotating your work, a spray bottle to maintain moisture, and a modeling stand for stability can greatly enhance your workflow.
Material Selection Based on Purpose
Your material choice should reflect the sculpture’s intended use. If aiming for a permanent display, kiln-fired or polymer clays are great options. For practice models, air-dry clay or water-based clay is cost-effective and simple to use. Selecting materials based on purpose ensures an easier process and a satisfying result.
Planning and Reference Gathering
Defining the Subject
The first step in creating a successful clay bust is deciding on your subject. Whether it’s a live model, a photograph, or an imagined character, having a clear vision of the subject’s features and expression is critical.
A live model offers the advantage of observing real-time changes in lighting and subtle facial movements, while photographs provide convenience and consistency when working over longer periods. For imagined characters, a strong creative concept is essential to embody their personality and traits.
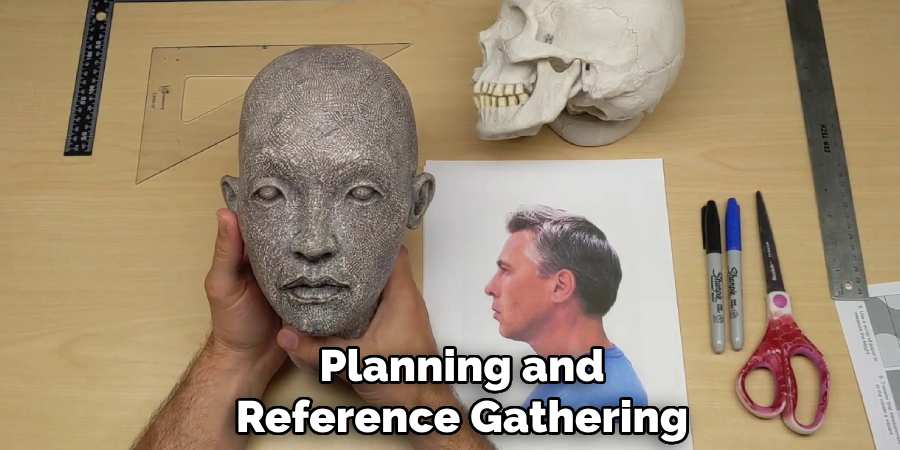
Gathering Reference Materials
To achieve accurate proportions and realism, gather reference materials that showcase the subject from multiple perspectives. Include images or sketches showing the front, profile, and 3/4 views. These references allow you to capture the nuances of the subject’s features and help maintain proportional accuracy throughout the sculpting process. High-resolution references are ideal for visualizing intricate details.
Sketching the Bust
Before beginning with clay, create preliminary sketches of the bust. These sketches should outline the facial features and overall structure of the sculpture. Use these drawings as a blueprint to maintain focus and direction during the sculpting phase.
Proportion Guidelines
Understanding basic anatomy is vital to creating a realistic bust. Familiarize yourself with standard human measurements, such as the proportional spacing of eyes, nose, and mouth, to ensure accuracy. Following these guidelines will form the foundation of a lifelike and well-balanced sculpture.
How to Make a Bust Sculpture: Building the Armature
Creating a strong and supportive armature is a crucial step in sculpting a realistic bust. The armature serves as the internal framework, maintaining the sculpture’s structure and ensuring stability throughout the creative process.
Creating the Base Support
Start by constructing a stable base using durable materials such as wood or plastic. This base will act as a mounting point for the sculpture. Ensure that the base is heavy enough to support the weight of the clay and armature while maintaining balance to avoid tipping or wobbling.
Shaping the Armature
Using aluminum wire, shape a rough outline of the skull and shoulders to define the framework. Incorporate aluminum foil into the structure to fill out bulkier areas, reducing the amount of clay needed later. This initial shaping provides a guide for positioning the clay accurately and helps distribute weight evenly.
Importance of Structure
A well-built armature prevents the sculpture from collapsing or cracking during the sculpting and drying phases. Carefully plan the weight distribution and secure all connections within the armature to ensure durability and strength.

Attaching to Base
Finally, securely attach the armature to the base using screws, epoxy, or a similar fastening method. This step provides the stability needed to work on the sculpture comfortably and with precision.
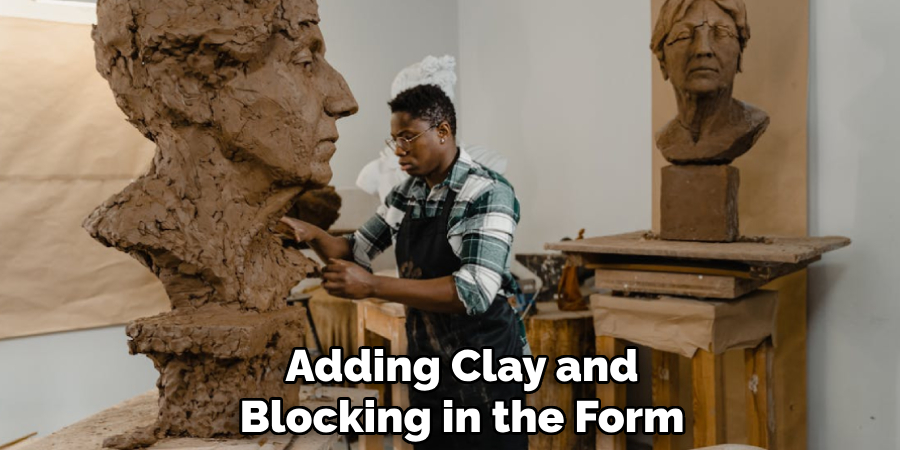
Adding Clay and Blocking in the Form
Applying the First Layer of Clay
Begin by applying the first layer of clay evenly across the armature. This initial layer serves as a foundation and helps establish the overall volume of the sculpture. Ensure the clay adheres securely to the armature to prevent slipping or cracking as you work. Use your hands and basic sculpting tools to spread the clay smoothly, making sure no part of the armature is exposed.
Blocking in Large Shapes
Once the first layer is applied, start blocking in the large shapes of the sculpture. Focus on the head shape, neck, shoulders, and other major forms that define the subject’s structure. Work in broad, simple strokes at this stage, avoiding any intricate details. This step is crucial for establishing the silhouette and general proportions that will guide further refinement.
Working from General to Specific
Approach the sculpture by working from general forms to specific details. Begin with a rough outline of the subject, concentrating on the larger shapes and avoiding the temptation to detail too early. Ensure your sculpture captures the essence of the subject before moving on to finer features. This progressive method helps maintain the integrity of the overall design.
Adjusting Proportions
Throughout the process, constantly compare the sculpture with your reference. Pay close attention to size, symmetry, and proportions, making adjustments as needed. Use calipers or other measuring tools to ensure accuracy, and step back frequently to evaluate the figure from different angles. This practice ensures the final sculpture achieves both balance and realism.
Sculpting Facial Features and Details
Sculpting the facial features requires both precision and an understanding of anatomy to create a lifelike representation. Below is a breakdown of techniques for each facial feature and how to ensure cohesion and detail.
Eyes
To achieve realistic eyes, start by carefully marking the placement relative to the rest of the face, ensuring symmetry and proper alignment. Sculpt the eye sockets first, and then shape the spherical eyeballs. Add subtle creases to the eyelids, ensuring they capture their natural overlap. Smooth transitions between the skin and the eyes are essential, and a fine tool can be used to define tear ducts for a touch of realism.
Nose
Begin shaping the nose by establishing the bridge and working down to the tip and nostrils. Focus on the depth and structure, ensuring it flows naturally from the forehead and cheeks. The nostrils should be carefully hollowed out with a small tool to create depth without over-enlarging them. Smooth any edges to maintain a natural appearance.
Mouth and Lips
Capturing the mouth involves defining the curve and expression of the lips. Pay close attention to the corners of the mouth, as they contribute significantly to the expression.
Shape the upper and lower lips, incorporating gentle creases for texture, and ensure symmetry. Fine tools can help refine the lip edges and blend them seamlessly into the surrounding skin.
Ears
Ears require careful alignment with the eyes and nose for accurate positioning. Begin with a basic oval shape, and gradually add details such as the helix, antihelix, and ear canal. A small tool can enhance these features, ensuring both sides match in shape and size.
Hair Texture
Whether sculpting realistic or stylized hair, texture is key. Start by outlining the hair volume and flow to match the intended style. Use fine tools to etch strands and define direction, ensuring the hair integrates naturally with the scalp. Experiment with layers to add depth and movement.
Neck and Collarbone Definition
The neck and collarbone play vital roles in enhancing the realism of a sculpture. Define the anatomical structure of the neck muscles while maintaining subtle proportions. The collarbone should be faintly visible, blending naturally into the surrounding areas. Surface texture can be introduced to mimic skin for added authenticity.

Smoothing and Refining
The final step is to blend all transitions between features, ensuring a cohesive finish. Use appropriate tools to smooth out any remaining imperfections while retaining intricate details like creases or skin texture. Polishing ensures a professional and lifelike appearance, completing the facial features with finesse.
Drying, Firing, or Curing the Bust
Drying Methods
Proper drying is essential to maintain the integrity of your bust. For air-dry clay, allow sufficient time for the piece to dry naturally, which can take several days depending on its size and thickness. Store it in a dry, well-ventilated area and keep it away from direct sunlight to prevent cracking. For bakeable clay, follow the manufacturer’s instructions on baking time and temperature to cure it properly.
Firing in a Kiln (if applicable)
If using clay that requires kiln firing, ensure the piece is completely dry before firing to avoid cracks or explosions. Gradual heating and cooling are crucial, with most clay types requiring temperatures between 1,800°F and 2,400°F. Always check the guidelines for your specific clay to achieve durable results.
Curing Polymer Clay
For polymer clay, bake the piece in a home oven at the recommended temperature, typically around 260°F to 275°F (130°C). Ensure the temperature is consistent to avoid overbaking or underbaking, and leave the sculpture to cool fully after curing for durability.
Avoiding Common Mistakes
To prevent cracks, uneven drying, or structural collapse, avoid rushing the drying process or exposing the piece to extreme temperature changes. Support delicate areas during drying or baking, and inspect for weak spots to address issues promptly. Taking these precautions helps ensure a successful final product.
Finishing Touches: Painting and Displaying
Surface Smoothing and Sealing
Before painting, smooth the surface of the sculpture using fine-grit sandpaper or a gentle buffing tool to eliminate imperfections. This step ensures an even base for paint and enhances the sculpture’s final appearance. Consider using a clear sealant at this stage to prepare the surface for painting and to protect it from damage.
Painting Techniques
When adding color, acrylic paints are a versatile and popular choice due to their fast-drying properties and vibrant pigments. Oils can also be used for a more traditional or rich effect, though they require longer drying times. Employ techniques such as dry brushing for subtle highlights or washes to add depth and texture, bringing your bust to life.
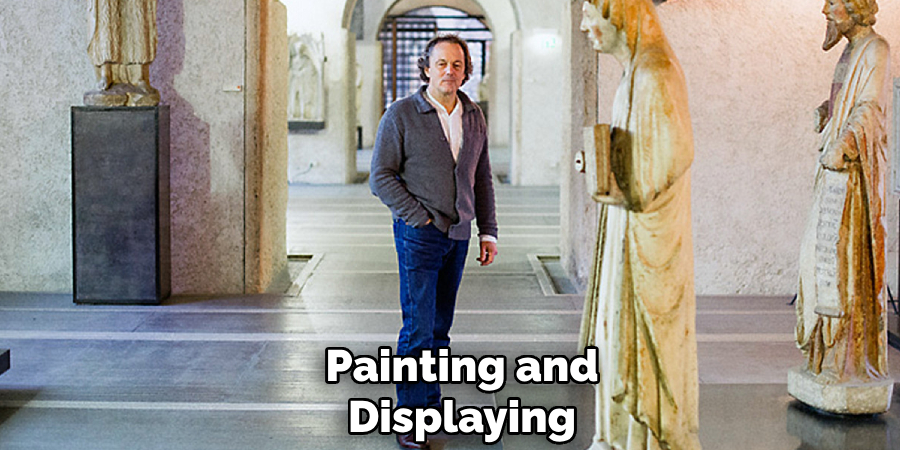
Mounting and Display
Select a pedestal or display stand that complements the sculpture’s design and enhances its visual impact. Ensure the base is stable and securely attach the sculpture, if necessary, to prevent accidents.
Protective Coating
Seal your finished piece with a coat of varnish or wax to preserve the paint and protect it from dust, moisture, or minor scratches. A matte, satin, or glossy finish can be chosen based on the artistic effect you desire for the final presentation.
Conclusion
Creating a bust sculpture is a rewarding process that combines careful planning, technical skill, and artistic expression. From initial concept and material selection to shaping, detailing, and finishing, each step requires focus and patience.
Regular practice and studying anatomy are essential to honing your skills and capturing realistic forms. While learning how to make a bust sculpture involves precise techniques, it’s also an opportunity to explore your creativity and develop your unique artistic voice. Remember, every piece you sculpt is a stepping stone to improvement. Enjoy the process, and allow your imagination to guide your growth.
Specialization:
- Master of wheel-throwing, hand-building, and advanced glazing techniques
- Focus on creating both functional pottery and decorative art pieces
Recognition:
- Celebrated by collectors and art enthusiasts for creating one-of-a-kind pieces that blend artistry with functionality
- Participates in local and national exhibitions, earning accolades for his innovative designs and craftsmanship
Passion:
- Deeply committed to exploring and pushing the boundaries of ceramic artistry
- Continuously experiments with new materials, firing techniques, and artistic concepts to evolve his craft
Personal Philosophy:
- Believes in the transformative power of art, aiming to evoke emotions and connections through his ceramic creations
- Advocates for sustainability in ceramics, using eco-friendly materials and practices whenever possible