


Clay is a versatile and widely used medium in pottery, sculpture, and various crafts, due to its malleability and the creativity it inspires. However, one of the most common challenges artists face is cracking, which can occur during drying, bisque firing, or even after a piece is fully completed.
Cracks not only compromise the structural integrity of a project but can also affect its aesthetic and functional value if left unaddressed. Learning how to fix cracked clay is essential for preserving your hard work and achieving a polished final piece. This guide aims to provide a clear, step-by-step approach to identifying different types of cracks, understanding their causes, and effectively repairing clay at various stages.
By mastering these techniques, you can salvage damaged projects, prevent future issues, and ensure the durability and beauty of your clay creations.
Understanding Types and Causes of Clay Cracks
Types of Cracks
- Surface Cracks: These are fine, shallow cracks that commonly develop on the surface of clay pieces. They often result from uneven drying, where some parts of the clay dry faster than others, causing tension on the surface.
- Structural Cracks: Deeper and wider than surface cracks, structural cracks can compromise the stability of your project. These cracks often occur when the clay body is not adequately supported during shaping or drying.
- Hairline Cracks: These tiny, almost invisible cracks can be easy to miss but may worsen over time. They typically appear as the clay undergoes repeated cycles of shrinking and expanding due to environmental changes.
Common Causes
- Uneven Moisture Levels During Drying: When different areas of the clay dry at varying rates, stress builds up, leading to cracks.
- Air Bubbles Trapped in the Clay: Improper wedging or kneading can leave air pockets in the clay, which expand during firing and cause cracks.
- Inadequate Scoring and Slipping During Joining: Joining clay pieces without properly scoring and using slip creates weak bonds that may crack as the clay dries or undergoes firing.
- Thermal Shock During Firing: Rapid temperature changes during firing can stress the clay, leading to sudden cracks. Controlled firing schedules are crucial to prevent this issue.
Materials and Tools Needed
To address and repair cracks in clay, the following materials and tools are essential:
- Soft Clay or Slip: Ideal for repairing cracks in unfired clay by filling gaps and reinforcing weakened areas.
- Vinegar or Paper Clay Mix: Acts as a binding agent for joining broken pieces or filling more stubborn cracks.
- Scoring Tool or Needle Tool: Used to create texture on surfaces being joined, ensuring a stronger bond.
- Water Spray Bottle: Keeps clay moist during repairs and prevents it from drying too quickly.
- Sandpaper or Sponge: Useful for smoothing and refining the surface once the repair is complete.
- Ceramic Adhesive or Epoxy: Best suited for mending cracks or breaks in fired clay pieces.
- Paintbrush: Facilitates the application of slip, glue, or other repair materials with precision.
These tools support both unfired and fired clay repairs, ensuring durability and a clean, polished finish.
How to Fix Cracked Clay: Fixing Cracks in Unfired (Greenware) Clay
Repairing cracks in greenware clay is a delicate process that requires precision and care to ensure the piece’s structural integrity. Follow these steps to mend cracks effectively:
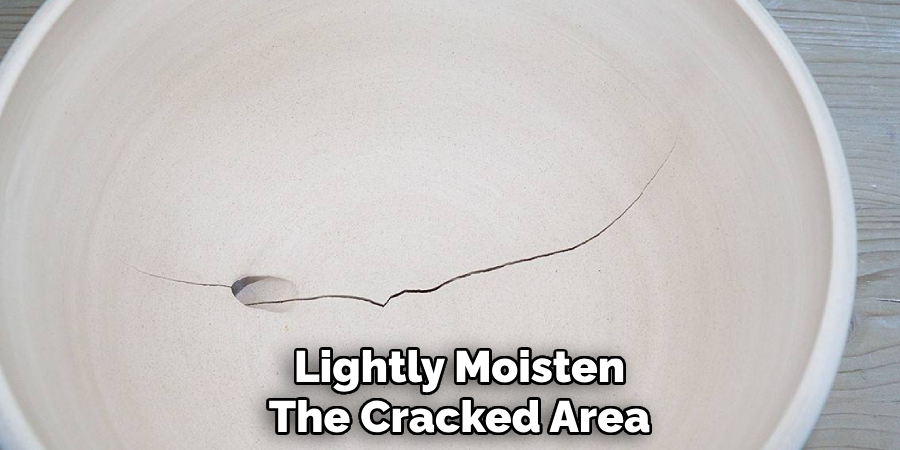
Step 1: Lightly Moisten the Cracked Area
Use a spray bottle to dampen the cracked area gently. This prevents the clay from drying out further and prepares the surface for repair.
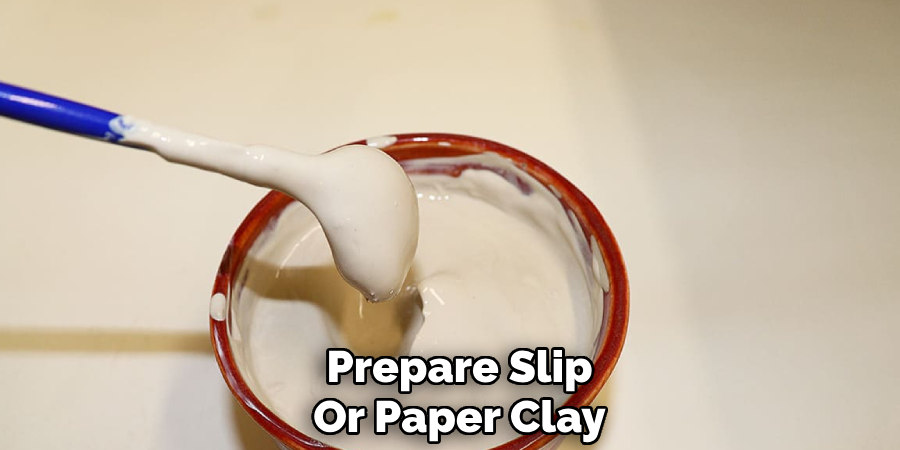
Step 2: Prepare Slip or Paper Clay
Create a slip by mixing clay with water to form a smooth paste. Alternatively, you can use paper clay, which is enhanced with fibers to improve its bonding properties.
Step 3: Score and Apply Slip
Take a needle tool and carefully score the surfaces inside and around the crack. This adds texture for better adhesion. Next, apply a generous amount of slip to the scored crack and gently press the clay into the gap, ensuring it fills evenly.
Step 4: Smooth and Let Dry Slowly
Use a sponge or your fingers to carefully blend and smooth the repaired area with the rest of the piece. Be patient during this step to retain the piece’s texture and appearance. Afterward, allow the clay to dry slowly and evenly. Place it under a plastic wrap or in a controlled environment to avoid introducing additional cracks due to uneven drying.
These steps, when handled with care, can restore greenware clay pieces and prepare them for firing with minimal flaws.
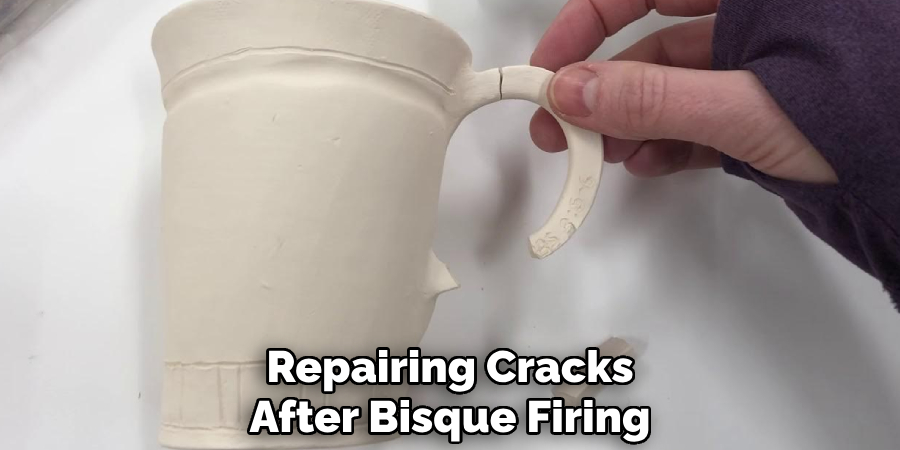
How to Fix Cracked Clay: Repairing Cracks After Bisque Firing
Repairing cracks in bisque-fired pottery requires a slightly different approach compared to greenware, as the clay is already hardened and more delicate. Follow these steps to repair your pieces effectively:
Step 1: Clean the Cracked Area
Begin by thoroughly cleaning the cracked area to ensure a smooth and successful repair. Use a soft brush or compressed air to remove any dust, debris, or loose particles. A clean surface will allow the repair material to adhere properly and provide a seamless finish.
Step 2: Use Bisque Fix or Ceramic Filler
Apply a suitable ceramic repair paste, such as bisque fix or ceramic filler, to the crack. Use a small tool, a brush, or even your finger to work the material into the gap. Be sure to smooth the surface as much as possible for a polished result. If needed, add multiple thin layers, allowing each layer to dry before applying the next.
Step 3: Re-bisque or Touch Up with Glaze
Depending on the severity of the crack and the type of repair product used, you may need to rebake the piece to set the repair. Follow the manufacturer’s instructions for the repair material to prevent damage to the piece. If the crack is minor and the piece is decorative, touching it up with glaze and firing again may suffice. This final step ensures the repair is durable and visually cohesive with the rest of the pottery.
Fixing Cracks in Fully Fired Clay (Glazed or Unglazed)
Step 1: Assess Crack Depth
Begin by carefully inspecting the crack to determine its depth and severity. Identify whether the issue is structural or cosmetic. Structural cracks compromise the integrity of the piece and necessitate more extensive repairs, whereas cosmetic cracks are primarily surface-level imperfections.
Additionally, consider whether the piece is functional, such as a bowl or mug, or purely decorative. This will influence the repair method and materials used.
Step 2: Use Epoxy or Ceramic Glue
For functional pieces that require strong bonds, use a high-strength epoxy or ceramic adhesive specifically designed for pottery repairs. Follow the manufacturer’s instructions for application and curing times.
Align the broken edges or surfaces, press them together firmly, and hold in place or clamp as necessary until the adhesive has fully cured. This step restores the piece’s strength and functionality.
Step 3: Fill and Sand the Surface
For hairline cracks or minor chips, fill the damaged area with tinted epoxy, ceramic filler, or a similar product. This ensures that the repair blends seamlessly with the original surface. Once dried or cured, gently sand the area with fine-grit sandpaper to achieve a smooth, even finish. Be careful not to damage the surrounding areas during sanding.
Optional Step: Re-glaze the Surface
If the repaired area disrupts the aesthetic of the piece, it may be necessary to re-glaze and refire. Carefully apply a matching glaze over the repair and fire the piece in a kiln if the material allows for it. This final step enhances both the appearance and durability of the repair, ensuring the piece retains its original beauty.
Preventing Future Cracks in Clay Projects
Cracks in clay projects can often be avoided with proper techniques and attention to detail throughout the crafting process. Below are key practices to help prevent future cracking and ensure the longevity of your creations.
Proper Drying Techniques
Dry clay pieces slowly and evenly to minimize stress caused by rapid drying. Cover your projects with plastic or store them in a sealed box to regulate the drying process and prevent uneven moisture loss, a common cause of cracking.
Wedge Clay Thoroughly
Air bubbles trapped in clay can lead to weak points that crack during drying or firing. Thoroughly wedge your clay before shaping to eliminate these air pockets and ensure a more stable structure.
Use Consistent Thickness
When constructing your piece, maintain consistent thickness across all areas. Thin edges or overly thick centers can dry at different rates, increasing the risk of cracks. Aim for an even form to reduce drying stress and prevent uneven shrinkage.
Score and Slip for Attachments
When joining pieces of clay, always score the surfaces and use slip generously. This technique ensures a strong bond between parts, minimizing weaknesses that could crack during dry periods or firing.
By incorporating these habits, you can create stronger, more durable clay pieces that stand the test of time.
Conclusion
Cracks in clay are a common challenge, but can be addressed effectively depending on the stage of the clay—unfired, bisque, or fully fired. Understanding “how to fix cracked clay” requires using the right materials and techniques, from applying slip to using specialized adhesives. However, the most important tip for successful clay work is prevention.
Careful preparation, even drying, and proper handling go a long way in reducing cracks. By adopting these preventive measures, you can ensure that your clay creations remain sturdy and durable, minimizing the need for repairs and achieving long-lasting results in your work.
Specialization:
- Master of wheel-throwing, hand-building, and advanced glazing techniques
- Focus on creating both functional pottery and decorative art pieces
Recognition:
- Celebrated by collectors and art enthusiasts for creating one-of-a-kind pieces that blend artistry with functionality
- Participates in local and national exhibitions, earning accolades for his innovative designs and craftsmanship
Passion:
- Deeply committed to exploring and pushing the boundaries of ceramic artistry
- Continuously experiments with new materials, firing techniques, and artistic concepts to evolve his craft
Personal Philosophy:
- Believes in the transformative power of art, aiming to evoke emotions and connections through his ceramic creations
- Advocates for sustainability in ceramics, using eco-friendly materials and practices whenever possible