


Olla pottery is a traditional and ingenious method for sustainable gardening, utilizing unglazed clay pots to provide slow irrigation for plants. These pots, known as ollas, are buried in the soil with only their necks exposed, allowing water to seep out gradually as the surrounding soil dries. This ancient technique has its roots in the agricultural practices of ancient civilizations, including Native American and Latin American cultures, where water conservation was essential for farming in arid climates.
The use of ollas not only reduces water waste but also minimizes the need for frequent watering, making it an eco-friendly and efficient solution for modern gardeners. This article aims to provide a step-by-step guide on how to make olla pottery at home, using readily available materials and simple tools. By following this guide, you can create functional and sustainable irrigation systems that benefit both your garden and the environment.
Understanding Olla Pottery and Its Uses
What Is an Olla?
An olla is a porous, unglazed clay vessel designed for efficient irrigation. Traditionally used in arid climates, ollas are buried in the soil with just the neck exposed above the surface. This simple yet effective irrigation tool allows water to slowly seep through its walls, directly hydrating the surrounding plant roots.
How It Works
The mechanism of an olla is based on the principle of soil moisture tension. When the soil around the olla is dry, water gradually seeps through the porous clay walls. Once the surrounding soil is adequately moistened, the water stops diffusing, preventing overwatering and ensuring consistent moisture is available to the plants.
Benefits in Gardening
Using an olla provides numerous advantages for gardeners. It significantly reduces water waste by minimizing surface runoff and evaporation. This method promotes deep root growth, resulting in healthier plants that are more drought-tolerant. Additionally, the infrequent need to refill the olla saves both time and effort for gardeners.
Ideal Plants and Gardens
Ollas are especially effective in raised beds, vegetable gardens, and container gardening. They work best for crops with medium water needs, such as tomatoes, peppers, beans, and leafy greens, ensuring a sustainable and eco-friendly irrigation solution.
Materials and Tools Needed
Creating an olla requires specific materials and tools to ensure its effectiveness and durability. The primary material is low-fire, natural terracotta clay that is unglazed. This type of clay allows water to seep through its porous surface, providing the slow, steady irrigation necessary for plants.
Tools
If you prefer precision and uniformity, a pottery wheel is an excellent option; however, hand-building is equally effective. Essential tools include sculpting tools for shaping and detailing, a sponge and water for smoothing the surface, and a rolling pin if you choose the hand-building method.
Additional Supplies
A kiln is required to fire and harden the clay, ensuring the olla is durable and can withstand constant use in the soil. Optional extras include sandpaper for smoothing edges after firing, natural slip (a clay-water mixture) for joining pieces securely during the construction process, and a cork or terracotta lid to seal the top opening of the olla, preventing evaporation and debris from entering.
By gathering these materials and tools, you can create a functional, eco-friendly irrigation solution tailored to your garden’s needs.
How to Make Olla Pottery: Shaping the Olla by Hand or Wheel
Hand-Building Method
To begin shaping an olla by hand, start with a ball of clay and form it into a small pinch pot using your thumb and fingers to create an even thickness. Gradually, use the coil-building technique to extend the height of the vessel, adding coiled strips of clay one layer at a time.
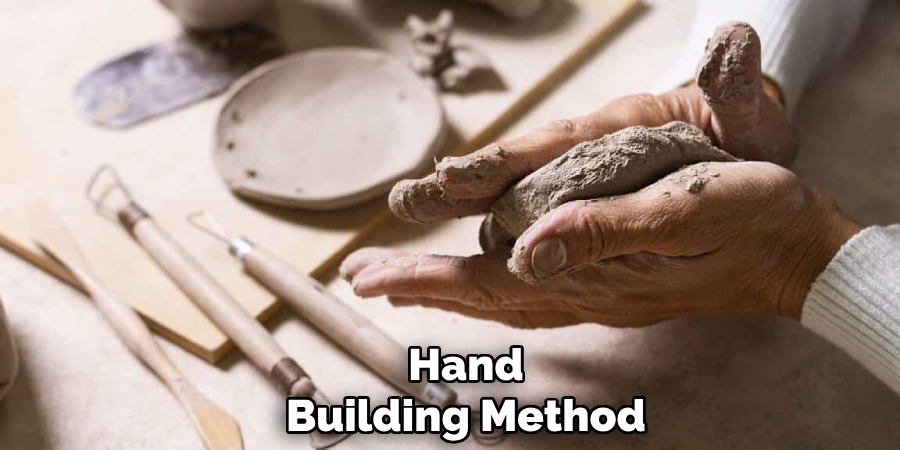
Once the desired height is reached, use your hands and a wet sponge to smooth and shape the form into a round belly with a narrow neck. This traditional method allows for flexibility in design, providing the opportunity to tailor the olla’s size for specific gardening needs.
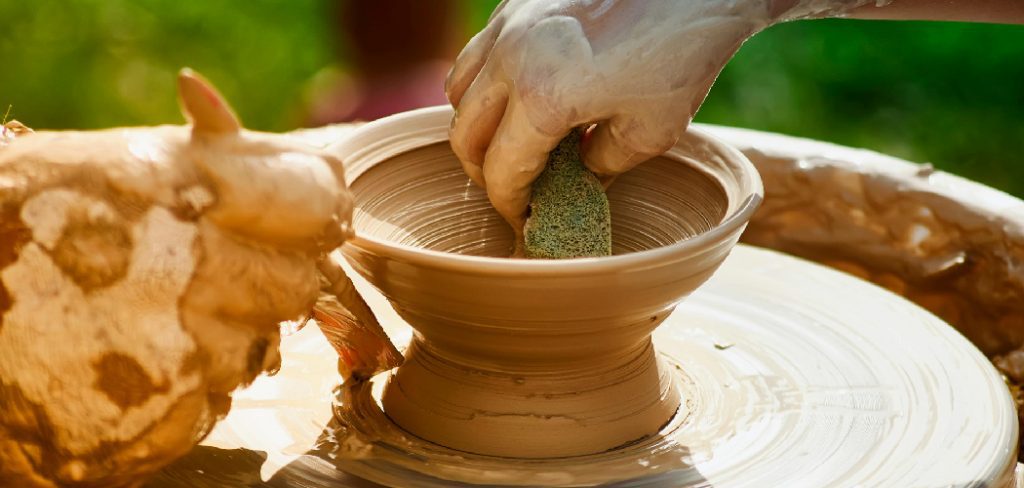
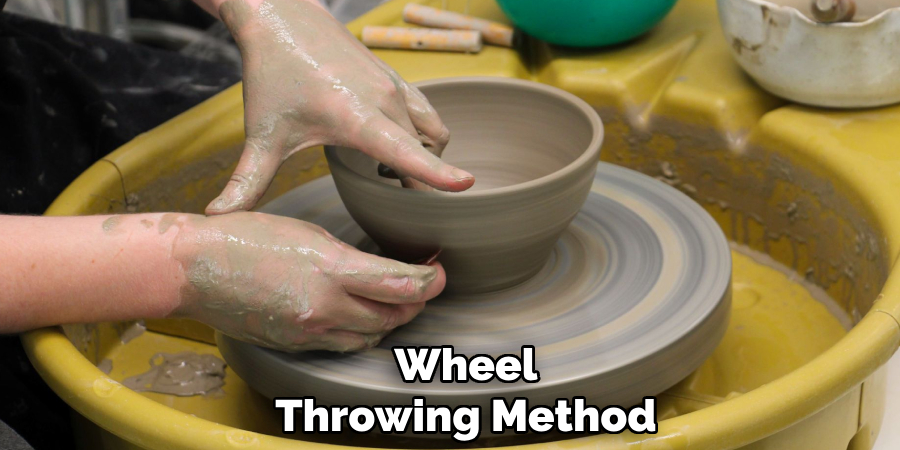
Wheel-Throwing Method
For those using a pottery wheel, start by centering a ball of clay on the wheel. Use your hands to carefully pull the clay upward, shaping it into a bulbous form. Gradually narrow the neck to ensure a slower release of water when the olla is in use. Maintaining consistent pressure and even movements is key to creating a balanced, symmetrical shape. Take time to refine the surface, ensuring smooth walls for optimal functionality.
Tips for Functional Design
Regardless of the method used, ensure the olla’s walls are thick enough to prevent breakage while remaining thin enough to maintain porosity, which is crucial for water seepage. Additionally, design the bottom of the olla to be flat and stable, ensuring it stays securely placed on the ground once installed. These steps will help create an effective, durable, and efficient irrigation tool.
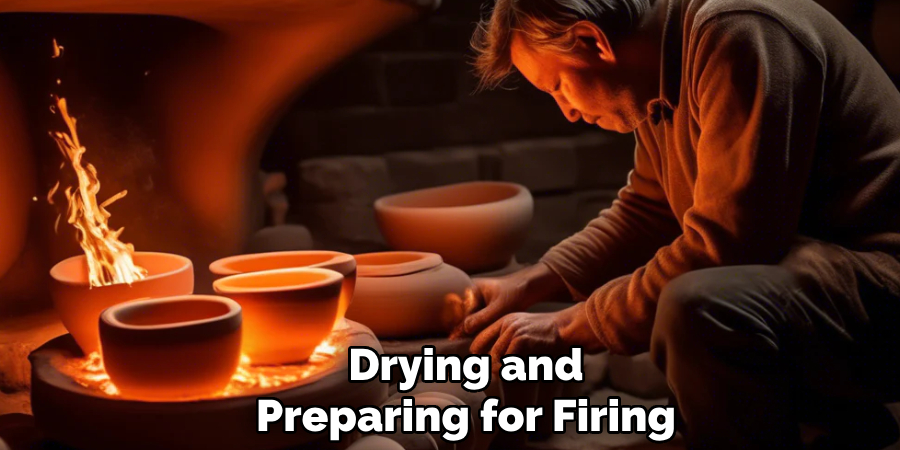
Drying and Preparing for Firing
Drying Process
Allow the olla to dry slowly and evenly to minimize the risk of cracking during the drying phase. This typically takes several days, depending on the environmental conditions. For the first 24 hours, loosely cover the pot with plastic to retain some moisture and encourage even drying.
After this initial stage, remove the plastic and allow the olla to air dry completely. Position the pot in a shaded, well-ventilated area for optimal results, avoiding direct sunlight that could cause uneven drying and potential warping or cracking.
Pre-Firing Check
Before proceeding to the firing stage, scrutinize the pot for any cracks, air pockets, or other imperfections that might compromise its integrity. Smooth out any rough edges or seams with fine-grit sandpaper or a damp sponge to ensure a clean, polished finish. Performing a meticulous inspection at this step is essential to creating a functional and durable olla ready for use.
Optional: Attach a Lid or Cork Stopper
To enhance the usability of the olla, consider adding a lid or a cork stopper before firing. This addition prevents debris, insects, or dirt from entering the water reservoir during use, thereby preserving the overall efficiency and cleanliness of the irrigation system.
Firing the Olla in a Kiln
Bisque Firing
Firing the olla is a crucial step in hardening the clay and ensuring it becomes durable while retaining its porous properties. Start with a bisque firing at low temperatures, ideally between cone 06 and cone 04 (approximately 1800°F–1940°F). This low-temperature range is sufficient to strengthen the clay without glazing it, as the unglazed surface is essential for the olla’s water-seeping functionality. Place the olla in the kiln carefully, ensuring sufficient space between pieces for even heat distribution.
Cooling and Inspection
Once the firing is complete, allow the kiln to cool naturally to prevent thermal shock, which could cause cracking. When the kiln reaches a safe temperature for handling, remove the olla and inspect it thoroughly. Look for cracks, chips, or any structural weaknesses that could compromise its effectiveness in water delivery. A well-fired olla should feel solid but retain its porous quality for proper irrigation.
Alternative Option
If you do not own a kiln, consider reaching out to a local community kiln or pottery studio to fire your piece. Many studios offer kiln rental services or may allow firing as part of membership or workshop fees. This is a cost-effective alternative and a great way to connect with fellow enthusiasts of pottery.
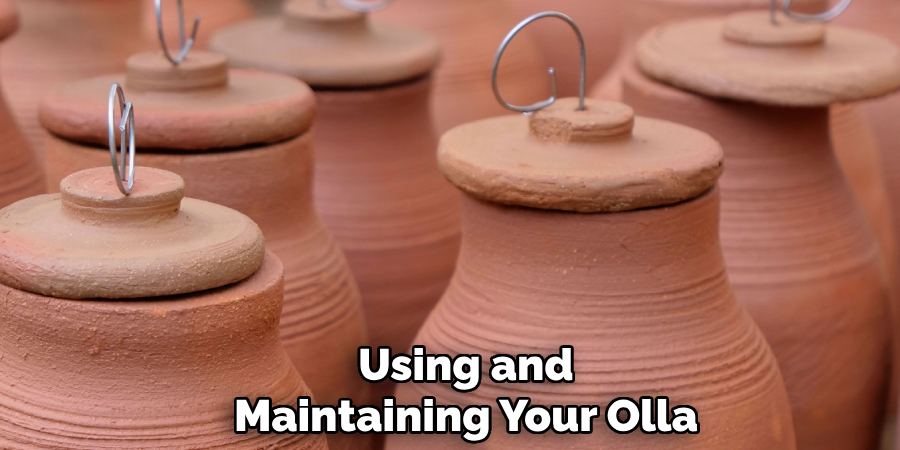
Using and Maintaining Your Olla
Installation in the Garden
To install your olla, bury the pot in your garden soil with only the neck exposed above the surface. This ensures the water in the olla reaches plant roots effectively while minimizing evaporation. Once in place, fill the olla with water and cover the top to prevent debris or insects from entering.
Maintenance Tips
Regular maintenance is key to ensuring your olla functions properly. Refill the pot as needed, typically depending on the water requirements of your plants and the surrounding soil conditions. If algae start to form on the inside or outside of the olla, gently clean it with water and a soft brush to prevent clogging of the pot’s pores. Avoid using harsh chemicals that could seep into the soil.
Storage During Off-Season
If you are not using the olla year-round, proper storage is essential to prolong its lifespan. At the end of the growing season, empty the olla completely and allow it to dry thoroughly. Store it indoors in a cool, dry location to protect it from freezing temperatures, which can cause the material to crack or become damaged. With proper care, your olla can serve as a practical garden tool for years to come.
Conclusion
Making an olla is a simple, sustainable craft with centuries of history that benefits both gardeners and the environment. This traditional irrigation method saves water, reduces weeding, and promotes strong, healthy plant growth.
Learning how to make olla pottery empowers you to create a functional, eco-friendly addition to your garden. Whether you choose to hand-build your olla or use a wheel-thrown technique, the process is both rewarding and practical. By incorporating this ancient practice into your gardening routine, you not only enhance the well-being of your plants but also contribute to a more sustainable future.
Specialization:
- Master of wheel-throwing, hand-building, and advanced glazing techniques
- Focus on creating both functional pottery and decorative art pieces
Recognition:
- Celebrated by collectors and art enthusiasts for creating one-of-a-kind pieces that blend artistry with functionality
- Participates in local and national exhibitions, earning accolades for his innovative designs and craftsmanship
Passion:
- Deeply committed to exploring and pushing the boundaries of ceramic artistry
- Continuously experiments with new materials, firing techniques, and artistic concepts to evolve his craft
Personal Philosophy:
- Believes in the transformative power of art, aiming to evoke emotions and connections through his ceramic creations
- Advocates for sustainability in ceramics, using eco-friendly materials and practices whenever possible