


Creating a pottery fountain is a rewarding project that combines craftsmanship with functionality.
Whether you’re looking to add a soothing water feature to your garden or a unique decorative piece to your home, a pottery fountain offers both aesthetic appeal and tranquility. This guide will walk you through the essential steps for how to make a pottery fountain.
Benefits of Making Your Own
Creating your own pottery fountain comes with numerous benefits. First and foremost, it allows you to customize the design to perfectly suit your personal style and space. You can choose sizes, shapes, and colors that complement your home or garden décor. Additionally, making your own fountain can be more cost-effective compared to purchasing a pre-made one, as you have control over materials and can work within your budget.
There’s also a sense of satisfaction and pride that comes from crafting something by hand. Beyond these practical advantages, the process of creating a pottery fountain can be a relaxing and meditative experience, letting you express creativity while enjoying the tangible results of your effort.
Tools and Materials You’ll Need
To create your own pottery fountain, you’ll need a selection of tools and materials to bring your project to life. Here’s what you’ll need:
- Pottery or Ceramic Bowls: Choose bowls that suit your desired size and aesthetic. You may need multiple bowls depending on the design.
- Submersible Water Pump: This is essential for circulating the water through your fountain.
- Water Tubing: Ensure the tubing fits the pump and is flexible enough to shape according to your design.
- Sealant or Waterproof Adhesive: To prevent leaks and ensure the components are securely fixed.
- Pebbles, Stones, or Decorative Elements: Use these to enhance the look of your fountain and hide the tubing or pump.
- Drill with Ceramic Bits (if necessary): To create holes in the pottery for the tubing, if not pre-made.
- Measuring Tape: Useful for ensuring components fit together seamlessly.
- Cleaning Supplies: Prepare sponges, rags, and soap to clean the pottery before assembly.
With these tools and materials, you’ll be ready to begin designing and assembling your custom pottery fountain.
10 Methods How to Make a Pottery Fountain
1. Design the Structure with Function and Aesthetics in Mind
The first step in creating a pottery fountain is to envision the overall structure. Consider where the fountain will be placed—indoors or outdoors—and how large or small it needs to be. Sketch your ideas, keeping in mind that the fountain must support continuous water flow through a submersible pump.
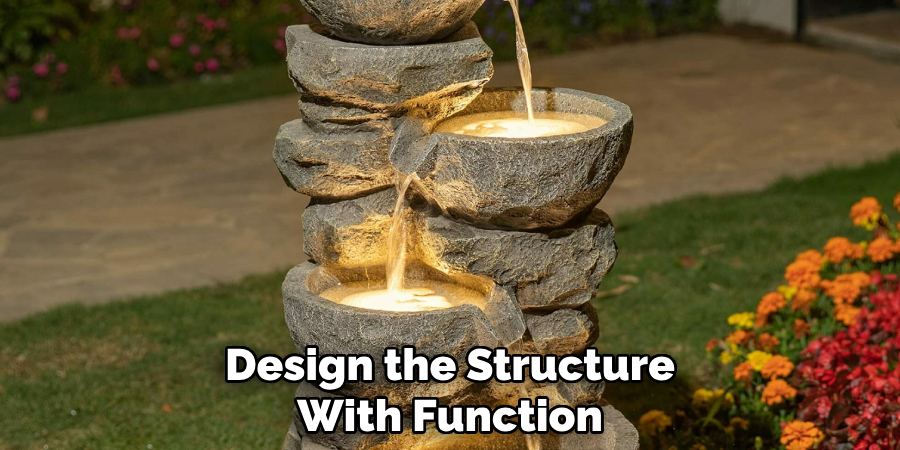
Your design might include a central spout, multiple tiers, or cascading bowls. The form should include a reservoir to hold water and channels or spouts to allow flow. Aesthetically, think about how glaze, texture, and shape will complement the gentle movement of water, making your design both beautiful and functional.
2. Choose the Right Clay for Durability and Water Resistance
When making a pottery fountain, the type of clay you use is critical. Stoneware clay is often preferred for its strength and low porosity after firing, which makes it well-suited for holding water. Avoid earthenware for outdoor fountains unless sealed properly, as it tends to absorb water and can crack with temperature changes.
Make sure to wedge the clay thoroughly to eliminate air pockets that could cause cracks during firing. Choose a clay body compatible with mid- to high-fire glazes to ensure your fountain is watertight and robust enough to handle continuous moisture exposure.
3. Build the Fountain Base or Reservoir First
Begin construction with the base or reservoir—the container that will hold the water and the pump. You can either hand-build the base using slabs or throw it on the wheel if it’s round. If hand-building, roll even slabs of clay and score and slip the joints to ensure a strong bond.
Reinforce the interior seams with a coil of clay to prevent leaks. Make the walls thick and solid, and ensure the bottom is flat so it can sit steadily. If throwing, create a bowl with a wide, deep basin and compress the bottom to prevent cracking.
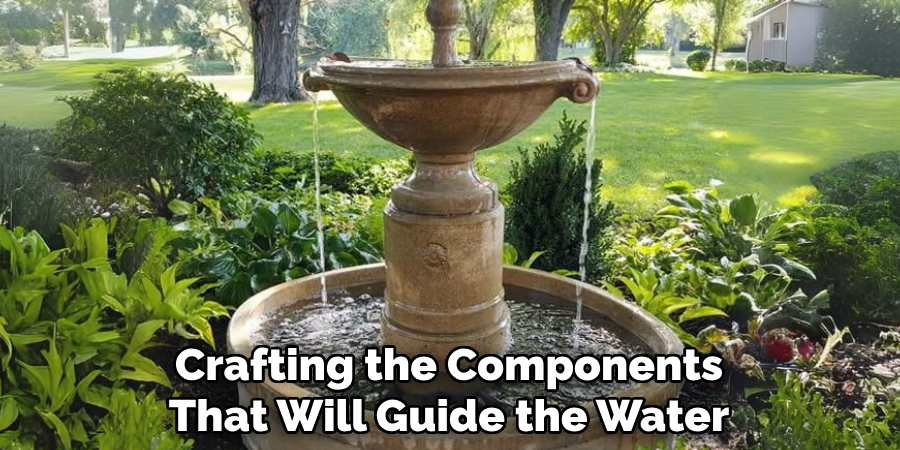
4. Create the Water Feature Components (Spouts, Tiers, Columns)
With the base complete, move on to crafting the components that will guide the water. These might include a central column, vertical spout, or tiered bowls that allow water to flow downward. You can throw these elements on the wheel for symmetry or hand-build them for more organic shapes.
If you’re creating a spout, ensure it has a hollow center for the water to pass through and consider where the pump tubing will be inserted. The join between parts must be watertight and secure, so always plan where each component will connect and how it will be supported.
5. Incorporate Channels or Tubes for Pump Installation
A crucial but often overlooked step is designing your fountain to accommodate the pump and its tubing. Make holes or channels in the clay that will allow the tubing to travel from the pump in the base to the upper section where the water will emerge. You can create clay tubes to encase the tubing for a cleaner look.
If you’re planning for an electric cord, carve or mold a notch or hole in the base to allow it to pass through without pinching. All holes should be smooth and slightly oversized to account for tubing movement after firing.
6. Let the Clay Dry Slowly and Evenly to Avoid Cracks
Because pottery fountains are often thick and multi-part, it’s essential to allow the pieces to dry slowly and uniformly to avoid cracking or warping. Cover the pieces with plastic loosely for several days and turn them occasionally to ensure all sides dry at the same rate.
Drying too quickly—especially in sunny or dry conditions—can cause structural flaws. If you’ve joined multiple parts, check the seams frequently for any signs of separation. Once bone dry (light in color and room-temperature to the touch), the fountain is ready for bisque firing.
7. Bisque Fire the Fountain Pieces for Strength
Bisque firing is your fountain’s first pass through the kiln, turning raw clay into ceramic. Because of the weight and thickness of fountain parts, use a slow firing schedule, especially during the early stages of the firing. Fire to the recommended cone for your clay body—usually Cone 04 for bisque.
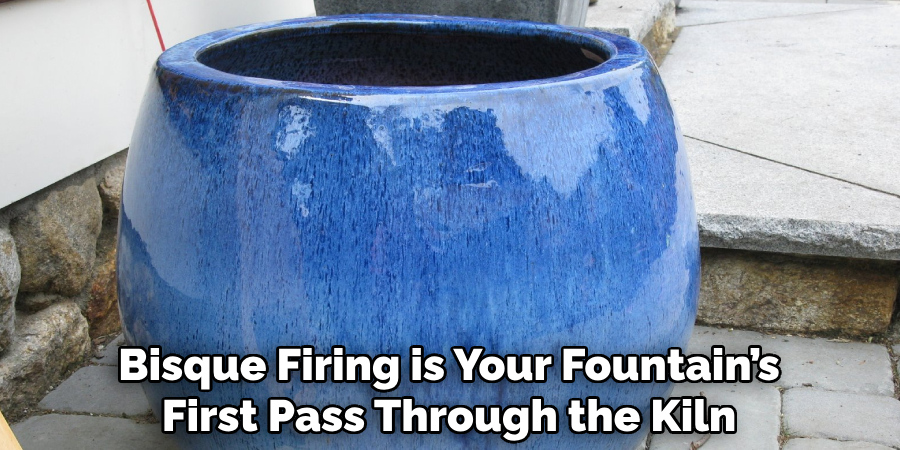
This process strengthens the piece and prepares the surface for glaze. After firing, inspect the parts for any cracks or imperfections. Light sanding can help smooth any sharp edges, particularly where water might flow or where tubing will be inserted.
8. Glaze the Fountain for Waterproofing and Visual Appeal
Glazing serves both a decorative and functional role in your fountain. A well-applied glaze helps seal the surface, making it water-resistant and visually striking. Use high-fire or mid-fire glazes compatible with your clay body. For the interior of the base or reservoir, use a glossy, durable glaze to prevent water seepage.
Avoid glazing the bottom surface where the fountain will rest, as this can cause sticking in the kiln. Apply two to three coats of glaze evenly and wipe away glaze from any holes or tubing pathways to avoid blockages. Let the glaze dry thoroughly before glaze firing.
9. Glaze Fire to Final Temperature for Vitrification
After glazing, the fountain components need to be fired again to a higher temperature—usually Cone 5 or 6 for stoneware. This final firing vitrifies the clay, sealing it and ensuring it’s strong enough to hold water. Load the kiln with care, especially if the fountain pieces are tall or heavy.
Use kiln stilts or soft kiln shelves to protect delicate surfaces. Allow the kiln to cool completely before removing the parts. Examine each piece for glaze coverage, watertightness, and smooth water flow paths. If needed, minor glaze flaws can be repaired with re-firing.
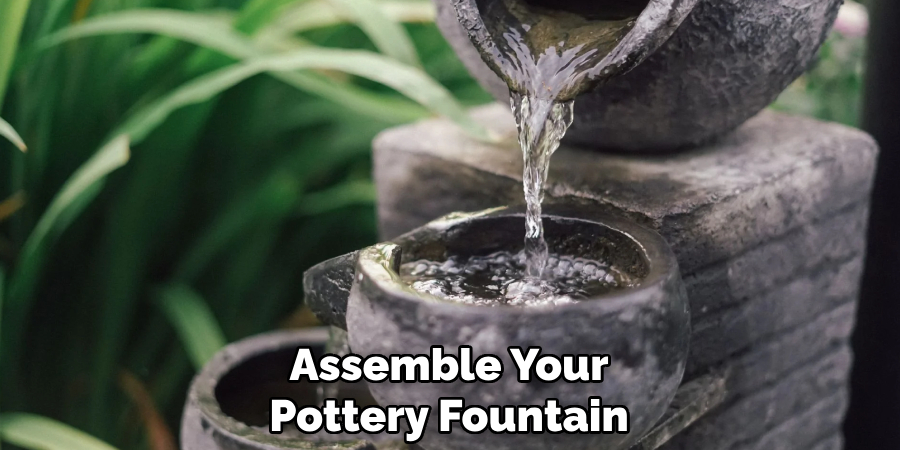
10. Assemble the Fountain and Test Water Flow
With all components fired and ready, it’s time to assemble your pottery fountain. Install the submersible pump in the reservoir, feeding the tubing through the channel to the spout or top feature. Use waterproof epoxy or silicone to secure joints if needed and ensure they’re sealed.
Fill the reservoir with clean water and plug in the pump to test the flow. Adjust the angle and level of the components for even water distribution and quiet operation. You can decorate with stones, aquatic plants, or lighting for added ambiance. Once everything works smoothly, your handmade pottery fountain is complete.
Conclusion
Making a pottery fountain combines the tactile satisfaction of clay work with the meditative effect of flowing water. From designing the structure and shaping the clay, to assembling components and tuning the water flow, each step involves both creativity and craftsmanship.
Whether your fountain sits peacefully on a desk or serves as the centerpiece of a garden, it carries the signature of your hand and imagination. Thanks for reading, and we hope this has given you some inspiration on how to make a pottery fountain!
Specialization:
- Master of wheel-throwing, hand-building, and advanced glazing techniques
- Focus on creating both functional pottery and decorative art pieces
Recognition:
- Celebrated by collectors and art enthusiasts for creating one-of-a-kind pieces that blend artistry with functionality
- Participates in local and national exhibitions, earning accolades for his innovative designs and craftsmanship
Passion:
- Deeply committed to exploring and pushing the boundaries of ceramic artistry
- Continuously experiments with new materials, firing techniques, and artistic concepts to evolve his craft
Personal Philosophy:
- Believes in the transformative power of art, aiming to evoke emotions and connections through his ceramic creations
- Advocates for sustainability in ceramics, using eco-friendly materials and practices whenever possible