


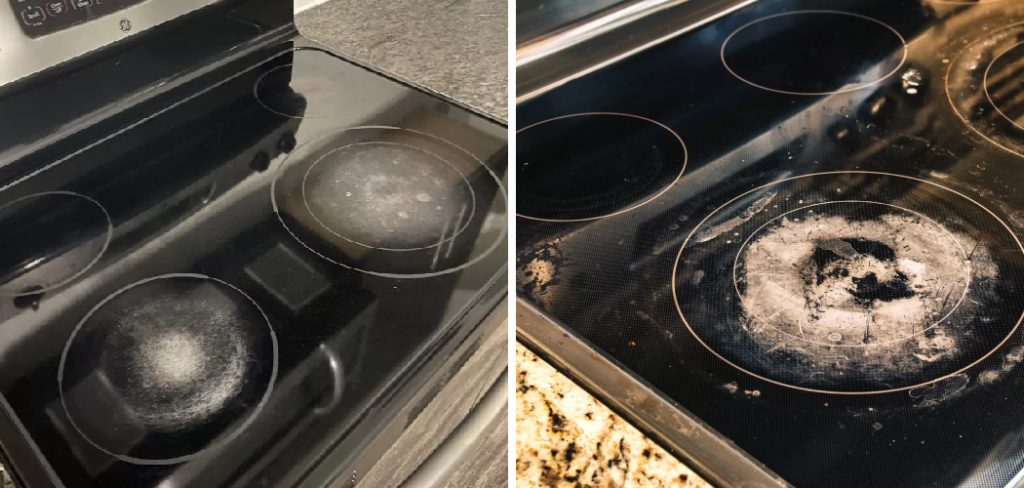
A ceramic stove top offers a sleek, modern look and fantastic cooking efficiency for any kitchen. However, like any appliance in regular use, it isn’t immune to wear and tear. Cracks, scratches, and stains can develop over time, leaving many homeowners wondering if their stove top is beyond repair. The good news is, in most cases, these issues can be fixed without needing to replace the entire unit.
Learning how to repair ceramic stove top can save you money and extend the life of your appliance. Whether you’re dealing with light scratches, deep cracks, or discoloration, there’s usually a simple and effective solution. This guide will walk you through why repairing your stove top matters, provide a detailed step-by-step method to fix it, and answer common questions to help you tackle the task with confidence.
Assessing the Damage
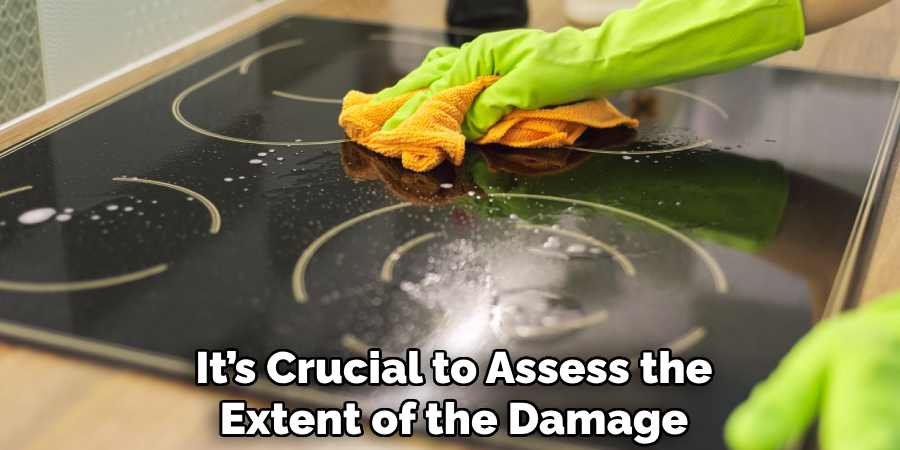
Before attempting any repairs, it’s crucial to assess the extent of the damage. Small scratches and surface stains are typically easy to address with the right tools and techniques. Cracks, however, require closer inspection. Hairline cracks may be repairable, but deep or structural cracks could compromise the stove’s safety and efficiency, necessitating a replacement. Always ensure the stove top is cool and unplugged before starting any repair work.
Why Repairing a Ceramic Stove Top Matters
Your ceramic stove top is more than just a tool for cooking—it’s an investment that contributes to the aesthetic and functionality of your kitchen. Repairing damage promptly not only improves the appearance of the stove but also ensures its efficiency remains intact. Leaving cracks or scratches unaddressed could lead to further deterioration or even safety risks, as larger cracks can compromise heat distribution or shatter under pressure.
Repairing your stovetop is also an eco-conscious choice. Rather than replacing the entire unit, which may end up in a landfill, a simple repair often restores it to working order. Beyond being environmentally friendly, knowing how to repair ceramic stove top empowers you with skills to manage maintenance issues yourself, saving you a significant amount of money on professional repairs or replacement costs.
By addressing both aesthetic and safety concerns, repairing a ceramic stove top ensures your kitchen remains functional, beautiful, and hazard-free for years to come.
Fixing Scratches and Minor Stains
For shallow scratches, a stove top cleaner or a mild abrasive cleaner can often work wonders. Apply the cleaner to the affected area and gently buff in a circular motion with a soft cloth or sponge. For stubborn stains, a paste made of baking soda and water can be applied directly to the spot before gently scrubbing. Avoid using steel wool or harsh scouring pads, as these can cause further damage to the ceramic surface.
Cleaning Burnt-On Residue
Dealing with burnt-on residue can be challenging, but it’s manageable with the right approach. Start by allowing the stove top to cool completely before cleaning. Then, apply a generous amount of white vinegar or a specialized ceramic stove top cleaner to the residue. Lay a damp, soft cloth or paper towel over the area and allow it to sit for 15-20 minutes to loosen the residue. Afterward, carefully scrape off the softened material using a plastic or silicone scraper, taking care to avoid scratching the surface. Finish by wiping the surface clean with a damp cloth and then drying it with a microfiber towel for a streak-free shine.
Step-by-Step Guide on How to Repair Ceramic Stove Top
Repairing a ceramic stove top can sound intimidating, but with the right approach and materials, it is a manageable task. Below is a comprehensive guide to help you restore your ceramic stove top effectively.
Step 1: Assess the Damage
Begin by examining the stove top for the type and extent of the damage. Is it a minor scratch, a deep crack, or a set of stains? Light scratches are easiest to manage and usually require polishing, while deeper cracks may need filling or patching. Identifying the problem will help you determine the tools and materials required for the repair.
Step 2: Gather Your Tools and Materials
To repair your ceramic stove top, you’ll need some essential tools. For light scratches, you may only require a non-abrasive pad and ceramic polish. For more extensive cracks, you’ll need a ceramic repair kit or epoxy resin. Ensure you also have cleaning supplies like a sponge, dish soap, and a soft cloth to prepare the surface.
Step 3: Thoroughly Clean the Stove Top
Before starting the repair, clean the entire surface of your stove top. Use warm, soapy water and a soft sponge to remove grease, stains, and debris. Rinse and dry the surface thoroughly, as any dirt or moisture left on the stove top may interfere with the effectiveness of the repair materials.

Step 4: Repair Scratches on the Surface
If you’re dealing with light scratches, apply a specialized ceramic polish or scratch remover to the affected area. Buff the polish into the scratch using a soft cloth in small circular motions. The polish will fill in the scratch, making it less visible or eliminating it entirely. Repeat the process as needed until you achieve the desired result.
Step 5: Fill Deep Cracks With Epoxy Resin
For deeper cracks, an epoxy resin is an effective repair solution. Mix the resin according to the package instructions, ensuring it is blended well for full strength. Carefully apply the resin into the crack using a toothpick or applicator tool to fill it entirely. Smooth out the surface with a spatula or flat edge while the resin is still wet.
Step 6: Allow the Repair to Cure
Once the epoxy has been applied, allow it to cure for the recommended amount of time, which is typically 24–48 hours. During this time, refrain from using the stove or placing any weight on the repaired area. This ensures the resin hardens properly and bonds securely to the ceramic surface.
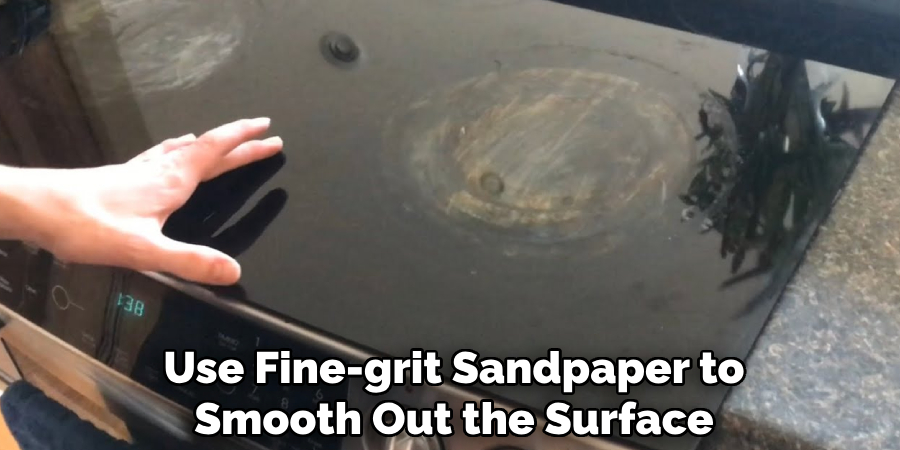
Step 7: Sand and Polish the Repaired Area
After the epoxy has hardened, use fine-grit sandpaper to smooth out the surface. Be gentle and avoid applying too much pressure, which could undo your work. Once the area is smooth, apply a ceramic polish to restore the glossy finish and blend the repair seamlessly with the rest of the stove top.
Step 8: Address Stains With a Specialist Cleaner
Persistent stains can often be removed with a ceramic cooktop cleaner or a paste made from baking soda and water. Apply the cleaner to the stain and gently scrub with a non-abrasive sponge. Rinse the area thoroughly and dry with a soft cloth. For tougher stains, repeat the process as necessary.
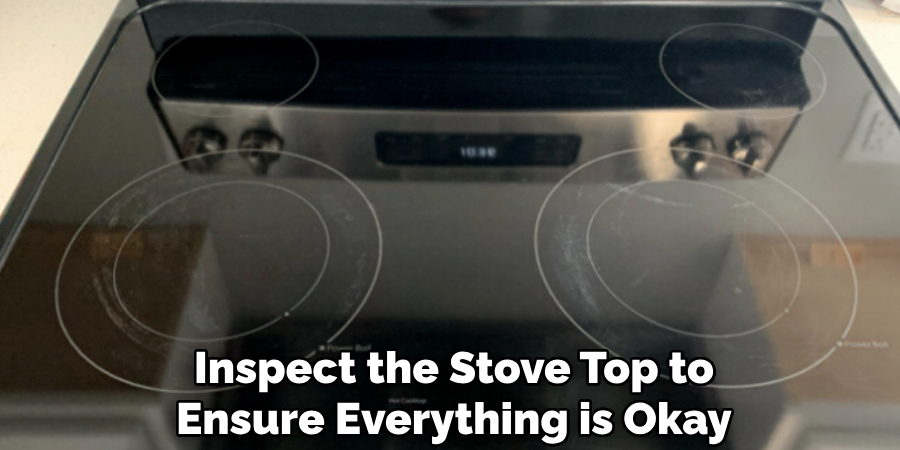
Step 9: Conduct a Final Inspection
Inspect the stove top to ensure all damage has been effectively repaired. Run your hand over the surface to check for smoothness and visually confirm that any cracks, scratches, or stains are no longer noticeable. If anything looks incomplete, repeat the necessary steps to achieve a flawless finish.
Step 10: Prevent Future Damage
Now that your stove top is repaired, take preventive measures to avoid future issues. Use cookware with flat, smooth bottoms, clean spills promptly, and avoid dragging or dropping heavy items onto the surface. Regular maintenance will keep your ceramic stove top looking and functioning like new.
Customer Success Story
One of our customers, Emily, shared her experience of repairing her ceramic stove top using these steps. She had accidentally dropped a heavy cast iron pan, leaving a prominent crack on the surface. Initially, Emily was worried she might need to replace the entire stove, an expensive and time-consuming process. However, after following our repair guide, she was able to restore the surface to near-perfect condition.
Emily carefully prepared the area, applied the recommended repair compound, and polished the stove top to a smooth finish. Today, her stove not only looks as good as new but functions flawlessly. She was thrilled with the results and has been proactively maintaining her stove top to prevent similar issues in the future. Emily’s story is a reminder that with the right tools and instructions, you can tackle repairs with confidence and success!
Frequently Asked Questions Section
Can a cracked ceramic stove top be repaired?
Yes, a cracked ceramic stove top can usually be repaired with the right materials, like epoxy resin or ceramic fillers. The repair process involves filling the crack, allowing it to cure, and sanding it smooth. However, if the crack is extensive or compromises the structural integrity, it may be safer to replace the stove top entirely.
What type of epoxy is best for repairing ceramic stove tops?
Not all epoxies are heat-resistant, so it’s essential to use one specifically formulated for high temperatures. Look for an epoxy labeled as “ceramic repair” or “heat-resistant,” as these are designed to withstand the conditions of a stove top.
How do I remove scratches from a ceramic stove top?
Light scratches can often be polished out using a specialized ceramic cooktop polish. Apply the polish to the scratched area and buff it in using a soft cloth in circular motions. Repeat the process until the scratch fades or disappears. For deeper scratches, ceramic filler may be needed.
Is it safe to use the stove after a repair?
Yes, but only after the repair has fully cured. Follow the curing time specified on the repair kit or epoxy resin packaging, which is usually 24–48 hours. Using the stove before the material sets could compromise the repair and lead to further damage or safety risks.
How can I prevent damage to my ceramic stove top?
To avoid damage, always use cookware with smooth, flat bottoms and avoid sliding pans across the surface. Clean spills immediately and regularly maintain the surface with ceramic cooktop cleaners. Additionally, be cautious when handling heavy or sharp objects near the stove top to prevent chips or cracks.
Conclusion
Repairing a ceramic stove top might seem daunting at first, but with the right tools and techniques, it’s a task anyone can tackle. By following this comprehensive guide on how to repair ceramic stove top, you’ll save money, extend the life of your appliance, and restore its appearance and functionality.
Don’t wait for minor issues to escalate into bigger problems—address cracks, scratches, and stains as soon as they arise. With a little patience and effort, you can enjoy a stove top that looks and works like new. Take the first step today and restore your ceramic stove top with confidence!
Specialization:
- Master of wheel-throwing, hand-building, and advanced glazing techniques
- Focus on creating both functional pottery and decorative art pieces
Recognition:
- Celebrated by collectors and art enthusiasts for creating one-of-a-kind pieces that blend artistry with functionality
- Participates in local and national exhibitions, earning accolades for his innovative designs and craftsmanship
Passion:
- Deeply committed to exploring and pushing the boundaries of ceramic artistry
- Continuously experiments with new materials, firing techniques, and artistic concepts to evolve his craft
Personal Philosophy:
- Believes in the transformative power of art, aiming to evoke emotions and connections through his ceramic creations
- Advocates for sustainability in ceramics, using eco-friendly materials and practices whenever possible