Rehydrating ceramic clay is an essential skill for anyone working with that medium, whether you’re a novice potter or an experienced ceramic artist. Over time, clay can dry out and become difficult to work with, losing its malleability and workability.

However, with the right techniques, it’s possible to restore the clay to its optimal consistency, allowing you to continue creating intricate designs and functional pieces.
This guide on how to rehydrate ceramic clay will walk you through the process, ensuring that your clay remains a versatile and enjoyable material to work with.
Why is Rehydrating Ceramic Clay Important?
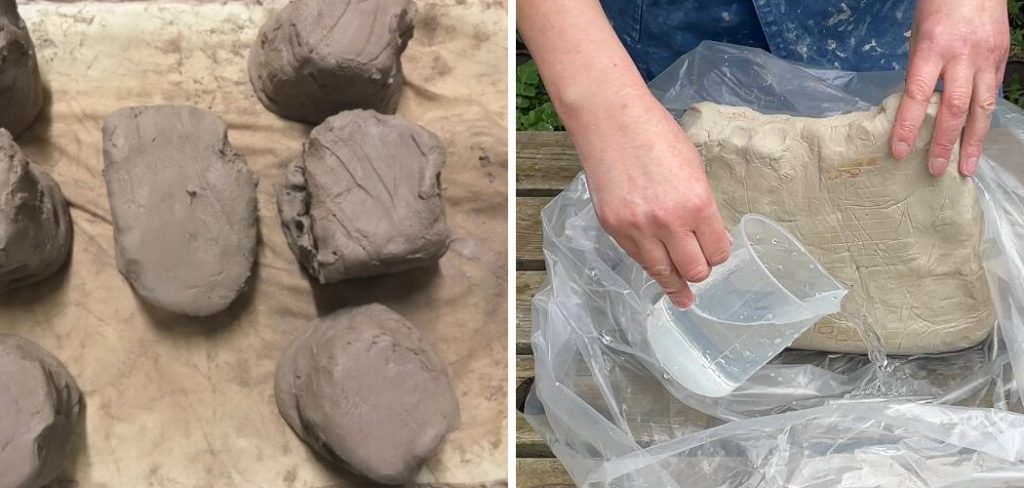
Rehydrating ceramic clay is crucial because it directly impacts the quality and success of your ceramic projects. When clay loses its moisture, it becomes brittle and hard, making it challenging to shape and mold. This not only hinders your creative process but can also lead to defects in the final product, such as cracking or uneven surfaces.
By rehydrating clay, you restore its pliability and workability, ensuring a smoother surface and more precise detailing. Furthermore, properly hydrated clay reduces waste, as it allows you to reuse and recycle dried-out pieces rather than discard them. In essence, regularly rehydrating your clay maintains the integrity of your artistic work and promotes sustainable practices within your ceramic craft.
Needed Materials
Before we dive into the steps for rehydrating ceramic clay, it’s essential to gather the necessary materials. You’ll need:
- Dried Ceramic Clay
- A Large Container With a Lid (Such as a Bucket or Plastic Tub)
- Water
- Plastic Wrap or a Damp Towel
- A Spray Bottle
8 Step-by-step Guidelines on How to Rehydrate Ceramic Clay
Step 1: Prepare Your Workspace
Begin by setting up a clean and organized workspace to ensure an efficient rehydration process. Choose an area with ample space where you can comfortably work without obstructions. Make sure to cover the workspace with a plastic sheet or old newspaper to protect surfaces from any potential mess. Gather all your materials within reach to streamline the process.

This could include placing your container, water, plastic wrap, and spray bottle nearby. Adequate preparation of your workspace will set the foundation for smooth and controlled rehydration of your ceramic clay.
Step 2: Break Up the Dried Clay
If your clay has hardened into a solid block, you’ll need to break it up into smaller pieces for easier rehydration. Use a hammer or similar tool to gently tap and break apart the dry clay. Alternatively, if your clay is in smaller chunks or flakes, you can skip this step.
Breaking the clay into smaller pieces increases its surface area, allowing water to penetrate effectively and speed up the rehydration process.
Step 3: Place Clay Pieces into Container
Once you have broken up the clay, place it in your container. Make sure not to fill the container more than halfway as you’ll need ample room for water and the clay to move and mix. It’s best to rehydrate small batches at a time rather than trying to do it all at once.
The container should be clean and free of any foreign materials that could contaminate the clay.
Step 4: Add Water
Using your spray bottle or a watering machine, you can slowly add water to the clay pieces in the container. Be careful not to add too much water at once, as this can make the clay overly saturated and muddy. Start with a few sprays or pours of water and mix it into the clay using your hands or a mixing tool.

Continue adding small amounts of water until all the chunks are damp but not soaked. If you do accidentally add too much water, simply let the clay sit for a few minutes to allow excess water to evaporate before proceeding.
Step 5: Mix and Knead Clay
Once your clay pieces are damp, it’s time to mix and knead them together. Using your hands or a mixing tool, work the clay until it forms a consistent texture without any dry or overly wet spots. This step is crucial as it ensures that all of the clay pieces are evenly rehydrated.
If necessary, you can add small amounts of water as you mix and knead to achieve the desired consistency.
Step 6: Cover with Plastic Wrap or Damp Towel
After thoroughly mixing and kneading the clay, cover it with plastic wrap or a damp towel to trap moisture. This will prevent the clay from drying out while it is rehydrating. Make sure to smooth out any air pockets or wrinkles in the covering as these can cause uneven drying.
But don’t cover the container with an airtight lid, as this can lead to mold growth. But if your container has a loose-fitting lid, you can use it to cover the clay.
Step 7: Let Clay Rest
Allow the clay to rest for at least 24 hours. This resting period is essential as it allows the water molecules to evenly distribute and penetrate deeper into the clay pieces. If you’re working with a large batch of clay or have added a significant amount of water, you may need to let it rest for longer, up to 48 hours.
The clay is ready when it has a consistent and pliable texture throughout.
Step 8: Check Consistency and Adjust if Necessary
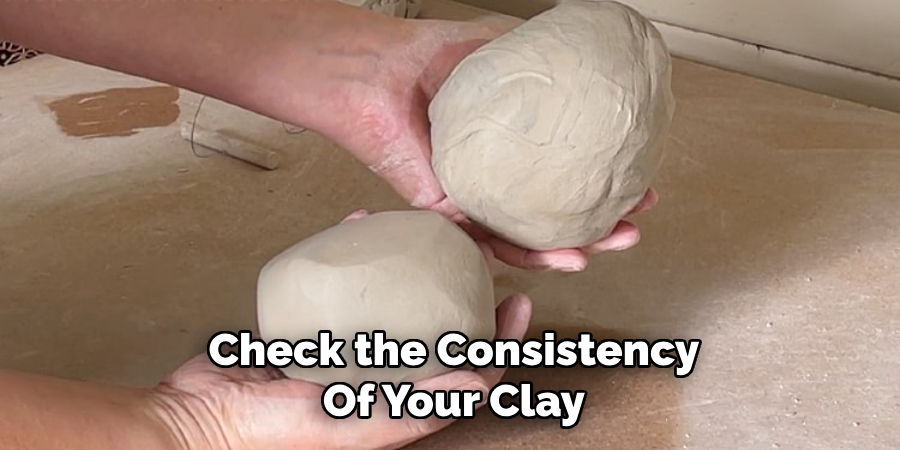
After the resting period, check the consistency of your clay. If it’s still too dry, you can add small amounts of water and mix and knead it again until you achieve the desired texture. However, if it’s too wet, leave the clay uncovered for a few hours to allow excess water to evaporate.

Once your clay has reached its optimal moisture level, it’s ready to be used to create ceramic masterpieces!
Following these eight simple steps on how to rehydrate ceramic clay will ensure that your clay is adequately rehydrated, making it easier to work with and resulting in better-quality ceramic pieces. Remember to regularly rehydrate your clay, even if you’re not currently working on a project, as this will keep it pliable and prevent waste in the long run.
Additional Tips for Maintaining Clay
- Store clay in an airtight container or bag when not in use to prevent it from drying out.
- Keep a spray bottle filled with water nearby while working on projects to keep the clay moist as you work.
- If your clay becomes too dry while working on a project, mist it with water and cover it with plastic wrap for a few hours to rehydrate.
- Be mindful of the humidity in your workspace, as high levels can cause your clay to become overly soft and difficult to work with.
- Avoid adding excess water when rehydrating clay as this can lead to mold growth or weaken its structure.
By following these tips on how to rehydrate ceramic clay and regularly rehydrating your ceramic clay, you’ll not only be creating sustainable practices within your craft but also ensuring that every piece you create is of the highest quality. So next time you reach for that dried-out chunk of clay, remember these steps and give your clay the proper rehydration it deserves. Happy creating!
Frequently Asked Questions
Q1: How Long Will It Take for My Clay to Rehydrate?
A1: The time it takes for your clay to rehydrate will depend on several factors, such as the size of your clay pieces, how dry they are, and the humidity levels in your workspace. On average, it takes 24-48 hours for clay to rehydrate fully. But be patient and check on your clay regularly during this time.
Q2: Can I Rehydrate My Clay If It Has Already Been Fired?
A2: No, once clay has been fired, it cannot be rehydrated. The heat from firing changes its chemical structure and makes it permanent.
Q3: How Often Should I Rehydrate My Clay?
A3: It’s best to rehydrate your clay every few weeks if you’re not actively working on a project. Regular rehydration will prevent it from drying out and becoming unusable in the long run.
Q4: Can I Use Any Type of Container to Rehydrate My Clay?
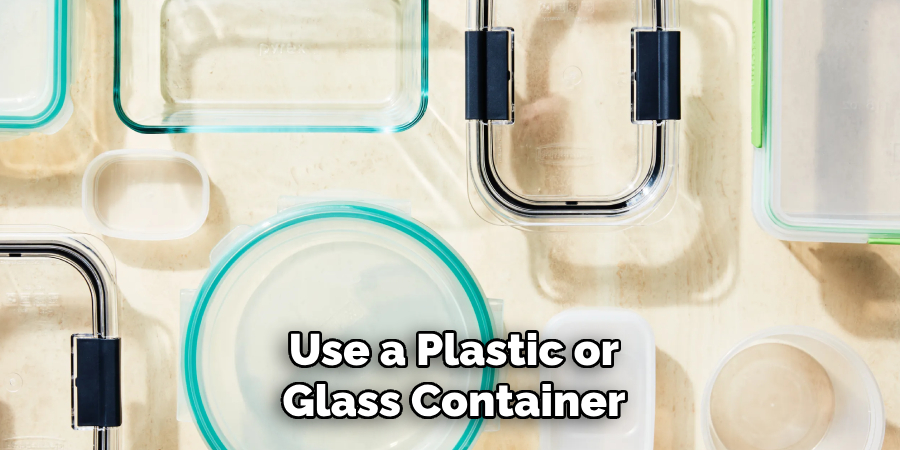
A4: It’s recommended to use a plastic or glass container with a lid for rehydrating clay. Avoid using metal containers as they can react with the clay and cause discoloration or other issues. However, if you do not have access to plastic or glass containers, you can also use a large zip-lock bag to rehydrate your clay. Just make sure it is sealed tightly to prevent air from getting in.

Conclusion
Rehydrating ceramic clay may seem like a daunting task at first, but with these simple steps on how to rehydrate ceramic clay, you’ll be able to maintain the integrity of your clay and create beautiful ceramic pieces. By regularly rehydrating your clay, you’ll also be promoting sustainable practices within your craft. So gather your materials, set up your workspace, and get ready to bring new life to your dried-out clay!
Specialization:
- Master of wheel-throwing, hand-building, and advanced glazing techniques
- Focus on creating both functional pottery and decorative art pieces
Recognition:
- Celebrated by collectors and art enthusiasts for creating one-of-a-kind pieces that blend artistry with functionality
- Participates in local and national exhibitions, earning accolades for his innovative designs and craftsmanship
Passion:
- Deeply committed to exploring and pushing the boundaries of ceramic artistry
- Continuously experiments with new materials, firing techniques, and artistic concepts to evolve his craft
Personal Philosophy:
- Believes in the transformative power of art, aiming to evoke emotions and connections through his ceramic creations
- Advocates for sustainability in ceramics, using eco-friendly materials and practices whenever possible


