


Creating a ceramic lark is a rewarding and creative process that allows you to craft a unique piece of art. Whether you are an experienced ceramic artist or a beginner exploring new hobbies, this guide will walk you through the essential steps.
In this blog post, we’ll walk you through the steps on how to make a ceramic Lark so that you can get back to using it in no time! So grab your tools, and let’s get started!
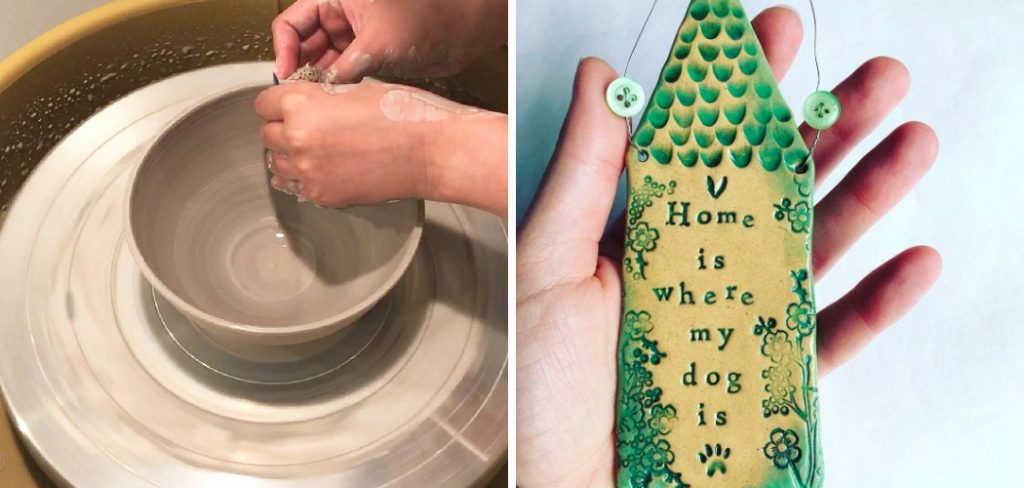
What is a Ceramic Lark?
A ceramic lark is a handcrafted bird sculpture made from clay, inspired by the graceful and lively appearance of the lark bird. Typically used as a decorative piece, a ceramic lark captures the intricate details of the bird’s form, feathers, and posture. These creations can be glazed and painted to enhance their aesthetic appeal, making them a perfect addition to home decor or a thoughtful gift. Beyond decoration, ceramic larks can also serve as symbolic representations of joy, freedom, and creativity, as the lark is often associated with these qualities in art and literature.
Tools and Materials You’ll Need
Creating a ceramic lark involves a combination of specialized tools and materials to bring the design to life. Below is a list of essentials to get you started:
- Clay: High-quality ceramic clay, such as earthenware or stoneware, is ideal for sculpting the lark’s form.
- Sculpting Tools: A variety of sculpting tools, including wire cutters, wooden modeling tools, and loop tools, for shaping and adding intricate details.
- Potter’s Wheel (Optional): If you prefer a symmetrical base or additional design elements.
- Slip and Engobe: For joining parts or adding decorative layers before firing.
- Glazes: A selection of glaze colors to achieve the desired finish and aesthetic for your ceramic lark.
- Paintbrushes: Fine brushes for applying glazes and painted details.
- Kiln: A kiln is essential for firing and hardening the ceramic piece after sculpting and glazing.
- Protective Gear: Items like an apron, gloves, and a dust mask to ensure safety while working with materials.
- Sandpaper or Sponges: For smoothing imperfections and refining the surface before glazing.
Having these tools and materials on hand will ensure you are prepared to create a beautifully detailed and polished ceramic lark.
10 Methods How to Make a Ceramic Lark
1. Visualize and Sketch the Lark Design
The process begins with visual imagination and sketching. Before shaping clay, it is crucial to study images of larks and understand their anatomy—short beaks, rounded bodies, slightly raised tails, and small claws. Sketch your design from multiple angles: side view, top-down, and even a three-quarter perspective.
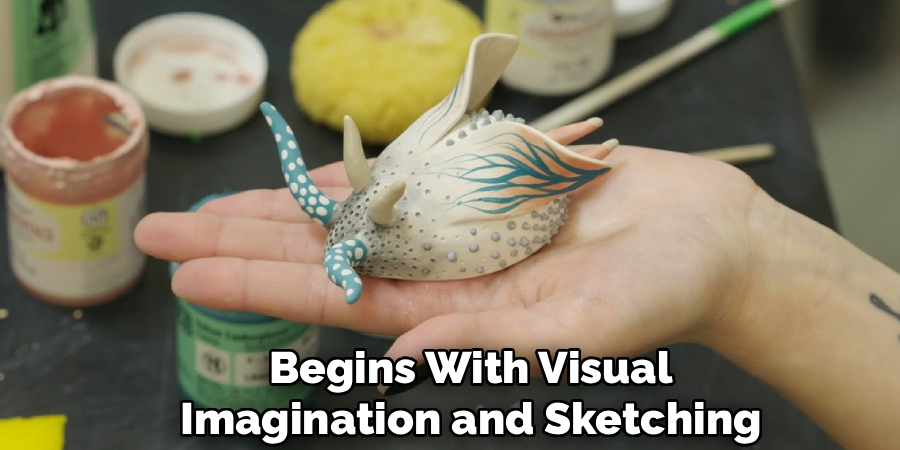
Consider whether the lark will be perched, flying, or nestled. A well-defined sketch helps you translate the bird’s elegance into a three-dimensional form. Pay attention to the balance of proportions; even a whimsical or abstract representation should evoke the essence of the lark.
2. Select the Right Type of Clay
Choosing the proper clay is essential for both functionality and appearance. For ceramic larks, a fine, smooth clay body like porcelain or white stoneware is ideal due to its fine texture and ability to hold detail. Porcelain allows for delicate sculpting, though it requires careful drying. If you prefer a more rustic look, a grogged stoneware clay offers strength and texture. Make sure the clay is compatible with the glazes and firing temperatures you plan to use. Condition your clay by kneading it thoroughly to eliminate air bubbles and ensure consistency.
3. Use the Pinch or Coil Method to Shape the Body
To form the body of the lark, use either the pinch pot or coil building method. Begin by shaping a rough ball of clay, then pinch it into a hollow oval form for the bird’s body. For more control, use coils to build up the body and blend them smoothly. Focus on creating the right curvature for the belly, chest, and tail. Hollowing out the interior is crucial to prevent cracking during firing. Keep walls uniform in thickness—around ¼ inch—and smooth both inside and outside using a rib tool or sponge.
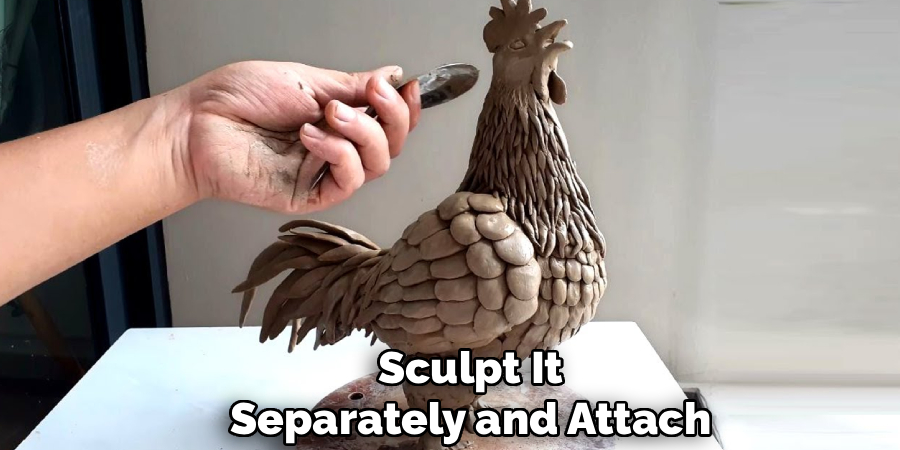
4. Sculpt the Head and Beak Separately
The head of the lark can be formed either as part of the body or as a separate piece. For more refined detail, sculpt it separately and attach it using the score-and-slip method. Carve out the tiny beak, carefully shaping the taper and ensuring symmetry. Use small loop tools or carving needles for precision. If desired, you can sculpt an open beak to depict singing, which adds character and animation. Ensure the connection between head and body is strong and well-blended to avoid separation during firing.
5. Add the Wings and Tail Feathers with Detail
Next, sculpt the wings and tail feathers. These can be formed as separate slabs or shaped directly from the body. Flatten small slabs of clay and cut out wing shapes that mirror real lark anatomy—gently rounded with subtle feather divisions. Score and slip the wing base, then carefully press it onto the sides of the body.
For the tail, create a short, fan-shaped piece with etched feather lines. Attach it slightly raised for a dynamic posture. Use carving tools to add surface textures to mimic feathers realistically.
6. Incorporate Feet or a Mounting Base
Adding legs and feet to a ceramic bird can be challenging due to structural fragility. If you want the lark to stand, create sturdy legs using thick wire wrapped in clay, ensuring they are securely embedded in the body. Alternatively, omit the legs and place the bird on a ceramic base—like a tree branch or rock-shaped platform. This not only provides stability but also allows for more creative scenery. Make sure the base is hollowed out and well-supported to survive firing without cracks.
7. Let the Sculpture Dry Slowly and Evenly
Once your lark is fully sculpted, allow it to dry slowly and evenly. Uneven or rapid drying leads to warping or cracking. Cover the sculpture loosely with plastic to control evaporation, and let it rest in a cool, dry space. Depending on the size and clay type, drying may take several days. Rotate it occasionally to check for damp spots. Do not rush this process; the sculpture should be completely bone dry before it’s ready for the kiln. You can test dryness by touching the base—it should feel room temperature and not cool.
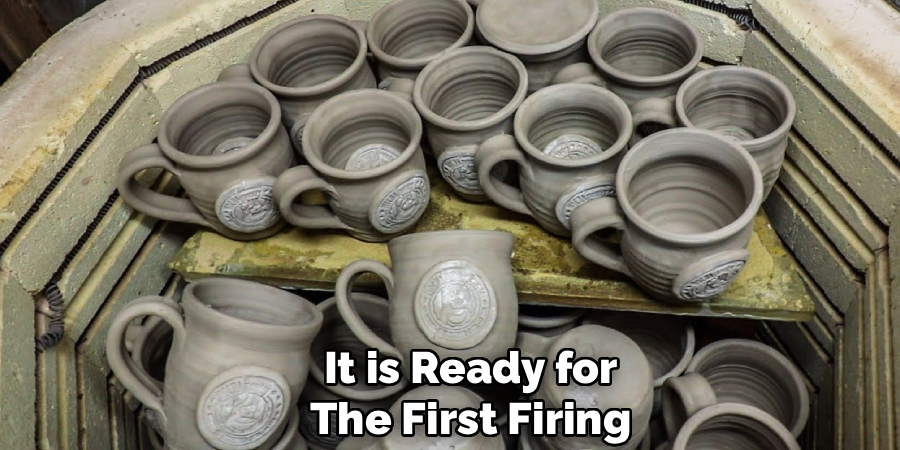
8. Bisque Fire the Lark in a Kiln
After the piece is bone dry, it is ready for the first firing—called the bisque fire. This process hardens the clay and prepares it for glazing. Place the lark on kiln furniture with care, ensuring it is stable and won’t tip. Bisque firing is typically done at cone 04 to 06 (around 1800°F or 980°C), depending on the clay. The result is a porous, light-colored ceramic piece that can now be glazed. Let the kiln cool fully before removing your sculpture, as thermal shock can cause cracking.
9. Apply Glaze or Decorative Finishes
Once bisque-fired, decorate your ceramic lark with glaze, underglaze, oxide washes, or even a combination of finishes. For a natural look, use matte or satin glazes in earth tones like brown, cream, gray, and muted yellows. Brush, dip, or sponge the glaze depending on your desired effect. Be careful around carved details to preserve texture. Underglazes allow for painting finer lines—ideal for feathers, eyes, or beak accents. Avoid glazing the base unless using stilts, as melted glaze will fuse to the kiln shelf during firing.
10. Glaze Fire and Final Touches
Place your glazed lark back into the kiln for glaze firing. This step vitrifies the glaze, giving it a glassy or matte finish depending on the glaze type. Firing temperature depends on your clay and glaze—typically cone 5 to cone 10, with cone 5 being the lower end. Once fired, remove the piece from the kiln and allow it to cool completely before handling.
Once cooled, you can add final touches such as luster or decals to your ceramic lark. Lusters are metallic finishes that can be added after glaze firing using a brush or sponge. Decals are images transferred onto glazed surfaces using water and heat. These additional details can enhance the overall appearance of your ceramic lark.
Maintenance and Upkeep
Proper care of your ceramic lark ensures its longevity and continued beauty. To clean your piece, use a soft, damp cloth to gently wipe away dust or debris. Avoid using abrasive cleaners or tools, as they may scratch or damage the surface.
If your ceramic lark features lusters or decals, take extra care to clean those areas without applying excessive pressure. Keep the piece in a stable, humidity-controlled environment to prevent any potential cracking or wear over time. Additionally, displaying your ceramic lark away from direct sunlight will help preserve the vibrancy of glazes, lusters, or decals, keeping it in pristine condition for years to come.
Conclusion
Creating a ceramic lark is a rewarding process that combines creativity, skill, and patience. From shaping the clay to adding exquisite finishing touches, each step allows for artistic expression and personal customization. Whether you are a seasoned ceramicist or a beginner, the process offers endless opportunities to experiment and learn.
By mastering these techniques, you can craft unique and captivating pieces that showcase your passion and dedication to the art of ceramics. Thanks for reading our blog post on how to make a ceramic Lark! We hope you found it helpful and informative.
Specialization:
- Master of wheel-throwing, hand-building, and advanced glazing techniques
- Focus on creating both functional pottery and decorative art pieces
Recognition:
- Celebrated by collectors and art enthusiasts for creating one-of-a-kind pieces that blend artistry with functionality
- Participates in local and national exhibitions, earning accolades for his innovative designs and craftsmanship
Passion:
- Deeply committed to exploring and pushing the boundaries of ceramic artistry
- Continuously experiments with new materials, firing techniques, and artistic concepts to evolve his craft
Personal Philosophy:
- Believes in the transformative power of art, aiming to evoke emotions and connections through his ceramic creations
- Advocates for sustainability in ceramics, using eco-friendly materials and practices whenever possible