


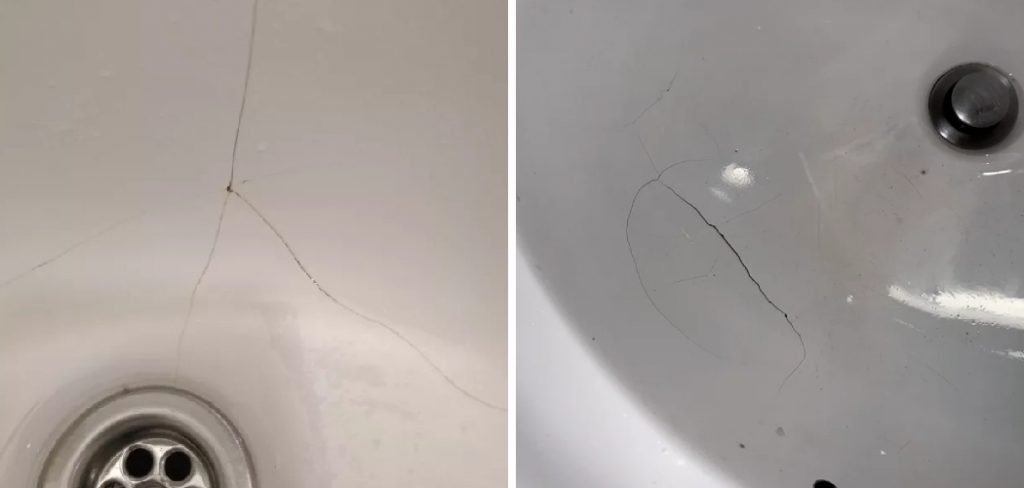
A cracked ceramic sink can be both an eyesore and a functional concern in your home. Over time, wear and tear or accidental impacts can lead to damage that requires attention. Fortunately, fixing a cracked ceramic sink is a manageable DIY task with the right tools and guidance.
This guide will walk you through the steps of how to fix cracked sink ceramic, saving you the hassle and cost of a full replacement.
Importance of Fixing Cracked Ceramic Sinks Early
Addressing cracks in your ceramic sink as soon as they appear is crucial for several reasons. Firstly, small cracks can quickly worsen over time due to daily use, temperature changes, and water exposure. Left unchecked, these cracks may expand, compromising the structural integrity of the sink and potentially leading to leaks or complete failure.
Secondly, cracks can trap water and dirt, creating an ideal environment for mold and bacteria to grow, which poses health risks. Lastly, fixing minor damage early is more cost-effective than dealing with extensive repairs or needing a full sink replacement down the line. Taking prompt action not only prolongs the lifespan of your sink but also helps maintain the cleanliness and safety of your home.
Tools and Materials You’ll Need
To effectively repair minor cracks in your sink, ensure you have the following tools and materials on hand:
- Epoxy resin or a repair kit designed for your sink material (ceramic, porcelain, or stainless steel)
- Sandpaper (preferably fine-grit)
- Cleaning solution or mild detergent
- Lint-free cloths or paper towels
- Putty knife or applicator
- Masking tape
- Gloves for protection
- A small brush or mixing stick (if using epoxy resin)
Having these items readily available will make the repair process smooth and efficient, allowing you to tackle the damage with confidence.
10 Methods How to Fix Cracked Sink Ceramic
1. Cleaning and Preparing the Sink Surface
The first and most crucial step before any repair is thoroughly cleaning and preparing the cracked area. Dirt, grime, soap scum, and mineral deposits can interfere with adhesives or fillers, compromising the repair. Use a non-abrasive cleaner and a soft brush or sponge to remove all contaminants around the crack.
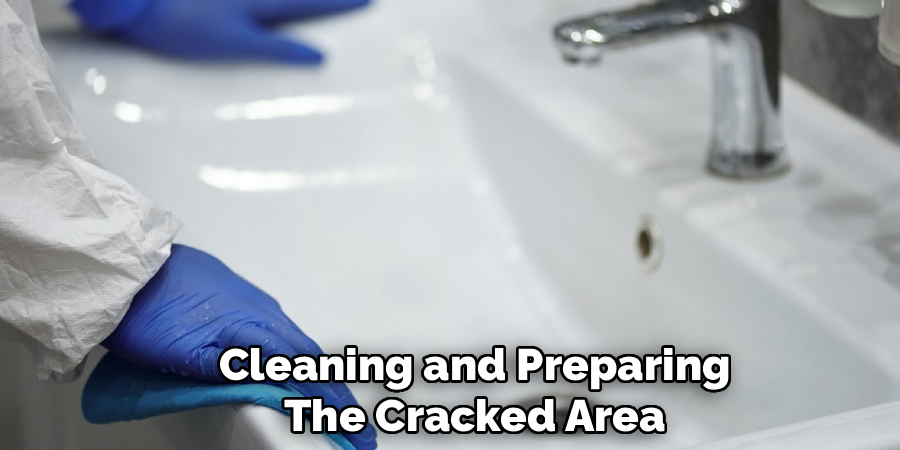
Rinse thoroughly with clean water and dry the surface completely with a lint-free cloth. For stubborn residues, a gentle abrasive pad or rubbing alcohol can be used, but avoid harsh chemicals that might damage the ceramic finish. Proper preparation ensures optimal adhesion of repair materials and a stronger, more durable fix.
2. Using Epoxy Adhesive for Hairline Cracks
Epoxy adhesives are highly effective for repairing small, hairline cracks in ceramic sinks. Choose a clear, waterproof, two-part epoxy suitable for ceramics. Mix the resin and hardener according to the instructions, then apply it carefully along the crack using a fine applicator or toothpick. Press the crack gently to ensure the epoxy penetrates the fissure. Allow the epoxy to cure fully—usually 24 hours—before exposing the sink to water. Epoxy creates a strong, water-resistant bond that stabilizes the crack and prevents further spreading. It also preserves the sink’s glossy appearance when properly polished after curing.
3. Filling Cracks with Porcelain Repair Kits
Specialized porcelain repair kits are widely available and come with colored fillers that match common ceramic sink shades. These kits usually include a filler paste, hardener, and sometimes a touch-up paint or glaze. After cleaning the crack, apply the filler using a small spatula or applicator to fill the damaged area completely. Smooth the surface to match the surrounding sink, removing excess material promptly. Once dry, sand gently with fine-grit sandpaper to blend the repair seamlessly. Finish with the included glaze or paint to restore the sink’s original sheen. Porcelain repair kits are an excellent option for visible cracks requiring aesthetic restoration.
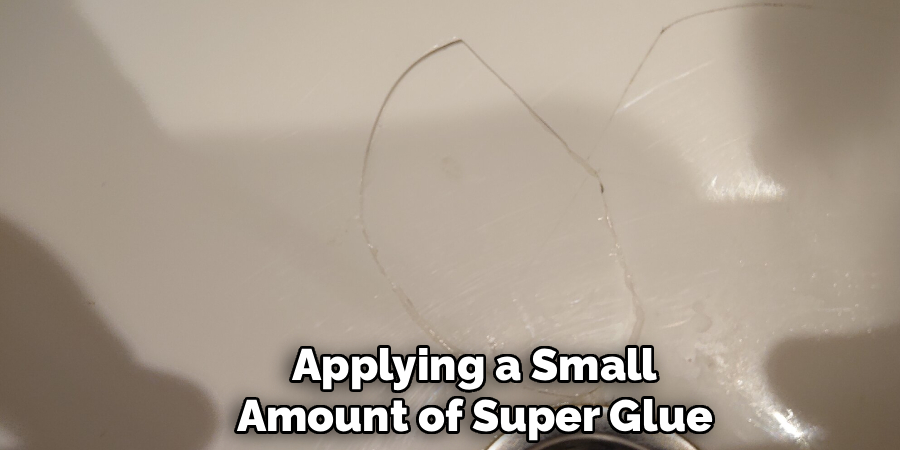
4. Using Super Glue for Temporary or Small Repairs
For very minor or hairline cracks, super glue (cyanoacrylate adhesive) can be a quick, temporary fix. Clean and dry the cracked area thoroughly before applying a small amount of super glue directly into the fissure. Hold the cracked pieces firmly together, if necessary, until the glue sets, which usually takes only seconds to a few minutes. While super glue is not recommended for long-term repairs due to its brittleness and limited water resistance, it can temporarily prevent crack propagation or leaks until a more robust solution is applied.
5. Reinforcing with Fiberglass Mesh Tape and Epoxy
For cracks that are larger or appear to threaten the sink’s structural integrity, reinforcing the repair with fiberglass mesh tape combined with epoxy is a practical method. First, apply a layer of epoxy adhesive along and beneath the crack. While it is still tacky, place a piece of thin fiberglass mesh tape over the crack to provide additional strength. Then apply another thin layer of epoxy over the tape, smoothing it carefully.
Allow the epoxy to cure completely. This method distributes stress over a wider area and prevents further cracking, making it suitable for sinks that endure heavy daily use.
6. Applying Automotive-Grade Ceramic Filler
Automotive ceramic fillers, used for car body repairs, are highly durable and compatible with ceramic sinks. After cleaning the damaged area, mix the filler and hardener as per instructions, then fill the crack or chip generously. Use a putty knife to spread and smooth the filler flush with the sink surface. Once cured, sand the area with fine-grit sandpaper to achieve a smooth finish. If necessary, apply matching paint or glaze to blend the repair. Automotive-grade fillers offer excellent adhesion and water resistance, making them ideal for sinks that require a robust repair.
7. Using Clear Nail Polish for Minor Surface Cracks
Clear nail polish can serve as an inexpensive, accessible fix for very fine surface cracks that don’t penetrate deeply. After cleaning, apply several thin coats of clear nail polish over the crack, allowing each coat to dry before applying the next. This method seals the crack and prevents dirt or moisture from entering, minimizing discoloration or worsening. While clear nail polish is not a structural fix, it can help maintain the sink’s appearance temporarily and is useful when professional repair materials are not immediately available.
8. Repairing with Two-Part Acrylic Putty
Two-part acrylic putty is a versatile repair material that bonds well to ceramic surfaces. After mixing the putty components, apply the mixture to the crack, filling it fully and smoothing with a putty knife. The putty cures quickly and sands easily, allowing you to restore the sink’s smoothness and contour.
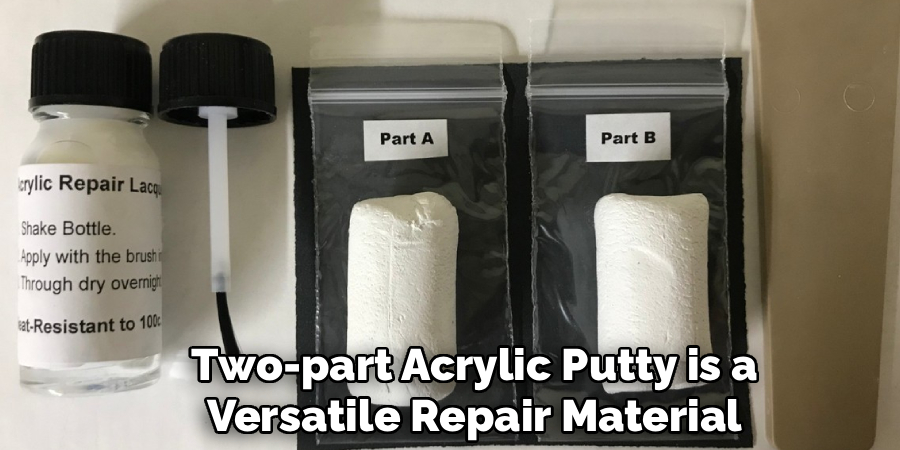
Once dry, paint or glaze the repaired area to match the surrounding surface. Acrylic putty is water-resistant and durable, making it suitable for both visible repairs and hidden cracks beneath the sink.
9. Sealing with Waterproof Silicone Caulk
If the crack is located near the sink’s edges, drains, or joints where water leakage is a concern, waterproof silicone caulk can be used to seal and prevent water penetration. After cleaning, apply a bead of silicone caulk directly into the crack or joint, smoothing it with a wet finger or caulk finishing tool. Silicone remains flexible, accommodating slight movements and preventing leaks. This method is often combined with other structural repairs and is particularly effective in areas prone to moisture exposure. Make sure to use a mold-resistant, mildew-resistant silicone for bathroom or kitchen sinks.
10. When to Replace the Sink
While many cracks can be repaired effectively, certain conditions warrant sink replacement. If the crack is extensive, runs deep through the ceramic body, or causes persistent leaks despite repairs, replacement may be the safest and most cost-effective option. Sinks with large structural damage or cracks that compromise mounting and plumbing connections may pose safety risks and damage to cabinetry or flooring. Consulting a professional can help assess whether repair is feasible or replacement is necessary. When replacement is chosen, proper removal and installation will prevent future issues and ensure lasting performance.
Maintenance and Upkeep
Proper maintenance and upkeep of sinks can significantly extend their lifespan and maintain their appearance and functionality. Regular cleaning with non-abrasive cleaners helps prevent stains, mineral buildup, and surface damage. Avoid using harsh chemicals or scouring pads, as these can scratch or degrade the sink’s finish.
Periodically inspect the faucet, drain, and plumbing connections for leaks or wear, and address any issues promptly to avoid further damage. Additionally, using strainers in the drain can help prevent clogs by catching debris. By incorporating these simple practices, homeowners can ensure their sinks remain in excellent condition for years to come.
Conclusion
Fixing cracked ceramic sinks requires a careful balance of cleaning, appropriate material selection, and precise application. From simple epoxy adhesives and super glue for minor fissures to reinforced fiberglass and automotive fillers for more severe damage, multiple options exist to restore both functionality and appearance.
Proper surface preparation and patience during curing are key to durable repairs. When minor cracks escalate or repairs fail, replacement remains a practical solution. Thanks for reading our blog post on how to fix cracked sink ceramic! We hope you found it helpful and informative.
Specialization:
- Master of wheel-throwing, hand-building, and advanced glazing techniques
- Focus on creating both functional pottery and decorative art pieces
Recognition:
- Celebrated by collectors and art enthusiasts for creating one-of-a-kind pieces that blend artistry with functionality
- Participates in local and national exhibitions, earning accolades for his innovative designs and craftsmanship
Passion:
- Deeply committed to exploring and pushing the boundaries of ceramic artistry
- Continuously experiments with new materials, firing techniques, and artistic concepts to evolve his craft
Personal Philosophy:
- Believes in the transformative power of art, aiming to evoke emotions and connections through his ceramic creations
- Advocates for sustainability in ceramics, using eco-friendly materials and practices whenever possible