Ceramic clay earrings are a popular accessory that can add a unique touch to your outfit. They come in various shapes, sizes, and designs which make them perfect for any occasion. This guide explores the key aspects of how to make ceramic clay earrings. Making ceramic clay earrings is not only fun and creative but also allows you to express yourself through your own handmade design. With just a few tools and materials, you can easily create beautiful ceramic clay earrings that will be the envy of everyone who sees them.

Importance of Personalization
Personalization is one of the most rewarding aspects of making ceramic clay earrings. By creating your own designs, you can tailor each pair to reflect your personal style and preferences. This uniqueness not only enhances the emotional connection to the accessories but also makes them stand out in a sea of mass-produced jewelry.
Personalized earrings can also serve as thoughtful gifts, embodying the time and effort put into crafting something special. Additionally, custom designs allow you to experiment with different patterns, colors, and textures, resulting in truly one-of-a-kind pieces that are a perfect extension of your individuality.
Essential Materials
To create ceramic clay earrings, you will need the following materials:
- Polymer Clay: Available in a wide variety of colors, polymer clay is a versatile material that hardens when baked, making it ideal for jewelry-making.
- Clay Cutter/Knife: Useful for shaping and cutting the clay into desired designs.
- Rolling Pin: A small rolling pin helps in flattening and smoothing the clay to the thickness required for earrings.
- Earring Hooks and Findings: Essential components for turning clay pieces into wearable earrings.
- Baking Tray and Paper: For baking the clay pieces, a safe, dedicated tray and parchment paper are recommended to ensure even heat distribution.
- Sandpaper or Nail File: Used to smooth the edges and surfaces of the baked clay pieces for a polished look.
- Jewelry Pliers: Handy for attaching hooks and other findings to the clay pieces securely.
- Sealer or Glaze: Optional, but adds a professional finish and additional durability to the final product.
These materials will provide you with the foundation needed to start creating your personalized ceramic clay earrings.
10 Methods How to Make Ceramic Clay Earrings
1. Hand-Shaping Simple Stud Earrings
A great starting point for beginners is creating small, simple shapes for stud earrings. Hand-shaping involves rolling small balls or flattening pieces of clay into desired shapes like circles, squares, hearts, or triangles. Begin by taking a small amount of air-dry or polymer clay and shaping it between your fingers or using basic tools like toothpicks or dotting tools to refine edges and create textures.
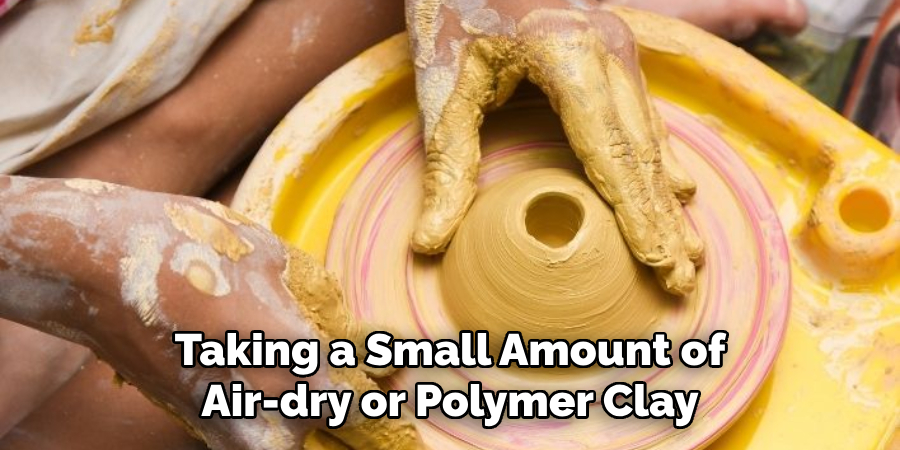
Once the shapes are complete, pierce a hole through the clay for attaching an earring post later. Let the clay dry (or bake it in the case of polymer clay) according to the manufacturer’s instructions. Afterward, attach earring posts using strong adhesive, and you have your first set of minimalist stud earrings.
2. Using Cookie Cutters for Uniform Shapes
If you’re looking for a method to create uniform and symmetrical designs, using small cookie cutters is a practical option. Roll out the clay to a consistent thickness using a rolling pin. Then, using tiny cookie cutters, cut out shapes like stars, moons, or flowers. The uniformity provided by the cookie cutter ensures that every earring in your set matches perfectly.
After cutting out the shapes, you can add texture by pressing small stamps or lace onto the surface. Once dry or baked, you can paint or glaze the pieces to give them a polished look. This method is especially useful for making earrings in bulk, like for gifts or craft fairs.
3. Molding Earrings with Silicone Molds
Silicone molds can add intricate detail to your ceramic clay earrings without requiring advanced sculpting skills. These molds come in various designs, such as flowers, leaves, or geometric shapes. Start by kneading the clay until soft, then press it firmly into the silicone mold. Gently remove the clay from the mold, preserving the intricate details.
Once dried or cured, you can sand down any rough edges and embellish the piece with paints or metallic accents. Molding earrings using silicone is a quick way to create sophisticated-looking pieces with intricate details that might be difficult to achieve by hand.
4. Adding Texture with Everyday Objects
Texture adds a unique dimension to ceramic earrings, and everyday objects like leaves, lace, or textured fabric can help achieve this effect. To use this method, roll out your clay, place your chosen object on top, and press gently but firmly. When you remove the object, it will leave an impression in the clay. You can cut around the texture or leave the full piece intact for an artistic effect.
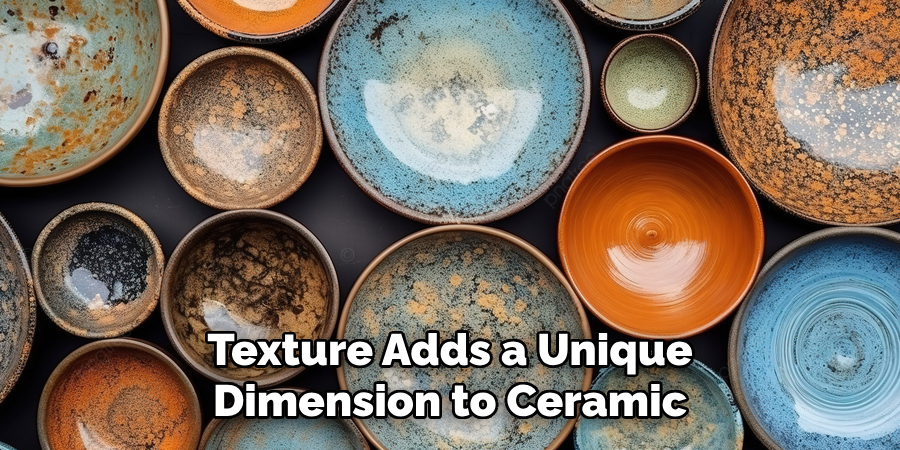
After drying or baking, paint the textured surface to highlight the impressions. This method works especially well for nature-inspired designs or rustic, organic earrings that emphasize texture over symmetry.
5. Creating Marble Effect with Different Clay Colors
Marbling is a visually striking effect that can be easily achieved by combining different colors of clay. Start by taking small amounts of clay in various shades—this could be contrasting colors like black and white or analogous shades like light and dark blue. Gently twist and roll the colors together, being careful not to over-mix, as this will blend them into one solid color.
Once marbled, roll out the clay and cut out your desired earring shapes. The swirled effect creates an elegant, one-of-a-kind look that doesn’t require additional painting. Marbled clay earrings work beautifully for both minimalist and statement designs.
6. Carving and Engraving Patterns into Clay
For those looking to explore more detailed designs, carving patterns into clay adds a bespoke element to your earrings. This method is ideal if you want to create intricate details like lines, symbols, or geometric designs. Once your clay is rolled out and cut into basic shapes, use a fine tool like a needle or a small carving knife to engrave patterns directly into the surface.
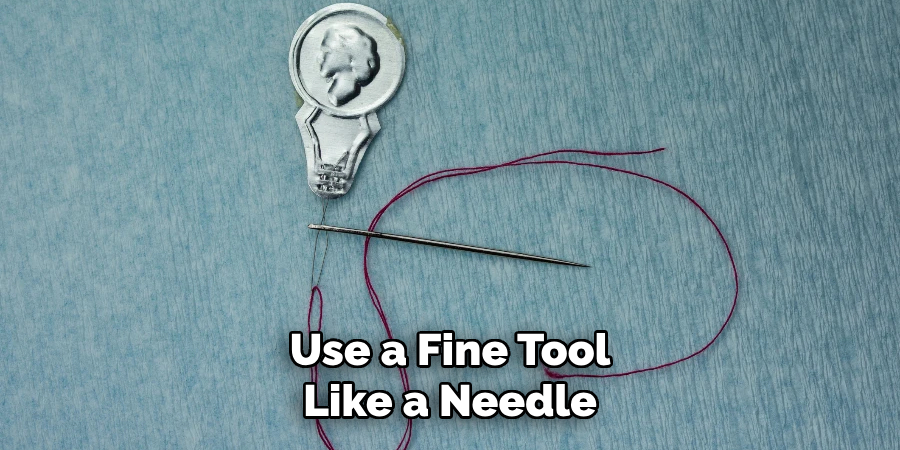
The clay should be firm but not fully dry when engraving. Once the design is complete, let the clay harden before painting or glazing to highlight the carved areas. The finished result will have a handcrafted feel, making each piece unique.
7. Layering Different Shapes for a Dimensional Look
Layering shapes is a great way to add depth and complexity to your earrings. Start by cutting out several different shapes in various sizes. These could be circles, squares, or abstract forms. Once the shapes are cut, layer them on top of each other by slightly overlapping them or arranging them in a stacked fashion.
For a more polished look, use contrasting colors of clay or paint the layers after they’ve hardened. Attach an earring hook or post at the top or through a small hole, and you’ll have a dimensional, multi-layered pair of earrings that draw attention with their playful arrangement.
8. Using Glaze for a Smooth, Shiny Finish
Glazing is an advanced method but yields a professional finish that makes your ceramic earrings look like they came from a high-end boutique. Once you’ve shaped and fired your earrings (if using ceramic or kiln-fired clay), apply a layer of glaze. Glazes come in various colors and finishes, from matte to glossy.
Applying glaze requires a steady hand, as uneven application can lead to irregular finishes once the piece is fired again. After glazing, the earrings need to be fired in a kiln at a high temperature to solidify the glaze and give the pieces their signature shiny, polished look. Glazing adds a protective layer that enhances the durability and aesthetic of your earrings.
9. Combining Clay with Metal or Resin
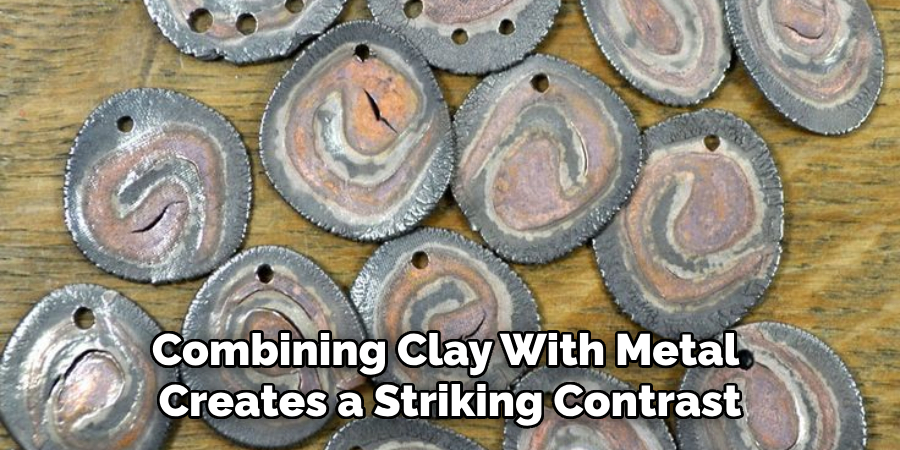
For a mixed-media approach, combine ceramic clay with other materials like metal or resin. Once you’ve crafted and dried your clay piece, you can set it in a metal frame or bezel. Alternatively, you could pour a layer of clear or colored resin over the clay to give it a glossy, glass-like finish.
Combining clay with metal creates a striking contrast, while resin adds depth and enhances the visual appeal of the design. This method is great for statement earrings or pieces where you want to showcase both the organic texture of clay and the sleekness of metal or resin.
10. Incorporating Gold Leaf or Metallic Accents
Adding metallic elements, such as gold leaf or metallic paints, elevates your ceramic earrings and gives them a luxurious touch. Once your clay earrings have dried or been baked, you can apply gold or silver leaf using adhesive and a soft brush. Metallic paints can also be used to highlight specific areas, like the edges or raised details of the earring.
Conclusion
Crafting ceramic clay earrings opens a world of creativity, offering a wide range of methods to suit different styles and skill levels. Whether you’re drawn to the simplicity of hand-shaping or the complexity of glazing and firing, these ten methods provide ample opportunities to experiment and create personalized, wearable art. Thanks for reading our blog post on how to make ceramic clay earrings! We hope you found it helpful and informative.
Specialization:
- Master of wheel-throwing, hand-building, and advanced glazing techniques
- Focus on creating both functional pottery and decorative art pieces
Recognition:
- Celebrated by collectors and art enthusiasts for creating one-of-a-kind pieces that blend artistry with functionality
- Participates in local and national exhibitions, earning accolades for his innovative designs and craftsmanship
Passion:
- Deeply committed to exploring and pushing the boundaries of ceramic artistry
- Continuously experiments with new materials, firing techniques, and artistic concepts to evolve his craft
Personal Philosophy:
- Believes in the transformative power of art, aiming to evoke emotions and connections through his ceramic creations
- Advocates for sustainability in ceramics, using eco-friendly materials and practices whenever possible


