Are you interested in exploring the world of ceramic clay? This versatile medium has been used centuries to create beautiful and functional objects.
Ceramic clay is a versatile and rewarding medium that allows artists and hobbyists to create various functional and decorative objects. Working with ceramic clay involves a series of steps, from selecting the correct type of clay to sculpting, molding, and eventually firing the piece to achieve the desired finish.
Whether you are a beginner or a seasoned ceramicist, understanding the properties of clay, the necessary tools, and basic techniques is essential. This introduction will guide you through the foundational aspects of how to work with ceramic clay, enabling you to embark on your creative journey with confidence and skill.
With patience and practice, the possibilities with ceramic clay are nearly limitless, offering opportunities for creativity and personal expression.
What Will You Need?
Before you begin working with clay, having the necessary tools and materials on hand is crucial. The basic list includes
- Ceramic clay of your choice
- Water (for moistening)
- Rolling pin or slab roller
- Pottery wheel (optional)
- Sculpting tools (such as a needle tool, wire cutter, wooden rib, etc.)
- A damp sponge for smoothing and cleaning surfaces
- Glazes or underglazes (for decoration or protection)
In addition to these essentials, having an apron and towel nearby will help keep your workspace clean.
Once you have your tools and materials ready, it’s time to prepare the clay for sculpting.
10 Easy Steps on How to Work With Ceramic Clay
Step 1: Prepare Your Workspace
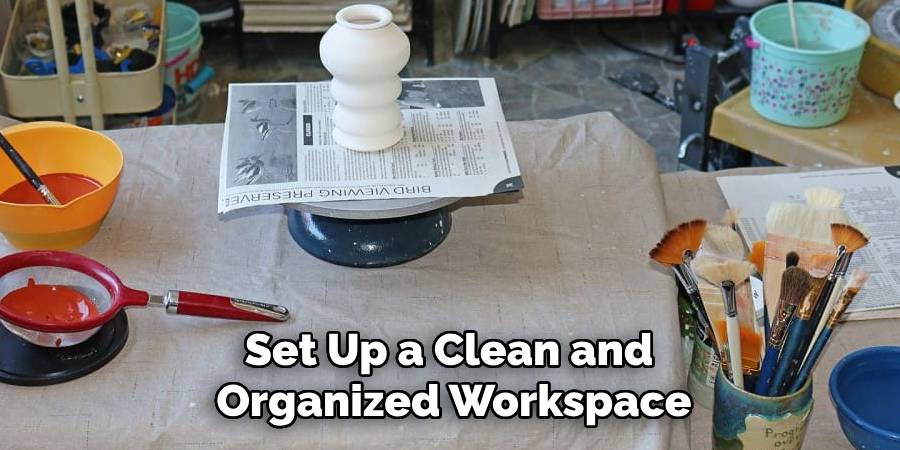
Before you start working with ceramic clay, it’s important to set up a clean and organized workspace. Ensure you have a flat, sturdy surface to work on, and protect it with a non-stick mat or newspaper. Gather all your tools and materials within easy reach and ensure adequate lighting in your area. A well-prepared workspace not only enhances your focus and efficiency but also helps minimize mistakes and clutter as you work on your clay projects.
Step 2: Wedge the Clay
Wedging the clay is crucial before you start sculpting, as it removes air bubbles and ensures a consistent texture throughout the material. Begin by cutting the clay into manageable pieces, then press and stretch each piece against a hard surface using your hands. This process resembles kneading dough, where you repeatedly fold, press, and twist the clay. Continue wedging until the clay feels smooth and uniform. Properly wedged clay is easier to work with and reduces the risk of cracking or breaking when the piece is fired.
Step 3: Shape the Clay
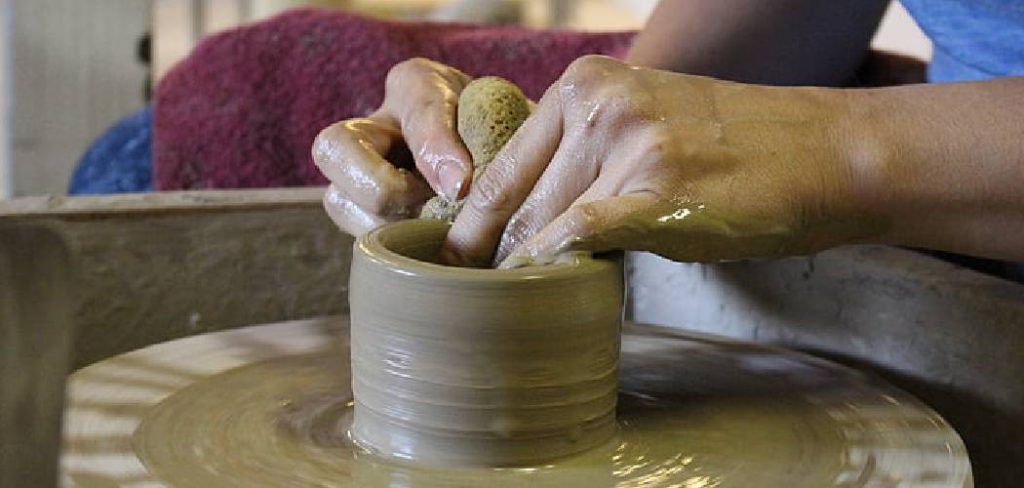
Once your clay is wedged correctly, you can begin the shaping process. You might choose different techniques to shape your clay, depending on your project. For hand-building, you can pinch pots, coil, or slab build to form the basic structure of your piece. If you’re using a pottery wheel, center the clay on the wheel and begin shaping it with your hands as the wheel spins. Remember to keep your clay moist and workable, adding water as needed to prevent it from drying out. As you shape, refine the form with your sculpting tools, smoothing surfaces and adding details as desired. Taking time to shape the clay carefully ensures a more polished and sturdy final product.
Step 4: Allow the Clay to Dry
After shaping your clay, it’s essential to let it dry thoroughly before proceeding to the firing stage. The drying process should be gradual to minimize the risk of cracking. Place your shaped clay pieces on a wooden board or a canvas surface, ensuring ample airflow around them. If the environment is too dry or the clay pieces are thin, consider covering them loosely with plastic to control the drying rate.
The drying time can vary depending on the thickness and size of your work, but it typically takes several days to a week for the clay to reach a leather-hard stage. At this point, the clay should feel calm and firm enough to handle without deformation. Proper drying is crucial as it prevents defects during firing, resulting in a more durable and well-constructed finished product.
Step 5: Bisque Firing the Clay
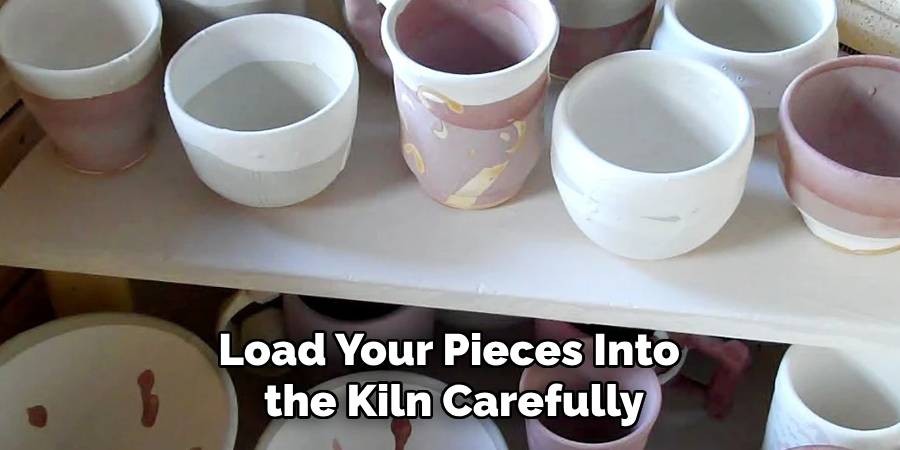
Once your clay is thoroughly dried and has reached the leather-hard stage, it’s time for the first firing, known as bisque firing. This process strengthens the clay, making it porous and ready for glazing. Load your pieces into the kiln carefully, avoiding direct contact, as this could cause them to stick together.
Set the kiln to the appropriate temperature based on the type of clay you’re using, typically between 1800°F and 1940°F (982°C to 1060°C). The firing schedule should include a slow temperature increase to prevent thermal shock, which can lead to cracking. Allow the kiln to cool down completely before opening it to remove your bisque pieces. Bisque-fired clay will be lighter in color and much sturdier, providing an excellent surface for glazing or other decorative techniques.
Step 6: Apply Glaze
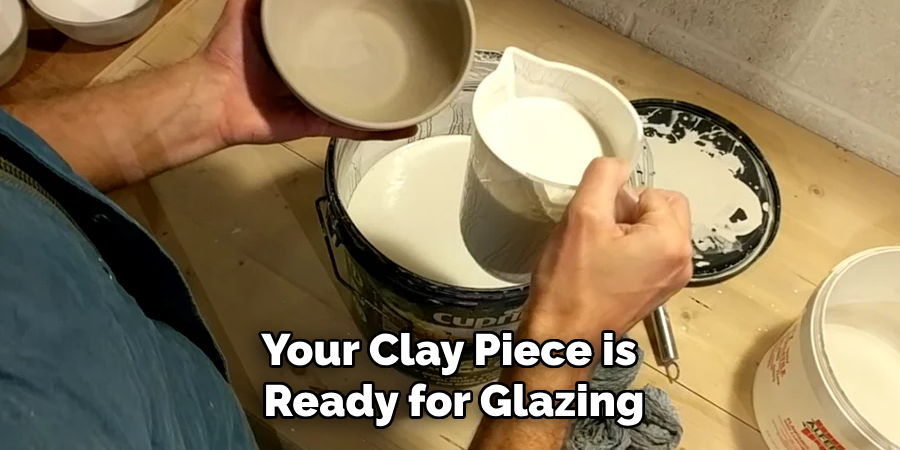
After bisque firing, your clay piece is ready for glazing. Glazing involves coating the surface with a thin layer of liquid glaze that will provide color and a glassy finish after a final firing. Start by cleaning your bisque piece with a damp sponge to remove any dust or impurities that could interfere with the glaze’s adhesion. Choose a glaze that suits your desired finish and apply it using a brush, dipping, or spraying method.
Ensure the glaze is applied evenly, avoiding thick layers that could run during the firing. Be mindful of the edges and base, as excess glaze can cause your piece to fuse to the kiln shelf. Let the glaze dry completely before moving on to the final firing process. Proper glaze application enhances your ceramic project’s artistic quality, adding visual appeal and a protective layer.
Step 7: Final Firing
With the glaze dried on your bisque-fired piece, it’s time for the final firing, also known as glaze firing. This step permanently fuses the glaze to the clay, giving it a lustrous finish. Carefully load your glazed pieces into the kiln, ensuring they are spaced sufficiently apart to prevent sticking. Set the kiln to the correct temperature for the glaze you are using, which typically ranges from 1800°F to 2300°F (982°C to 1260°C), depending on whether you’re using low-fire or high-fire glazes. During this firing, the kiln should be gradually heated to avoid thermal shock and finally allowed to cool completely before removing your pieces.
Step 8: Finishing Touches
After your ceramic piece’s final firing and cooling, assess your work for any areas that may need additional attention. Tiny imperfections, such as rough spots or sharp edges, can be gently sanded down with fine-grit sandpaper or a diamond sanding pad. For functional ware, check the base for glaze drips and eliminate them to ensure the piece sits flat. If desired, you can apply additional decorative elements, like painting designs with ceramic paints or adding non-firing embellishments. Consider signing your piece or labeling it with a date for a personalized touch.
Step 9: Display or Use Your Ceramic Art
With your ceramic piece complete, it’s time to decide how you wish to present or utilize your creation. If intended for display, consider a location that highlights its colors and design, such as a well-lit shelf or exhibit space. Proper lighting can accentuate the glaze’s vibrance and the piece’s detailed craftsmanship.
For functional items, ensure they are food-safe if they will be used for serving purposes, and clean them according to guidelines for glazed ceramics to maintain their beauty and longevity. Displaying your ceramics allows others to appreciate your artistry and serves as a testament to the skills and techniques you’ve mastered through the ceramic-making process. Whether for functional use or ornamental display, your finished piece reflects the dedication and creativity invested throughout each stage of its creation.
Step 10: Care and Maintenance
Proper care and maintenance of your ceramic pieces ensure their longevity and continued beauty. Avoid exposure to extreme temperature changes for functional pieces, such as placing a hot ceramic dish directly onto a cold surface or vice versa, which can cause cracking.
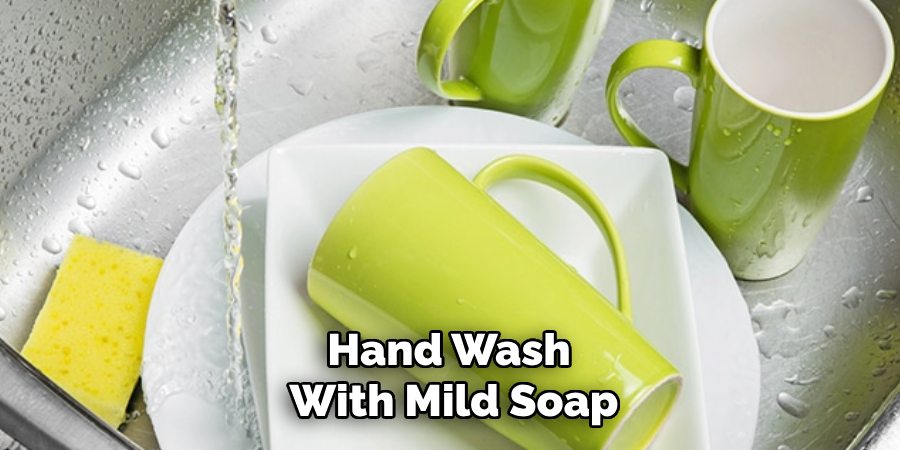
When washing, hand wash with mild soap and warm water, as dishwashers can be too abrasive and lead to fading of any decorative finishes. For decorative pieces, dust them regularly using a soft, dry cloth to maintain their sheen. Be gentle with intricate or delicate parts to prevent damage. If your ceramic piece is displayed outdoors, consider moving it indoors during harsh weather to protect it from wear.
Following these steps, you can create beautiful and unique ceramic pieces to display or use in your home.
Conclusion
How to work with ceramic clay is a rewarding and meticulous process that combines creativity with craftsmanship.
From preparing the clay to the final firing, each stage is crucial to achieve a high-quality and artistic finished product. Understanding the properties of clay and the importance of each step in the process is essential for success. Whether for personal enjoyment or professional practice, the journey of transforming clay into ceramic art fosters a deep appreciation for the material and techniques involved.
By mastering these skills, artists can express their vision and create pieces that are functional and serve as lasting works of art.
Specialization:
- Master of wheel-throwing, hand-building, and advanced glazing techniques
- Focus on creating both functional pottery and decorative art pieces
Recognition:
- Celebrated by collectors and art enthusiasts for creating one-of-a-kind pieces that blend artistry with functionality
- Participates in local and national exhibitions, earning accolades for his innovative designs and craftsmanship
Passion:
- Deeply committed to exploring and pushing the boundaries of ceramic artistry
- Continuously experiments with new materials, firing techniques, and artistic concepts to evolve his craft
Personal Philosophy:
- Believes in the transformative power of art, aiming to evoke emotions and connections through his ceramic creations
- Advocates for sustainability in ceramics, using eco-friendly materials and practices whenever possible


