


Are you someone who loves the glossy, glassy finish of a transparent glaze? Are you looking for ways to achieve this look on your own? Look no further! In this guide, we will discuss everything you need to know about how to achieve a transparent glaze look.

Achieving a transparent glaze look is a technique that can elevate your projects, whether in ceramics, painting, or even decorative crafts. This effect creates a smooth, luminous finish that allows underlying textures or layers to subtly shine through, adding depth and complexity to your work. The process involves carefully selecting materials, proper layering methods, and attention to detail to ensure the desired clarity and translucence.
With the right approach, mastering a transparent glaze look can help you achieve stunning, professional-quality results.
What Are the Importance of Transparent Glazes?
Transparent glazes are essential to achieve certain effects in different art forms. For example, in ceramics, a transparent glaze is necessary for creating a glossy and durable finish on pottery pieces. The glaze adds aesthetic value and makes the piece more functional by sealing it and making it waterproof.
Similarly, in painting, transparent glazes can create a sense of depth and luminosity by layering colors and allowing them to shine through each other. This technique is commonly used in oil painting and watercolor techniques to achieve stunning effects.
Aside from functional purposes, transparent glazes also add an element of complexity and sophistication to any artwork when applied correctly. They can enhance a piece’s overall appearance and visual interest by adding depth, shine, and texture.
What Will You Need?
To achieve a transparent glaze look, you will need a few essential materials:
- A base material or surface to be glazed (e.g., ceramic piece, canvas)
- A transparent glazing medium (e.g., acrylic gel medium, pottery glaze)
- A selection of pigments or colors for tinting the glaze
- Paintbrushes or other appropriate tools for the application
- Protective gear (e.g., gloves, apron) if working with toxic materials
It’s important to note that the materials and tools used may vary depending on your specific project and preferred technique. It’s always best to research and gather all necessary supplies before starting.
10 Easy Steps on How to Achieve a Transparent Glaze Look
Step 1: Prepare Your Workspace
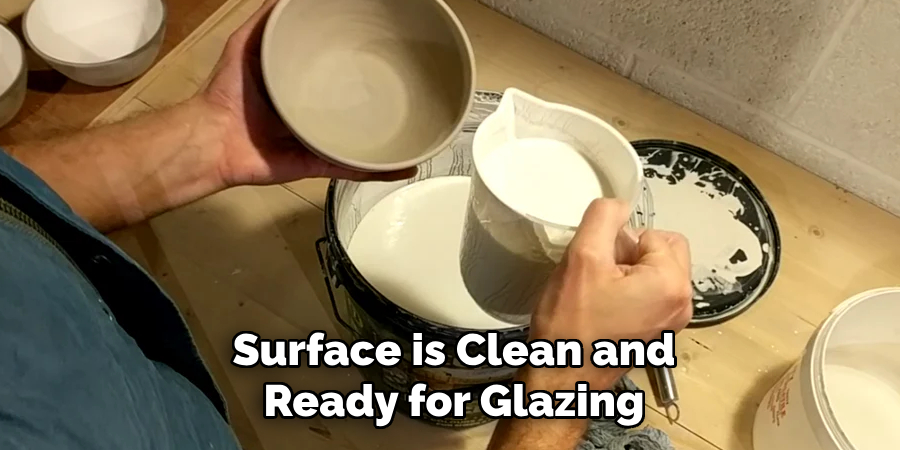
Begin by setting up a clean, well-lit workspace with all your materials within easy reach. Ensure your base material or surface is clean and ready for glazing. If you’re working with ceramics, make sure the piece is appropriately bisque-fired. For other surfaces, ensure they are primed or treated as necessary. Lay down protective coverings to avoid mess and wear your protective gear if required.
Step 2: Mix Your Glaze
Carefully prepare your glaze by following the manufacturer’s instructions or your desired recipe. Make sure the glaze has a smooth consistency, free of lumps or bubbles. If you’re tinting your glaze, mix in the pigment gradually, ensuring even distribution. Stir thoroughly to achieve the desired color and texture. Before proceeding, remember to test the glaze on a small, inconspicuous area or sample piece to confirm it meets your expectations.
Step 3: Apply the Glaze
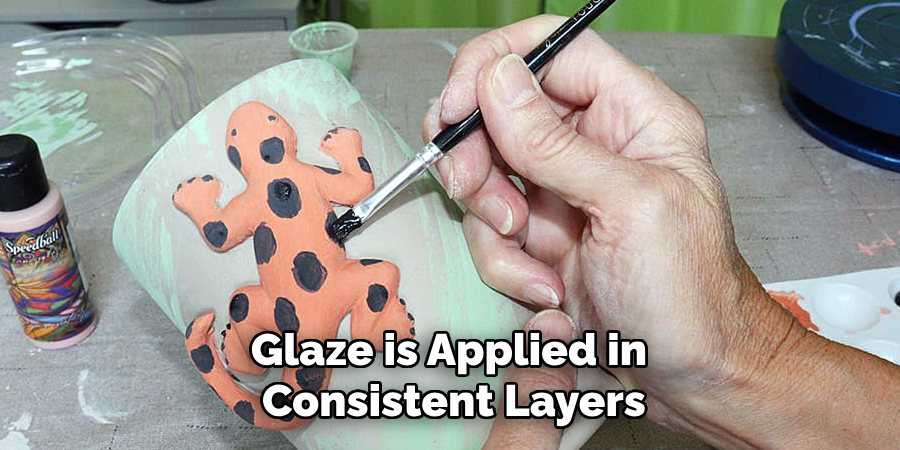
Apply the glaze evenly to your surface using a brush, sponge, or dipping method. For ceramics, ensure the glaze is applied in consistent layers, avoiding any drips or uneven spots. If you’re using a brush, work in smooth, controlled strokes, and if necessary, apply multiple thin coats, allowing each layer to dry before adding the next. Pay close attention to edges and details, ensuring full coverage without excess buildup.
Step 4: Allow the Glaze to Dry
Once the glaze has been applied, allow it to dry completely before firing or finishing. Drying times can vary depending on the type of glaze and environmental conditions, so refer to the manufacturer’s recommendations for guidance. Ensure the piece is placed in a clean, dust-free area to avoid imperfections. Do not rush this step, as improper drying could affect the outcome of your project.
Step 5: Fire the Glazed Piece
After the glaze has dried completely, the next step is to fire the piece in a kiln. Ensure the kiln is set to the appropriate temperature based on the type of glaze and material you are using. Follow the manufacturer’s specifications to achieve the best results. Gradual heating is essential to prevent cracking or other damage. Once the firing process is complete, allow the piece to cool inside the kiln before removing it to avoid thermal shock. The final product should reveal a smooth, glossy finish, showcasing the true colors and texture of the glaze.
Step 6: Inspect the Finished Piece
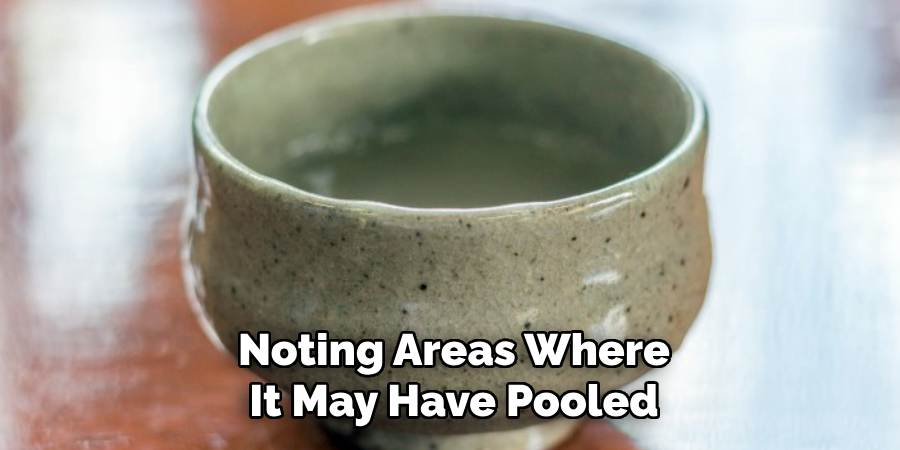
After completely cooling the piece, carefully remove it from the kiln and inspect it for any imperfections or irregularities. Check the glaze for a consistent finish, noting areas where it may have pooled, bubbled, or cracked. If the desired result wasn’t achieved, consider if refinements are needed for your glazing technique or firing process. Proper inspection helps ensure a polished final product and provides valuable insights for future projects. Once satisfied, your piece is ready for display or use!
Step 7: Clean and Care for Your Piece
After the inspection, cleaning your finished piece to remove any residual dust or kiln debris is essential. Use a soft, damp cloth to wipe the surface gently, ensuring the glaze maintains its luster. Proper care will help preserve the integrity and appearance of your creation. If the piece will be used functionally, such as for food or drink, verify it is food-safe and wash it thoroughly before use. Regular maintenance will keep your ceramic work looking its best for years to come. Try not to handle your piece over, as oils from the skin could affect the glaze over time.
Step 8: Share and Enjoy Your Creation
Now that your ceramic piece is complete, sharing and enjoying your work is time. Whether you display it proudly in your home, gift it to a loved one, or use it daily, take pride in the effort and skill that went into crafting it. Sharing your creations with others, whether through social media or in person, can also inspire and connect you with a broader community of artists and enthusiasts. Celebrate your progress and reflect on what you’ve learned, using those insights to fuel your future projects. If you’re feeling adventurous, try experimenting with different glaze combinations or techniques to create your unique signature style.
Step 9: Explore New Techniques and Challenges
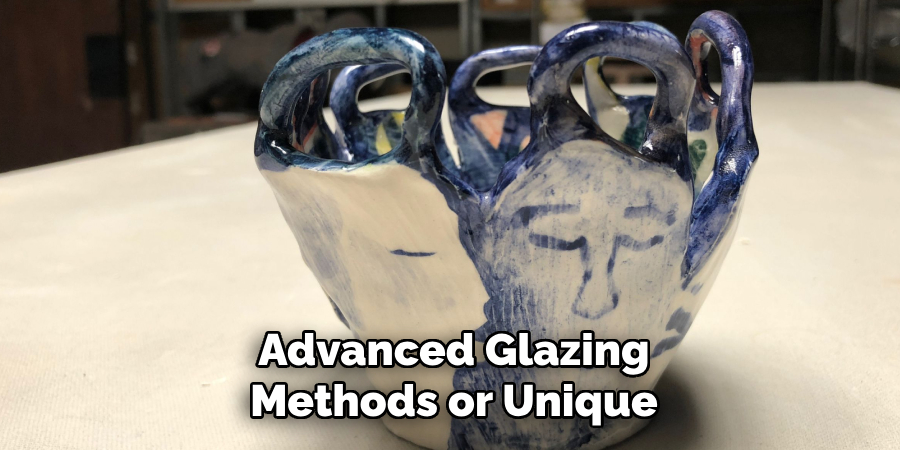
With your recent creation complete, consider expanding your skills by exploring new ceramic techniques and challenging yourself with different projects. Experiment with intricate designs, advanced glazing methods, or unique forms to push your creative boundaries. Attend workshops, watch tutorials, or join a local ceramics group to learn from others and share experiences. By continuously experimenting and learning, you can refine your craft and discover new ways to express your artistic vision. Each project is an opportunity to grow and deepen your appreciation for the art of ceramics.
Step 10: Share Your Work and Inspire Others
Once you feel confident in your creations, share them with others to spread inspiration and receive feedback. Whether through social media platforms, local art fairs, or community exhibits, showcasing your ceramics allows you to connect with fellow artists and enthusiasts. Sharing your work highlights your talent and contributes to the larger creative community. Your unique perspective and designs might motivate others to start their artistic journeys, fostering a shared passion for ceramics.
By following these ten steps, you can successfully glaze and fire your ceramic pieces with confidence and precision.
5 Things You Should Avoid
- Applying Too Much Glaze at Once: Overloading your surface with too much glaze can result in a cloudy or uneven finish, which defeats the goal of achieving a transparent look.
- Skipping Proper Surface Preparation: Failing to clean and prepare the base surface can lead to imperfections or dirt getting trapped under the glaze, disrupting its clarity.
- Using the Wrong Type of Glaze: Not all glazes are designed for transparency. Using a matte or opaque glaze will not deliver the desired transparent effect.
- Ignoring Drying Times: Rushing the process and not allowing adequate drying time between layers can cause streaks or smudges, compromising transparency.
- Applying Glaze in Poor Lighting: Working in low light makes it difficult to see uneven coverage or mistakes, affecting the final transparent finish. Always use good lighting to ensure precision.
You can achieve a beautiful and transparent glaze look on any surface by avoiding these common mistakes.
Conclusion
Achieving a transparent glaze look requires attention to detail, patience, and proper techniques.
Start with thorough surface preparation to ensure a smooth base, select the correct type of glaze designed for transparency, and apply it in thin, even layers. Take your time adhering to recommended drying times between coats, and always work in well-lit conditions to spot imperfections. By following these steps and avoiding common pitfalls, you can create a stunning, glass-like finish that enhances the beauty of your project.
Hopefully, the article on how to achieve a transparent glaze look on ceramics has provided valuable insights and inspiration for your next project. Happy glazing!
Specialization:
- Master of wheel-throwing, hand-building, and advanced glazing techniques
- Focus on creating both functional pottery and decorative art pieces
Recognition:
- Celebrated by collectors and art enthusiasts for creating one-of-a-kind pieces that blend artistry with functionality
- Participates in local and national exhibitions, earning accolades for his innovative designs and craftsmanship
Passion:
- Deeply committed to exploring and pushing the boundaries of ceramic artistry
- Continuously experiments with new materials, firing techniques, and artistic concepts to evolve his craft
Personal Philosophy:
- Believes in the transformative power of art, aiming to evoke emotions and connections through his ceramic creations
- Advocates for sustainability in ceramics, using eco-friendly materials and practices whenever possible