Do you want to avoid dry, compacted clay soil in your garden or lawn? Aeration is the solution! By loosening the soil and creating air pockets, you can improve your plants’ drainage, root growth, and overall health.

Clay soil, known for its dense and compact nature, can pose various challenges for gardeners and landscapers alike. Proper aeration is crucial for improving drainage, enhancing root development, and promoting healthy plant growth in such soil. Aerating clay soil involves creating space within the soil structure, allowing air, water, and nutrients to penetrate more efficiently. By implementing effective aeration techniques, such as using mechanical aerators or incorporating organic matter, you can transform compacted clay into a more hospitable environment for your plants.
This guide will explore the essential steps and methods on how to aerate clay soil, ensuring a thriving garden ecosystem.
What Will You Need?
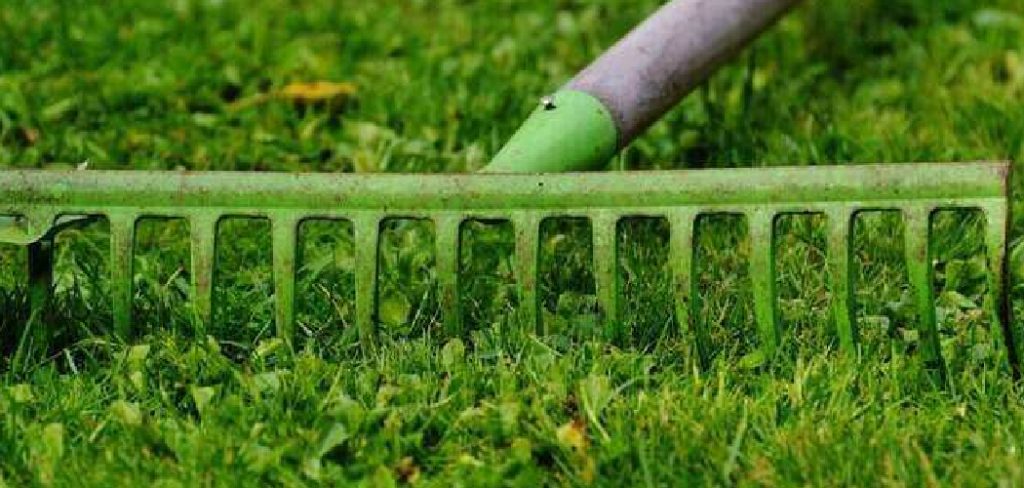
Before diving into the different methods of aerating clay soil, gathering all the necessary tools and materials is important. Here are some items you may need for a successful aeration process:
- A Gardening Fork or Mechanical Aerator: These tools are essential for creating holes in the soil, allowing air and water circulation.
- A Spade or Shovel: This will be useful if you incorporate organic matter into your clay soil.
- Organic Matter: Materials such as compost, peat moss, or aged manure can help improve the structure and drainage of clay soil.
- Water: Clay soils tend to dry out quickly, so having access to water is crucial during and after the aeration process.
- Mulch: Adding a layer of mulch after aerating can help conserve moisture and suppress weed growth in your garden or lawn.
Once these tools and materials are ready, let’s dive into the different methods for aerating clay soil.
10 Easy Steps on How to Aerate Clay Soil
Step 1. Prepare the Area:

Before you begin the aeration process, preparing the area effectively is crucial to ensure the best possible results. Start by clearing the area of any debris, such as leaves, rocks, or sticks that could interfere with the aeration equipment or the process itself. If your garden or lawn is overgrown, mow it to a manageable height, making it easier to work the soil without obstructions. Water the area thoroughly the day before to soften the clay soil, making it more pliable and more accessible to penetrate. Avoid overwatering the soil, as overly saturated soil can become muddy and difficult to work with. Once these preparatory steps are completed, you can confidently move forward, knowing that the area is ready for successful aeration.
Step 2. Choose the Right Tools:
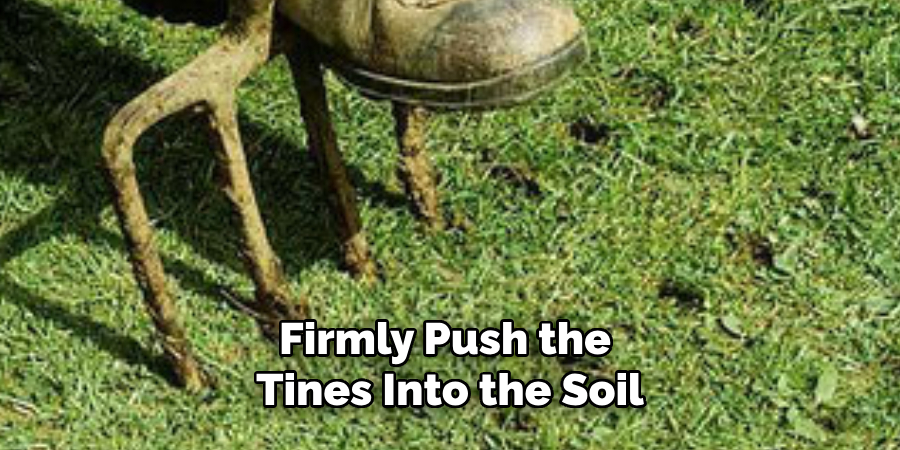
Selecting the appropriate tools for aeration will significantly impact the effectiveness of your efforts. A manual gardening fork can suffice for small to medium-sized gardens or lawns. Use the fork to pierce holes into the soil by stepping on it till the tines are fully submerged and then gently lifting it to loosen the soil. For larger areas or for more efficient work, consider renting or purchasing a mechanical aerator. Mechanical aerators come in different types, such as spike or plug aerators, each serving a unique function. Spike aerators push holes into the soil, while plug aerators remove small soil plugs. For clay soil, a plug aerator is often more effective as it alleviates compaction by removing soil, which enhances water and air infiltration.
Step 3. Aerate the Soil:
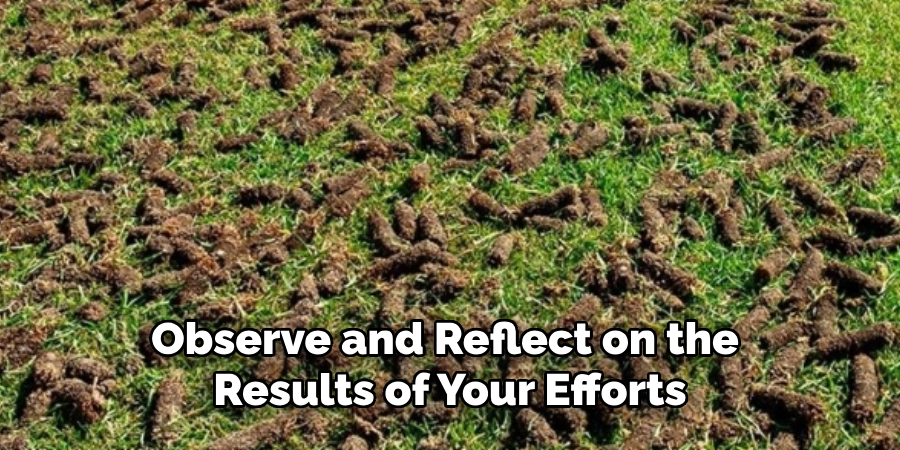
Now that you have prepared the area and selected the right tools, it’s time to start the aeration process. Begin by working systematically across the region, covering the entire surface. If you are using a manual gardening fork, firmly push the tines into the soil to create holes about 3 to 4 inches deep. Space the holes 4 to 6 inches apart to ensure comprehensive coverage. For those using a mechanical plug aerator, proceed by following the manufacturer’s operating instructions, which typically involve pushing or driving the aerator across the lawn or garden. The aerator will remove minuscule plugs of soil, depositing them on the surface. These plugs can decompose naturally, returning nutrients to the soil. Remember to overlap your paths slightly to ensure no area is missed.

Step 4. Incorporate Organic Matter:
Once the aeration process is completed, enhancing your clay soil with organic matter is next. This addition will improve soil structure, increase nutrient content, and promote better drainage. Spread a layer of organic material, such as compost, peat moss, or aged manure, evenly over the aerated area. Use a spade or shovel to gently work the organic matter into the top few inches of soil. This integration helps fill the aeration holes and supports more profound root growth. It’s essential to avoid compacting the soil during this process—be gentle and thorough to maintain the integrity of your newly aerated ground. Adding organic matter at this stage gives your plants a nutrient-rich foundation in which to thrive.
Step 5. Water the Soil:
After incorporating organic matter, it’s crucial to water the soil to help settle the added materials and facilitate their integration into the clay soil. Watering ensures that the organic material can break down effectively and begin improving the soil structure. Apply water evenly across the aerated and amended area, aiming for a moderate soaking without creating pools of water. This step is especially important for clay soil, which can dry out quickly yet struggle with drainage. Proper watering enhances root absorption and keeps your garden or lawn healthy and resilient. Remember to adjust your watering frequency based on weather conditions and the moisture retention capacity of your particular soil.
Step 6. Apply Mulch:
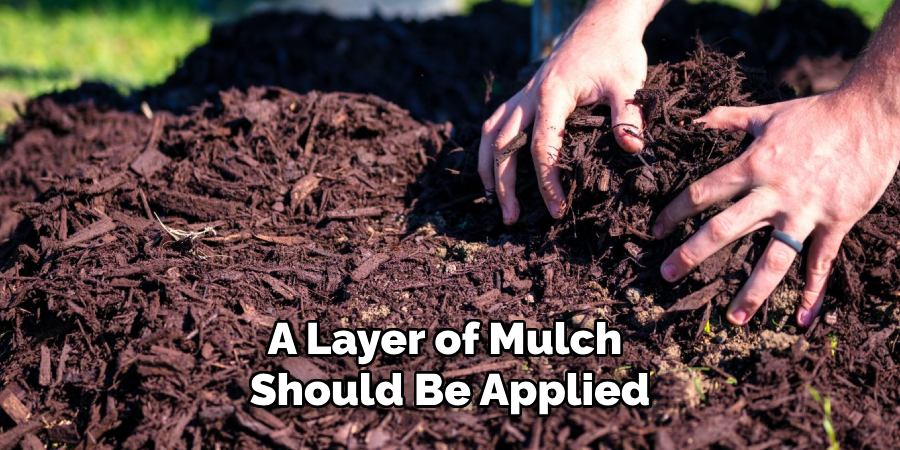
Once the soil has been watered, a layer of mulch should be applied to the aerated and amended area. Mulching offers myriad benefits, including moisture conservation, temperature regulation, and weed suppression, which are particularly beneficial for clay soils.
Spread a 2-3 inch layer of organic mulch, such as straw, wood chips, or shredded bark, over the surface. Be careful to keep the mulch away from the base of plants to prevent rot and allow air circulation. This protective cover helps lock in moisture, which is crucial during dry spells and slowly decomposes into the soil, further enhancing its organic content and structure. Regular mulching will support your garden or lawn’s long-term health and productivity.

Step 7. Monitor and Maintain:
After completing the aeration and amendment process, monitoring your garden or lawn is essential to ensure continued health and vitality. Observe the soil’s moisture levels, and adjust your watering schedule to keep it damp but not waterlogged.
Look for any signs of compaction, and be prepared to aerate again if necessary. Additionally, the mulch layer should be replenished periodically as it decomposes to maintain its benefits. Integrate seasonal or monthly gardening tasks, such as feeding with organic fertilizers or additional composting, into your routine to nourish your plants.
Step 8. Plan for Planting:
With your soil in optimal condition following the aeration and amendment process, the next step is to plan for planting. Consider the types of plants that will thrive in your improved clay soil environment, considering factors such as sunlight exposure, climate, and seasonal changes.
Research suitable plant varieties that are well-adapted to clay soils and draft a planting layout. Group plants according to their sunlight and water requirements to ensure a harmonious balance and efficient use of resources. Decide whether you will start planting seeds directly in the soil or transplant seedlings, and prepare accordingly.
Step 9. Plant and Nurture:
With a well-prepared soil bed, it’s time to plant and nurture your desired vegetation. Follow your planting plan, placing each plant in its designated spot according to the layout. Dig holes suitable for each plant’s root depth, ensuring they are neither too shallow nor too deep. If you’re planting seeds, follow the recommended sowing depth and spacing on seed packets.
Once planted, water the area thoroughly but gently to help settle the plants into their new environment. Remember to provide consistent care as your garden grows by maintaining proper watering schedules, mulching as needed to preserve soil moisture, and eyeing any pests or diseases. Regularly nurturing your plants will support their healthy development and maximize the efforts put into preparing an ideal soil environment.
Step 10. Observe and Reflect:
After planting and nurturing your garden, take time to observe and reflect on the results of your efforts. Pay attention to how your plants respond to improved soil conditions—are they growing more robust and more vigorously? Document any changes in plant health, including robust growth, enhanced flowering, or increased yield, as these are good indicators of the success of your soil aeration and amendment efforts.
This is also an excellent opportunity to assess which plants thrive best in the clay soil environment and which may require additional care or adjustments for optimal growth. Reflecting on this process can provide valuable insights for future gardening projects, allowing you to refine your techniques and strategies for even better outcomes.

By following these ten steps, you can effectively aerate and amend clay soil for improved gardening success.
Conclusion
How to aerate clay soil is a vital process that enhances its structure and overall health, making it more suitable for plant growth.
You can transform dense, compacted clay into a rich growing medium by diligently following the outlined steps—from testing and preparing the soil to aerating, adding organic matter, watering, mulching, and monitoring.
The importance of incorporating organic amendments cannot be overstated, as these materials improve drainage and aeration and provide essential nutrients for your plants. Remember that soil maintenance is an ongoing practice; regular observation and amendments will ensure the longevity and productivity of your garden or lawn.
With careful planning and consistent nurturing, you can achieve a flourishing outdoor space that thrives even in challenging clay soil conditions.
Specialization:
- Master of wheel-throwing, hand-building, and advanced glazing techniques
- Focus on creating both functional pottery and decorative art pieces
Recognition:
- Celebrated by collectors and art enthusiasts for creating one-of-a-kind pieces that blend artistry with functionality
- Participates in local and national exhibitions, earning accolades for his innovative designs and craftsmanship
Passion:
- Deeply committed to exploring and pushing the boundaries of ceramic artistry
- Continuously experiments with new materials, firing techniques, and artistic concepts to evolve his craft
Personal Philosophy:
- Believes in the transformative power of art, aiming to evoke emotions and connections through his ceramic creations
- Advocates for sustainability in ceramics, using eco-friendly materials and practices whenever possible


