


Kiln wash is an indispensable part of ceramic work, serving as a protective coating that is applied to the surfaces of kiln shelves. This essential substance prevents glaze drips, clay residues, and other materials from adhering to the shelves during the firing process. The application of kiln wash is a straightforward yet crucial practice for ceramists aiming to maintain the quality and longevity of their kiln equipment.
Without kiln wash, glaze drips can fuse onto the kiln shelves, leading to costly damage and potentially ruining ceramic pieces by causing unexpected attachments. By forming a barrier between the valuable ceramic artwork and the kiln furniture, the kiln wash ensures that firing proceeds smoothly and efficiently. Thus, understanding how to apply kiln wash correctly is vital for any ceramic artist looking to reduce maintenance costs and enhance the durability of their kiln shelves.
Materials Needed
- Kiln Wash: You can either purchase a pre-mixed kiln wash for convenience or create your own. Combine equal parts of silica and kaolin (china clay) to make kiln wash.
- Water: For mixing your custom kiln wash, ensure you use clean, room-temperature water to achieve the proper consistency.
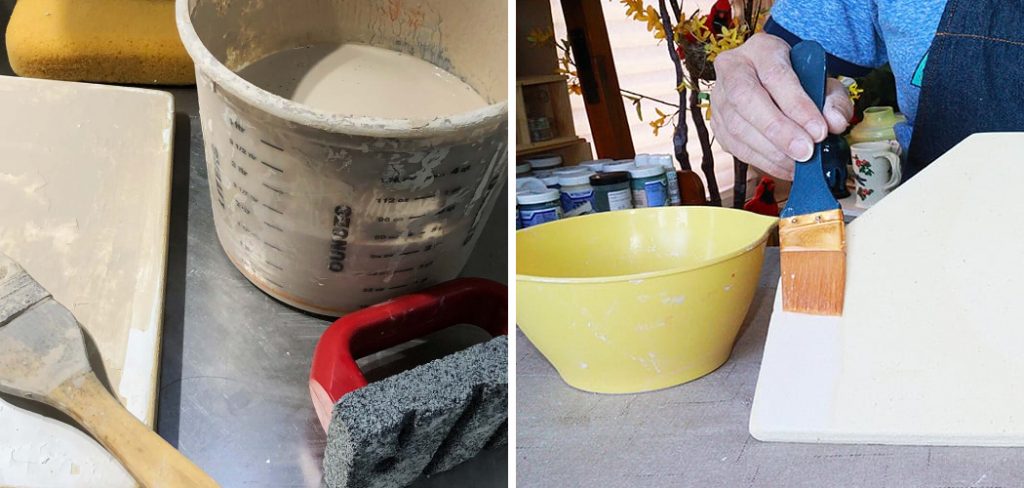
- Brush or Applicator: A wide, soft brush applies a smooth, even layer of kiln wash on the kiln shelves.
- Mixing Container: Prepare the kiln wash mixture in a clean bucket or container, ensuring it’s large enough to prevent spills.
- Stirring Stick: A wooden or plastic stirrer is essential for thoroughly mixing the kiln-wash ingredients to avoid lumps and ensure an even consistency.
- Kiln Shelves: Before application, ensure the kiln shelves are clean and free of debris, ready to receive the kiln wash to protect them during firing.
Preparing the Kiln Shelves
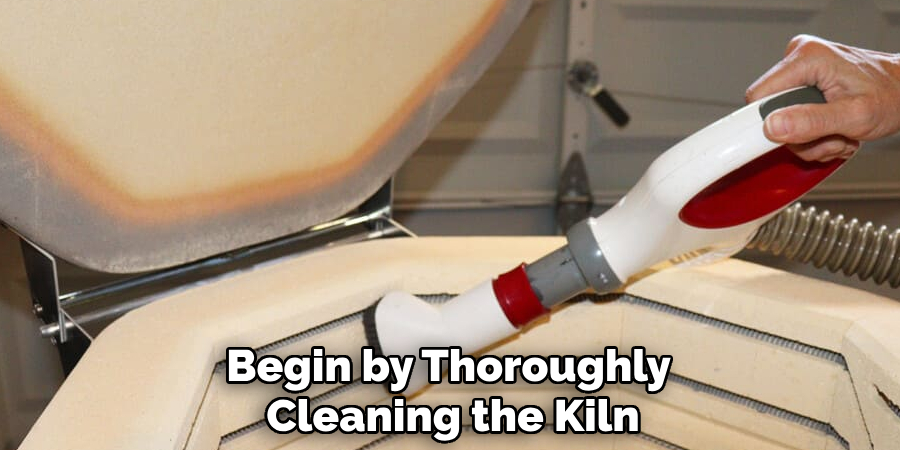
Step 1: Clean the Shelves
Begin by thoroughly cleaning the kiln shelves to remove any old kiln wash, dust, or glaze drips. Use a metal scraper or a putty knife to gently remove residual kiln wash or glaze from previous firings. Be cautious during this process to avoid gouging the shelf surface. After scraping, wipe the shelves with a damp sponge to pick up any remaining dust, ensuring that the surface is free of debris and ready for the new application of kiln wash.
Step 2: Inspect for Damage
Check the shelves for cracks or other structural damage. If the shelves have deep cracks or chips, they must be repaired before applying a new kiln wash. While small chips or surface damage may still be usable, large defects can cause uneven heat distribution, potentially leading to firing issues. If required, sand the surface with fine-grit sandpaper to smooth out rough areas, which helps in achieving an even coat of kiln wash later. Proper preparation of the kiln shelves ensures they remain effective and safe for all future firings, prolonging their lifespan and maintaining high-quality ceramic results.
How to Apply Kiln Wash: Mixing the Kiln Wash
Step 1: Prepare the Kiln Wash
If you’re using pre-mixed kiln wash, thoroughly stir the mixture to achieve an even consistency. For those who prefer to make their own, combine equal parts of silica and kaolin (china clay). Gradually add water to this dry mix, stirring continuously to create a smooth, pancake-batter-like consistency. It’s vital to add the water gradually to prevent lumps from forming and to ensure the mix remains uniform throughout.
Step 2: Test the Consistency
Once the mixture is prepared, it’s time to test its consistency. The ideal kiln wash should be thick enough to evenly coat the kiln shelves without running. It should not be so thick that it leaves clumps on the surface. If you find the mixture too thick, incorporate small amounts of water while stirring. Conversely, if it’s too thin, add additional dry ingredients incrementally. During the application process, ensure you stir frequently to keep the ingredients well-suspended, allowing for an even and smooth coat on the shelves. This preparation ensures effective protection for your kiln shelves during firing.
How to Apply Kiln Wash: Applying the Kiln Wash
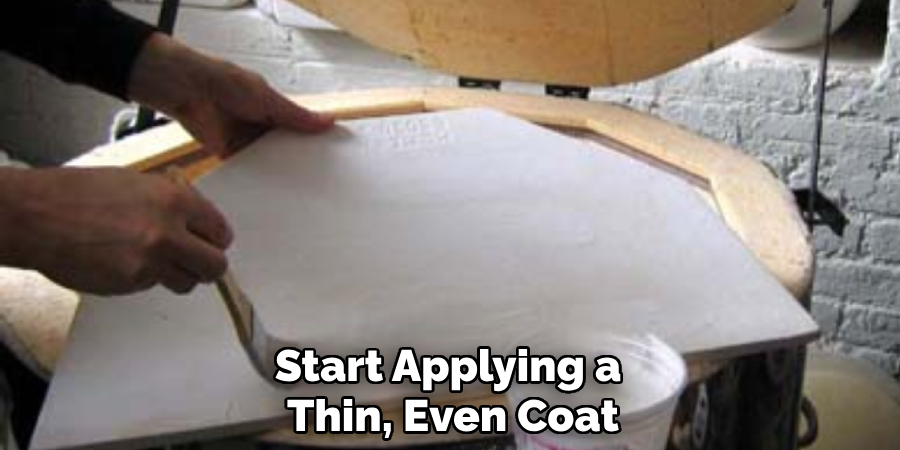
Step 1: Apply the First Coat
Begin by dipping a wide, soft brush into the kiln wash mixture. Ensure that the brush picks up enough kiln wash without overload, as this can lead to dripping and uneven application. Start applying a thin, even coat to the kiln shelf, moving in one consistent direction—either horizontally or vertically. This uniformity in brushing helps achieve full coverage while minimizing the risk of thick, uneven areas that could lead to issues during the firing process. It is common to see minor gaps or streaks left by the brush; these will be resolved with subsequent coats.
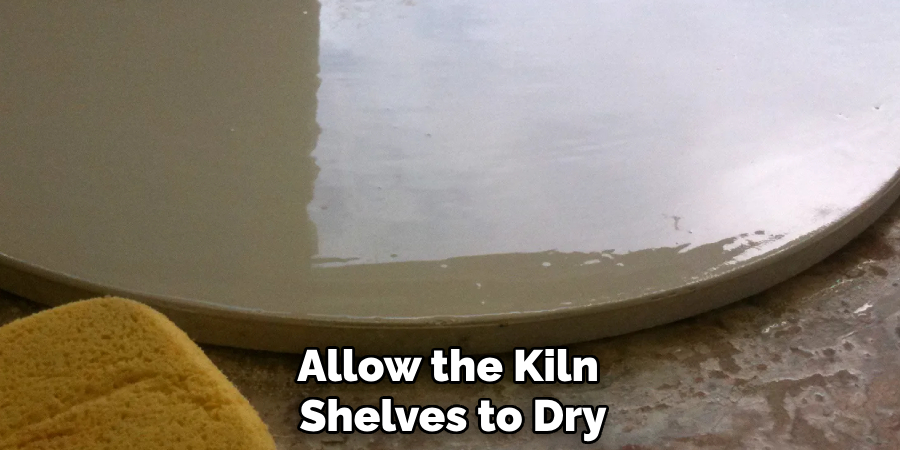
Step 2: Let the First Coat Dry
Allow the first coat to air dry completely. The drying time can vary based on environmental conditions such as humidity and temperature. Generally, you should expect it to take about 20 to 30 minutes. As it dries, the kiln wash will appear lighter in color and should feel dry to the touch. Ensuring each layer is thoroughly dry before applying the next is crucial to preventing any mixing or sloughing off during firing.
Step 3: Apply the Second Coat
Once the initial coat is dry, proceed with a second thin coat of kiln wash. Change the direction of your brush strokes from the first application—for example, if you initially brushed horizontally, switch to a vertical motion. This cross-hatch technique is essential for filling in any missed spots and reinforcing the evenness of the coating, providing more robust protection for your kiln shelves.
Step 4: Apply Additional Coats (Optional)
For many firings, two coats suffice. However, considering the firing temperature and how heavily the kiln shelves are used, you might opt for a third coat. Applying three thin coats can offer enhanced protection, particularly for situations involving high-temperature firings or extensively used equipment.
Step 5: Let the Coats Dry Fully
Once the final coat is applied, allow the kiln shelves to dry thoroughly before placing them in the kiln. The kiln wash must be entirely dry, to the point of being “bone-dry,” to avoid any adverse reactions during firing, such as cracking or peeling. This thorough drying phase ensures that the kiln wash remains intact and effectively protects your kiln shelves throughout multiple firing cycles. Ideal drying conditions are dry and airy, offering the best opportunity for optimal results.
Avoiding Common Mistakes
1. Applying Too Thickly
Applying kiln wash in overly thick layers can result in cracking, peeling, and inadequate protection, compromising both your kiln shelves and your firing results. Using thin, even coats is essential to ensure a consistent protective layer. Should the kiln wash start peeling or flaking off during firing, there is a risk of damage to both your pieces and the kiln shelves. The peeling layers can affect your work’s surface and the shelving’s integrity.
2. Skipping the Cleaning Step
Neglecting to clean the kiln shelves prior to applying kiln wash can result in uneven surfaces. Dust, glaze residue, and leftover kiln wash can cause imperfections, leading to glaze drips or materials adhering to the shelves during firing. This oversight can create significant issues, damaging not only the shelves but also your fired pieces. Always ensure that the kiln shelves are thoroughly cleaned and free from any contaminants before applying a fresh coat of kiln wash.
3. Not Allowing Proper Drying Time
It is critical to permit each layer of kiln wash to dry completely before applying the next. Failing to do so can trap moisture between coats, which might lead to bubbling or flaking when exposed to high kiln temperatures. Make sure to ascertain that each layer feels dry to the touch and appears noticeably lighter in color before you proceed with subsequent applications. This diligence prevents potential issues and ensures a strong, reliable protective coating.
Maintaining Kiln Shelves
Step 1: Regular Cleaning and Reapplication
After each firing, inspecting the kiln shelves for any signs of damage, such as glaze drips, cracks, or chipped kiln wash, is essential. Addressing these issues promptly by gently scraping off any compromised kiln wash and reapplying a fresh layer will help prolong the lifespan of your kiln shelves. Maintaining clean and well-protected surfaces reduces the risk of damage to both the shelves and the items being fired.
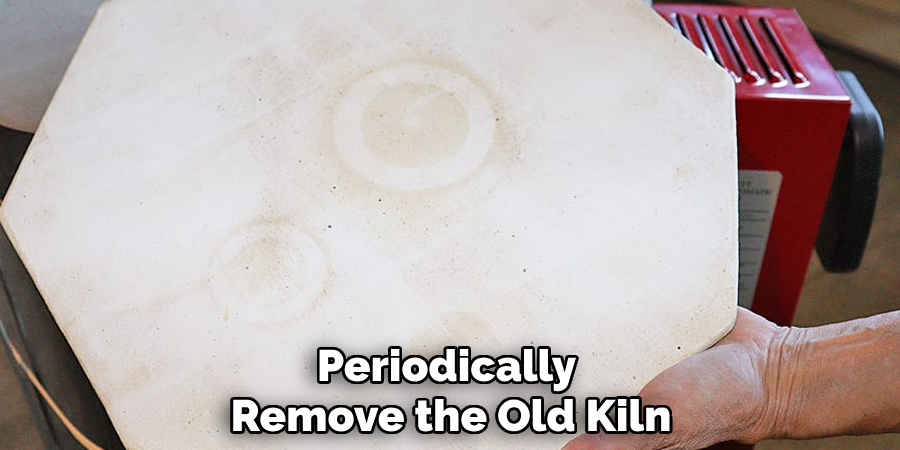
Step 2: Periodically Remove and Replace Kiln Wash
Over time, repeated applications of kiln wash can lead to build-up, resulting in flaking or peeling surfaces. It is important to periodically remove the old kiln, wash it completely, and apply a fresh layer. This maintenance step ensures that the surface remains smooth and free of contamination, providing the best results for your fired pieces and preventing any unwanted residues in future firings.
Step 3: Inspect Kiln Shelves for Structural Damage
Regular inspections of the kiln shelves for cracks or signs of warping are crucial in preventing more extensive issues. Damaged shelves can break during a firing, posing a risk to your pieces. It is important to replace or repair any compromised shelves as necessary, ensuring that kiln wash is applied to any repaired surfaces to maintain their protective qualities.
Conclusion
Properly applying kiln wash is critical in safeguarding kiln shelves and ceramic pieces during firing. This protective coating prevents glaze drips from damaging the kiln and ensures that your creations emerge pristine. Regular maintenance, which includes cleaning and the periodic reapplication of kiln wash, is essential for the longevity and reliability of your kiln shelves.
By adhering to the steps outlined in this guide on how to apply kiln wash, potters and ceramic artists can avoid costly glaze accidents and extend the life of their kiln shelves. Not only does this save time, money, and effort, but it also contributes to successful firings and a well-maintained kiln, ensuring that your artistic endeavors remain uninterrupted and fruitful for many years to come.
Specialization:
- Master of wheel-throwing, hand-building, and advanced glazing techniques
- Focus on creating both functional pottery and decorative art pieces
Recognition:
- Celebrated by collectors and art enthusiasts for creating one-of-a-kind pieces that blend artistry with functionality
- Participates in local and national exhibitions, earning accolades for his innovative designs and craftsmanship
Passion:
- Deeply committed to exploring and pushing the boundaries of ceramic artistry
- Continuously experiments with new materials, firing techniques, and artistic concepts to evolve his craft
Personal Philosophy:
- Believes in the transformative power of art, aiming to evoke emotions and connections through his ceramic creations
- Advocates for sustainability in ceramics, using eco-friendly materials and practices whenever possible