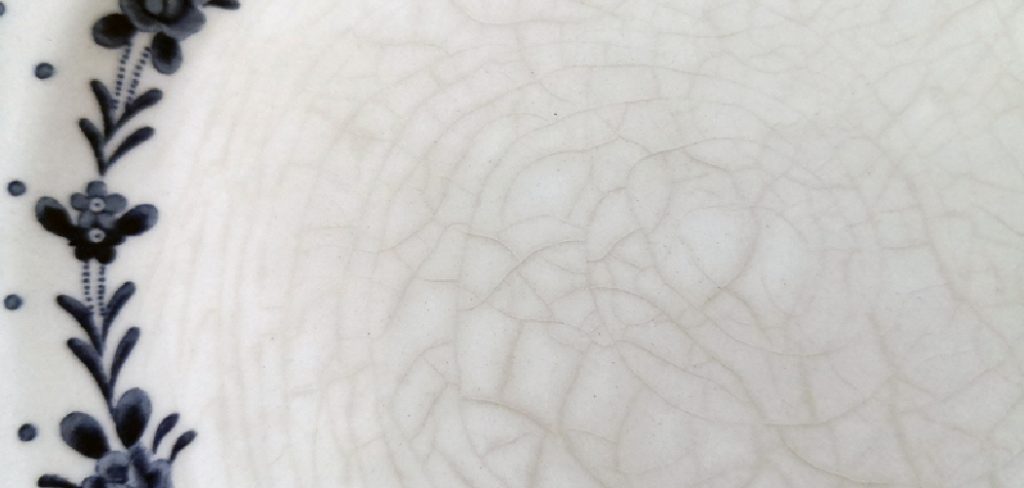
Crazing, or the network of fine cracks on the surface of ceramics, is a common issue that many potters encounter. While it might add a unique artistic touch for some, it can compromise the structural integrity and aesthetic value of the piece for others.
Understanding the causes of crazing is crucial in preventing it. Factors such as mismatched thermal expansion between the glaze and clay body, rapid cooling during firing, or improper glaze formulation can lead to this phenomenon.

By employing specific techniques and adjustments, such as choosing the right clay and glaze combinations controlling firing schedules, and cooling rates, potters can significantly reduce the occurrence of crazing, ensuring durable and beautiful ceramic creations. In this blogpost on how to avoid crazing in ceramics, we will dive deeper into these techniques and offer practical tips for achieving crack-free ceramics.
Why is Crazing Undesirable?
As mentioned earlier, crazing may be appealing for some artists and considered an intentional decorative element. However, from a technical standpoint, it can be problematic for several reasons:
Aesthetically Unappealing:
Crazing disrupts the smooth surface of ceramics, making them look cracked or aged. While this might suit certain styles, for others, it can be unattractive and ruin the overall aesthetic of the piece.
Weakens Structural Integrity:
Crazing is essentially a series of tiny cracks on the surface of ceramics. These cracks can penetrate deep into the clay body, making it weaker and more susceptible to breakage.
Difficult to Clean:
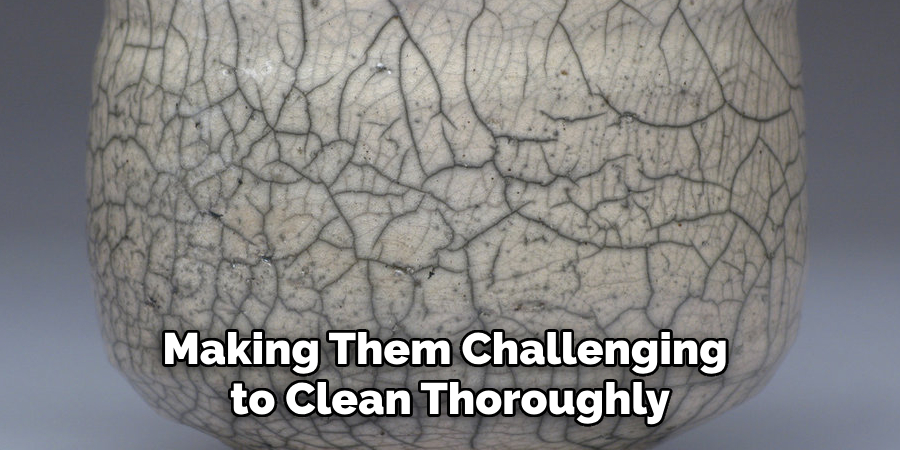
The network of fine cracks in crazed ceramics can collect dirt and debris over time, making them challenging to clean thoroughly. This can be particularly problematic if the piece is intended for use with food or drinks.

Now that we understand why crazing should be avoided, let’s delve into some practical tips to prevent it.
Things to Consider Before Firing
Choose the Right Clay Body:
The first step in avoiding crazing is selecting a clay body with a thermal expansion coefficient that matches that of the glaze. This means that both materials will expand and contract at a similar rate during firing, reducing the chances of crazing.
Avoid Extreme Temperature Changes:
Rapid cooling during the cooling process is another common cause of crazing. To prevent this, make sure to avoid placing your ceramics in cold drafts or on cold surfaces immediately after firing. Instead, allow them to cool gradually in the kiln or on a heat-resistant surface.
7 Step-by-step Guidelines on How to Avoid Crazing in Ceramics
Step 1: Prepare the Clay Body
Start by selecting a clay body that has a thermal expansion coefficient compatible with your chosen glaze. It’s crucial to research or test different clay bodies to find the right match. Once the ideal clay body is selected, wedge the clay thoroughly to ensure a consistent texture and remove any air bubbles.

Proper wedging not only improves the workability of the clay but also minimizes stress points that might later contribute to crazing. Additionally, keeping the clay body slightly moist will facilitate smoother shaping and reduce the risk of surface cracks that could develop into crazing during firing.
Step 2: Prepare the Glaze
Like the clay body, the glaze also plays a significant role in preventing crazing. The key here is to formulate or select a glaze that has a similar thermal expansion coefficient as the clay body. You can find this information from your supplier or test it with various materials.
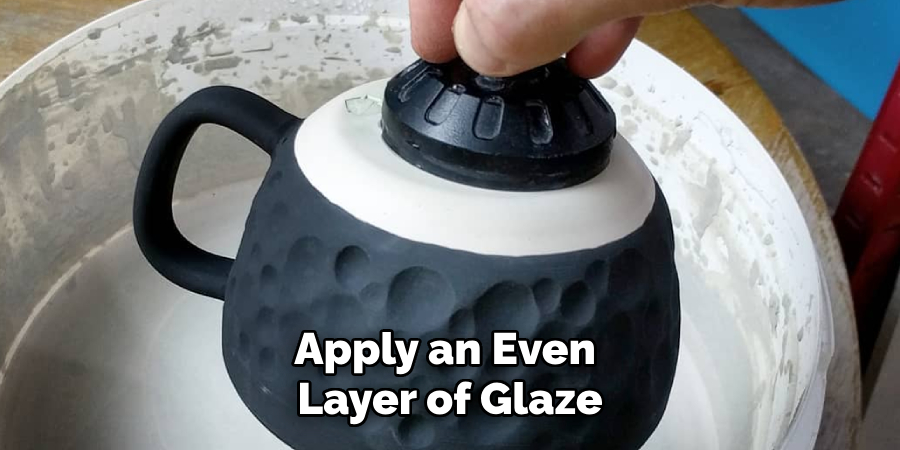
Another essential consideration is to sieve your glaze thoroughly to remove any impurities or particles that could cause cracking. Finally, ensure that you apply an even layer of glaze on your piece, avoiding thick spots that could lead to uneven expansion and subsequent crazing.
Step 3: Allow Sufficient Drying Time
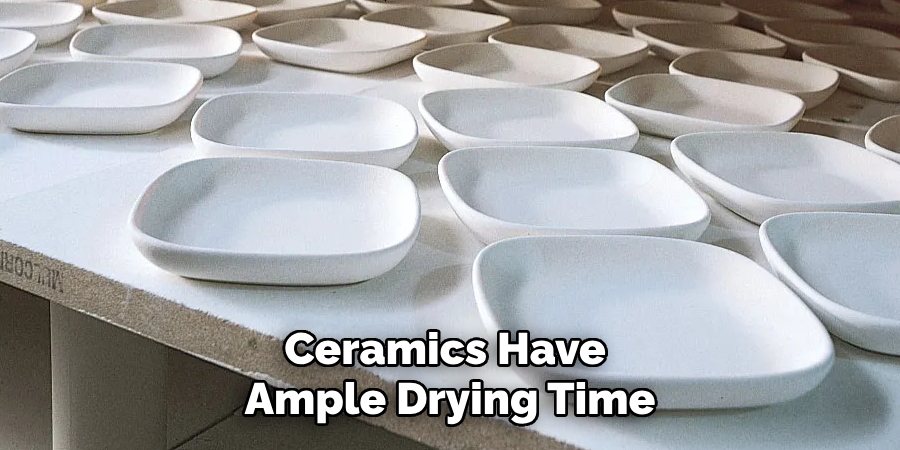
One of the crucial steps in avoiding crazing is ensuring your ceramics have ample drying time before firing. Drying is essential because it allows the clay body to reach a consistent moisture level throughout, minimizing internal stresses. Before placing your pieces in the kiln, ensure they are bone-dry by allowing them to air-dry completely in a well-ventilated area.

This might take anywhere from a few days to a week, depending on the size and thickness of the pieces, as well as the ambient humidity. Hurrying through this stage could result in trapped moisture escaping rapidly during firing, leading to craze-inducing stress. Patience at this step can significantly reduce the potential for crazing and contribute to the overall resilience and beauty of your ceramics.
Step 4: Bisque Fire
Bisque firing refers to the first round of firing that solidifies the clay body before glazing. The temperature of this firing should be appropriate for your chosen clay and glaze combination. Ensure you research or test different firing schedules, as well as kiln atmosphere, to find the ideal one for your materials.
During bisque firing, make sure to avoid over-firing, which can cause the clay body to shrink excessively and create cracks on its surface. Similarly, under-firing can result in a weak body that won’t withstand the pressure and expansion from the glaze during the next stage. Finding the right balance is essential here to achieve a strong, stable foundation for the glaze.
Step 5: Apply the Glaze
After bisque firing, it’s time to apply the glaze. As mentioned earlier, ensure you apply an even layer of glaze and avoid thick spots that could lead to uneven expansion. You can also try different methods of application, including dipping, pouring, or brushing, to find the one that works best for your piece.

Once the glaze is applied, allow it to dry thoroughly before firing. This will prevent any trapped moisture from escaping rapidly during firing and causing crazing.
Step 6: Glaze Firing
The glaze firing stage is crucial for ensuring that your ceramics come out free of crazing. During this stage, it’s essential to control both the heating and cooling processes meticulously. Start by slowly raising the kiln temperature to the desired level specified for your glaze, maintaining a consistent increase to avoid shocking the clay body.
The peak temperature will finalize the glaze’s fit with the clay body. Equally important is the cooling phase, which allows the kiln to cool down gradually. This slow cooling helps prevent thermal shock, which can cause the glaze to contract suddenly and lead to crazing. Consider using a pyrometer or other temperature monitoring tools to track the kiln’s progression accurately through this process. Maintaining control during both the heating and cooling phases will significantly enhance your chances of achieving a smooth, craze-free finish on your ceramics.
Step 7: Allow Ample Cooling Time
The cooling process is as critical as any other step in avoiding crazing in ceramics. Once the glaze firing is complete, it is vital to allow the kiln to cool down at a slow and steady pace. Quick temperature changes can cause significant stress differences between the glaze and clay, often resulting in crazing. To ensure a uniform cooling rate, refrain from opening the kiln too soon or exposing the ceramics to drafts.
Additionally, consider programming your kiln to execute a controlled cool-down cycle, gradually reducing the temperature over several hours or even days, depending on the size and thickness of your pieces. This careful attention to cooling time helps both the glaze and clay body adjust in unison, enhancing the stability, durability, and aesthetic quality of your ceramics.
Tips for Proper Glaze Application
Apply a Thin Glaze Coat:
A thicker coat of glaze can increase the likelihood of crazing as it creates more tension between the glaze and clay body during firing. Therefore, it is essential to apply a thin layer of glaze to avoid this problem.
Avoid Thick Spots:
As mentioned earlier, uneven glaze application can result in thick spots that lead to crazing. Be mindful of the thickness of your glaze when applying it, and try to achieve an even layer throughout.
Experiment with Different Glazes:
Not all clay and glaze combinations are compatible, so don’t be afraid to experiment with different options until you find the right fit. Testing different materials and firing schedules is an essential part of refining your craft as a ceramic artist.
Following these steps and tips on how to avoid crazing in ceramics can significantly reduce the potential for crazing in your ceramics, ensuring a beautiful, durable finished product. Remember to be patient and thorough at each stage of the process, and don’t be afraid to experiment and learn from any mistakes along the way. With practice and attention to detail, you can achieve stunning craze-free ceramics that will last for years to come. So, keep creating and enjoy the journey of perfecting your ceramic skills!
Frequently Asked Questions
Q: Can I Fix Crazing on Already-Fired Ceramics?
A: Unfortunately, once a piece has gone through the firing process and developed craze lines, it is challenging to reverse or repair them. Prevention is vital in avoiding this issue. The best approach is to take precautions and carefully follow proper techniques during the glazing and firing stages.
Q: Can I Still Use Crazed Ceramics?
A: While it may be tempting to continue using crazed ceramics, they are prone to cracking or breaking over time due to their weakened structure. It is best not to use them for functional purposes but instead repurpose them as decorative pieces.
Q: Can I Prevent Crazing with Glaze Adjustment?
A: In some cases, adjusting the glaze recipe can help prevent crazing. However, this relies on a thorough understanding of glaze chemistry and requires testing to find the right balance between fit and aesthetics. It’s best to research and experiment carefully before making any adjustments to your glazes.
Conclusion
Crazing can be a frustrating and disappointing result in ceramics, but it is not inevitable. By following these steps on how to avoid crazing in ceramics and paying attention to the details of materials, processes, and timing, you can significantly reduce the likelihood of crazing in your creations.
Remember to research and test different methods until you find what works best for your specific clay body and glaze combination. With patience and diligence, you can achieve beautiful, craze-free ceramics that will last for years to come.
Specialization:
- Master of wheel-throwing, hand-building, and advanced glazing techniques
- Focus on creating both functional pottery and decorative art pieces
Recognition:
- Celebrated by collectors and art enthusiasts for creating one-of-a-kind pieces that blend artistry with functionality
- Participates in local and national exhibitions, earning accolades for his innovative designs and craftsmanship
Passion:
- Deeply committed to exploring and pushing the boundaries of ceramic artistry
- Continuously experiments with new materials, firing techniques, and artistic concepts to evolve his craft
Personal Philosophy:
- Believes in the transformative power of art, aiming to evoke emotions and connections through his ceramic creations
- Advocates for sustainability in ceramics, using eco-friendly materials and practices whenever possible


