Porcelain sinks are popular in many households due to their classic appearance and durability. However, over time, they can develop unsightly stains from hard water, food, and soap residue, dulling the sink’s original white sheen. Bleaching a porcelain sink effectively removes these stains, sanitizes the surface, and restores its pristine look. The need for regular maintenance highlights the importance of understanding how to bleach a porcelain sink properly. This article aims to provide a comprehensive, step-by-step guide to safely and effectively bleach a porcelain sink, ensuring that the surface remains unharmed and the sink continues to shine brilliantly in your kitchen or bathroom.
Safety Precautions Before Bleaching
Step 1: Ventilation and Protective Gear
Before starting the bleaching process, it’s crucial to ensure the area is well-ventilated to avoid inhaling strong fumes. Open windows and doors in the room to create a fresh air flow, and consider using fans to help circulate air effectively. Wearing protective gear is also essential; this includes donning gloves and a mask to protect your skin and respiratory system from bleach exposure. These precautions help maintain a safe environment while working closely with such a potent cleaning agent.
Step 2: Protecting the Sink and Surrounding Area
Bleach can harm certain materials, potentially causing damage if it splashes onto metal, stone, or wooden surfaces. Cover faucets, countertops, and adjacent surfaces with plastic sheets or towels to protect these areas. This simple measure helps prevent accidental bleach contact and subsequent damage. It’s also recommended to check the manufacturer’s guidelines for your specific sink type to ensure that using bleach won’t harm it. By taking these steps, you can minimize risks and focus on effectively cleaning your porcelain sink without unnecessary complications.
Tools and Materials Needed
Gathering the right tools and materials is essential to effectively bleach a porcelain sink. These items will ensure a thorough cleaning while maintaining the integrity of the sink’s surface.

List of Materials
- Household bleach (unscented is recommended): Essential for removing stains and sanitizing the sink.
- Baking soda (optional for scrubbing): Provides extra abrasive power when mixed with bleach for tougher stains.
- Soft sponge or cloth: A non-abrasive option to avoid scratching the porcelain surface while effectively cleaning.
- Toothbrush or small cleaning brush: Ideal for reaching and scrubbing tight or narrow areas.
- Old towels or paper towels: These are useful for cleaning up spills and ensuring dryness post-cleaning.
- Gloves and mask: Protect the skin and respiratory system from harsh chemicals.
- Water: Necessary for rinsing the sink thoroughly after bleaching.
- Vinegar (optional): Helps in neutralizing bleach odor and is effective for stubborn stains.
Using a non-abrasive sponge or cloth is crucial to prevent scratches on the porcelain. Scratches can make the sink more susceptible to stains and diminish its shine.
Cleaning the Sink Before Bleaching
Step 1: Remove Debris and Residue
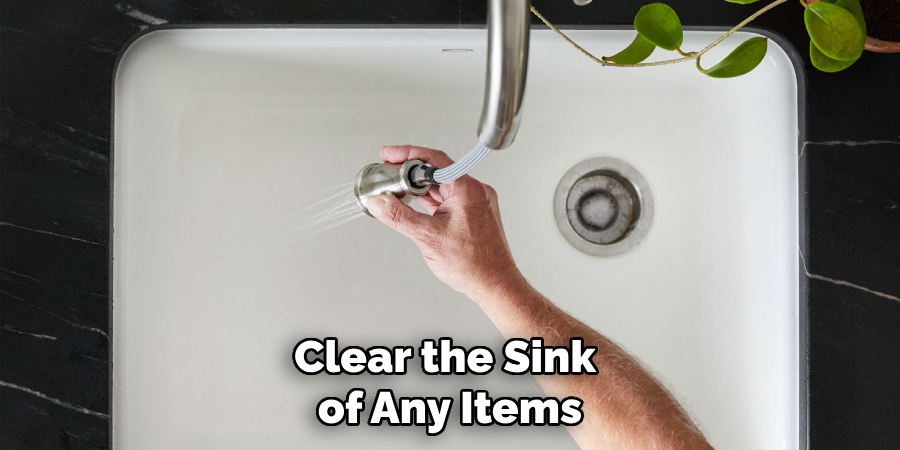
Before starting the bleaching process, it’s important to clear the sink of any items and substances that could interfere. Remove all dishes, utensils, and any accumulated food particles from the sink to ensure a clean working surface. After clearing away these items, use a mild dish soap along with a soft sponge to thoroughly clean the sink. This step helps to eliminate oils and soap residue that might weaken the bleach’s effectiveness. Work the sponge across the entire sink surface, reaching into corners and crevices where debris accumulates. Once satisfied, rinse the sink thoroughly with warm water to remove any remaining soap suds and loosened particles. This preliminary cleaning sets the stage for effective bleach application.

Step 2: Dry the Sink Completely
After cleaning, ensure the sink is completely dry before applying bleach. Any residual water can dilute the bleach, reducing its potency and effectiveness in stain removal. To dry the sink, either wipe it down with a clean towel, ensuring all surfaces, including corners and the drain, are free from moisture, or allow it to air dry naturally for a few minutes. This step not only helps the bleach to work more efficiently but also prevents water marks from forming, maintaining the pristine appearance of the porcelain. Properly drying the sink forms the foundation for successful bleaching, ensuring that your efforts result in a bright, clean finish.
How to Bleach a Porcelain Sink: Bleaching the Porcelain Sink
Step 1: Applying Bleach Directly
To begin the bleaching process, carefully pour a small amount of household bleach onto a soft sponge or cloth. It is important to use unscented bleach to avoid overwhelming odors. Apply the bleach evenly across the sink’s surface, particularly to any heavily stained areas. These spots may require more direct application and additional scrubbing. Utilize a toothbrush or small cleaning brush to effectively reach corners, edges, and areas around the drain where stains often accumulate. This thorough application helps ensure no stained or discolored sections are missed in the initial cleaning pass.

Step 2: Soaking Paper Towels in Bleach for Tough Stains
For particularly stubborn stains that resist normal cleaning methods, soaking paper towels in a diluted bleach solution can be highly effective. Mix a solution using one part bleach to three parts water. Immerse paper towels in this mixture and lay them over your sink’s stained or discolored areas. Allow these bleach-soaked towels to sit undisturbed for 15 to 30 minutes, adjusting the duration based on the severity of the stains. This method allows the diluted bleach to work directly on the stained areas, helping to break down even the toughest marks.
Step 3: Scrubbing Gently
When it’s time to scrub the sink, remember that gentle pressure is key to avoiding potential scratches on the porcelain surface. Use a non-abrasive sponge or brush, employing circular motions to gently scrub the stained areas. This method is effective in lifting stains without damaging the sink’s finish. Patience and care during this step ensure that stains are removed without compromising the porcelain’s integrity.
Step 4: Using Baking Soda for Extra Scrubbing Power (Optional)
For stubborn stains that remain even after bleach application, consider using baking soda for additional cleaning power. Sprinkle a modest amount of baking soda onto the troublesome spots and scrub the area with a bleach-soaked sponge. This combination creates a mild abrasive action that can help lift stubborn stains without scratching the porcelain. Focus on the tainted spots after initial cleaning, addressing all visible marks.
Step 5: Letting Bleach Sit
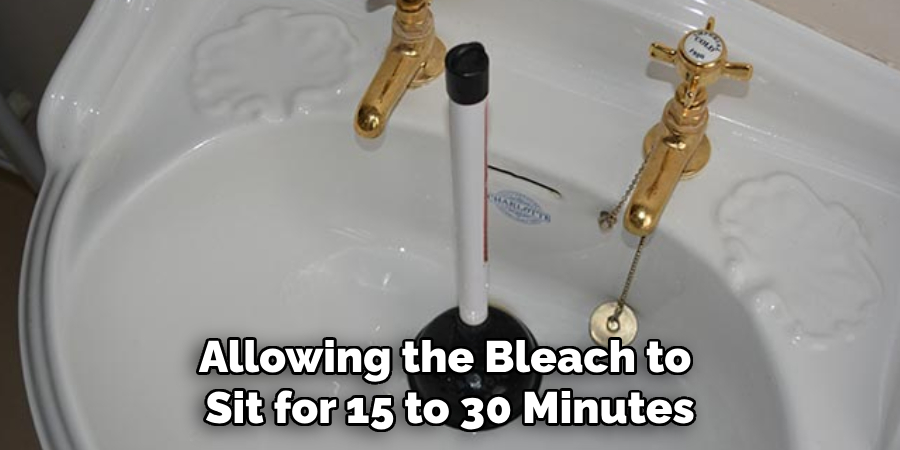
Allowing the bleach to sit for 15 to 30 minutes can significantly aid in breaking down tough stains. The exact duration will depend on how severe the stains are, but care should be taken to monitor the sink closely to prevent over-bleaching. Leaving bleach on the surface for too long can result in dulling the porcelain. This step helps achieve a bright, clean finish without harming the sink, and an attentive approach ensures your porcelain sink’s optimal appearance and longevity.

Rinsing and Final Cleaning
Step 1: Thoroughly Rinsing the Sink
Once the bleaching process is complete, it’s crucial to rinse the sink thoroughly to remove all traces of bleach. Start by running plenty of clean water over the entire surface of the sink. Use a soft sponge or cloth to assist in removing any remaining bleach residue, paying special attention to corners and edges where bleach might linger. Ensuring that every trace of bleach is washed away is essential for maintaining the sink’s shine and avoiding any potential damage or dullness from bleach exposure.
Step 2: Neutralizing Bleach with Vinegar (Optional)
Vinegar acts as an effective neutralizer for those who are sensitive to the lingering odor of bleach or to ensure complete removal of any bleach traces. Simply pour or spray vinegar across the sink and lightly scrub with a sponge or cloth. The vinegar’s acetic acid helps neutralize the bleach odor and dissolve any lingering residues. After applying the vinegar, rinse the sink once more with clean water, ensuring a fresh and odor-free finish.
Step 3: Drying the Sink
Drying the sink completely after rinsing is vital to prevent water spots and prevent new stains from forming. Use a clean, soft towel to carefully wipe down the entire sink, ensuring that all surfaces, including corners and around the drain, are free from moisture. Alternatively, allow the sink to air dry naturally for a pristine, spot-free appearance. This final step not only enhances the sink’s appearance but also helps secure the longevity of your beautifully bleached porcelain sink.
Preventing Future Stains and Maintaining a Porcelain Sink
Step 1: Regular Cleaning Routine
To maintain the pristine condition of your porcelain sink, establish a regular cleaning routine. Use mild dish soap and a non-abrasive sponge to gently cleanse the surface after daily use. This practice helps prevent dirt and grime buildup, reducing the likelihood of stains. Avoid using harsh chemicals, such as ammonia or strong acids, which could eventually erode the porcelain, compromising its smooth finish and inviting stains.
Step 2: Avoiding Abrasive Scrubbers
When it comes to maintaining your sink’s appearance, refrain from using abrasive materials like steel wool or harsh scrubbers. These can scratch the porcelain surface, making it more susceptible to future staining. Opt for soft, gentle, yet effective sponges or cloths, ensuring the sink remains smooth and stain-resistant.

Step 3: Using Sink Mats
Consider placing protective mats at the base of the sink. These mats serve as a barrier, preventing heavy dishes or sharp objects from directly contacting the porcelain, which could lead to scratches or chips. Sink mats safeguard your sink’s surface and contribute to its longevity by minimizing wear and tear.
Step 4: Drying the Sink After Use
To prevent water stains, soap scum, and mineral deposits, dry the sink thoroughly after each use. Employ a clean, soft towel to wipe the sink dry, or allow it to air dry for a spotless finish. This simple step helps maintain the sink’s glossy appearance and ensures its beauty endures for years to come.
Conclusion
Properly cleaning and bleaching a porcelain sink is essential for preserving its appearance and hygiene. Understanding “how to bleach a porcelain sink” involves following detailed steps: safety precautions, cleaning the sink with non-abrasive methods, applying bleach carefully, rinsing thoroughly, and committing to regular maintenance. Avoiding harsh chemicals and abrasives protects the sink’s integrity, ensuring a glossy finish free from stubborn stains. A consistent cleaning routine keeps your sink in top condition, prolonging its lifespan and maintaining its appeal. A well-maintained sink looks good and supports a cleaner kitchen environment.
Specialization:
- Master of wheel-throwing, hand-building, and advanced glazing techniques
- Focus on creating both functional pottery and decorative art pieces
Recognition:
- Celebrated by collectors and art enthusiasts for creating one-of-a-kind pieces that blend artistry with functionality
- Participates in local and national exhibitions, earning accolades for his innovative designs and craftsmanship
Passion:
- Deeply committed to exploring and pushing the boundaries of ceramic artistry
- Continuously experiments with new materials, firing techniques, and artistic concepts to evolve his craft
Personal Philosophy:
- Believes in the transformative power of art, aiming to evoke emotions and connections through his ceramic creations
- Advocates for sustainability in ceramics, using eco-friendly materials and practices whenever possible