


The art of ceramics combines creativity and craftsmanship, with firing and texturing playing essential roles in shaping the final product. The ceramic firing process involves heating clay to extremely high temperatures in a kiln, transforming it from a fragile, raw material into a hardened, durable form. Meanwhile, texturing adds unique design elements to the surface, allowing artists to imprint their vision onto each piece.
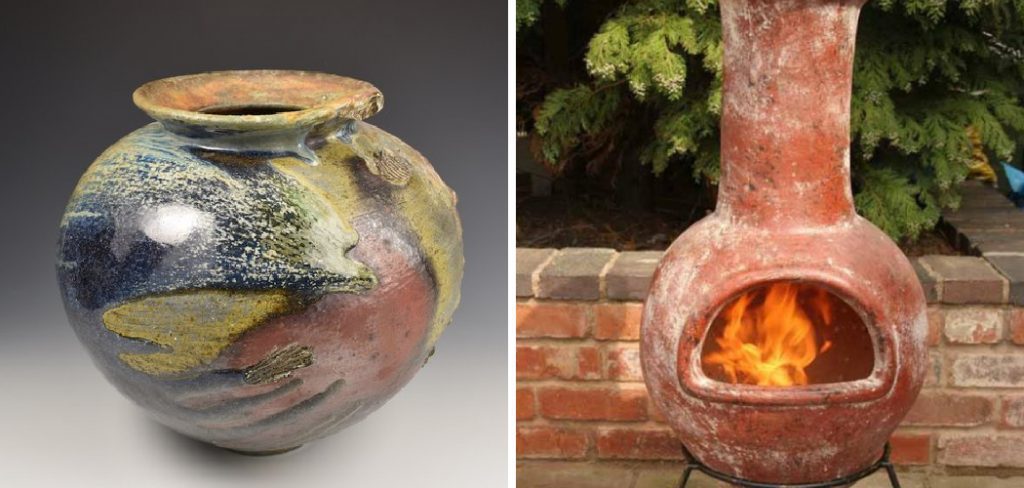
Both firing and texturing are critical steps for producing high-quality ceramics, as proper firing ensures longevity, while texturing enhances the visual and tactile appeal of the work. This article provides a comprehensive guide on how to ceramic fire and texture, walking you through essential tecniques, from preparing your clay pieces to applying textures and expertly firing them in a kiln. Whether you’re a novice or an experienced ceramicist, this guide will help you refine your skills and achieve stunning results.
Materials and Tools Needed
To create beautiful and durable ceramic pieces, gathering the right materials and tools is essential. Below is a breakdown of what you’ll need for the process’s texturing and firing stages.
Ceramic Materials
- Clay: Choose the clay type that suits your project, such as stoneware, earthenware, or porcelain. Each has distinct properties for different results.
- Glazes (optional): Ideal for adding color, texture, or a protective finish to your work after firing.
- Tools for Texturing: A variety of implements, including stamps, rollers, sponges, carving tools, and fine sculpting instruments, can help you create intricate patterns.
Tools for Firing
- Kiln (electric or gas): An essential piece of equipment for firing your ceramic pieces to the desired hardness.
- Thermocouple and Pyrometer: These tools ensure accurate temperature monitoring while firing.
- Protective Gear: Heat-resistant gloves, goggles, and a mask keep you safe during the firing process.
Texturing Materials
- Texturing Mats or Fabric: These can be used to imprint patterns onto the clay surface for decorative effects.
- Brushes, Metal Tools, and Sponges: Useful for refining and enhancing textural details.
Having these materials and tools on hand ensures a smoother process and allows for more creativity as you bring your ceramic visions to life.
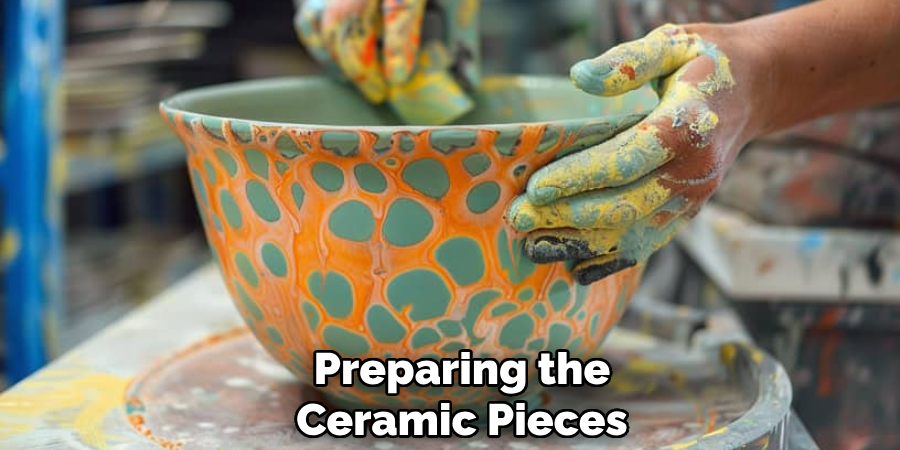
Preparing the Ceramic Pieces
Step 1: Shaping the Clay
Roll out or mold the clay into the desired shape, such as a vase, plate, or sculpture. Ensure the clay is uniform and free of air bubbles, as trapped air can cause cracking or explosions during the firing process. Smooth and refine the surface using tools or your hands, focusing on even thickness throughout the piece.
Step 2: Texturing the Surface
Once the clay has been shaped, you can add textures to enhance the visual appeal or create functional designs. Use stamps, carving tools, or fabric to imprint patterns or designs directly onto the surface. Explore various techniques, such as incising, carving, or applying slip, to achieve unique decorative effects. For optimal results, allow the clay to dry to a leather-hard consistency before adding textures, as this makes it easier to work with while reducing the risk of damaging the piece.
Step 3: Drying the Ceramic Piece
Before firing, the ceramic piece must be dried thoroughly to avoid cracking or mishaps in the kiln. Allow the piece to air dry completely, ensuring it reaches a bone-dry state, which means it is fully free of moisture. Check that all parts of the piece—especially thicker areas—are equally dry before placing it in the kiln to prevent uneven drying and potential damage. Take your time during this step, as patience is key to a successful firing process.
Understanding the Firing Process
What is Ceramic Firing?
Firing is the process of heating clay in a kiln at high temperatures to transform it from its natural, soft state into a hard, durable material. This essential step in ceramics solidifies the structure of the clay and, in many cases, enhances its visual and functional properties. The exact temperature and duration of the firing process depend on the type of clay being used and the desired outcome for the ceramic piece.
Types of Firing
- Bisque Firing: This is the first firing that serves to harden the clay, making it less fragile and easier to handle for further decoration like glazing. Bisque firing typically heats the clay to approximately 1,800°F (982°C), depending on the clay body.
- Glaze Firing: After the bisque stage, glaze firing is performed to melt and bond the applied glaze to the clay body. This firing is generally carried out at higher temperatures, ranging between 1,800°F and 2,400°F (982°C – 1,316°C), depending on the type of glaze and clay used. The result is a finished piece with a smooth, glossy, or matte surface.
Firing Temperatures for Different Clays
- Stoneware Clay: Known for its durability, stoneware is typically fired at around 2,100°F (1,149°C).
- Earthenware Clay: A popular choice for beginners, earthenware is fired at lower temperatures, roughly 1,800°F (982°C).
- Porcelain: Renowned for its fine quality and translucency, porcelain requires the highest firing temperatures, usually around 2,300°F (1,260°C).
Understanding the firing process is crucial for achieving ceramic pieces that are both functional and aesthetically pleasing. Mastery of this step ensures that your artwork meets your creative vision while maintaining structural integrity.
Loading the Kiln
Step 1: Preparing the Kiln
Ensure the kiln is clean and free from any debris or dust. A clean kiln prevents contamination of your ceramics during the firing process. Place a kiln shelf inside, ensuring it sits evenly to provide a stable surface. Carefully arrange the ceramic pieces you intend to fire, ensuring they are distributed evenly and not touching each other. The proper preparation of the kiln is essential for safe and effective firing.
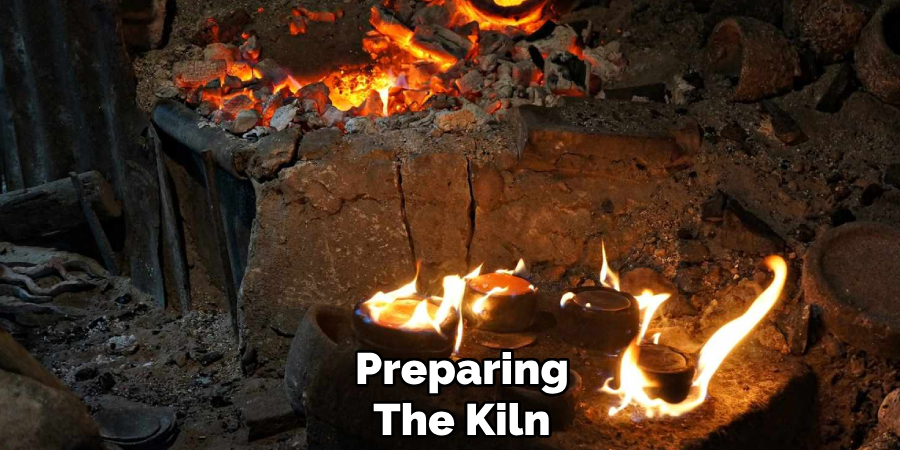
Step 2: Loading the Ceramics
Place the ceramic pieces on the kiln shelves with plenty of space between them to allow proper airflow. Overcrowding can lead to uneven firing or damage to your pieces. For glazed ceramics, use kiln stilts to elevate them, preventing the glaze from sticking to the shelves and causing damage. Be mindful of the size and shape of each piece, arranging them to utilize the kiln space efficiently while avoiding contact between pieces.
Step 3: Setting the Kiln
Set the desired firing temperature according to the clay or glaze type. Program the firing schedule, which includes the ramp-up time, peak temperature, and cooling period. Double-check all settings to ensure they align with your ceramic project requirements. Once everything is prepared, start the firing process and monitor the kiln periodically to ensure it operates without issues. Effective kiln settings lead to precise and satisfying results.
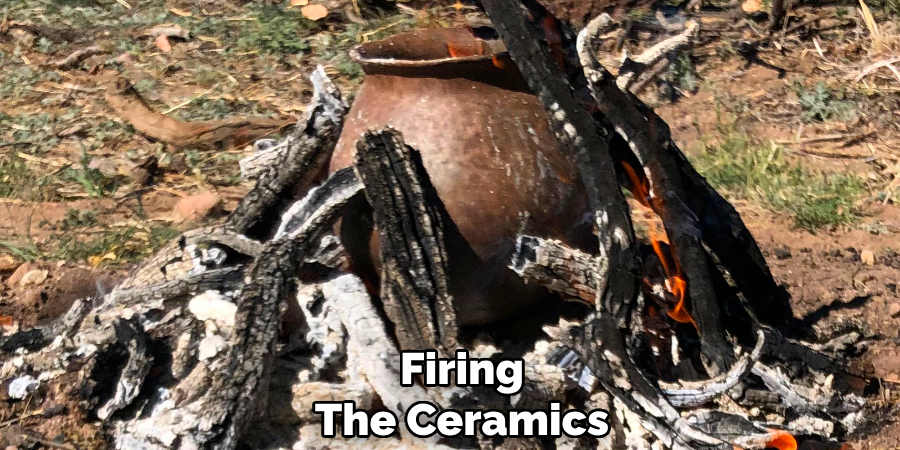
How to Ceramic Fire and Texture: Firing the Ceramics
Step 1: Bisque Firing
Start with the bisque firing, a critical process to transform delicate dried clay into a sturdy ceramic base. Heat the kiln slowly to prevent thermal shock, which can cause cracking or breakage. Gradually raise the temperature to the target level, typically around 1,800°F (982°C) for stoneware or earthenware.
This initial firing removes all remaining moisture and organic materials from the clay while solidifying the form. Once the kiln reaches the peak temperature, it is held there for a specified duration to ensure the clay is fully hardened. Proper bisque firing creates a durable yet porous surface, essential for applying glaze.
Step 2: Cooling the Kiln
After the bisque firing is complete, the cooling stage is just as crucial for maintaining the integrity of the ceramic. Allow the kiln to cool slowly and evenly to avoid thermal stress, cracks, or warping in the pieces. Rapid cooling may lead to structural damage, so the process should be gradual.
Once the kiln temperature drops to a safe level, typically around 150°F (65°C), carefully open the kiln door. Removing the pieces too early can still risk thermal shock, so patience is key. Inspect the bisque-fired ceramics to ensure they are properly hardened and ready for the next step.
Step 3: Glaze Firing (if applicable)
If glazing is part of the project, apply it to the bisque-fired ceramics once fully cooled. Place the glazed pieces back in the kiln and begin the glaze-firing process. Follow the specific temperature guidelines for the type of glaze being used, which can vary but often range between 1,820°F and 2,400°F (993°C to 1,315°C).
Like bisque firing, heat the kiln gradually and hold at the peak temperature to ensure the glaze melts evenly and adheres to the surface. After firing, allow for slow cooling once again before opening the kiln and revealing your finished, glossy ceramics.
Post-Firing Techniques and Texturing
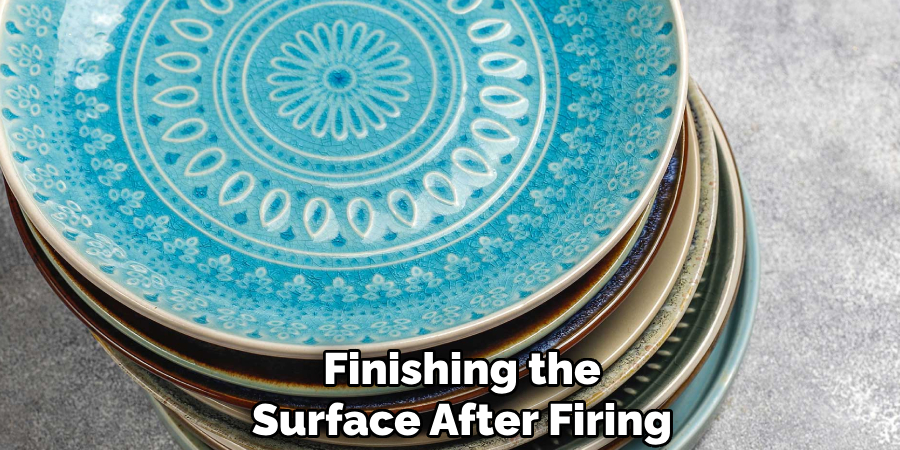
Step 1: Finishing the Surface After Firing
After bisque firing, the ceramic piece becomes porous and ready to absorb glazes or underglazes. This stage allows you to enhance the piece with vibrant colors or intricate textures. Experiment with a variety of finishing techniques to achieve unique effects.
Dry brushing allows for the controlled application of color to highlight details, while sponging can create soft, blended textures. Additionally, you can introduce more texture by layering underglazes or using tools to carve into the surface. These techniques provide a personal touch to your work, allowing you to express your artistic vision fully.
Step 2: Adding Final Touches
Once glaze firing is complete and your piece has cooled, you may wish to refine the surface further for an even more polished look. Polishing or burnishing specific sections can achieve a smooth, glossy finish that highlights the glaze’s luster and depth.
Utilizing a polishing wheel or a soft cloth can enhance shine and ensure uniformity across the surface. This step not only amplifies the visual appeal of your ceramic piece but also adds to its tactile quality, making the finished product both beautiful and functional.
Troubleshooting and Common Issues
Cracking During Firing
Cracking can occur if the clay is too wet or if air bubbles are trapped within the piece. To prevent this, ensure your clay is thoroughly wedged to remove air bubbles before shaping. Allow sufficient drying time before firing, as moisture in the clay can expand under heat and cause cracks. Additionally, avoid overloading the kiln, as uneven heat distribution may exacerbate cracking.
Uneven Glaze Results
Uneven glaze application can result in an inconsistent finish. To avoid this, apply the glaze in thin, even layers, ensuring full coverage without excess buildup. Be sure to stir or mix the glaze thoroughly before use to maintain consistency. Matching the firing temperature with the glaze’s specific requirements is also crucial to achieving the desired outcome.
Warping
Warping often happens if the clay is too thick or improperly supported. Maintain an even thickness throughout the piece to reduce stress during firing. When loading the kiln, ensure pieces are arranged to allow for uniform heating and adequate support, minimizing deformation.

Conclusion
Mastering the art of “how to ceramic fire & texture” involves attention to detail and patience at every stage. From carefully preparing the clay and adding intricate textures to executing the firing process and applying post-firing treatments, each step contributes to the final result.
Take your time to ensure even clay thickness, proper texturing techniques, and accurate kiln settings for the best outcomes. Don’t hesitate to experiment with various texturing methods and firing temperatures, as this encourages creative finishes and distinct artistic effects. With dedication and practice, you’ll continue to refine your craft and achieve exceptional results.
Specialization:
- Master of wheel-throwing, hand-building, and advanced glazing techniques
- Focus on creating both functional pottery and decorative art pieces
Recognition:
- Celebrated by collectors and art enthusiasts for creating one-of-a-kind pieces that blend artistry with functionality
- Participates in local and national exhibitions, earning accolades for his innovative designs and craftsmanship
Passion:
- Deeply committed to exploring and pushing the boundaries of ceramic artistry
- Continuously experiments with new materials, firing techniques, and artistic concepts to evolve his craft
Personal Philosophy:
- Believes in the transformative power of art, aiming to evoke emotions and connections through his ceramic creations
- Advocates for sustainability in ceramics, using eco-friendly materials and practices whenever possible