


Are you a potter or ceramic artist looking to add the perfect finishing touch to your creations?
How to choose the right glaze for clay is a crucial step in achieving the desired finish and functionality. Glazes not only enhance the aesthetic appeal of a piece through color, texture, and shine but also serve practical purposes such as making the surface food-safe or waterproof. With a wide variety of glazes available, including gloss, matte, transparent, and opaque options, making the right choice can feel overwhelming. Factors such as the type of clay, firing temperature, and intended use of the finished piece all play significant roles in determining the perfect glaze for your creation.

Understanding these elements will ensure that your final work meets your artistic vision and practical needs.
What are the Benefits of Glazing?
Before diving into the selection process, it’s essential to understand why glazing is necessary for clay pieces.
First and foremost, glazes add an extra layer of protection to the surface of your pottery or ceramic piece. This makes them more durable and long-lasting, especially when exposed to moisture or extreme temperatures.
Furthermore, glazes can enhance the appearance of a piece by adding color, texture, and shine. They can also create unique effects like crackling or crystallization that cannot be achieved with clay.
Glazing also serves functional purposes such as making the surface food-safe or waterproof. Depending on the type of glaze used, it can also affect the clay’s level of porosity and absorption, making it suitable for different uses.
What Will You Need?
Before you start glazing, make sure you have the following materials on hand:
- Clay pieces to be glazed
- Glazes of your choice (in liquid or powdered form)
- A kiln for firing
- Appropriate tools for applying and manipulating glaze (brushes, sponges, etc.)
- Protective gear (gloves, goggles) for handling glazes and using the kiln
- A well-ventilated workspace
Once you have all these materials, you can begin the glazing process.
10 Easy Steps on How to Choose the Right Glaze for Clay
Step 1. Understand Your Clay Body:
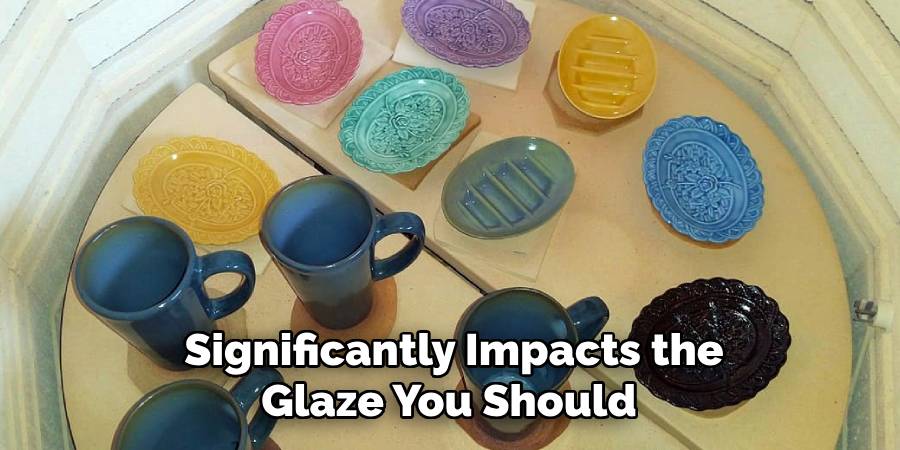
The type of clay you use significantly impacts the glaze you should choose. Clay bodies are typically categorized as earthenware, stoneware, or porcelain, each with distinct characteristics. Earthenware, for instance, is more porous and fired at lower temperatures, making it suitable for glazes that mature at lower firing ranges.
Stoneware and porcelain, on the other hand, are denser and fired at higher temperatures, requiring high-fire glazes to achieve the desired finish. Additionally, the color of your clay body—whether it’s white, buff, or terracotta—can influence the final appearance of the glaze, as some glazes are more translucent and allow the underlying surface to show through. Knowing these factors will help you select a glaze that complements your clay and ensures the best results.
Step 2. Determine the Firing Temperature:
Understanding the firing temperature of your kiln is crucial when choosing a glaze. Glazes are typically designed to mature at specific temperatures, such as low-fire, mid-fire, or high-fire. Low-fire glazes, for example, are suited for earthenware and are fired at around 1,820°F to 2,100°F (cone 06 to 04). Mid-fire glazes work well with stoneware and porcelain, maturing at temperatures around 2,102°F to 2,192°F (cone 5 to 6). High-fire glazes, often used for pottery and porcelain, also require firing temperatures of about 2,300°F (cone 10) or higher. Choosing a glaze compatible with your kiln’s firing range ensures proper melting and adhesion, resulting in a durable and attractive surface finish. Always cross-reference your kiln’s capabilities with the manufacturer’s recommendations for the glaze.
Step 3. Apply the Glaze Properly:
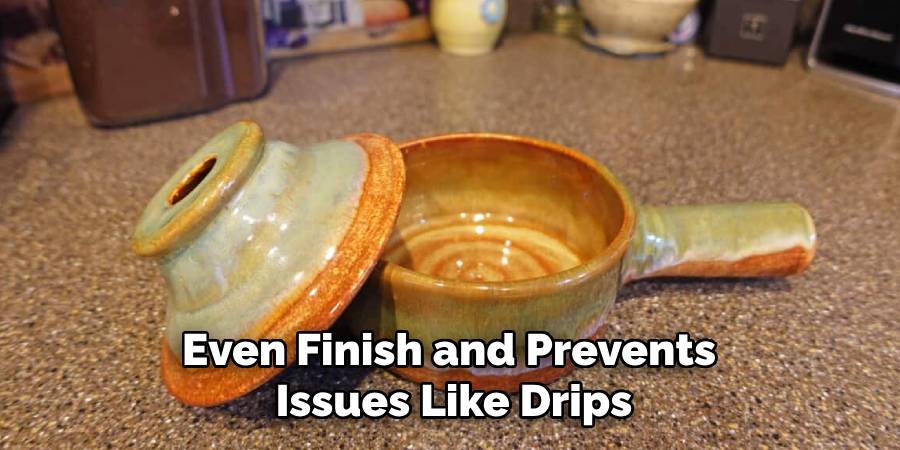
Once you have chosen a glaze that matches your clay body and firing temperature, it’s time to apply it. Proper application ensures an even finish and prevents issues like drips, bubbles, or bare spots. Glazes can be used through various methods, such as dipping, brushing, or spraying, depending on the desired effect and the tools available. For dipping, immerse your piece fully into the glaze for a few seconds, ensuring it is evenly coated. Brushing requires multiple even coats, typically three, allowing each layer to dry before applying the next.
Spraying involves using a spray gun for a fine, even finish, and works well for large or intricate pieces. Continuously stir your glaze thoroughly before use and follow the manufacturer’s instructions for consistency and technique. A well-applied glaze is integral to achieving a professional and aesthetically pleasing final product.
Step 4: Firing the Kiln
Firing is the final and most crucial step in the ceramic process, transforming the glaze and clay into a durable and finished piece. Carefully load your glazed pieces into the kiln, ensuring enough space between them to prevent sticking during firing. Set the kiln to the appropriate firing schedule based on the glaze and clay body being used—this typically involves a bisque firing followed by a glaze firing. Monitor the kiln’s temperature and ensure it heats and cools gradually to avoid thermal shock or cracking.
Once the firing is complete and the kiln has cooled completely, carefully unload your pieces to reveal the final results. Proper firing not only enhances the durability of your ceramic but also brings the glaze’s colors and textures to life.
Step 5: Finishing Touches
After completing the firing process, scrutinize your ceramic pieces for any imperfections or rough edges. Use fine sandpaper or a rotary tool to smooth out any areas needing refinement. If necessary, consider adding small decorative details such as hand-painted patterns or additional textures to enhance the visual appeal of your creations. Finally, clean your ceramics to remove residual kiln dust before displaying or using them. These finishing touches perfect your work and demonstrate the care and craftsmanship involved in the ceramic-making process.
Step 6: Displaying and Caring for Your Ceramics
Once your ceramic pieces are complete, it’s time to showcase or use them with pride. Choose a display area highlighting their beauty, such as a well-lit shelf, a table centerpiece, or a gallery space. If the ceramics are functional items like bowls or mugs, ensure they are cleaned thoroughly before use.
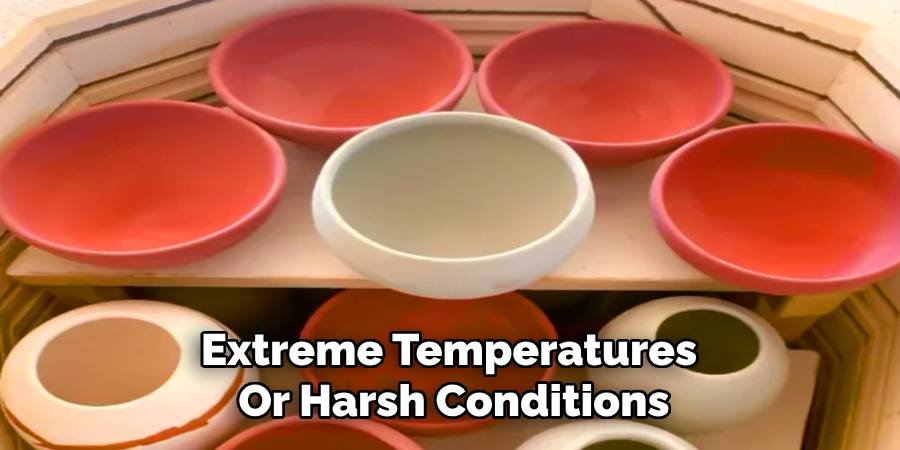
To prolong their lifespan, carefully handle your ceramics and avoid exposing them to extreme temperatures or harsh conditions. Regularly maintain your pieces to preserve their integrity and appearance over time. Thoughtful display and proper care ensure your ceramics remain a testament to your creativity and effort for years.
Step 7: Expanding Your Skills and Creativity
With the basics of ceramic-making mastered, continue to explore and expand your skills. Experiment with different types of clay, glazes, and techniques to push the boundaries of your creativity. Consider taking advanced workshops or classes to learn specialized methods like wheel-throwing, slip casting, or intricate glazing designs. Engaging with other ceramic artists and participating in local art communities can offer valuable inspiration and feedback.
Step 8: Showcasing and Sharing Your Work
After honing your skills, it’s time to showcase and share your creations with others. Consider organizing a small exhibition, participating in local craft fairs, or opening an online shop to display and sell your work. Sharing your art allows you to reach a wider audience and helps you build confidence and receive constructive feedback. Document your pieces with high-quality photographs and share them on social media or personal blogs to connect with a global community of art enthusiasts.
Step 9: Continuing Your Learning Journey
The world of ceramics is vast and ever-evolving, offering endless opportunities to learn and grow. Stay inspired by attending workshops, enrolling in advanced classes, or exploring new techniques through books and online tutorials. Visiting museums, galleries, and cultural events can also provide fresh perspectives and spark creativity.
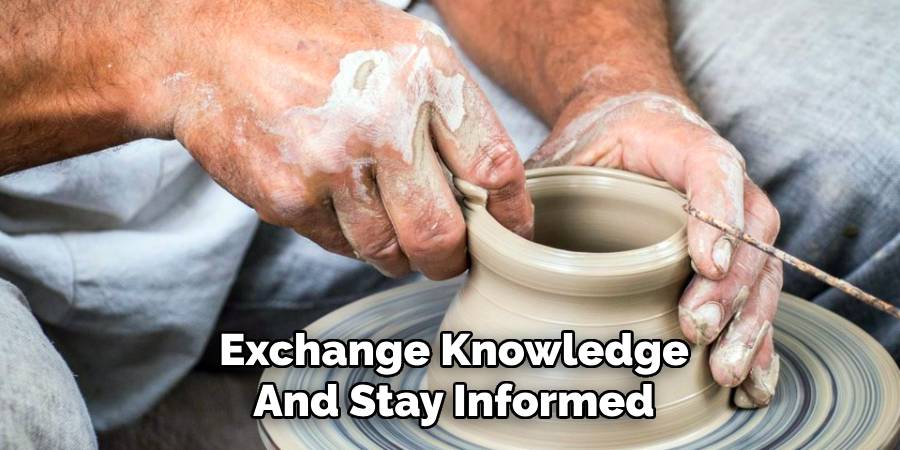
Additionally, engage with the broader artistic community to exchange knowledge and stay informed about emerging trends in ceramics. A commitment to lifelong learning will enhance your skills and deepen your appreciation for the art of ceramics, allowing you to continue creating meaningful and innovative pieces.
Step 10: Sharing Your Passion with Others
One of the most fulfilling aspects of working with ceramics is sharing your passion with others. Consider teaching workshops or classes to pass on your knowledge and inspire new artists. Hosting open studio events or participating in local craft fairs can help you connect with your community and showcase your work. Sharing your creative process, challenges, and triumphs can motivate others to explore their artistic potential while fostering a supportive environment for innovative growth.
Following these steps and continuing to learn and share your passion for ceramics, you can develop a fulfilling and lifelong artistic practice.
Conclusion
How to choose the right glaze for clay can elevate your ceramic pieces and bring your artistic vision to life. It starts with understanding the properties of your clay body and the purpose of your creation.
From there, consider the glaze finish you desire—glossy, matte, transparent, or opaque—and experiment with various options to determine what works best for your style. Testing and documenting your results are essential for refining your process and achieving consistent outcomes. Finally, remember that glazing is an art form, offering endless opportunities for creativity and experimentation.
By balancing technical knowledge with artistic exploration, you can discover glaze combinations that resonate with your unique aesthetic, making your work genuinely one-of-a-kind.
Specialization:
- Master of wheel-throwing, hand-building, and advanced glazing techniques
- Focus on creating both functional pottery and decorative art pieces
Recognition:
- Celebrated by collectors and art enthusiasts for creating one-of-a-kind pieces that blend artistry with functionality
- Participates in local and national exhibitions, earning accolades for his innovative designs and craftsmanship
Passion:
- Deeply committed to exploring and pushing the boundaries of ceramic artistry
- Continuously experiments with new materials, firing techniques, and artistic concepts to evolve his craft
Personal Philosophy:
- Believes in the transformative power of art, aiming to evoke emotions and connections through his ceramic creations
- Advocates for sustainability in ceramics, using eco-friendly materials and practices whenever possible