


Cleaning a ceramic wax warmer is an essential step to ensure its longevity and maintain its performance. Over time, residue from melted wax can accumulate, diminishing the warmer’s efficiency and appearance.
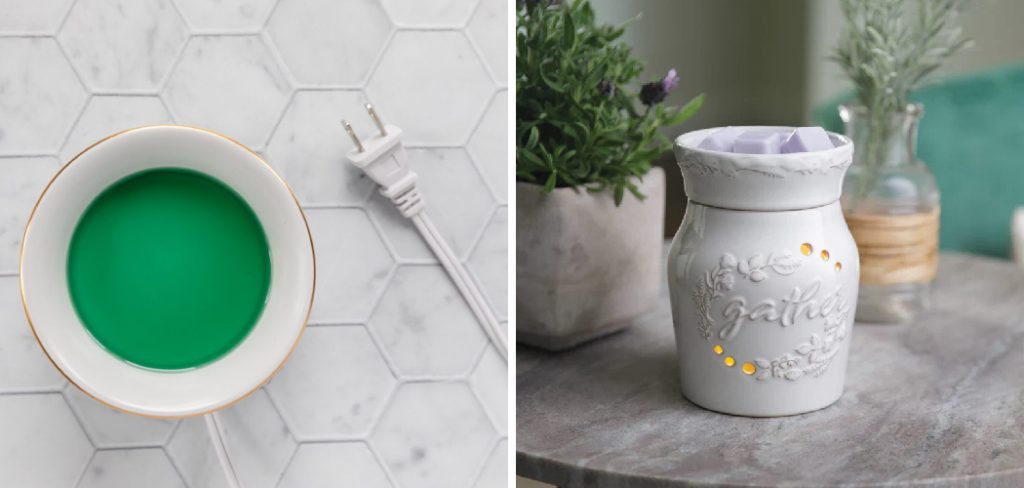
Regular cleaning not only keeps the warmer looking its best but also prevents mixing scents when switching between wax melts. With the right approach, maintaining a ceramic wax warmer is quick and hassle-free. This guide explores the key aspects of how to clean a ceramic wax warmer.
Why Cleaning Your Ceramic Wax Warmer Matters
Properly maintaining your ceramic wax warmer is crucial for several reasons. First and foremost, regular cleaning prevents build-up of wax residue, which can impact the warmer’s ability to evenly heat and diffuse scents effectively. Over time, leftover wax and fragrance oils can blend, creating unintended and unpleasant scent combinations.
Additionally, a clean wax warmer enhances the lifespan of the device, ensuring it continues to function optimally without mechanical strain caused by excess residue. Beyond functionality, a spotless warmer also contributes to the aesthetic appeal of your space, keeping it looking fresh and inviting. For those who value consistency in fragrance and long-lasting performance, taking the time to clean your ceramic wax warmer truly makes a difference.
Tools and Materials Needed
To effectively clean your ceramic wax warmer, you’ll need a few essential tools and materials. These include paper towels or soft cloths for wiping away residue, cotton swabs for cleaning smaller crevices, and a plastic spatula for safely removing hardened wax. Additionally, you may require a bowl of warm, soapy water or a mild cleaning solution to break down any stubborn buildup. Optional items such as a silicone liner can also simplify the cleaning process by preventing wax from adhering directly to the warmer. Having these tools on hand will ensure a thorough and efficient cleaning experience.
Safety Precautions Before Cleaning
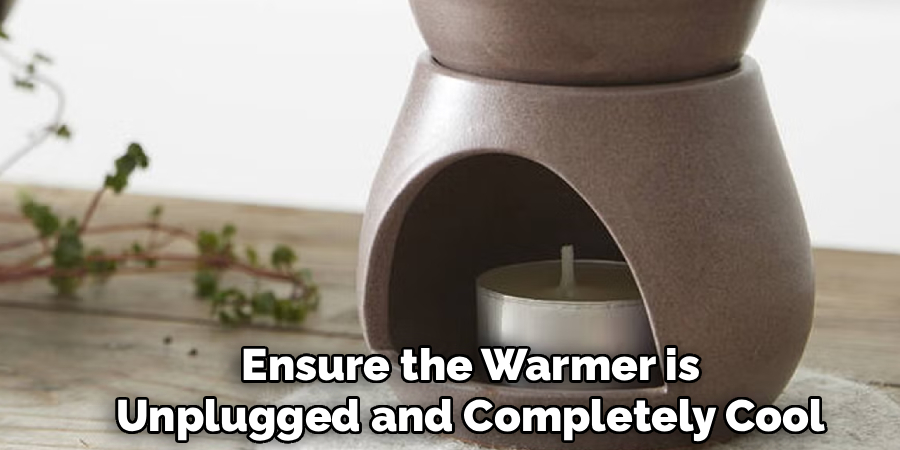
Before cleaning your wax warmer, it’s essential to take a few safety precautions to avoid accidents or damage. Always ensure the wax warmer is unplugged and has had ample time to cool down completely before beginning the cleaning process. Handling a device that is still hot or plugged in can lead to burns or electrical hazards. If there is any residual wax inside the warmer, confirm it has solidified to prevent spills or messes during removal. Additionally, ensure your cleaning area is well-ventilated, especially if using cleaning solutions, to avoid inhaling any fumes. By adhering to these safety steps, you can clean your wax warmer with confidence and care.
10 Methods How to Clean a Ceramic Wax Warmer
1. Allow the Wax Warmer to Cool Completely
Before attempting any cleaning, the most important step is to ensure the wax warmer has completely cooled down. The melted wax inside the warmer remains hot for some time after switching it off, and attempting to clean while warm can cause burns or damage.
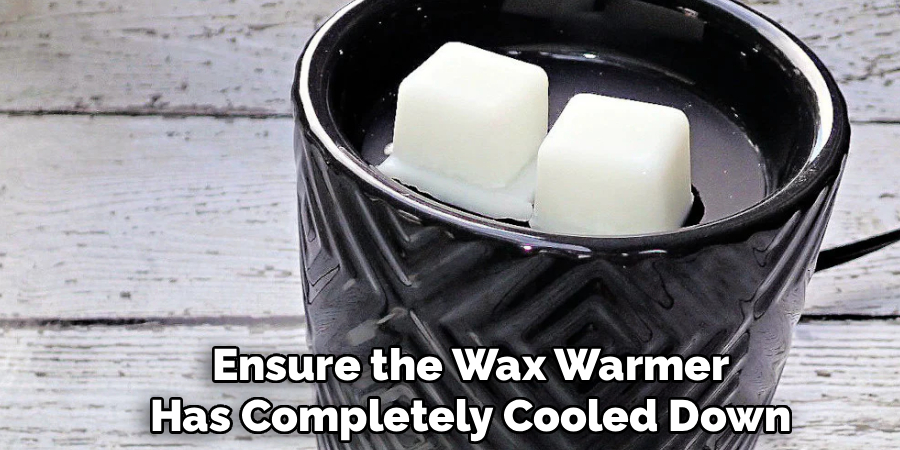
Unplug the warmer and allow it to sit for at least 30 minutes to an hour, depending on the wax volume. Handling the warmer only when fully cooled ensures safety and prevents smudging or warping of the ceramic surface during cleaning.
2. Removing Excess Wax by Letting It Harden
After cooling, the wax inside the warmer will have solidified, making it easier to remove. Use a plastic or wooden spatula—never metal to avoid scratching the ceramic—to gently pry the wax out of the dish or tray. If the wax is firmly stuck, place the warmer in the freezer for 15-20 minutes. The cold will cause the wax to contract and loosen its grip on the ceramic surface, allowing you to pop it out more easily. This method prevents damage to the ceramic and ensures most of the old wax is removed before further cleaning.
3. Softening Residual Wax with Warm Water
Sometimes a thin layer of wax remains adhered to the ceramic dish after removing the bulk. To tackle this, soak a soft cloth or sponge in warm, not hot, water and press it gently against the wax residue. The warmth softens the wax, allowing it to be wiped away more easily. Avoid pouring water directly into the warmer’s electrical base to prevent damage. Instead, dampen the cloth carefully and use it to clean the ceramic surface. Repeat as necessary until the wax residue lifts away completely.
4. Using Dish Soap for Thorough Cleaning
After removing the wax, washing the ceramic part of the warmer with mild dish soap helps eliminate any lingering oils and scent residues. Fill a basin with warm water and add a few drops of gentle dish soap. Submerge the ceramic dish or wipe it thoroughly with a soapy sponge. Rinse with clean water and dry with a soft towel. This method refreshes the ceramic surface, removing wax odors and buildup, and keeps the warmer smelling clean and working efficiently.
5. Employing Rubbing Alcohol to Remove Stubborn Wax
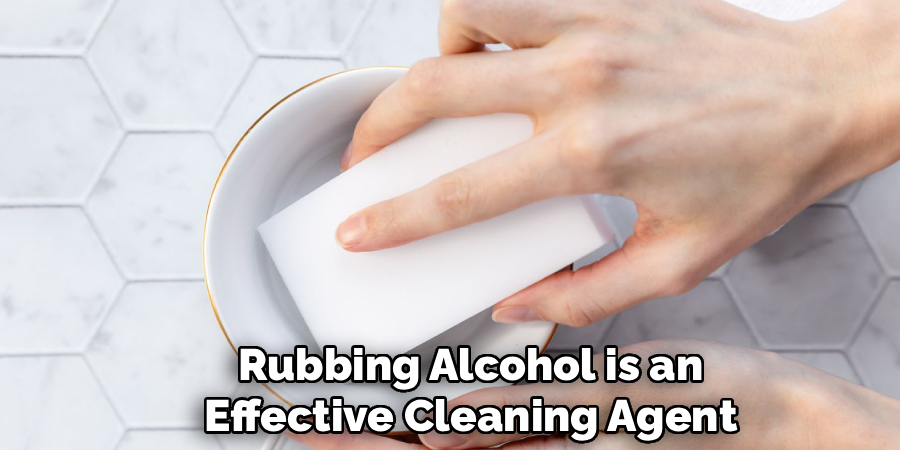
If some wax stains or residue prove stubborn and do not come off with soap and water, rubbing alcohol is an effective cleaning agent. Dampen a cotton ball or soft cloth with isopropyl rubbing alcohol and gently rub the affected areas. The alcohol breaks down wax residue and evaporates quickly, leaving no oily film behind. Use caution around any painted or decorated ceramic areas, as alcohol might affect delicate finishes. Testing on a small inconspicuous spot first can prevent damage.
6. Using White Vinegar for Natural Cleaning
For those preferring natural cleaning solutions, white vinegar offers a safe and effective option to remove wax residues and odors from ceramic wax warmers. Mix equal parts of white vinegar and warm water, then soak a cloth in the solution and wipe down the ceramic surface. Vinegar’s mild acidity helps dissolve residual wax and deodorizes the warmer. After wiping with vinegar, rinse with a damp cloth and dry thoroughly. This eco-friendly method is gentle on ceramic and effective for routine cleaning.
7. Cleaning the Exterior Ceramic Surface
Besides cleaning the wax dish, the exterior ceramic surface of the warmer also benefits from regular dusting and wiping. Use a microfiber cloth to remove dust and fingerprints gently. For more thorough cleaning, dampen the cloth slightly with water or a mild all-purpose cleaner safe for ceramics. Avoid abrasive pads or harsh chemicals that could scratch or dull the glossy finish. Keeping the exterior clean preserves the warmer’s aesthetic appeal and prevents buildup that could transfer to the wax dish.
8. Avoiding Harsh Chemicals and Abrasive Tools
Ceramic wax warmers often have delicate finishes that can be damaged by harsh chemicals or abrasive cleaning tools. Avoid bleach, ammonia, or strong solvents, as they can discolor or erode the ceramic glaze. Likewise, steer clear of steel wool or rough scrubbing pads that might scratch or chip the surface. Instead, use soft sponges, microfiber cloths, or non-scratch scrubbers specifically designed for delicate surfaces. Gentle cleaning maintains the warmer’s beauty and prolongs its lifespan.
9. Cleaning the Electrical Base Carefully
While the ceramic dish requires frequent cleaning, the electrical base or heating element needs a more cautious approach. Ensure the warmer is unplugged and completely cool before cleaning. Use a dry or slightly damp cloth to wipe away dust or debris from the base. Never immerse the base in water or allow moisture to enter electrical components, as this can cause malfunction or electrical hazards. Keeping the base clean but dry ensures safe operation and extends the life of the warmer.
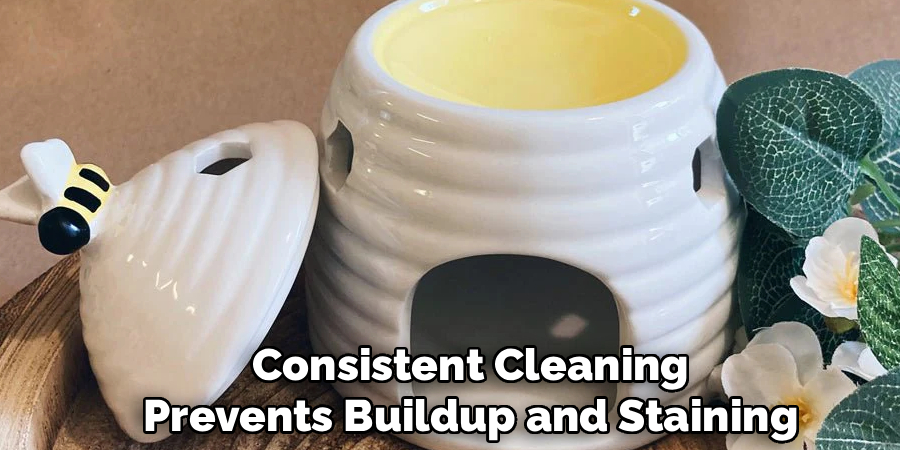
10. Regular Maintenance and Wax Replacement
The best way to keep your ceramic wax warmer clean is through regular maintenance. Change the wax frequently, especially if it becomes discolored or loses fragrance. After each wax replacement, wipe the ceramic dish to remove any leftover residue before adding new wax melts. Consistent cleaning prevents buildup and staining, preserving both function and appearance. Periodic deep cleaning using the methods above ensures your wax warmer remains a source of fragrant enjoyment and aesthetic delight.
Preventative Measures
To keep your ceramic wax warmer in pristine condition, adopting preventative measures is key. Avoid overfilling the dish with wax, as this can lead to spills and harder-to-clean surfaces. Use high-quality wax melts that are less likely to leave residue or scorch the dish. Place your wax warmer on a stable, heat-resistant surface to prevent accidental tipping or heat damage to surrounding areas.
Additionally, ensure the warmer is kept away from direct sunlight and excessive moisture, as these factors can impact its durability. By incorporating these practices, you can extend the life and functionality of your wax warmer while maintaining its visual appeal.
Conclusion
Cleaning a ceramic wax warmer involves a balance of careful handling, appropriate cleaning agents, and regular maintenance. From safely removing hardened wax and softening residues with warm water to employing gentle soaps, rubbing alcohol, or natural vinegar solutions, each method contributes to a spotless, well-functioning warmer.
Avoiding harsh chemicals and abrasive tools protects the delicate ceramic finish, while careful cleaning of the electrical base preserves safety and longevity. Thanks for reading our blog post on how to clean a ceramic wax warmer! We hope you found it helpful and informative.
Specialization:
- Master of wheel-throwing, hand-building, and advanced glazing techniques
- Focus on creating both functional pottery and decorative art pieces
Recognition:
- Celebrated by collectors and art enthusiasts for creating one-of-a-kind pieces that blend artistry with functionality
- Participates in local and national exhibitions, earning accolades for his innovative designs and craftsmanship
Passion:
- Deeply committed to exploring and pushing the boundaries of ceramic artistry
- Continuously experiments with new materials, firing techniques, and artistic concepts to evolve his craft
Personal Philosophy:
- Believes in the transformative power of art, aiming to evoke emotions and connections through his ceramic creations
- Advocates for sustainability in ceramics, using eco-friendly materials and practices whenever possible