Taking care of your ceramic plant pots not only maintains their aesthetic appeal but also contributes to the health of the plants they house. Over time, these pots can accumulate mineral deposits, algae, and other debris that might affect plant growth. Proper cleaning of ceramic pots is essential to prevent diseases and ensure an optimal environment for your plants.
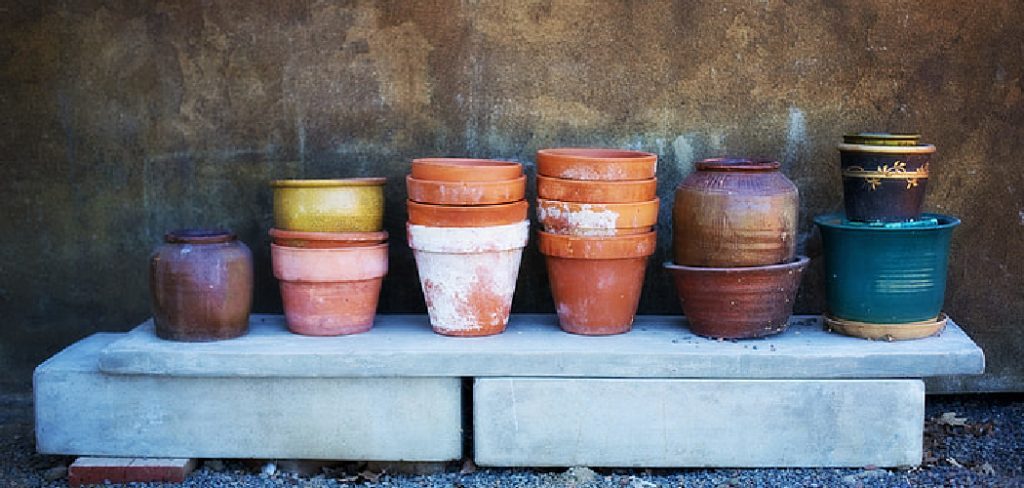
In this guide on how to clean ceramic plant pots, we will walk you through the step-by-step process of cleaning your ceramic plant pots effectively, ensuring they remain a beautiful and functional part of your gardening setup.
Why is Cleaning Ceramic Plant Pots Important?
Cleaning your ceramic plant pots has several benefits, including:
Preventing the Spread of Diseases:
Dirt and debris can harbor harmful bacteria and fungi that can infect your plants. Cleaning your ceramic pots regularly removes these potential disease carriers and reduces the risk of spreading diseases among your plants.
Maintaining Aesthetic Appeal:
Ceramic plant pots are prized for their beauty, and regular cleaning is necessary to preserve their aesthetic appeal. Over time, a buildup of mineral deposits, algae, and other debris can discolor or stain the pot’s surface. Regular cleaning ensures that your pots remain visually appealing and complement the plants they hold.
Improving Plant Health:
Dirty ceramic pots can affect the health of your plants by clogging drainage holes or retaining excessive moisture that leads to root rot. Regularly cleaning your pots helps maintain proper drainage and prevents waterlogged soil, promoting healthy plant growth.
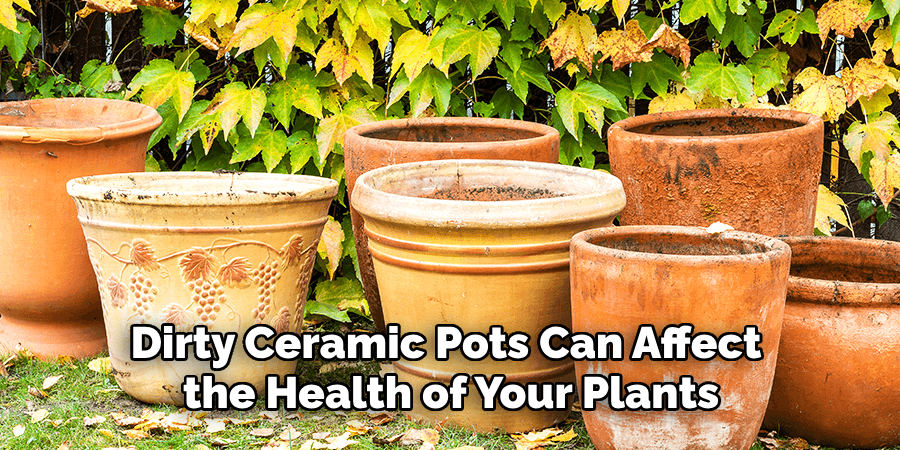
Now that we understand the importance of cleaning ceramic plant pots let’s dive into the step-by-step process of how to clean them effectively.
Needed Materials
- Water
- Mild Dish Soap or Vinegar
- Soft-bristled Brush or Sponge
- Gloves (Optional)
- Bucket or Large Container
- Old Towel or Paper Towels
8 Step-by-step Guidelines on How to Clean Ceramic Plant Pots
Step 1: Empty and Remove Soil
Begin by carefully removing the plant from the ceramic pot. Gently tap the sides of the pot to loosen the soil and root ball if it’s stuck. Once the plant is out of the pot, set it aside in a safe location. Next, dispose of the remaining soil in the pot.
Ensure that you thoroughly empty all the soil, as leftover soil can harbor bacteria and pests that may harm future plants. Once you have emptied the pot, you can proceed with the cleaning process to prepare it for replanting.
Step 2: Remove Larger Debris
After emptying the pot of soil, it’s important to clear away any large debris that may still be stuck to the interior or exterior surfaces of the ceramic pot. Use your hands to pick out weeds, roots, or other visible residues left behind from the previous planting. You can use a soft-bristled brush or a sponge to gently scrub the pot’s surface, dislodging stubborn particles.
This step ensures a more thorough cleaning process in the later stages, facilitating the removal of any remaining mineral deposits or microbial build-up.
Step 3: Prepare a Cleaning Solution
Fill a bucket or large container with warm water and add mild dish soap or vinegar to create a cleaning solution. If your ceramic pot has stubborn stains or mineral deposits, you may need to use stronger solutions like bleach diluted in water. For a more natural approach, you can also use equal parts of lemon juice and water as an alternative cleaning solution.
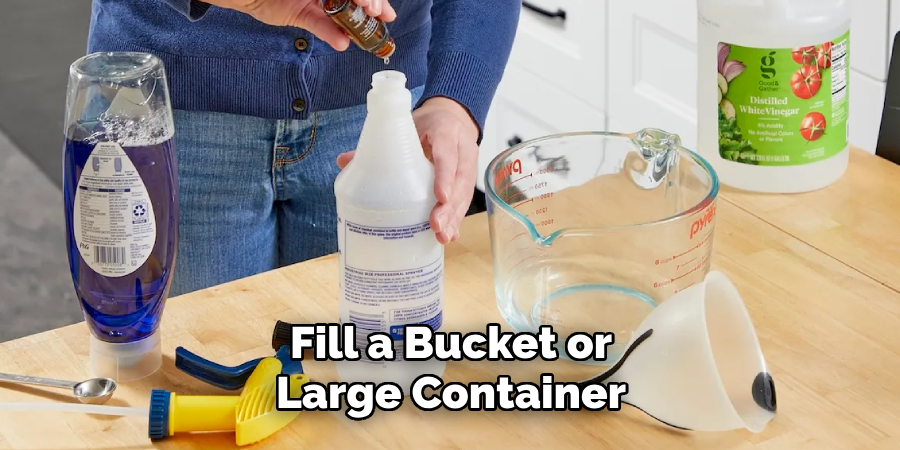
It’s important to avoid using harsh chemicals or abrasive cleaners, as they can damage the pot’s surface and potentially harm your plants.
Step 4: Soak the Pot
Once your cleaning solution is prepared, submerge the ceramic pot completely in the solution. Allow the pot to soak for about 15 to 30 minutes, depending on the severity of the stains or mineral deposits. This soaking period will help loosen stubborn deposits, making them easier to scrub off in subsequent steps.
Be sure the pot is fully immersed to ensure that all areas are treated, especially those that are heavily soiled or stained. If the pot is too large to submerge completely, you can rotate it periodically to ensure all sections have adequate soaking time.
Step 5: Scrub the Pot
After the pot has soaked for the recommended time, use a soft-bristled brush or sponge to gently scrub away any remaining dirt, mineral deposits, or stains. Be sure to cover all areas of the pot’s interior and exterior surfaces thoroughly.
For tougher stains or residues, you can also use a toothbrush or an old rag to target smaller, hard-to-reach areas. Avoid using metal brushes or harsh scouring pads as they can scratch and damage your ceramic pot.
Step 6: Rinse Thoroughly
Once you have scrubbed off all visible dirt and debris from the ceramic pot, it’s crucial to rinse it thoroughly to remove any remaining cleaning solution. Use clean water and a gentle stream to rinse the pot’s interior and exterior surfaces, ensuring that all soap or vinegar residue is washed away.
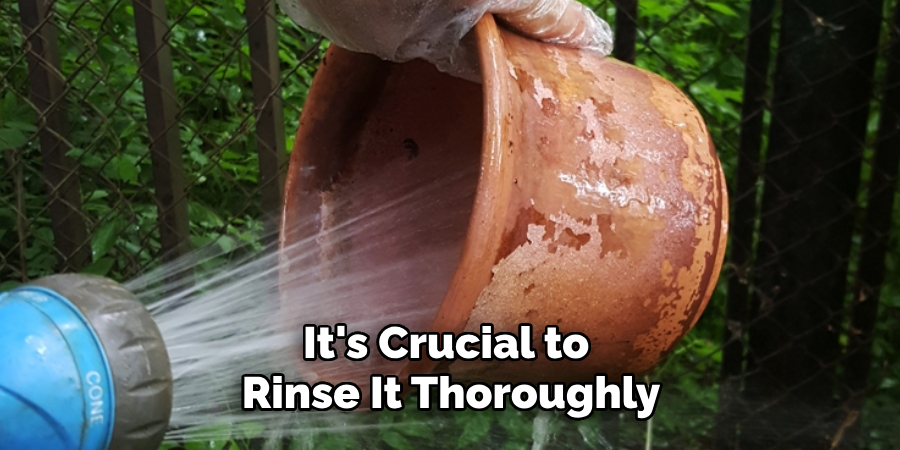
Rinsing also helps remove any loosened mineral deposits or stains that may have been missed in the scrubbing process.
Step 7: Dry the Pot
After rinsing, use an old towel or paper towel to dry your ceramic pot completely. Ensure that there is no excess moisture left behind before proceeding with replanting.
To speed up the drying process, you can also leave your pot out in direct sunlight for a few hours. This will not only dry it faster but also help kill off any remaining bacteria or fungi.
Step 8: Replant
Once your ceramic pot is completely dry and free of any dirt, debris, or stains, you can proceed with replanting your chosen plant. Be sure to add new soil and carefully place the plant back into the pot, gently packing the soil around its roots.
With these simple steps on how to clean ceramic plant pots, you can effectively clean your ceramic plant pots and maintain their beauty and functionality for years to come.
Preventive Maintenance
To ensure the longevity and efficiency of your ceramic plant pots, incorporating preventive maintenance practices is key. Regularly inspecting your pots for cracks, chips, or other damage can help identify issues early on, allowing you to address them before they become significant problems.
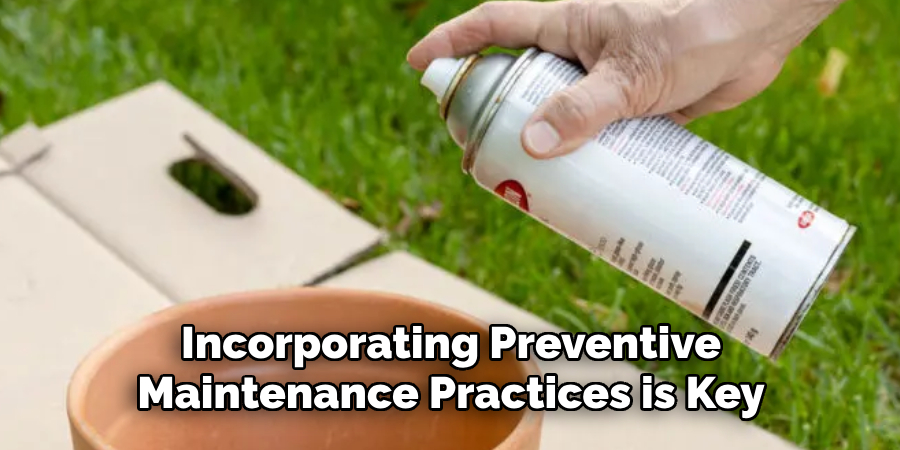
Consider rotating your pots periodically to ensure even sunlight exposure and avoid overexposure on one side, which can lead to structural wear. Additionally, periodically check the drainage holes for blockages, as these can affect the pot’s ability to manage moisture, impacting plant health. By consistently caring for your ceramic pots, you can enjoy their aesthetic appeal and functional benefits for many years.
How Much Could It Cost to Clean Ceramic Plant Pots?
The cost of cleaning ceramic plant pots largely depends on the materials you already have on hand and the extent of the cleaning required. For most basic cleaning tasks, you might only need inexpensive materials like mild dish soap or vinegar, which can cost a few dollars or may already be available in your home. If you opt for a natural cleaning solution, such as lemon juice, the cost remains similarly low.
For more intensive cleaning, especially if pots are heavily soiled or stained with mineral deposits, you might need to purchase additional cleaning agents such as a small bottle of bleach or specialized pot cleaners, which could range from $5 to $15. Additional items like a soft-bristled brush or a sponge, if not already owned, might add an extra $5 to $10 to the total cost.
Overall, cleaning ceramic plant pots is a cost-effective task that requires minimal expenditure, allowing you to maintain your pots’ condition without significant financial outlay.
Frequently Asked Questions
Q: How Often Should I Clean My Ceramic Plant Pots?
A: It is recommended that you clean your ceramic plant pots at least once a year. However, if you notice mineral deposits or residue buildup, it’s best to clean them right away. It’s also a good idea to clean your pots before replanting, ensuring a fresh and clean environment for your new plant.
Q: Can I Use Bleach to Clean My Ceramic Plant Pots?
A: Yes, you can use bleach diluted in water as a cleaning solution. However, be sure to rinse the pot thoroughly after scrubbing to remove any remaining bleach residue. It’s also important to wear gloves when handling bleach and avoid using it on colored or painted ceramic pots.
Q: How Do I Remove Tough Stains from My Ceramic Plant Pot?
A: For tough stains, you can create a paste of baking soda and water and apply it directly onto the stained areas. Let it sit for a few minutes before scrubbing with a soft-bristled brush. You can also use a vinegar and water solution or lemon juice to target stubborn stains. For particularly tough stains, you may need to repeat the process multiple times.
Conclusion
By following these comprehensive steps on how to clean ceramic plant pots, you can maintain the appearance and health of your ceramic plant pots effectively. Regular cleaning not only enhances the aesthetic appeal of your pots but also ensures a healthy environment for your plants to thrive.
Remember, prevention is key, and keeping your pots clean of mineral deposits and bacteria will lead to more successful and rewarding planting experiences. With a little effort and care, your ceramic pots can remain beautiful and functional for years to come, providing a stable home for your plants to flourish.
Specialization:
- Master of wheel-throwing, hand-building, and advanced glazing techniques
- Focus on creating both functional pottery and decorative art pieces
Recognition:
- Celebrated by collectors and art enthusiasts for creating one-of-a-kind pieces that blend artistry with functionality
- Participates in local and national exhibitions, earning accolades for his innovative designs and craftsmanship
Passion:
- Deeply committed to exploring and pushing the boundaries of ceramic artistry
- Continuously experiments with new materials, firing techniques, and artistic concepts to evolve his craft
Personal Philosophy:
- Believes in the transformative power of art, aiming to evoke emotions and connections through his ceramic creations
- Advocates for sustainability in ceramics, using eco-friendly materials and practices whenever possible


