


Are you tired of scrubbing your toilet bowl endlessly without getting it clean? Do you want a practical, eco-friendly solution? Look no further!
How to clean ceramic toilet bowls is an essential household chore that ensures both hygiene and the longevity of your bathroom fixtures. While it might not be the most glamorous of tasks, maintaining a clean toilet bowl prevents the buildup of stains and deposits, keeping your bathroom fresh and sanitary. A well-cleaned toilet bowl provides a pleasant aesthetic and helps avoid the growth of harmful bacteria and germs.
This guide will explore practical methods and tips for cleaning your ceramic toilet bowl using commercial products and natural solutions. Whether you want a quick refresh or a deep clean, these steps will help you keep your toilet sparkling and hygienic.
What Will You Need?
Before we dive into the cleaning process, let’s gather all the necessary tools and materials. If you are using commercial products, read the instructions carefully before use. You will need:
- Toilet bowl cleaner (commercial or homemade)
- Toilet brush
- Rubber gloves
- Microfiber cloth or sponge
- Vinegar or lemon juice (optional)
- Baking soda (optional)
Remember to wear protective gear such as rubber gloves and a face mask while handling any chemicals.
10 Easy Steps on How to Clean Ceramic Toilet Bowl
Step 1. Prepare Your Area:
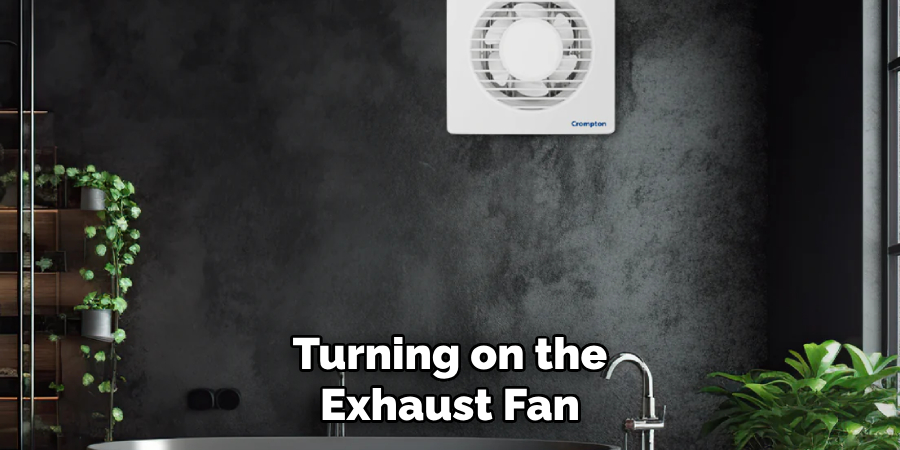
To begin cleaning, ensure your bathroom is well-ventilated by opening windows or turning on the exhaust fan to disperse any fumes from cleaning agents. This is crucial for maintaining good air quality, as some commercial cleaners can release strong or even harmful odors. Clear any items or obstacles around the toilet to avoid accidental spills or splashes onto toiletries or other surfaces.
Once your area is prepped and sanitized, don your rubber gloves and other protective gear, like a face mask, to protect yourself from splashes or contact with harsh chemicals. With everything ready, you’re set to move on to the next steps for a thorough and effective cleaning process.
Step 2. Apply Cleaning Solution:
Select your preferred toilet bowl cleaner—whether it’s a commercial product or a natural solution like vinegar or lemon juice. Carefully squirt or pour the cleaner around the inside edge of the toilet bowl, allowing it to coat the entire interior surface evenly. Pay extra attention to areas with visible stains or buildup, as they may require more cleaning agents. Let the solution sit for a few minutes (as indicated on the label if using a commercial cleaner) to allow it to break down stains and deposits effectively. This wait time is crucial for allowing the active ingredients to penetrate the grime before scrubbing.
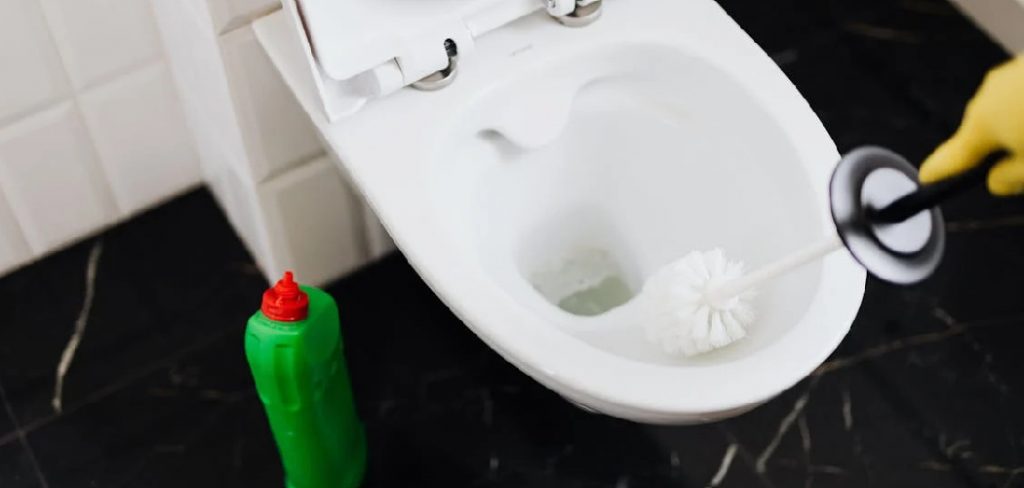
Step 3. Scrub the Bowl:
After allowing the cleaning solution to sit for the recommended time, take your toilet brush and scrub the bowl’s interior. Use firm, circular motions, particularly in areas with stubborn stains or mineral deposits. Be sure to wash under the rim, where grime often accumulates. The bristles of the toilet brush will help dislodge any residues while spreading the cleaning solution evenly across the surfaces. If needed, apply additional cleaning solutions to problem areas and continue scrubbing until the surface looks clean.
Step 4. Let It Soak:
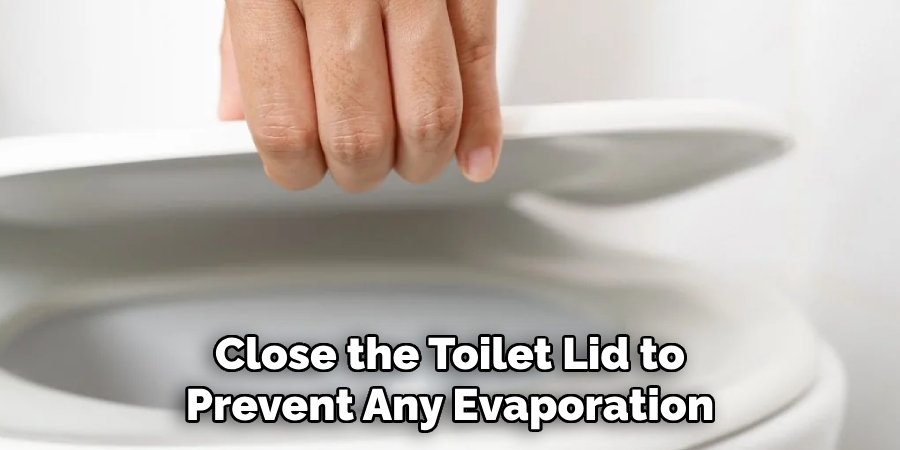
Once thoroughly scrubbing the bowl, allow the cleaning solution to soak for a little longer, especially if you are dealing with tough stains or mineral deposits. This additional soaking time helps ensure that any resistant residues continue to break down. Close the toilet lid to prevent any evaporation of the cleaning agent, which can make it less effective. Depending on the severity of the stains and the type of cleaner being used, let it sit for an additional 10 to 20 minutes. Patience is critical to achieving a spotless, sparkling ceramic toilet bowl with minimal effort.
Step 5. Rinse and Flush:
After the soaking period, it’s time to rinse off the cleaner and any dislodged debris. Begin by flushing the toilet to start the initial rinse. For any remaining cleaning solution or residue, use a clean toilet brush to give the bowl a quick additional scrub, ensuring all cleaning agents and stains are appropriately washed away. Flush the toilet again to thoroughly rinse the bowl and inspect the surface for any missed spots that might need another quick scrub.
Flushing also helps cleanse the brush, leaving it clean for subsequent use. Remember to lower the toilet seat and lid gently to prevent unnecessary noise or potential damage.
Step 6. Dry and Shine:
Once the bowl is clean and free of any cleaner residues, it’s time to dry off the surfaces and add some shine. Use a microfiber cloth or a clean sponge to carefully wipe down the exterior of the toilet, including the tank, seat, and lid. This not only removes any remaining moisture but also helps to prevent water spots and streaks. For an extra touch of shine, you can use a small amount of white vinegar on the cloth to polish the ceramic surface. This step not only enhances the appearance of your toilet but also ensures that it’s spotless, leaving your bathroom looking fresh and inviting.
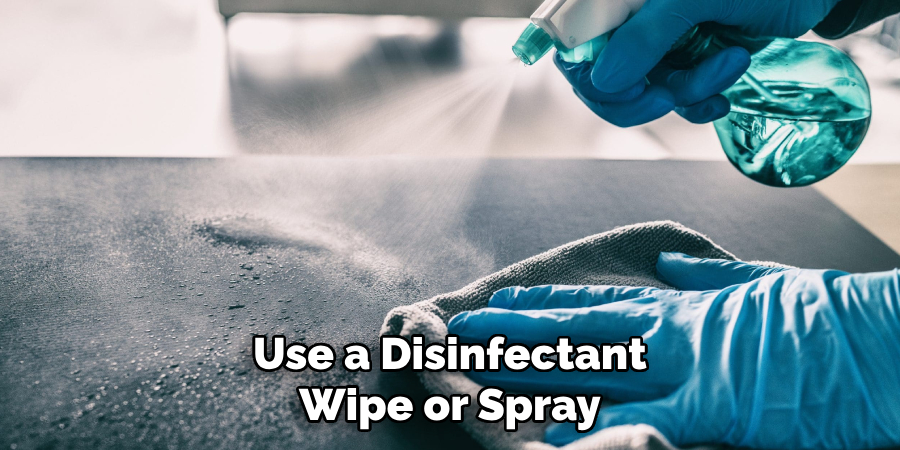
Step 7. Sanitize Handles and Surroundings:
Continuing the cleaning process, paying attention to the toilet handles and the area surrounding the toilet is essential. These often overlooked surfaces can harbor bacteria and germs. Use a disinfectant wipe or spray to thoroughly clean the flush handle, ensuring all crevices are reached. Pay attention to any buttons or additional fixtures, wiping them clean as well.
Furthermore, clean and sanitize the areas around the toilet’s base and nearby walls or cabinets where splashes might occur. These measures maintain a hygienic environment and prevent the spread of germs, contributing to a healthier bathroom space.
Step 8. Deodorize the Area:
After completing the cleaning and sanitizing steps, it’s time to address any lingering odors and refresh the space. To deodorize the bathroom, consider using a natural air freshener like baking soda. Simply sprinkle a small amount into the toilet bowl and let it sit for a few minutes before flushing, which will help neutralize any unpleasant scents. Alternatively, you can use an essential oil diffuser or a scented candle to add a pleasant aroma to the room. The goal is to ensure that the bathroom looks pristine and smells clean and inviting, creating a comfortable environment for everyone who uses it.
Step 9. Check Supplies and Maintain Regular Cleaning Schedule:
After ensuring the bathroom is fresh, clean, and inviting, it’s important to check your cleaning supplies. Inventory essential items like toilet bowl cleaner, disinfectant wipes, rubber gloves, and microfiber cloths. It’s an excellent practice to restock these supplies regularly to avoid running out in the middle of a cleaning session.
Equally important is maintaining a regular cleaning schedule. Establish a routine that fits with your lifestyle—whether weekly, bi-weekly, or monthly—to prevent the build-up of grime and stains. Consistent cleaning ensures the longevity of your bathroom fixtures and creates a healthier environment for you and your household.
Step 10. Final Inspection and Adjustments:
Once all the cleaning steps are completed, conduct a final bathroom inspection to ensure everything has been noticed. Look for any lingering spots or areas that might require extra attention, especially hard-to-reach corners and underneath the toilet bowl rim. Verify that all cleaning products have been effectively rinsed away to prevent any residue or chemical build-up.
Check that the toilet and surroundings are dry, showcasing a clean and fresh appearance. Make minor adjustments, such as repositioning decorative items or restocking toilet paper.
By following these ten simple steps, you can easily maintain a clean and hygienic toilet bowl without spending hours scrubbing or using harsh chemicals.

5 Things You Should Avoid
- Avoid Using Abrasive Cleaners: Harsh scrubbers and abrasive cleaning agents can scratch the surface of the ceramic, leading to permanent damage and making it more difficult to clean in the future.
- Do Not Use Bleach Unnecessarily: While bleach can help whiten and sanitize, frequent use can cause discoloration or weaken the ceramic over time. It’s best to use it sparingly.
- Avoid Metal Brushes or Scrapers: Metal tools can leave unsightly marks and scratches on your toilet bowl. Instead, opt for soft brushes especially designed for ceramic surfaces.
- Don’t Mix Cleaning Chemicals: Combining different cleaning products can lead to harmful reactions that may damage the ceramic and pose health risks. Stick to one product at a time.
- Steer Clear of Leaving Cleaning Agents to Sit: Allowing cleaning agents to sit for a prolonged time can damage the glazing on your ceramic toilet bowl, reducing its shine and effectiveness at repelling stains.
Once you have finished cleaning your ceramic toilet, rinse it thoroughly with water and wipe it dry with a soft cloth.
Conclusion
In conclusion, how to clean ceramic toilet bowl involves using gentle cleaning practices to preserve its appearance and functionality.
By avoiding abrasive cleaners, limiting the use of bleach, and steering clear of metal tools, you can prevent damage to the ceramic surface. Opt for soft brushes and only one cleaning product at a time to ensure safety and effectiveness. Additionally, it’s crucial to rinse thoroughly and dry the bowl with a soft cloth post-cleaning to maintain the glaze and prevent watermarks.
Following these steps not only enhances the longevity of your toilet but also keeps it hygienic and pristine.
Specialization:
- Master of wheel-throwing, hand-building, and advanced glazing techniques
- Focus on creating both functional pottery and decorative art pieces
Recognition:
- Celebrated by collectors and art enthusiasts for creating one-of-a-kind pieces that blend artistry with functionality
- Participates in local and national exhibitions, earning accolades for his innovative designs and craftsmanship
Passion:
- Deeply committed to exploring and pushing the boundaries of ceramic artistry
- Continuously experiments with new materials, firing techniques, and artistic concepts to evolve his craft
Personal Philosophy:
- Believes in the transformative power of art, aiming to evoke emotions and connections through his ceramic creations
- Advocates for sustainability in ceramics, using eco-friendly materials and practices whenever possible