


Are you obsessed with ceramic pottery and have a collection of unglazed pieces you want to clean?
Cleaning unglazed ceramic pottery requires a gentle yet practical approach to preserve its natural finish and unique characteristics. Unlike glazed ceramics, unglazed pottery is more porous, making it susceptible to stains and water absorption. It’s essential to use appropriate techniques and materials to maintain its aesthetic appeal and longevity.
This guide will help you understand the best practices for how to clean unglazed ceramic pottery, from selecting the right cleaning agents to employing gentle methods that ensure your treasured pieces remain in pristine condition. Whether it’s a newly acquired piece or a cherished heirloom, these tips will help you keep your unglazed ceramic pottery looking its best.

What Will You Need?
Before we dive into the cleaning process, let’s gather the necessary materials. To clean unglazed ceramic pottery, you’ll need:
- Soft-bristled brush or toothbrush
- Gentle dish soap or mild detergent
- White vinegar
- Baking soda
- Water
- Soft cloth or sponge
Avoid using harsh chemicals, abrasive tools, and rough cloths, as these can damage the porous surface of unglazed ceramics.
10 Easy Steps on How to Clean Unglazed Ceramic Pottery
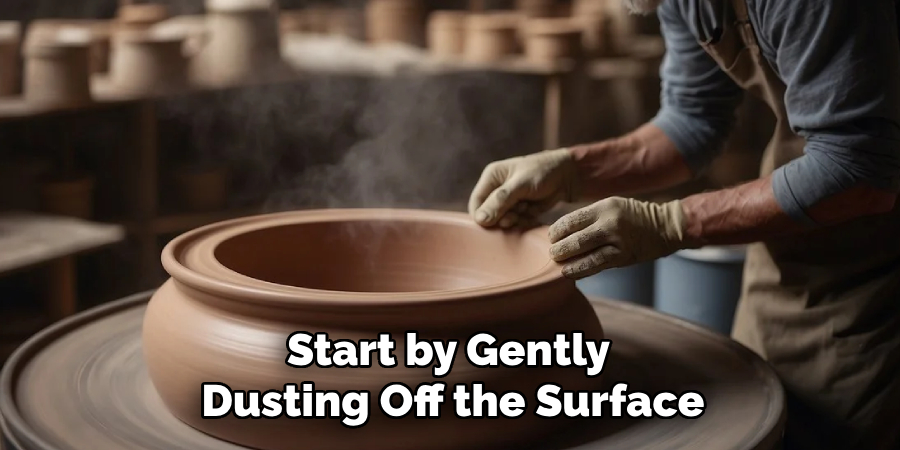
Step 1. Dust Off the Surface
Start by gently dusting off the surface of the unglazed ceramic pottery using a soft-bristled brush or toothbrush. This initial step is crucial as it helps remove any loose dirt or debris that might scratch the surface if left on during the cleaning process.
Make sure to cover the entire piece, paying particular attention to any crevices or intricate details where dust might accumulate. Handle the pottery carefully, and use light, sweeping motions to avoid applying too much pressure, which could inadvertently damage the delicate, porous surface of the unglazed ceramic. Regular dusting also helps maintain the appearance of your pottery by preventing dust build-up over time.
Step 2. Prepare a Cleaning Solution
Mix a small amount of gentle dish soap or mild detergent with warm water in a bowl to create a cleaning solution. Ensure that the soap is thoroughly dissolved to prevent any residue from being left on the pottery. This solution will help lift any stubborn dirt and stains without being too harsh on the unglazed surface. If necessary, add a tablespoon of white vinegar to the mixture to enhance its cleaning power. White vinegar is a natural cleaning agent due to its acidic properties, which can help break down mineral deposits and grime. Be cautious with the amount used, as too much vinegar can be damaging.
Step 3. Test the Cleaning Solution
Before applying the cleaning solution to the entire piece, it’s advisable to test it on a small, inconspicuous area of the pottery. This will help ensure that the solution does not cause any adverse reactions, such as discoloration or damage to the porous surface. Apply a small amount of the solution using a soft cloth or sponge, and gently dab the test area. Observe the spot for a few minutes to ensure no unwanted effects. If the solution is safe to use, proceed with the cleaning process on the rest of the pottery. Testing beforehand ensures that you preserve your unglazed ceramic piece’s natural beauty and integrity.
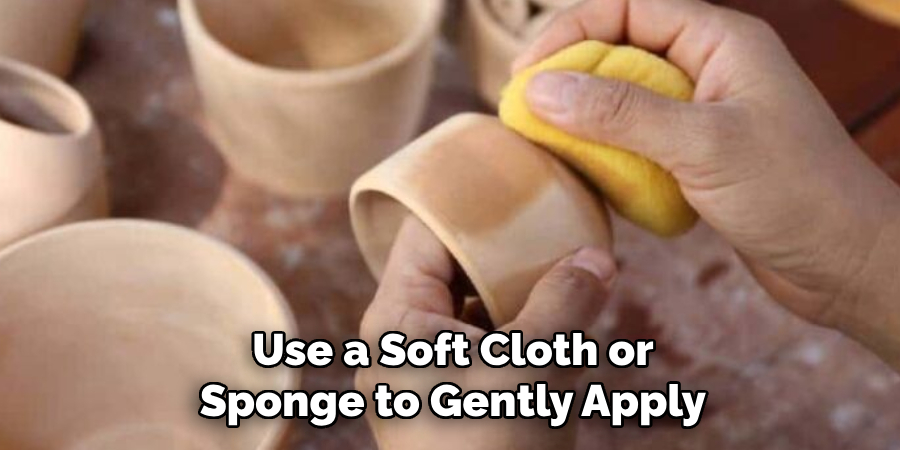
Step 4. Clean the Pottery Gently
Once you’re confident that the cleaning solution is safe, use a soft cloth or sponge to gently apply it to the entire surface of the unglazed ceramic pottery. Begin by dipping the fabric in the solution, then wring out any excess liquid—the pottery mustn’t become overly saturated. Use gentle, circular motions to clean the surface, addressing any stained or foul areas. Avoid scrubbing too hard, as this can damage the porous surface. If needed, re-dip the cloth in the solution to maintain effectiveness. Focus on one section at a time to ensure thorough cleaning without risking damage.
Step 5. Rinse Thoroughly
After cleaning the pottery with the solution, it’s crucial to rinse it thoroughly with clean water to remove any soap or vinegar residue that may remain. Gently run a soft cloth or sponge under lukewarm water, then wipe down the pottery to wash away any leftover cleaning solution. Be mindful not to submerge the pottery in water or soak it, as this can lead to water absorption due to its porous nature. Ensure all areas, especially those holding excess soap, are rinsed properly to preserve the pottery’s appearance and integrity.
Step 6. Dry the Pottery Carefully
After rinsing, gently pat the ceramic piece dry with a clean, soft cloth or a towel. Removing as much moisture as possible is essential to prevent water spots and potential damage over time. Avoid rubbing the pottery vigorously; use a blotting motion to soak up the water.
Once the surface is no longer wet, place the pottery in a well-ventilated area to air-dry completely. Avoid placing it in direct sunlight or near heat sources, as rapid drying or temperature changes can cause the pottery to crack or warp. Ensure the pottery is thoroughly dry before storing or displaying it to maintain its quality and prevent the growth of mold or mildew, which can thrive in damp environments. Take care to properly handle each piece, preserving its natural finish and ensuring that your unglazed pottery remains in excellent condition for years.
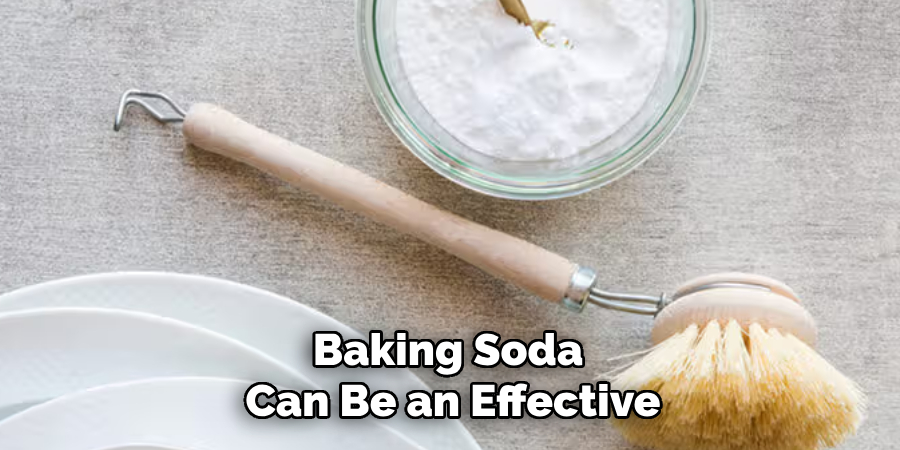
Step 7. Address Stubborn Stains with Baking Soda
Baking soda can be an effective yet gentle abrasive cleaner for any remaining stubborn stains. Create a paste by mixing baking soda with a small amount of water, achieving a thick yet spreadable consistency. Apply this paste directly to the stained areas using a soft cloth or sponge, and gently rub in a circular motion.
The slight abrasiveness of baking soda helps lift stains without scratching the delicate surface of unglazed ceramics. Allow the paste to sit on the stain for a few minutes before wiping it away with a damp cloth. Be sure to rinse the area thoroughly to ensure all baking soda residue is removed. Use this method sparingly and only when necessary to protect the longevity of your pottery.
Step 8. Use Preventative Measures
To keep your unglazed ceramic pottery looking its best, consider implementing preventative measures that minimize the risk of future stains and damage. Store the pottery in a stable environment where temperature and humidity remain consistent, as fluctuations can lead to cracking or warping. Display the pieces away from direct sunlight to avoid fading and heat damage. When arranging pottery with other decorative items, ensure ample space between them to prevent accidental bumps or scratches.
Additionally, if you plan to use your ceramic pieces for functional purposes, such as holding plants, place a protective barrier like a dish or saucer beneath the pottery to prevent moisture absorption from watering. By taking these steps, you can significantly enhance your unglazed ceramic pottery’s longevity and aesthetic appeal.
Step 9. Regular Maintenance
To ensure the ongoing beauty and integrity of your unglazed ceramic pottery, regular maintenance is critical. Every few months, take the time to gently dust your pottery with a soft, dry cloth to remove any surface particles. If the pottery is on display, inspect it periodically for any signs of dust buildup or minor stains that may require cleaning. Avoid using chemical cleaners, as these can harm the porous surface. Instead, maintain the pottery using natural or lightweight cleaning solutions as described earlier.
This routine upkeep will preserve the pottery’s appearance and allow you to enjoy its craftsmanship for many years. Consistent care highlights the timeless quality of unglazed ceramics, ensuring each piece remains a cherished part of your collection.
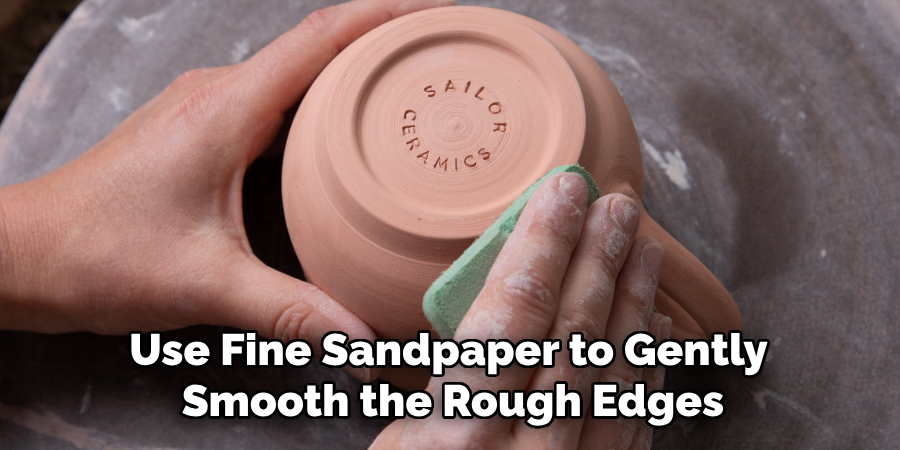
Step 10. Repair Minor Chips or Cracks
If your unglazed ceramic pottery develops minor chips or cracks, addressing them promptly can prevent further damage. Use fine sandpaper to gently smooth the rough edges for minor chips, creating a more uniform appearance. If a crack appears, a non-toxic ceramic adhesive can be applied. First, clean the cracked area to remove debris, then apply a small amount of adhesive along the crack using a toothpick or similar tool. Press the sides together gently and wipe away any excess glue with a damp cloth.
Allow the repair to dry completely, following the adhesive manufacturer’s instructions. For more significant repairs, consider consulting a professional restorer to ensure the piece is preserved without compromising its integrity. Regular inspection and timely repair will maintain your ceramic items’ artistic and functional value.
By following these steps, you can effectively clean and care for your unglazed ceramic pottery, preserving its beauty and quality for generations.
Conclusion
How to clean unglazed ceramic pottery requires a delicate approach to ensure its continued beauty and functionality.
Employing gentle cleaning agents like vinegar and baking soda can safely remove dirt and stains without inflicting damage. Handling each piece carefully is crucial, as well as avoiding water submersion and using non-abrasive methods to preserve the pottery’s natural finish. Incorporating preventive measures and performing regular maintenance will further protect these items from environmental stressors.
In cases of minor damage, timely repairs can extend the life of your ceramics. With thoughtful care, your unglazed pottery will remain a treasured part of your collection, offering aesthetic pleasure and historical value for years.
Specialization:
- Master of wheel-throwing, hand-building, and advanced glazing techniques
- Focus on creating both functional pottery and decorative art pieces
Recognition:
- Celebrated by collectors and art enthusiasts for creating one-of-a-kind pieces that blend artistry with functionality
- Participates in local and national exhibitions, earning accolades for his innovative designs and craftsmanship
Passion:
- Deeply committed to exploring and pushing the boundaries of ceramic artistry
- Continuously experiments with new materials, firing techniques, and artistic concepts to evolve his craft
Personal Philosophy:
- Believes in the transformative power of art, aiming to evoke emotions and connections through his ceramic creations
- Advocates for sustainability in ceramics, using eco-friendly materials and practices whenever possible