


Conditioning ceramic clay is a crucial step in preparing the material for crafting and sculpting projects. This process ensures the clay is at the right consistency, making it pliable and smooth for shaping. Properly conditioned clay not only helps in achieving finer details in your artwork but also minimizes the risk of cracking or other imperfections during drying and firing. In this guide, we’ll explore effective methods and tips for how to condition ceramic clay, enabling you to work confidently and creatively with this versatile medium.
What is Conditioning Clay?
Conditioning clay is the process of preparing clay to be used for artistic or functional ceramic works. This involves manipulating the clay to achieve a uniform texture throughout, which helps to eliminate air bubbles and inconsistencies. Conditioning can be done through kneading, rolling, and folding the clay repetitively. This ensures even moisture distribution, making the clay softer and more malleable. Proper conditioning is essential for successful sculpting and crafting, as it facilitates smoother application and reduces the chances of structural weaknesses or defects in the finished product.
Why It’s Necessary
Conditioning ceramic clay is essential because it lays the foundation for a successful crafting experience. Unconditioned clay often contains uneven moisture levels and air pockets, which can lead to serious issues during the creation process. If air bubbles are trapped within the clay, they can expand during firing, causing the piece to crack or even explode in the kiln.
Moreover, inconsistencies in texture can result in difficulties when shaping or forming intricate details, as some parts of the clay may be harder or drier than others, leading to an uneven surface or fragile structure. By thoroughly conditioning the clay, artists ensure a uniform consistency that enhances workability and helps to achieve a stronger, more durable final product. Ultimately, this critical step in the preparation process greatly influences the quality and integrity of the artwork.
10 Essential Methods How to Condition Ceramic Clay
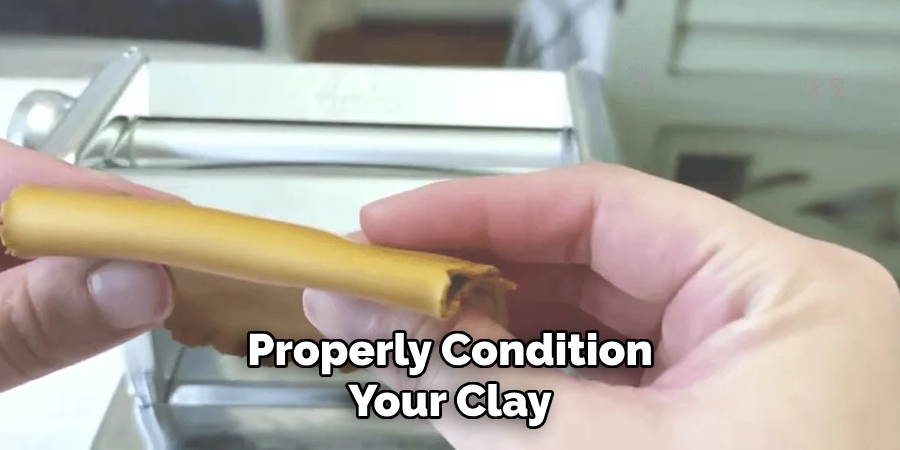
Working with ceramic clay is an art form that has captivated hobbyists and art enthusiasts for centuries. The beauty of transforming raw clay into a work of art is unparalleled. However, to achieve the best results, it is crucial to properly condition your clay before starting any project. This guide provides you with ten essential methods to effectively condition ceramic clay, ensuring that your creations are both beautiful and durable.
1. Kneading by Hand
Kneading is one of the most straightforward and effective ways to condition clay. It involves pressing and folding the clay repeatedly until it becomes uniform in texture. This process helps to eliminate air bubbles and ensures a consistent moisture content, which is vital for preventing cracks during firing.
2. Using a Rolling Pin
A rolling pin can be a handy tool for conditioning clay, especially if you are working with larger amounts. By rolling the clay back and forth, you can achieve an even thickness and eliminate any inconsistencies. Be sure to flip and rotate the clay frequently to maintain uniformity.
3. The Slab Method
Creating a slab of clay is another effective way to condition it. Roll the clay out into a flat sheet, then fold it over and repeat the process several times. This method not only conditions the clay but also aligns its particles, making it stronger.
4. Pug Mill Processing
For those with access to a pug mill, this machine can make conditioning clay much easier. A pug mill homogenizes the clay by mixing it thoroughly, removing air pockets and ensuring an even distribution of moisture. This method is ideal for larger batches.
5. Moisture Balancing
Achieving the right moisture balance is crucial for conditioning clay. If your clay is too dry, add small amounts of water and knead until it reaches the desired consistency. If it’s too wet, allow it to air out on a plaster bat until it firms up.
6. Plastic Bag Storage
Storing your clay in plastic bags can help maintain its moisture content. Before storing, knead the clay and then wrap it tightly in plastic. This method is especially useful for preventing your clay from drying out between uses.
7. Spraying with Water
If your clay feels a bit dry, a light misting with water can help. Use a spray bottle to evenly distribute water over the surface, then knead the clay to integrate the moisture. Be cautious not to over-saturate, as this can make the clay too sticky.

8. The Slice and Stack Technique
This technique involves cutting the clay into slices, stacking them, and then kneading. By exposing more surface area, you can better control the moisture content and eliminate air pockets. It’s particularly helpful for clay that has been stored for a long time.
9. Wedge and Slam
Wedging is a vigorous method where you slam the clay onto a hard surface repeatedly. This action compresses the clay, removing air bubbles and aligning its particles. It’s an excellent way to prepare clay for wheel-throwing.
10. Relying on Time
Sometimes, the best way to condition your clay is to give it time. Allowing clay to rest can help it to naturally balance its moisture content and become more pliable. Cover it with a damp cloth and leave it overnight for optimal results.
Signs Your Clay is Properly Conditioned
Recognizing when your ceramic clay has been properly conditioned is essential to ensuring a successful crafting project. First and foremost, the clay should have a uniform texture throughout, indicating that any air bubbles and inconsistencies have been effectively eliminated. It should feel smooth and pliable, with an even moisture content that is neither too wet nor too dry. When stretching or shaping the clay, it should not crack or crumble, demonstrating its malleability and readiness for sculpting.

Additionally, the clay should respond well while working with tools, allowing for easy manipulation and forming. Properly conditioned clay will exhibit a certain resilience, holding shapes and details without collapsing or losing its form. Ultimately, these indicators will help you achieve the best results in your ceramic creations, enhancing both durability and artistry.
Best Practices for Conditioning Different Types of Clay
Conditioning clay effectively varies depending on the type of clay you are working with. Here are some best practices for conditioning different types of clay to achieve optimal results:
Earthenware Clay
- Moisture Management: Earthenware clay often requires careful moisture management due to its porous nature. Regularly check its moisture level and adjust with water or air drying as needed.
- Gentle Kneading: Begin with gentle kneading to prevent the clay from becoming too soft, gradually applying more pressure as it becomes more workable.
Stoneware Clay
- Thorough Wedging: Stoneware clay benefits from thorough wedging to ensure even moisture and eliminate air bubbles. This will help prevent any issues during the firing process.
- Using Pug Mills: For large amounts, using a pug mill can significantly enhance the conditioning process, providing a consistent texture.
Porcelain Clay
- Controlled Environment: Porcelain is sensitive to temperature and humidity changes, so conditioning in a controlled environment is crucial to maintaining its preferred moisture balance.
- Avoid Over-Kneading: Since porcelain is more plastic, avoid over-kneading as this can lead to excessive stickiness.
Polymer Clay
- Warm-Up: Polymer clay needs to be conditioned through warmth and manipulation to activate its plasticizers. Start by rolling and squeezing it with your hands to soften and blend the material.
- Clay Conditioning Machine: Employ a clay conditioning machine or a pasta roller for even conditioning, especially useful when preparing polymer for more intricate details.
Paper Clay
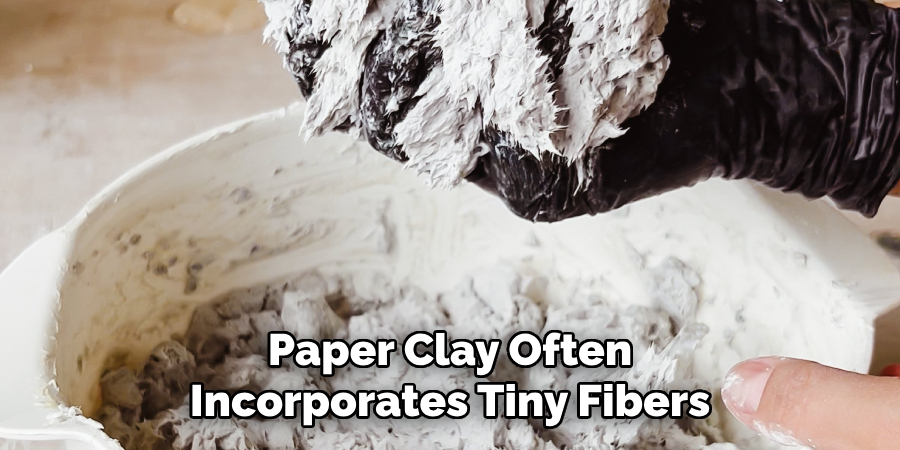
- Even Distribution: Paper clay often incorporates tiny fibers; ensure even distribution by kneading and rolling in varying directions.
- Moisture Monitoring: Since it dries out quickly, regularly monitor moisture levels and mist with water when necessary.
Common Mistakes to Avoid
Conditioning clay is a delicate process that can greatly affect the quality of your final piece. Avoiding common mistakes helps ensure your clay remains workable and your projects are successful:
- Ignoring Air Bubbles: Failing to thoroughly wedge or knead clay can leave air bubbles trapped inside, which can cause cracking or explosions during firing. Always inspect your clay for a uniform consistency.
- Over-Saturating Clay: Adding too much moisture to your clay not only makes it sticky and hard to work with but can also weaken its structure. Always introduce water gradually and knead it in carefully.
- Skipping Rest Time: Resting the clay allows it to settle and adjust its moisture content naturally. Neglecting this step can lead to poor workability and uneven textures.
- Inadequate Storage: Proper storage is crucial for maintaining clay condition. Ensure clay is wrapped tightly in plastic or stored in an airtight container to prevent drying out.
- Using the Wrong Tools: Incorrect tools or improper techniques can damage the clay surface or result in uneven conditioning. Select tools appropriate for the clay type you are using.
Conclusion
Successfully conditioning clay is an essential skill for any ceramist or sculptor, as it lays the groundwork for creating high-quality pottery and art. Mastery of various conditioning techniques ensures that your clay maintains the ideal balance of moisture and texture, ready to be sculpted into your vision. Thanks for reading our blog post on how to condition ceramic clay! We hope you found it helpful and informative.
Specialization:
- Master of wheel-throwing, hand-building, and advanced glazing techniques
- Focus on creating both functional pottery and decorative art pieces
Recognition:
- Celebrated by collectors and art enthusiasts for creating one-of-a-kind pieces that blend artistry with functionality
- Participates in local and national exhibitions, earning accolades for his innovative designs and craftsmanship
Passion:
- Deeply committed to exploring and pushing the boundaries of ceramic artistry
- Continuously experiments with new materials, firing techniques, and artistic concepts to evolve his craft
Personal Philosophy:
- Believes in the transformative power of art, aiming to evoke emotions and connections through his ceramic creations
- Advocates for sustainability in ceramics, using eco-friendly materials and practices whenever possible