


Creating a ceramic giant spider can be both a challenging and rewarding artistic endeavor. This project combines creativity with technical skill, resulting in a striking and unique piece of art.

Whether designed for decoration, as a conversation starter, or simply as a way to hone your pottery techniques, this guide on how to create ceramic giant spider will walk you through the essential steps.
From sculpting the body and legs to adding intricate details and finishing touches, crafting your own ceramic spider is a process that encourages imagination and experimentation.
Benefits of Creating Ceramic Giant Spider
- Develops hand-eye coordination and fine motor skills
- Encourages creativity and self-expression
- Enhances problem-solving abilities through technical challenges
- Provides a sense of accomplishment and pride in the finished product
- It can be used as a functional or decorative piece of art
Creating a ceramic giant spider also allows for a unique and personal touch that cannot be replicated with store-bought decorations. Plus, it can make for a fun activity to do with friends or family, whether you are an experienced potter or just starting out.
Materials Needed
Clay:
Choose a type of clay that is suitable for sculpting and firing. Depending on your skill level and preference, you can use earthenware, stoneware, or porcelain clay.
Sculpting Tools:
- Wire Loop Tools
- Ribbon Tools
- Modeling Tools
- Sponges
- Kiln Carving Tools (for Adding Texture)
It’s best to have a variety of tools at hand to achieve different shapes and textures in your spider design.
Glaze:
Glazes come in various colors and finishes and are used to add vibrant hues to the ceramic piece. Choose glazes that are compatible with your chosen clay type for successful firing results.
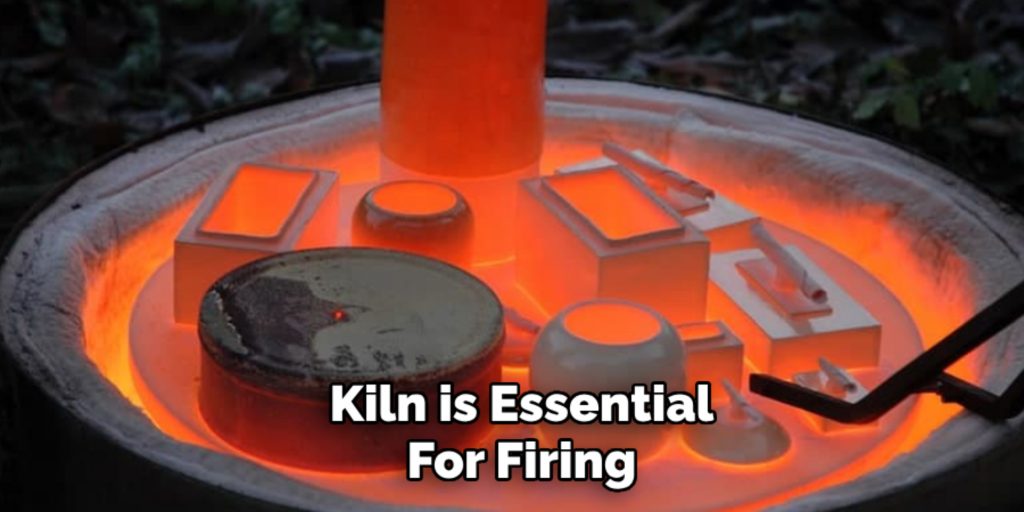
Kiln:
A kiln is essential for firing and hardening the clay. If you do not have access to a kiln, consider using air-dry or polymer clay instead.
8 Step-by-step Guidelines on How to Create Ceramic Giant Spider
Step 1: Choose a Design
Before you begin sculpting, it’s essential to choose a design for your ceramic giant spider. Consider the size, posture, and level of detail you want to achieve. Do you want your spider to look realistic, with lifelike proportions and textures, or will it have a more abstract or whimsical design? You can sketch out your ideas on paper or find inspiration from photographs or illustrations.
Deciding on a design beforehand will help you plan the proportions of the body and legs and ensure that all the elements work harmoniously together. A clear vision of your spider will serve as a guide throughout the creation process.
Step 2: Prepare the Clay
Once you have finalized your design, the next step is to prepare the clay. Start by kneading the clay thoroughly to ensure it has a uniform consistency and to remove any air bubbles that can cause cracking during the firing process. This step, called wedging, is crucial for creating a smooth and workable material.
If the clay is too stiff, you can add a small amount of water and continue kneading until it reaches the desired pliability. Conversely, if the clay is too soft or sticky, letting it sit to dry slightly may help.
Prepare enough clay to account for the body, legs, and any additional details or features in your spider design. Divide the clay into portions based on the different components you plan to sculpt. Having your clay prepared and ready will make the sculpting process more efficient and enjoyable.
Step 3: Sculpt the Body
Using your hands and sculpting tools, start shaping the clay into a round or oval body. You can create a solid base by stacking multiple layers of clay or hollowing out the inside for a lighter finish. Smooth out any rough edges or bumps and use your fingers to blend the seams between each layer if necessary.
Add texture or patterns to the surface using wire carving tools, sponges, or kiln carving tools. Remember to leave an opening at the front part of the body where you will attach the legs.
Step 4: Sculpt the Legs
Roll small pieces of clay into cylinders and shape them into long, thin legs. You can use a piece of wire as support inside the leg to prevent it from collapsing. Consider adding joints and curves to create a more dynamic and lifelike appearance. Attach the legs to the body by blending the clay at the attachment points together.
It’s important to make sure that the legs are evenly distributed and can support the weight of the body. Adjust the positioning as needed before moving on to the next step.
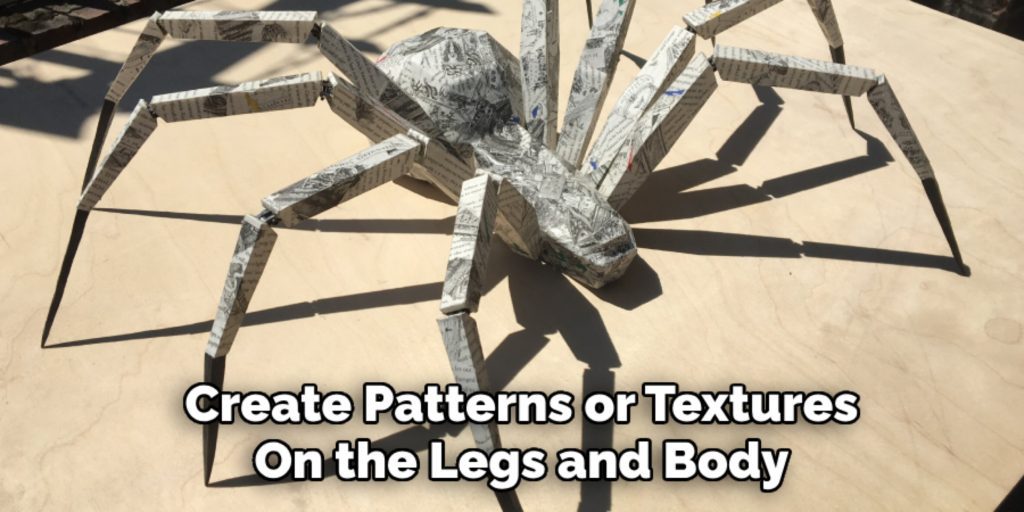
Step 5: Add Details
Now is the time to add intricate details and features to your ceramic giant spider. Use sculpting tools, such as ribbon tools or modeling tools, to create patterns or textures on the legs and body. You can also add eyes, fangs, or other distinguishing characteristics to give your spider a unique personality. Get creative and experiment with different techniques until you’re satisfied with how it looks.
But be careful not to add too much weight to the legs, as this can cause them to collapse during firing.
Step 6: Let it Dry
Once you have finished sculpting your ceramic giant spider, it is essential to allow the clay to dry completely before firing or painting. Place your sculpture in a cool, dry area with good air circulation to ensure even drying.
Avoid exposing it to direct sunlight or heat sources, as this can cause the clay to dry too quickly, leading to cracks or warping. Depending on the size and thickness of the sculpture, drying may take several days to a week.
Check periodically to ensure that the clay is fully dried and no longer feels cold to the touch. Patience during this step is key to preserving all the intricate details you have crafted and ensuring a successful firing process.
Step 7: Fire in a Kiln
Once your sculpture is completely dry, it’s time to fire it in a kiln. The firing process involves heating the clay at high temperatures to harden and strengthen it. Follow the manufacturer’s instructions for your chosen clay type and glazes when setting the temperature, duration, and cooling cycle of the kiln.
After firing, let the sculpture cool down before removing it from the kiln.
Step 8: Apply Glaze (Optional)
If desired, you can add color and shine to your ceramic giant spider by applying glaze. Dip or brush on multiple layers of glaze in different colors for a more vibrant finish. Follow the product instructions and allow for proper drying time between layers.
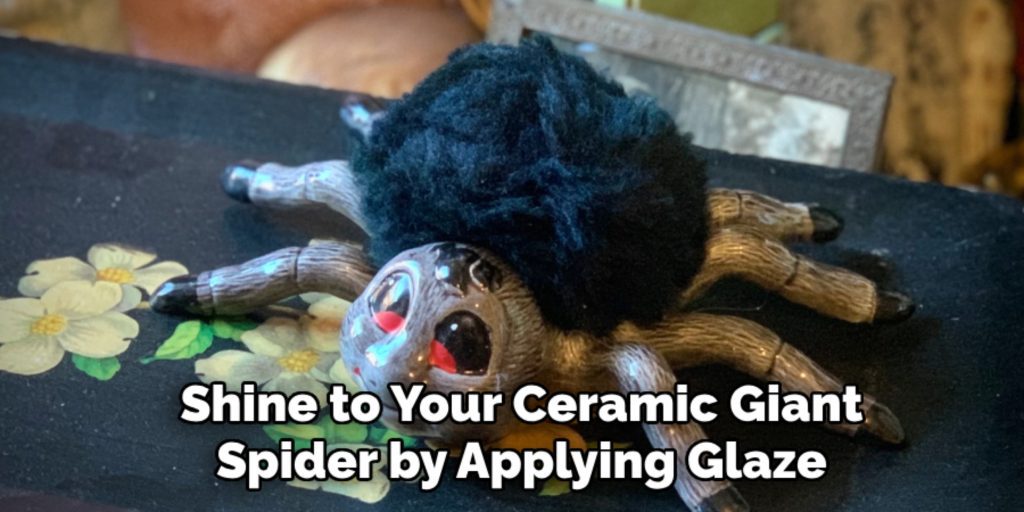
Once the glaze is fully dry, your ceramic giant spider is complete and ready to display!
Following these step-by-step guidelines on how to create ceramic giant spider will help you create a one-of-a-kind ceramic sculpture that will be sure to impress. Remember to have fun and let your creativity flow as you bring your giant spider design to life. Happy sculpting!
Frequently Asked Questions
Q: Can I Use Any Type of Clay for Sculpting a Ceramic Giant Spider?
A: It is recommended to use high-fire clay, such as stoneware or porcelain, for better strength and durability. However, you can also use low-fire clay if you prefer. The type of clay will also affect the final appearance and texture of your sculpture.
Q: What Is the Best Way to Attach Legs to the Body?
A: To ensure a strong attachment, score or roughen both surfaces that will be joined together and use slip (a mixture of water and clay) as glue. Press firmly and blend the edges together for a seamless connection. You can also add a small coil of clay around the joint for extra support.
Q: Can I Use Other Materials Besides Clay for Sculpting?
A: While clay is the most commonly used material for sculpting, you can also experiment with other materials such as paper mache, wire, or even recycled materials. Just make sure the material you choose can withstand the firing process if you plan to fire your sculpture in a kiln.
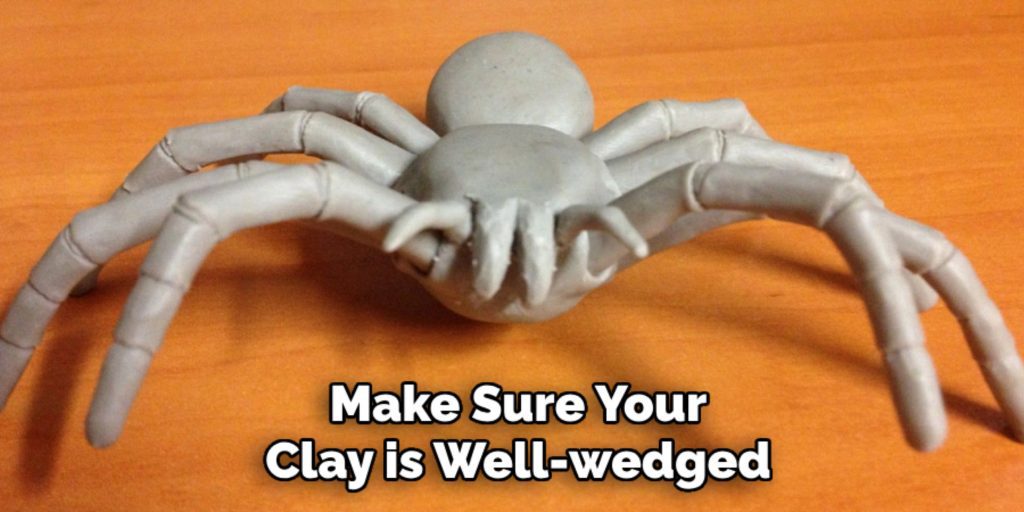
Q: How Can I Prevent My Sculpture from Cracking or Warping During Firing?
A: To prevent cracking, make sure your clay is well-wedged and evenly dried before firing. It’s also important to follow the recommended temperature and duration for your specific type of clay. For large or thick sculptures, it may be helpful to do a slow heating and cooling cycle to reduce stress on the clay.
Q: Can I Create a Smaller or Larger Ceramic Giant Spider?
A: Absolutely! These steps can be applied to create sculptures of different sizes, but keep in mind that the larger the sculpture, the longer it may take to dry and fire. You may also need to use extra support, such as a wire armature, for larger sculptures to prevent collapse during the drying process.
Conclusion
Creating a ceramic giant spider may seem like an intimidating task, but with patience, practice, and these step-by-step guidelines, you can bring your vision to life. Remember to choose a design beforehand, prepare your clay properly, sculpt each component carefully, add details and textures creatively, and follow proper drying and firing techniques.
By following these steps on how to create ceramic giant spider and experimenting with different techniques along the way, you’ll soon have an impressive ceramic piece that will be sure to catch everyone’s attention. So go ahead and get started on your own
Specialization:
- Master of wheel-throwing, hand-building, and advanced glazing techniques
- Focus on creating both functional pottery and decorative art pieces
Recognition:
- Celebrated by collectors and art enthusiasts for creating one-of-a-kind pieces that blend artistry with functionality
- Participates in local and national exhibitions, earning accolades for his innovative designs and craftsmanship
Passion:
- Deeply committed to exploring and pushing the boundaries of ceramic artistry
- Continuously experiments with new materials, firing techniques, and artistic concepts to evolve his craft
Personal Philosophy:
- Believes in the transformative power of art, aiming to evoke emotions and connections through his ceramic creations
- Advocates for sustainability in ceramics, using eco-friendly materials and practices whenever possible