


Creating ceramic wall panels is a rewarding and creative process that allows you to add unique, handcrafted elements to your space. These panels not only serve as decorative art pieces but can also enhance the texture and character of any room.
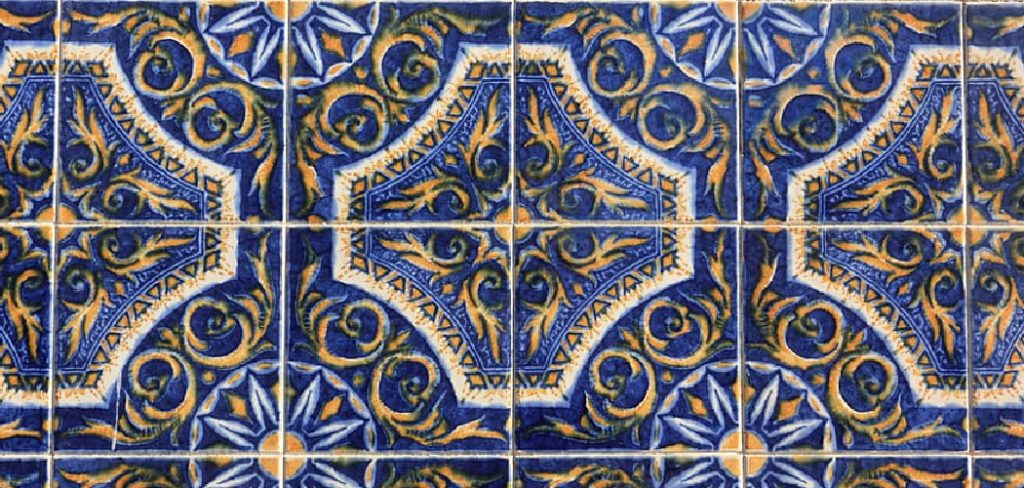
Whether you are an experienced artisan or a beginner looking to explore the world of ceramics, this guide on How to create ceramic wall panels will walk you through the essential steps, tools, and techniques needed to craft stunning and durable ceramic wall panels.
With patience and practice, you can bring your artistic vision to life while mastering this timeless art form.
Why Choose Ceramic Wall Panels?
Ceramic wall panels offer numerous benefits that make them a popular choice among interior designers, architects, and homeowners. Some of these advantages include:
Customization:
Ceramic wall panels can be customized to fit any space, making them ideal for both residential and commercial settings. You can create panels of any size, shape, color, and design to match your specific needs and preferences.
Durability:
Ceramic wall panels are incredibly durable and long-lasting. They can withstand wear and tear and are resistant to scratches, stains, and moisture. Unlike other materials like wallpaper or paint, ceramic panels do not fade over time, making them a cost-effective option in the long run.
Unique Texture:
The texture of ceramic wall panels adds depth and visual interest to a room. These panels can have different textures such as smooth, glossy, or matte finish, depending on your preference. The unique tactile experience that ceramic provides is unmatched by other materials.
Versatile Design Options:
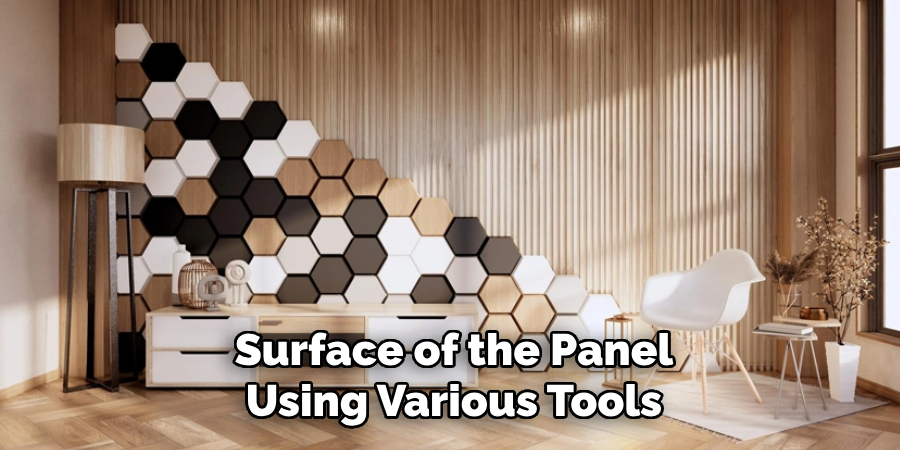
Ceramic is a versatile material that allows for endless design possibilities. You can create intricate patterns, textures, and designs on the surface of the panel using various tools and techniques. This versatility gives you the freedom to express your creativity and experiment with different styles.
Materials and Tools Needed
To create ceramic wall panels, you will need the following materials:
Ceramic Clay:
Choose a high-quality clay suitable for wall panels. These clays are usually sturdier and have low shrinkage rates.
Glazes:
Glazes add color and texture to your ceramic wall panels. They come in a variety of shades, finishes, and textures for you to choose from.
Tools:
- Rolling Pin or Slab Roller
- Cutting Tools (Such as a Knife or Cookie Cutter)
- Texture Tools (Sponge, Stamps, or Combs)
- Kiln
8 Step-by-step Guides on How to Create Ceramic Wall Panels
Step 1: Sketch Your Design
The first step in creating ceramic wall panels is to sketch out your design. Begin by visualizing the look and style you want to achieve. This could include patterns, motifs, or abstract shapes that suit the space where your panel will be displayed. Use a pencil and paper to draw a rough outline of your idea, focusing on the dimensions and detailing of the design.
A well-thought-out sketch will serve as a guide throughout the process and help you plan where each element will be positioned on the panel. Don’t hesitate to experiment or revise your sketches until you are fully satisfied with the concept.
Step 2: Prepare Your Clay
Once your design is finalized, the next step is to prepare your clay. Start by selecting a high-quality ceramic clay that suits your project, ensuring it has the proper consistency and durability for wall panels. Knead the clay thoroughly to remove any air bubbles; this process, known as wedging, is crucial as trapped air can cause cracking or breakage during firing.
After wedging, flatten the clay using a rolling pin or slab roller until it reaches the desired thickness for your panel. Be sure to maintain an even thickness throughout to ensure structural integrity and a professional finish.
If you need a guide for uniform thickness, use wooden slats or rolling guides on either side of the clay. Once your clay slab is uniformly prepared, you’re ready to move on to cutting and shaping it according to your design.
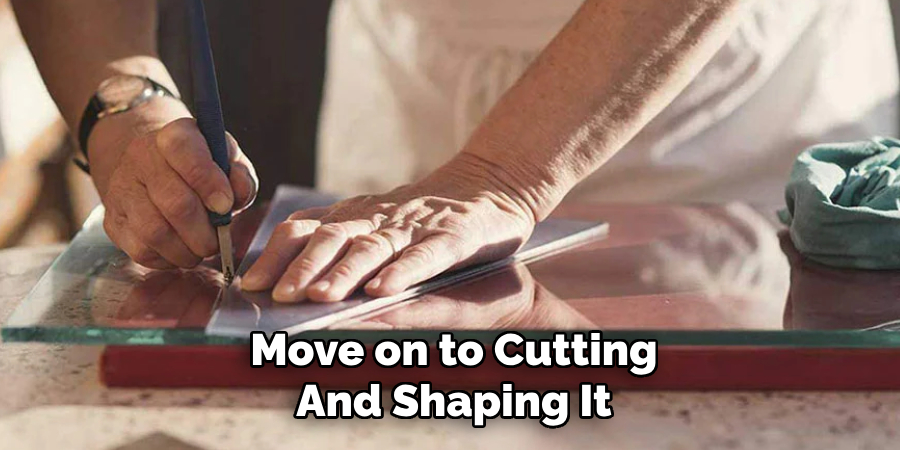
Step 3: Cut and Shape Your Clay
Using your sketch as a reference, use cutting tools like a knife or cookie cutter to cut out the desired shapes and patterns from your clay slab. Take care not to distort the slab while cutting, and work slowly and carefully to ensure precise cuts. If needed, use texture tools like sponges, stamps, or combs to add interesting designs and textures to your panels.
It’s essential to work on a clean, flat surface while shaping your clay as any imperfections or dirt can impact the final appearance of your panel.
Step 4: Dry Your Panel
After cutting and shaping, allow your ceramic panel to dry completely before moving on to the next step. This process could take anywhere from a few hours to a few days, depending on the thickness of your slab and the humidity in your workspace. You can use a fan or dehumidifier to speed up the drying process, but do not expose it to direct heat or sunlight as this may cause cracking.
But if you’re planning to add textures or designs using tools like stamps, it’s best to do so while the clay is still slightly damp. This will ensure that the patterns and textures are well-defined and don’t blur during drying.
Step 5: Bisque Firing
Once your panel is completely dry, it’s time for bisque firing. Bisque firing involves heating the panel in a kiln at a low temperature until all the moisture in the clay evaporates, leaving behind a hard, porous surface. This process also helps strengthen and stabilize the panel before adding glazes.
The temperature and duration of bisque firing may vary depending on the type of clay and kiln, so be sure to follow the instructions provided by your manufacturer. Once complete, allow the panel to cool down before handling it.
Step 6: Glaze Application
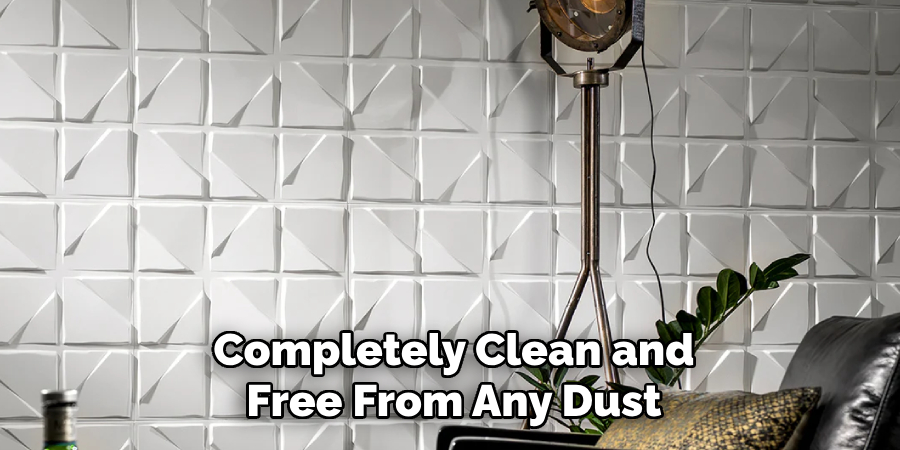
Glazing is where you can add color and texture to your ceramic wall panels. Before applying glazes, make sure your panel is completely clean and free from any dust or debris. You can use a damp sponge or cloth to wipe away any excess dirt.
Next, apply glazes using a brush or spray gun in thin layers. Be careful not to over-apply as this could cause drips or bubbles on the surface. Depending on the type of glaze and desired effect, you may need to apply multiple coats.
Step 7: Glaze Firing
After applying glazes, it’s time for the final firing – also known as glaze firing. During this process, the panel will be heated to temperatures between 1800-2300°F, melting the glazes and fusing them with the clay surface. It’s essential to follow your manufacturer’s instructions carefully as under or over-firing can result in unsatisfactory results.
Once the firing is complete, allow the panel to cool down completely before handling.
Step 8: Mounting Your Panel
The final step in creating ceramic wall panels is mounting them on your desired surface. You can use adhesives or screws to attach the panel to walls, wood panels, or even frames. Make sure to choose a sturdy and appropriate method of mounting based on the weight and size of your panel.
Following these steps on How to create ceramic wall panels will help you create beautiful and unique ceramic wall panels that add a touch of elegance and personality to any space. Don’t be afraid to experiment with different techniques, colors, and designs to create one-of-a-kind pieces that reflect your creativity and style.
Additional Tips for Creating Ceramic Wall Panels
- Experiment with different types of clay for different effects and textures.
- Use underglazes or oxides to add depth and dimension to your glazes.
- Consider adding 3D elements, such as ceramic flowers or leaves, to create a more dynamic panel.
- Seal the back of your panel with a coat of clear glaze to prevent moisture absorption and damage.
- For a glossy finish, apply a layer of clear gloss glaze on top of your colored glazes before the final firing.
- Don’t be afraid to mix and match different techniques, such as carving or sgraffito, to create unique designs.
- Practice good studio safety while working with clay, including wearing protective gear and keeping your workspace clean and organized.
- Have fun and let your creativity guide you! Ceramic wall panels are a beautiful way to express yourself through art. So, experiment with different techniques and designs to create unique pieces that reflect your style and personality. Happy creating!
Frequently Asked Questions
Q1: Can I Use Air-dry Clay Instead of Kiln-fired Clay for Creating Wall Panels?
A1: While air-dry clay may seem like a convenient option, it’s not recommended for creating ceramic wall panels as it lacks the durability and strength of kiln-fired clay.
Q2: Can I Use Glazes on Air-dry Clay Instead of Kiln-firing?
A2: No, glazes require high temperatures to melt and fuse with the clay surface, which is only possible through kiln-firing. Using glazes on air-dry clay will result in a brittle and easily breakable panel.
Q3: How Thick Should My Ceramic Slab Be for Wall Panels?
A3: The thickness of your ceramic slab depends on the size and weight of your panel. Generally, slabs between 1/4 to 1 inch thick are suitable for wall panels, but you may need to adjust based on your design and mounting method. It’s always best to research and follow the recommendations of your manufacturer for the best results.
Conclusion
Creating ceramic wall panels is an exciting and rewarding process that allows you to add unique pieces of art to your living space. With proper planning, preparation, and techniques on How to create ceramic wall panels, you can create stunning panels that showcase your creativity and style. Remember to experiment with different designs, textures, and glazes for truly one-of-a-kind results!
Satisfied with your ceramic wall panel? Congratulations, you have successfully created a beautiful piece of art that will enhance the aesthetic of any room. But don’t stop here – continue to explore and refine your skills in creating ceramic wall panels to elevate your home decor even further. With practice and creativity, the possibilities are endless!
Specialization:
- Master of wheel-throwing, hand-building, and advanced glazing techniques
- Focus on creating both functional pottery and decorative art pieces
Recognition:
- Celebrated by collectors and art enthusiasts for creating one-of-a-kind pieces that blend artistry with functionality
- Participates in local and national exhibitions, earning accolades for his innovative designs and craftsmanship
Passion:
- Deeply committed to exploring and pushing the boundaries of ceramic artistry
- Continuously experiments with new materials, firing techniques, and artistic concepts to evolve his craft
Personal Philosophy:
- Believes in the transformative power of art, aiming to evoke emotions and connections through his ceramic creations
- Advocates for sustainability in ceramics, using eco-friendly materials and practices whenever possible