


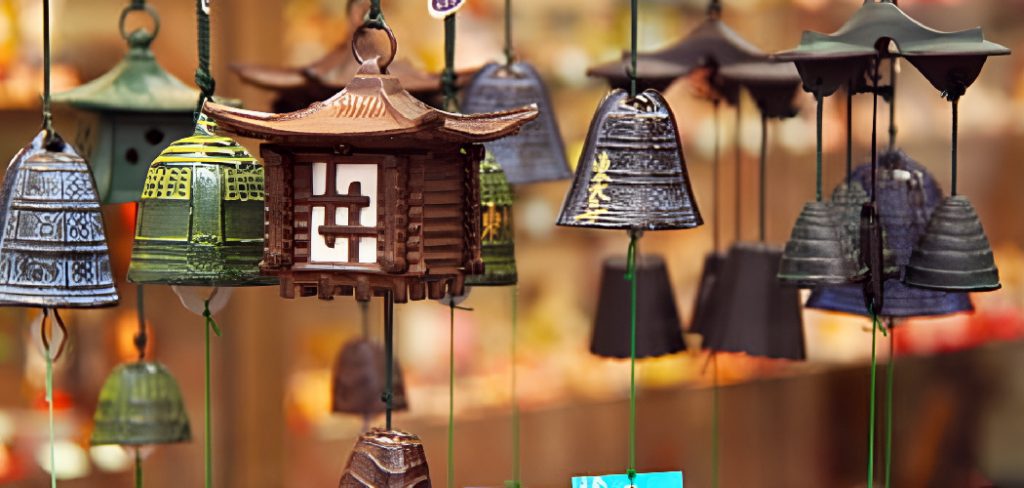
Creating ceramic wind spinners is a rewarding artistic endeavor that combines creativity with craftsmanship. These elegant, spinning ornaments can add a touch of charm and movement to gardens, patios, or indoor spaces. By using clay and simple tools, you can craft unique designs that reflect your personal style.
Whether you’re an experienced ceramic artist or a curious beginner, this guide on how to create ceramic wind spinners will walk you through the essential steps needed to make your very own ceramic wind spinners from scratch.
Why Choose Ceramic for Wind Spinners?
Ceramic is a popular choice of material for wind spinners due to its durability and versatility. It can withstand various weather conditions and retain its color and shape over time, making it perfect for outdoor decorations.
Additionally, ceramic has a unique texture that adds depth and dimension to the design of wind spinners. Its smooth surface also allows for easy painting or glazing, giving you endless possibilities in terms of colors and patterns.
Materials Needed
Before diving into the process of making ceramic wind spinners, it’s essential to gather all the necessary materials and tools. Here’s a list of what you’ll need:
Clay:
Choose clay that is suitable for outdoor use, such as stoneware or porcelain. These types of clay are more durable and can withstand exposure to sun, rain, and wind. You can purchase them at most art supply stores or online.
Pottery Wheel or Slab Roller:
A pottery wheel is a traditional tool used for shaping clay on a rotating disc. If you’re comfortable with using one, it’s an excellent option for making symmetrical and precise shapes. However, if you don’t have access to a pottery wheel, a slab roller can also be used to create flat sheets of clay that can be cut into desired shapes.
Clay Tools:
You’ll need various tools such as trimming tools, rib tools, and sculpting tools to shape your clay and add details to your wind spinners. These tools can also be found at art supply stores or online.
Glaze or Paint:
Once your ceramic wind spinner is fired and ready, you can add color and designs with glazes or paints. Glazing involves applying a liquid mixture of minerals onto the surface of the clay before firing it in a kiln, while painting allows for more precise and detailed design work.
Kiln:
A kiln is a crucial tool for firing clay and transforming it into ceramic. If you’re a beginner, you can opt to use a local pottery studio’s kiln or invest in a small tabletop kiln for home use.
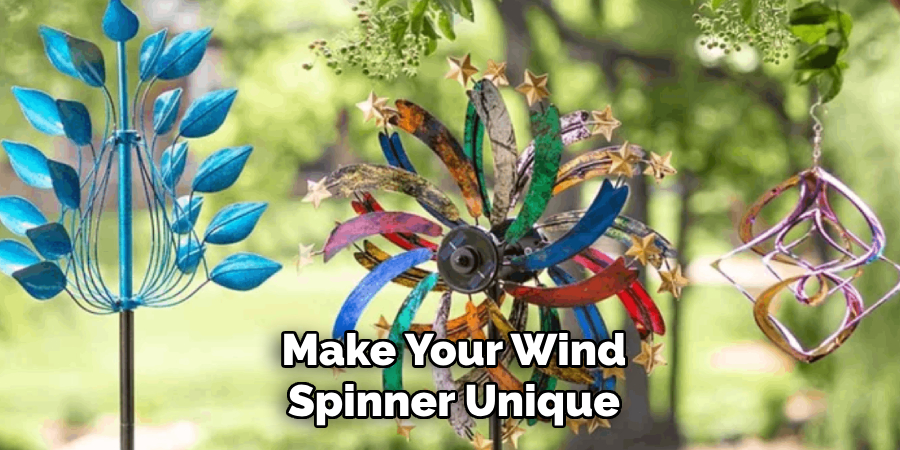
8 Step-by-step Guides on How to Create Ceramic Wind Spinners
Step 1: Prepare Your Clay
Start by preparing your clay for shaping. Take a sufficient amount of clay and knead it thoroughly to remove any air bubbles. This process, known as wedging, ensures that the clay is uniform in texture and will not crack during firing.
Place the clay on a clean, flat surface and press it down with the heels of your hands, folding it over and repeating the process. Once the clay is properly wedged, it’s ready to be shaped into the base form of your wind spinner.

Step 2: Determine the Shape of Your Base
There are many shapes you can choose from to create your wind spinner’s base, such as a circle, square, or triangle. You can either use a pottery wheel or slab roller to shape the clay into your desired form.
If using a pottery wheel, center the clay on the wheel and use your hands to shape it into your chosen form while keeping it centered. If using a slab roller, roll out the clay into a flat sheet and cut it into your desired shape with a knife or cookie cutter.
Step 3: Add Texture and Details
Once you have your base shape, it’s time to add texture and details to make your wind spinner unique. You can use various tools such as rib tools or sculpting tools to create patterns and designs on the surface of the clay.
Alternatively, you can also press objects like leaves or shells onto the clay to create imprints for a more natural and organic design.
Step 4: Cut Out the Spinner Pieces
Next, cut out the individual pieces that will make up your wind spinner. These pieces should be smaller than your base shape but large enough to catch the wind and spin.
You can cut out simple shapes like triangles or circles, or get creative and cut out more intricate shapes like flowers or animals.
Step 5: Attach the Spinner Pieces to the Base
Using a small amount of water as glue, attach the spinner pieces to the base shape. Be sure to press down firmly to ensure they are securely attached.
You can also use your tools to blend the edges of the spinner pieces into the base for a smoother finish.
Step 6: Add a Hole for Hanging
To hang your ceramic wind spinner, you’ll need to add a hole at the top. You can use a straw or pencil to poke a hole through the clay before it dries.
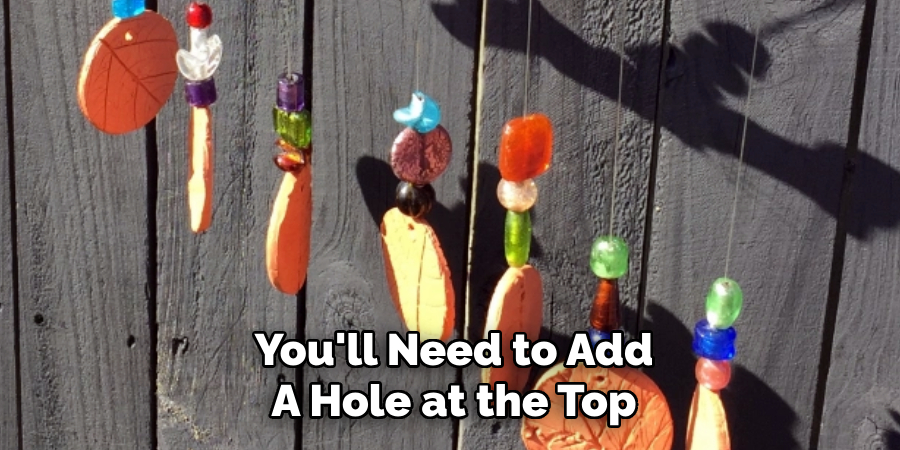
Make sure that the hole is large enough for string or wire to pass through and that it is centered for balance.
Step 7: Let the Clay Dry
Allow your ceramic wind spinner to dry completely before moving on to the next step. This can take several days, depending on the size and thickness of your piece.
If you’re using a kiln, you’ll need to let the clay dry before firing it in the kiln. Follow the instructions provided by your kiln manufacturer for proper firing techniques.
Step 8: Glaze or Paint Your Wind Spinner
Once your ceramic wind spinner has been fired and cooled, you can add color and designs using glaze or paint.
Glazing involves applying layers of different colored glazes onto the surface of your wind spinner before firing it in the kiln again. This process adds depth and dimension to your piece.
Alternatively, you can also use acrylic paints to add colors and details by hand for a more precise design.
Following these steps on how to create ceramic wind spinners, you can create beautiful and one-of-a-kind ceramic wind spinners to decorate your outdoor space. So gather your materials and tools, and get ready to let your creativity spin!
Additional Tips
- Before shaping the clay, make sure it is at room temperature as cold clay can be more challenging to work with. You can warm it up by kneading it with your hands.
- To add extra durability to your wind spinner, you can use high-fire clay or add grog (small particles of fired clay) into the clay before shaping it.
- When attaching the spinner pieces to the base, make sure they are evenly spaced for balance and symmetry.
- Experiment with different techniques and tools to create unique designs and textures on your wind spinner. The possibilities are endless!
- Have fun and don’t be afraid to make mistakes. Working with clay is a learning process, and each piece will turn out differently, making it truly one-of-a-kind. Instead of aiming for perfection, embrace the imperfections for a more organic and handmade look. So gather your materials, let your creativity flow, and enjoy the process of creating your very own ceramic wind spinner!
Frequently Asked Questions
Q1: Can I Use Any Type of Clay for Creating a Ceramic Wind Spinner?
A1: Ideally, you should use high-fire clay for better durability and strength. Other types of clay can also be used, but they may not hold up as well in outdoor conditions.
Q2: Do I Need a Kiln to Create a Ceramic Wind Spinner?
A2: While using a kiln will result in a more professional and durable wind spinner, you can also use air-dry clay and acrylic paints for a simpler and less permanent option.
Q3: How Long Does It Take to Create a Ceramic Wind Spinner?
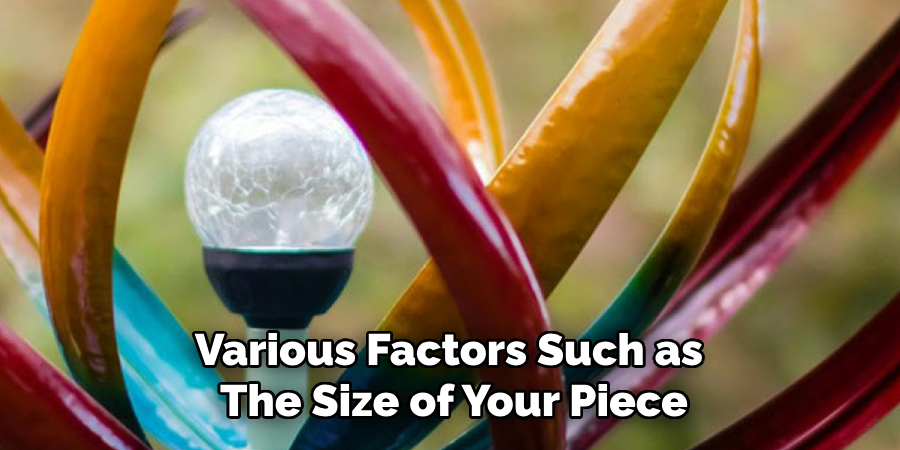
A3: The time it takes to create a ceramic wind spinner depends on various factors such as the size of your piece, drying time, and firing time if using a kiln. Typically, it can take anywhere from 1-2 weeks to complete the entire process. However, the end result will be worth the time and effort put into it.
Q4: Can I Hang My Ceramic Wind Spinner Indoors?
A4: Yes, you can hang your wind spinner indoors as well for a beautiful and unique piece of decor. Just make sure to use strong enough string or wire to support its weight.
Conclusion
Creating ceramic wind spinners is a fun and creative way to decorate your outdoor space. With just a few materials and some basic steps on how to create ceramic wind spinners, you can make unique and durable pieces that will add beauty and movement to your garden or patio. So gather your materials and get ready to spin away!
Keep in mind that these are just general guidelines for making ceramic wind spinners. Feel free to experiment with different shapes, textures, and designs to create one-of-a-kind pieces.
Specialization:
- Master of wheel-throwing, hand-building, and advanced glazing techniques
- Focus on creating both functional pottery and decorative art pieces
Recognition:
- Celebrated by collectors and art enthusiasts for creating one-of-a-kind pieces that blend artistry with functionality
- Participates in local and national exhibitions, earning accolades for his innovative designs and craftsmanship
Passion:
- Deeply committed to exploring and pushing the boundaries of ceramic artistry
- Continuously experiments with new materials, firing techniques, and artistic concepts to evolve his craft
Personal Philosophy:
- Believes in the transformative power of art, aiming to evoke emotions and connections through his ceramic creations
- Advocates for sustainability in ceramics, using eco-friendly materials and practices whenever possible