


Are you tired of looking at your plain walls? Want to add some character and depth to your home decor? Look no further than glaze!
Creating texture with glaze is an excellent way to add depth and character to your artistic projects. Whether you’re working with ceramics, painting, or other creative mediums, glaze can transform a flat surface into one with intricate patterns and tactile appeal. Using various techniques and tools, you can manipulate the glaze to achieve unique textures that elevate your artwork.
This guide on how to create texture with glaze will walk you through the fundamental steps and methods for crafting remarkable textures with glaze, helping you unlock new dimensions in your creative process. Let’s get started with the basics first.
What Are the Benefits of Using Glaze for Texture?
Before we dive into the process, let’s explore why glaze is an excellent medium for adding texture to your art pieces. Here are some key benefits:
- Versatility: Glaze can be used on various surfaces and materials, including ceramics, wood, canvas, and paper.
- Durable: Once glazed and correctly fired, the resulting texture will last years without fading or deteriorating.
- Compatibility with Other Mediums: Glazes can be mixed with other mediums, such as paint or wax, to create unique textures.
- Range of Effects: Depending on the techniques and tools used, you can achieve a variety of effects, from subtle to bold, with glaze.
- Customization: With a combination of different glazes and techniques, you can create custom textures that are unique to your style.
Now that we’ve covered the benefits, let’s move on to the step-by-step process of creating texture with glaze.
What Will You Need?
Here are some essential materials and tools you will need to create texture with glaze:
- Glaze of your choice
- Pieces or surfaces to be glazed (e.g., ceramics, canvas, wood)
- Brushes or sponges for applying the glaze
- Tools for creating textures (e.g., stamps, stencils, combs)
- Kiln or oven for firing the glazed pieces
Once you have all the necessary supplies, it’s time to get started on the fun part – creating texture with glaze!
9 Easy Steps on How to Create Texture With Glaze
Step 1: Choose Your Glaze and Surface
Start by selecting a glaze that suits your desired effect and the surface you want to work on. Consider the type of finish you aim to achieve – do you want a glossy, matte, or satin appearance? Keep in mind that different glazes interact uniquely with various surfaces, such as ceramics, wood, or canvas.
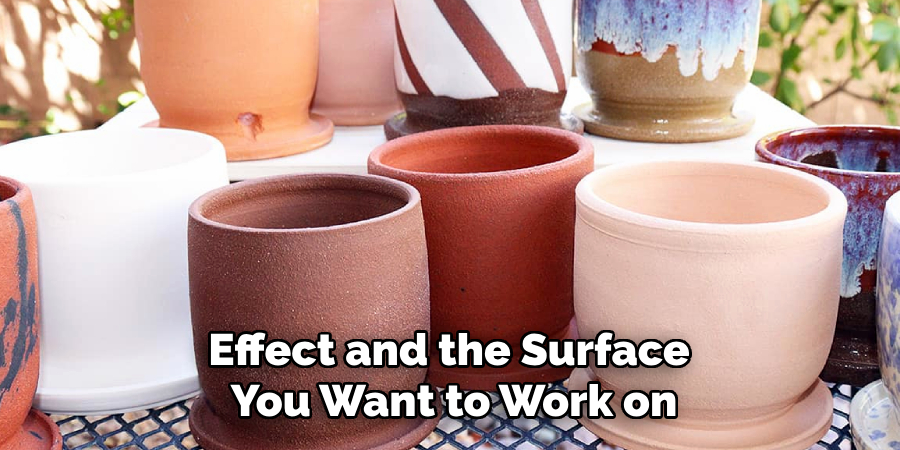
For example, gloss glazes can enhance the sheen on ceramics, while matte glazes might create subtle, muted tones on a textured canvas. Ensure the surface is clean and prepared beforehand to help the glaze adhere properly. This step is crucial, as the glaze’s performance and the final texture will heavily depend on how well-suited the glaze is to the chosen surface. Take your time in this initial step to set a solid foundation for the rest of the process.
Step 2: Gather Your Tools
Prepare the tools you will need to apply the glaze and create texture. Standard tools include brushes, sponges, palette knives, or even household items like combs or fabric for imprinting patterns. The choice of tools will depend on the texture you want; for instance, a sponge can create a soft, organic effect, while a palette knife can add bold, structured lines. Having the right tools on hand ensures a smoother process and gives you more control over the final appearance. Be creative with your selection to explore unique textures and innovative designs!
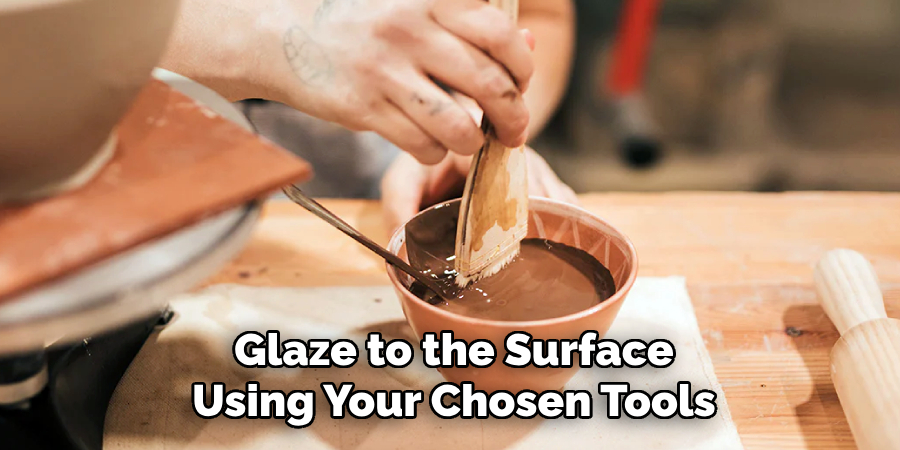
Step 3: Apply the Glaze
Begin applying the glaze to the surface using your chosen tools. Work in small sections to ensure even coverage and to give yourself time to create the desired texture before the glaze starts to set. Use steady, deliberate movements, experimenting with pressure and angles to shape the glaze according to your vision. If needed, adjust your technique or tools to refine the texture as you go. Remember that this step is about building layers and dimensions, so take your time to achieve the desired effect.
Step 4: Fine-Tuning and Finishing Touches
Step back and assess your work once the glaze has been applied and the desired texture is achieved. Look for any inconsistencies or areas that may require additional attention. Use smaller tools or a fine brush to smooth out any uneven spots or emphasize specific details. Allow the glaze to dry completely before making any final adjustments. This step ensures a polished and professional finish, bringing your creative vision to life with precision and care.
Step 5: Sealing and Protecting Your Work
After the glaze has fully dried and all adjustments have been made, it’s time to seal your work to protect it and enhance its appearance. Choose a suitable sealant based on the type of glaze and surface used. Apply the sealant evenly with a brush or sprayer, ensuring full coverage to preserve the texture and finish. Allow the sealant to dry completely in a well-ventilated area, following the manufacturer’s instructions. This final step safeguards your creation and adds a professional touch, ensuring its longevity and durability.
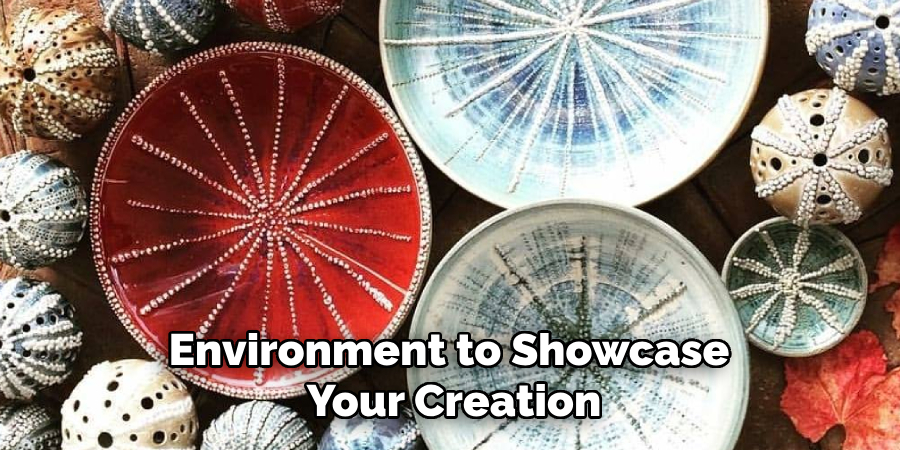
Step 6: Displaying or Using Your Finished Piece
It can be displayed or used once your work has been sealed and thoroughly dried. Consider the best setting or environment to showcase your creation, whether as a decorative piece, functional item, or part of a larger project. Ensure the space highlights unique features like its texture, color, and design. Proper lighting can enhance its visual appeal, drawing attention to the work’s intricate details. Take pride in your final product and enjoy seeing your creative vision come to life.
Step 7: Maintaining and Caring for Your Piece
Regular maintenance and care are essential to ensure the longevity of your creation. Clean the surface gently with a soft, damp cloth to avoid scratches or damage. If your piece is exposed to outdoor elements, consider reapplying a protective sealant periodically to guard against wear and weathering. Handle your work carefully to preserve its integrity, and store it in a safe place when not used. Proper care will keep your piece looking its best for years to come, allowing you to enjoy and cherish your craftsmanship over time.
Step 8: Sharing Your Creation
Once your piece is complete, sharing it with others can be an enriching experience. Start by photographing your creation in well-lit conditions, highlighting its textures, colors, and unique details. Posting these images on social media platforms is a great way to showcase your work and receive feedback and admiration from a broader audience. If you’re part of a crafting or artistic community, consider participating in local events, exhibitions, or online forums where you can share your techniques and inspire others.
For those looking to monetize their skills, your creation could serve as a portfolio piece that draws attention from potential customers. Sharing the story behind your piece—whether the inspiration, challenges or sentimental value—adds a personal touch that resonates with others. Ultimately, the act of sharing your work not only celebrates your accomplishment but also encourages creativity and connection within the community.
Step 9: Continuing to Explore and Experiment
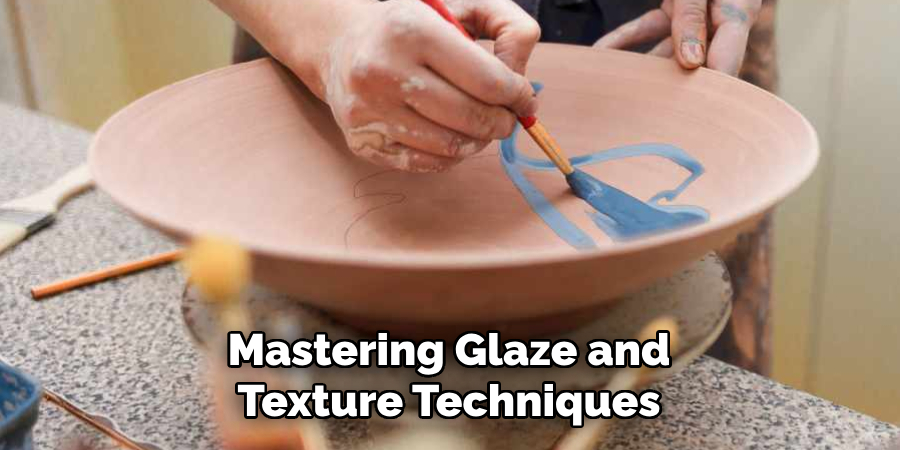
As with any artistic practice, mastering glaze and texture techniques takes time, patience, and continuous exploration. Don’t be afraid to experiment with different surfaces, tools, or glazes to create unique effects and discover new possibilities. Be open to learning from others through workshops, classes, or online tutorials. Reflect on your process and results after each project, identifying areas for improvement or innovation in the future. Most importantly, have fun with it!
By following these steps, you can confidently apply glaze and texture to your creations, adding depth, dimension, and personalization to your work.
5 Things You Should Avoid
- Using Too Much Glaze: Excessive glaze can result in an overpowering look and may obscure the texture details. Always apply glaze in moderation to achieve the desired effect without overwhelming the piece.
- Skipping Surface Preparation: Failing to prepare the surface properly can lead to uneven textures or poor glaze adhesion. Ensure that the surface is clean, smooth, and ready for application.
- Rushing the Drying Process: Impatience can ruin the outcome. Allow sufficient drying time between layers to prevent smudging or peeling, which can compromise the final appearance.
- Ignoring Tool Selection: Choosing the wrong tools for application, such as brushes or sponges, can produce inconsistent results. Use tools that suit your intended texture for a more controlled and polished finish.
- Not Testing First: Applying glaze directly without testing on a sample area can lead to unexpected results. Before working on your main project, always test new techniques or glaze combinations on a spare piece.
Conclusion
Creating texture with glaze requires proper preparation, patience, and mindful execution.
You can achieve striking and professional-looking results by understanding common mistakes and carefully following the steps. Remember to experiment and test techniques beforehand to find the best approach for your project. Glazing can transform a simple surface into a dynamic and visually appealing masterpiece with practice and attention to detail.
Hopefully, the article on how to create texture with glaze has provided you with valuable insights and inspiration to enhance your creative process. Happy glazing!
Specialization:
- Master of wheel-throwing, hand-building, and advanced glazing techniques
- Focus on creating both functional pottery and decorative art pieces
Recognition:
- Celebrated by collectors and art enthusiasts for creating one-of-a-kind pieces that blend artistry with functionality
- Participates in local and national exhibitions, earning accolades for his innovative designs and craftsmanship
Passion:
- Deeply committed to exploring and pushing the boundaries of ceramic artistry
- Continuously experiments with new materials, firing techniques, and artistic concepts to evolve his craft
Personal Philosophy:
- Believes in the transformative power of art, aiming to evoke emotions and connections through his ceramic creations
- Advocates for sustainability in ceramics, using eco-friendly materials and practices whenever possible