


Are you wondering how you can cut ceramic board for your next home renovation project?
Cutting ceramic board requires precision, the right tools, and proper technique to achieve clean and accurate results. Whether you are working on a DIY project, home renovation, or a professional installation, understanding the correct methods can save time and prevent damage to the material. Ceramic boards are durable and versatile, but can be challenging to work with if not handled properly. Additionally, they come in various sizes, thicknesses, and textures, which can affect the cutting process.
This guide on how to cut ceramic board will walk you through the essential steps and tools needed to cut ceramic boards effectively, ensuring a smooth and hassle-free process. Let’s dive in!
What Are the Benefits of Cutting Ceramic Board?
- Versatility: Ceramic boards can be used in a variety of projects, from kitchen backsplashes to shower walls and floors. Cutting them allows for customization to fit any space.
- Cost-effective: Instead of purchasing pre-cut ceramic boards, cutting them yourself can save money.
- Precision: When you cut the boards yourself, you have more control over the shape and size, resulting in precise cuts.
- Personalization: Cutting ceramic boards allows for unique designs and patterns, adding a personal touch to your project.
What Will You Need?
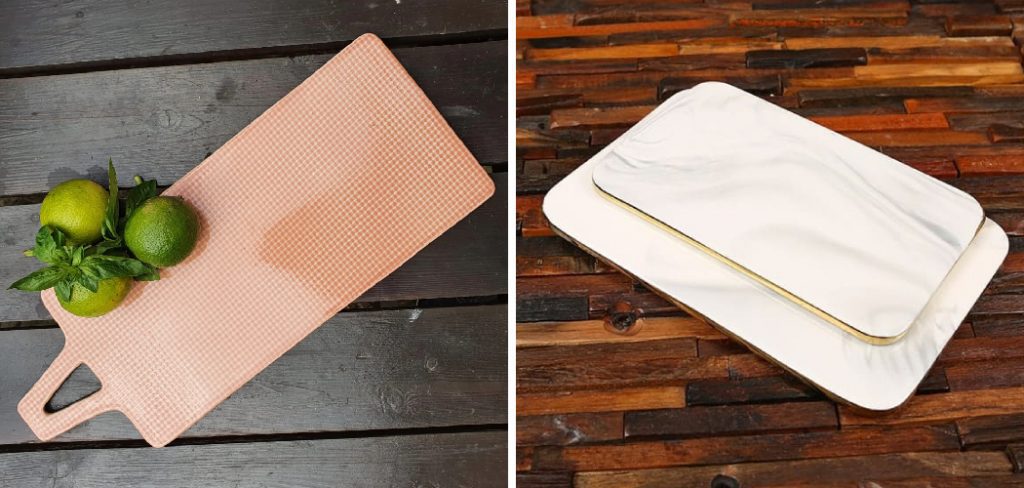
- Ceramic Boards: Choose the type and size of ceramic board based on your project needs.
- Measuring Tape: This will help you accurately measure the desired dimensions for your cuts.
- Marker or Pencil: A marker or pencil can be used to mark the areas where you want to make your cuts.
- Safety Gear: It is important to wear safety gear, such as gloves and safety glasses, when cutting ceramic boards to protect yourself from sharp edges and flying debris.
- Cutting Tools: There are various tools that can be used to cut ceramic boards, including tile cutters, tile saws, and rotary tools with diamond blades. Each tool has its advantages and disadvantages, so it is important to choose the right tool for your specific needs.
10 Easy Steps on How to Cut Ceramic Board
Step 1. Gather Your Tools and Safety Gear:
To begin, ensure you have all the necessary tools and safety equipment. You will need a utility knife or a scoring tool for scoring, a tile saw or rotary tool for sawing, a straight edge or ruler for precision, and clamps to hold the ceramic board in place. For safety, wear protective gloves, safety goggles, and a dust mask to shield yourself from sharp edges and ceramic dust particles. Having these items ready and within reach will make the process smoother and safer.

Step 2. Measure and Mark the Cutting Line:
Using a tape measure or ruler, carefully measure the area of the ceramic board that needs to be cut. Double-check your measurements to ensure accuracy, as even a small error can affect the final result.
Once measured, use a pencil or a non-permanent marker to draw a clear, straight cutting line on the surface of the board. If the cut involves any angles or curves, use a template or stencil to outline the desired shape. Ensuring the cutting line is precise will make the following steps more manageable and improve the overall quality of your project.
Step 3. Secure the Board:
To secure the board properly, place it on a stable workbench or sawhorses to prevent any movement during cutting. Use clamps to firmly hold the board in place, ensuring it does not shift or wobble. Position the clamps on both sides of the cutting line, leaving enough space for your tool to move freely along the marked path.
Make sure the board is level and securely fastened before proceeding, as this will reduce the risk of accidents and ensure a clean, precise cut. Double-check the setup to confirm the board is firmly secured before moving on to the cutting step.
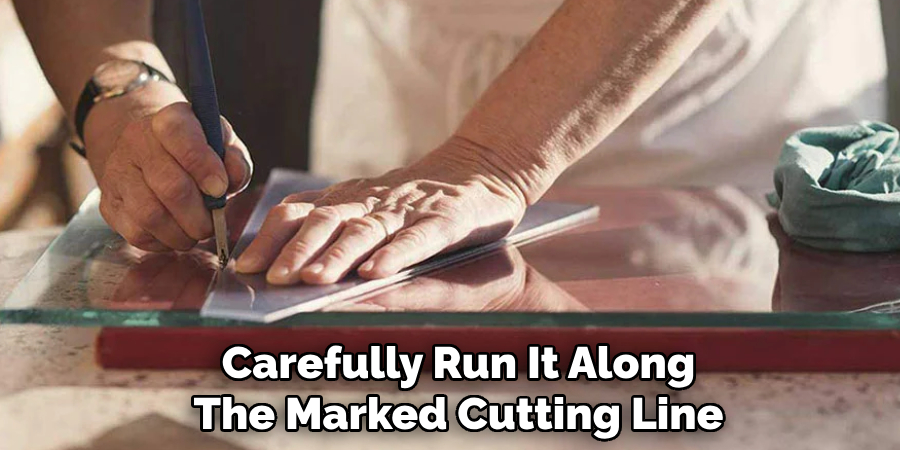
Step 4. Score the Cutting Line:
Using a sharp utility knife or scoring tool, carefully run it along the marked cutting line. Apply consistent, moderate pressure to ensure a clear and straight score. If the material is thick or tough, you may need to go over the line multiple times to create a deeper groove.
This step is crucial as it guides your cutting tool in the next stage, helping to achieve a precise and clean cut. Be sure to maintain a steady hand and follow the marked line closely to avoid veering off track. Always prioritize safety by keeping your fingers away from the path of the blade.
Step 5. Snap the Board:
To snap the board, position the scored line right along the edge of a sturdy, flat surface. Apply even pressure on either side of the line, gently bending the board downwards. The board should break cleanly along the scored groove if the line was deep enough.
If needed, you can use your hands or apply additional pressure with your body to ensure a complete break. For thicker materials, you may find it helpful to clamp the board securely to the surface before attempting to snap it. Always take care to wear protective gloves to avoid any sharp edges during this process.
Step 6. Set Up the Tile Saw:
Begin by placing the tile saw on a stable, flat surface to ensure safety and precision during use. Fill the saw’s reservoir with water to the indicated level, as this helps cool the blade and minimizes dust during cutting. Ensure the blade is properly installed and securely tightened according to the manufacturer’s instructions.
Adjust the fence and guide system to align with your desired cut measurements for accuracy. Before proceeding, double-check that the saw is plugged into a grounded power outlet and that the power switch is in the off position. Finally, always wear safety goggles and hearing protection before operating the tile saw to protect yourself during the cutting process.
Step 7. Cut with the Tile Saw:
Position the tile securely against the fence and guide system, ensuring it is firmly held in place. Turn on the tile saw and allow the blade to reach full speed. Slowly and steadily push the tile into the blade, maintaining consistent pressure without forcing it.
Follow the marked line to ensure a precise cut, using both hands to guide the tile safely while keeping your fingers clear of the blade. Once the cut is complete, turn off the saw and wait for the blade to come to a full stop before removing the tile. Always inspect your cut piece for accuracy and make additional adjustments if necessary.
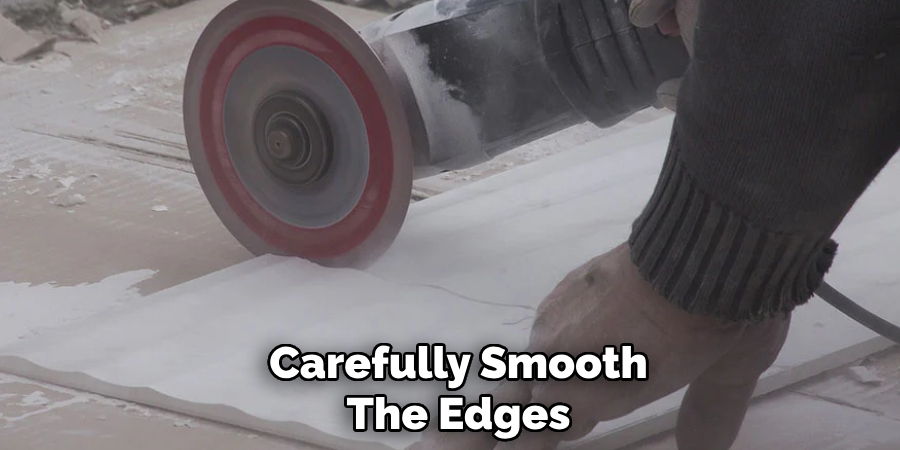
Step 8. Smooth the Edges:
Using a rubbing stone or sandpaper, carefully smooth the edges of the cut tile to eliminate any sharp or rough areas. Hold the tile securely, and work along the edges with gentle, even pressure until they feel smooth to the touch.
This step ensures a clean finish and reduces the risk of injury when handling or installing the tiles. Additionally, smoothing the edges helps the tiles fit seamlessly together, enhancing the overall appearance of your project. Brush away any dust or debris created during this process before proceeding.
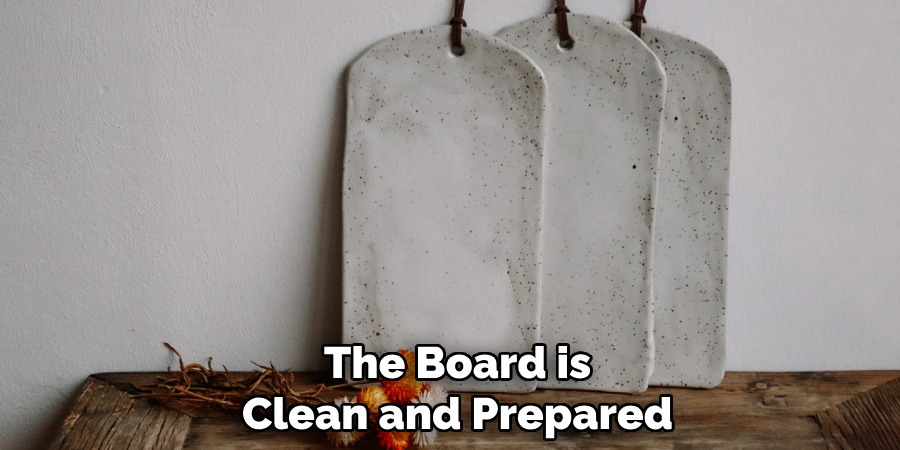
Step 9. Clean the Board:
Start by removing any dust, debris, or adhesive residue from the board’s surface using a soft, damp cloth or sponge. Ensure you clean gently to avoid damaging the material, especially if the board has a delicate finish. For stubborn spots, use a mild cleaning solution that is safe for the board’s surface. Thorough cleaning ensures a smooth surface, which is essential for proper tile adhesion and a professional-looking result.
Step 10. Inspect Your Work:
Once the board is clean and prepared, take a moment to carefully inspect your work. Ensure the surface is completely smooth, free of dust, and dry before proceeding. Check for any imperfections or areas that may need additional attention, such as uneven spots or leftover residue. A thorough inspection at this stage helps prevent issues during the next steps and ensures a high-quality finish for your project.
By following these steps, you’ll be able to cut ceramic boards efficiently and achieve professional results.
5 Things You Should Avoid
- Skipping Surface Preparation
Neglecting to prepare the surface properly can lead to uneven cuts or damage to the ceramic board. Ensure the board is clean, dry, and free of any debris or imperfections before starting.
- Using the Wrong Tools
Avoid using inappropriate or dull tools for cutting ceramic boards. Always opt for specialized tools like a tile cutter or a wet saw to ensure precision and reduce the risk of cracks or chipping.
- Applying Excessive Force
Forcing the cut too aggressively can cause the ceramic board to break or shatter. Take your time and apply steady, even pressure while cutting for a clean finish.
- Ignoring Safety Measures
Cutting ceramic boards can produce sharp edges and dust particles. Skipping safety precautions, such as wearing gloves, goggles, and a dust mask, can result in injuries or health hazards.
- Rushing Through Measurements
Failing to measure and mark accurately before cutting can result in wasted materials and improper fits. Double-check your measurements and markings to ensure accurate cuts that match your project’s specifications.
Conclusion
How to cut ceramic board requires careful preparation, precision, and adherence to safety guidelines.
By using the correct tools, taking accurate measurements, and following proper techniques, you can achieve clean and precise cuts that align with your project requirements. Always prioritize safety by wearing protective equipment and working in a well-ventilated area to minimize risks.
With patience and attention to detail, you can successfully cut ceramic boards and achieve professional-grade results.
Specialization:
- Master of wheel-throwing, hand-building, and advanced glazing techniques
- Focus on creating both functional pottery and decorative art pieces
Recognition:
- Celebrated by collectors and art enthusiasts for creating one-of-a-kind pieces that blend artistry with functionality
- Participates in local and national exhibitions, earning accolades for his innovative designs and craftsmanship
Passion:
- Deeply committed to exploring and pushing the boundaries of ceramic artistry
- Continuously experiments with new materials, firing techniques, and artistic concepts to evolve his craft
Personal Philosophy:
- Believes in the transformative power of art, aiming to evoke emotions and connections through his ceramic creations
- Advocates for sustainability in ceramics, using eco-friendly materials and practices whenever possible