


Are you looking for creative ways to decorate your clay candle holders? Look no further! Here are some easy and fun techniques to make your plain clay candle holders into beautiful works of art.
How to decorate a clay candle holders is a fun and creative activity that allows you to personalize your home decor or craft unique gifts for loved ones.
With just a few materials and some imagination, you can transform simple clay holders into stunning pieces that reflect your style. The possibilities are endless, whether you prefer a rustic, minimalist look or vibrant, decorative patterns.
This guide will walk you through the steps and techniques to help you design and decorate clay candle holders that will add warmth and charm to any room.
What Are the Benefits of Decorating Clay Candle Holders?
Decorating your clay candle holders has many benefits. Not only does it allow you to express your creativity, but it also offers a sense of accomplishment when you see the final product. Handmade items also make great gifts and can save you money compared to store-bought decorations.
Decorating clay candle holders is also a therapeutic activity that can help reduce stress and promote mindfulness. Designing and creating something with your hands can be very calming and relaxing.
Moreover, decorating your clay candle holders allows you to customize them according to your taste and style. You can experiment with different colors, textures, and designs to match the aesthetic of your home or the preferences of the person you’re gifting them to.
What Will You Need?
Before you start decorating your clay candle holders, make sure to gather all the necessary materials and tools. Here’s a list of items that you may need:
- Plain clay candle holders
- Acrylic paints or paint pens
- Paintbrushes in various sizes
- Stencils
- Tape
- Glitter, gems, or other embellishments
- Mod Podge or clear sealant spray
- Optional: Clay carving tools for more intricate designs
Now that your materials are ready let’s dive into the creative process!
8 Easy Steps on How to Decorate a Clay Candle Holders
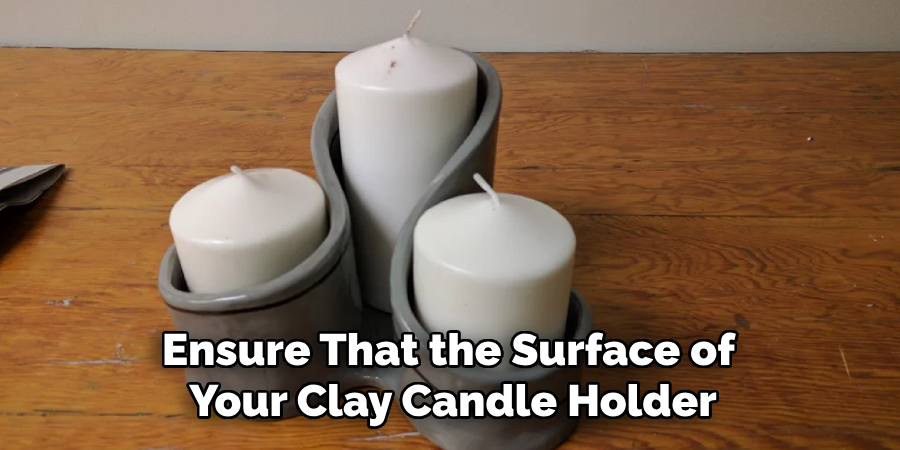
Step 1. Clean the Surface
Before you begin decorating, it’s essential to ensure that the surface of your clay candle holder is clean and free of any dust, oils, or debris. Start by gently wiping the holder with a damp cloth to remove particles.
If the surface feels greasy, use mild soap to clean it thoroughly. Ensure the candle holder is completely dry before moving on to the next step, as moisture can interfere with applying paint or other materials. A smooth, clean surface will help the decorations adhere better and create a polished, professional finish.
Step 2. Apply a Base Coat
Start by applying a base coat of paint to your clay candle holder. Choose a color that complements your overall design or theme. Use a small paintbrush or a sponge brush for even application.
Covering the entire surface evenly is essential while avoiding streaks or clumps. If needed, apply a second coat once the first one dries to ensure complete coverage. Allow the base coat to dry completely before proceeding to the next step to prevent smudging or peeling. This base layer will make your design pop and create a vibrant foundation for the decorations.
Step 3. Add Decorative Elements
Once the base coat is fully dry, it’s time to bring your design to life with decorative elements. Use acrylic paints, stencils, or small embellishments like beads or glitter to personalize your clay candle holder. If you’re painting designs, opt for fine-tip brushes to achieve detailed patterns or shapes.
For added texture, consider using techniques like sponging or layering colors. If you’re attaching embellishments, use a strong adhesive to ensure they stay securely. Allow additional layers or decorations to dry thoroughly before the final sealing step. These creative touches will make your candle holder unique and reflective of your style.
Step 4. Seal and Protect Your Design
To ensure your decorated clay candle holder is long-lasting and retains its vibrant appearance, apply a clear sealant as the final step. Choose a sealant appropriate for your materials, such as a matte, satin, or glossy finish, depending on your preference.
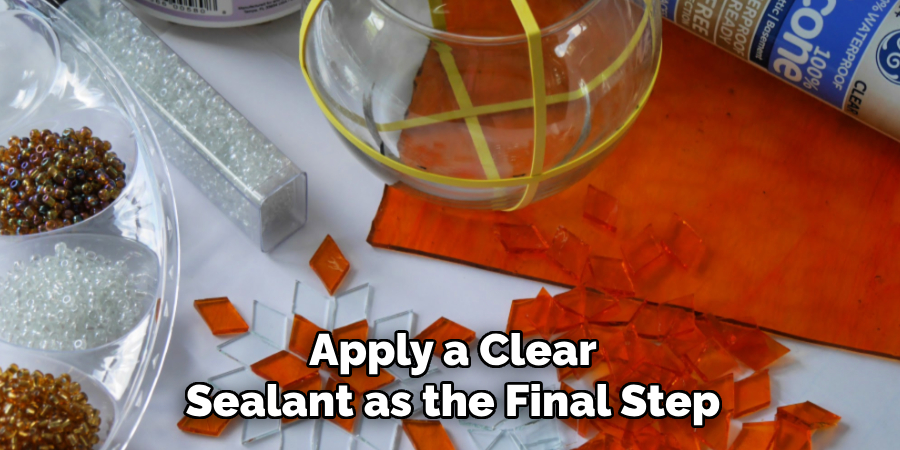
Use a brush or spray applicator to evenly coat the entire surface, covering all painted areas and embellishments. Allow the sealant to dry completely, following the manufacturer’s instructions for drying time. This protective layer will protect your design from scratches, moisture, and wear, giving your candle holder a professional look.
Step 5. Add Artificial Flower or Greenery
To enhance the decorative appeal of your candle holder, carefully select artificial flowers or greenery that match your overall theme or color scheme. Popular choices include miniature roses, eucalyptus leaves, or even sprigs of lavender. Begin by arranging your chosen pieces to visualize how they complement the design. Trim the stems as needed to ensure they fit snugly against the candle holder.
Secure the flowers or greenery using a hot glue gun or strong adhesive, applying small amounts to the base of each item to avoid excess glue. Work patiently, pressing each piece firmly into place until the adhesive sets. Be mindful not to overcrowd the design; a balanced and elegant aesthetic is key.
Consider adding small details such as ribbon bows, beads, or twine to tie the look together for a cohesive finish. By incorporating artificial elements, you’re adding texture and visual interest that elevates the overall design of your candle holder.
Step 6. Experiment with Different Techniques
When creating your candle holder, don’t hesitate to try out various techniques to personalize the design and make it truly unique. Before adding flowers or greenery, you could experiment with layering materials, such as wrapping burlap or decorative fabric around the base.
This can lend a rustic or vintage flair to your piece. Another approach is introducing paint or metallic finishes, like gold or silver leaf, to enhance the visual appeal or tie it into a specific color palette.
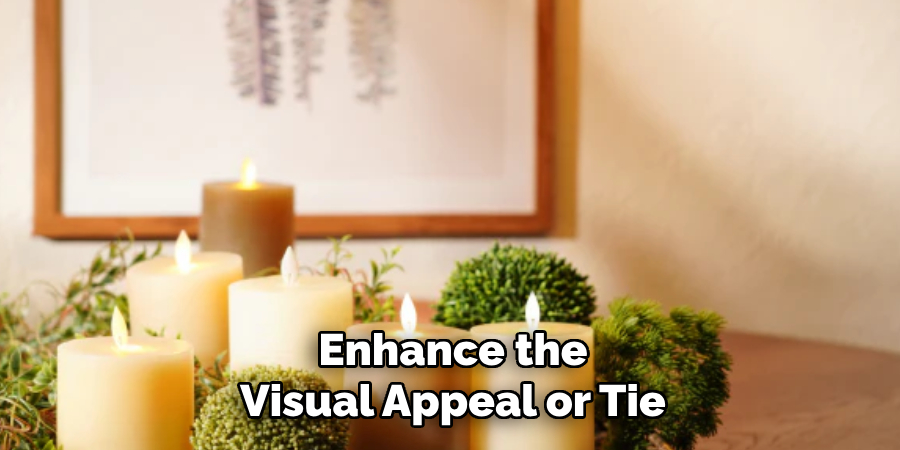
For those who enjoy a touch of sparkle, consider using glitter accents or adhesive gemstones to bring a subtle shimmer to your design. If you prefer a more natural look, try incorporating organic elements like dried flowers, pine cones, or small twigs, which provide an earthy charm. Don’t forget to explore patterns or textures; for instance, using lace or stenciling can add intricate details that elevate the overall aesthetic.
Step 7: Assemble Your Candle Holder
Once you have all your design elements prepared, it’s time to assemble your candle holder. Start by securely placing the base or container holding your candle on a stable surface. Attach your chosen decorations with the appropriate adhesive or fasteners, ensuring each piece is firmly secured.
Take time to layer the materials creatively, balancing colors, textures, and patterns for a cohesive look. Finally, add the candle, ensuring it fits snugly and is positioned safely within the holder. Test your candle holder for stability and make any adjustments as needed before showcasing your completed piece.
Step 8: Finishing Touches
It’s time to add the finishing touches when your candle holder is assembled. Inspect the piece for any loose decorations or areas needing additional reinforcement. If desired, apply a clear protective sealant to enhance durability and give the holder a polished look.
Add subtle accents like glitter, ribbon, or a small charm to give it a personalized touch. Once completed, allow any adhesives or finishes to fully dry before using your candle holder. Your handcrafted creation is ready to light up your space with warmth and style!
Following these simple steps, you can create a one-of-a-kind clay candle holder that reflects your style and creativity.
5 Things You Should Avoid
- Using Non-Heat-Resistant Paints: Avoid using paints that are not heat-resistant, as the candle holder may be exposed to heat, which could cause regular paints to peel or emit harmful fumes over time.
- Overloading with Decorations: It’s important not to overcrowd the candle holder with excessive embellishments, as this could make it unstable or pose a fire hazard when lit.
- Skipping Proper Surface Preparation: Do not skip cleaning and sanding the clay surface before decorating. A smooth and clean base ensures better adhesion of paints and designs, resulting in a more polished finish.
- Using Flammable Materials: Avoid using decorations made from flammable materials like paper, fabric, or certain glues, which can increase the fire risk when the candle is burning.
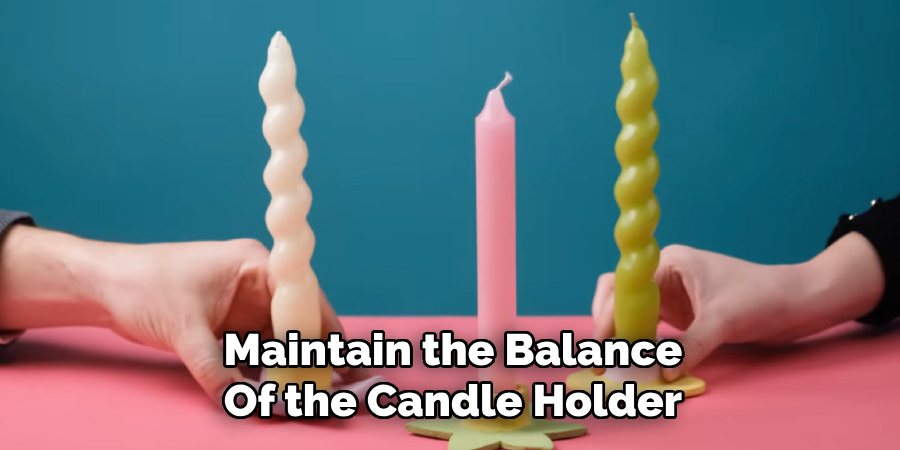
- Ignoring Balance and Functionality: Don’t forget to maintain the balance of the candle holder. Overly heavy or uneven designs can cause the holder to tip over, which can be dangerous.
Conclusion
How to decorate a clay candle holders can be a rewarding and creative endeavor, but it requires careful planning and attention to detail to ensure safety and functionality.
By avoiding common mistakes such as using inappropriate materials, skipping surface preparation, or overcrowding the design, you can create a beautiful and practical piece. Always prioritize safety by choosing fire-resistant elements and maintaining structural balance.
With the proper techniques and materials, your decorated clay candle holder can become a stunning and durable addition to your home décor.
Specialization:
- Master of wheel-throwing, hand-building, and advanced glazing techniques
- Focus on creating both functional pottery and decorative art pieces
Recognition:
- Celebrated by collectors and art enthusiasts for creating one-of-a-kind pieces that blend artistry with functionality
- Participates in local and national exhibitions, earning accolades for his innovative designs and craftsmanship
Passion:
- Deeply committed to exploring and pushing the boundaries of ceramic artistry
- Continuously experiments with new materials, firing techniques, and artistic concepts to evolve his craft
Personal Philosophy:
- Believes in the transformative power of art, aiming to evoke emotions and connections through his ceramic creations
- Advocates for sustainability in ceramics, using eco-friendly materials and practices whenever possible