


Are you looking to spice up your ceramic creations with some color? You’re in luck! With the right techniques and materials, decorating ceramics can add a whole new dimension to your pottery. Here are some tips on how to decorate ceramic colorants for beautiful results.
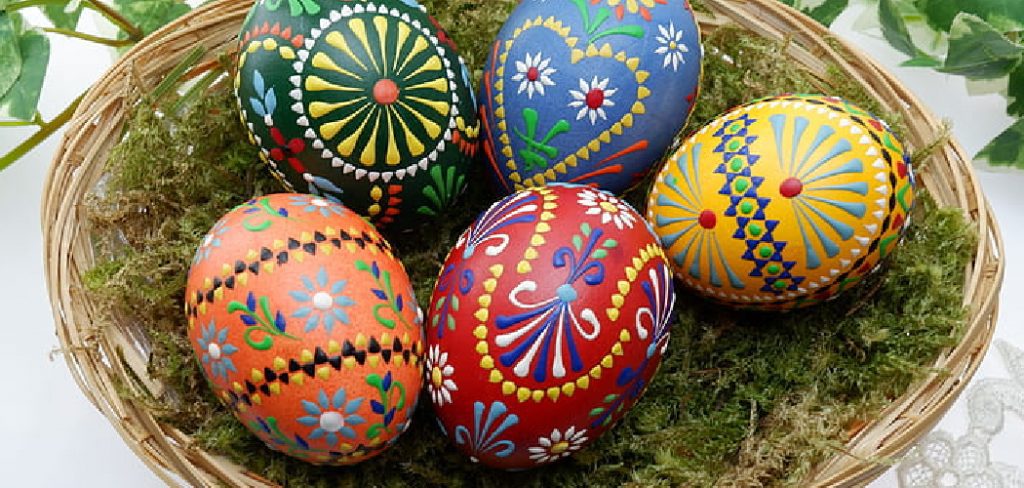
Decorating ceramic colorants is a creative process that combines artistry and technical skill to produce unique and vibrant designs on ceramic surfaces. This technique involves using various methods to apply pigments and glazes, transforming plain ceramics into visually stunning pieces.
Whether you’re a beginner or an experienced ceramic artist, understanding the fundamentals of decorating ceramic colorants can open up endless possibilities for personal expression and innovation. From hand-painting intricate patterns to experimenting with layering techniques, learning to decorate with ceramic colorants is rewarding and inspiring.
What Are the Benefits of Decorating Ceramic Colorants?
Using ceramic colorants to decorate your pottery has several benefits, including:
- Adding Personality and Character to Your Pieces: By using color, you can enhance the aesthetics of your ceramics and make them stand out from traditional white-glazed pottery.
- Enhancing the Visual Impact: Using color on ceramics creates a dazzling effect that catches people’s attention and adds depth to your designs.
- Creating Unique and One-of-a-kind Pieces: With so many techniques and materials available, the possibilities are endless when it comes to decorating ceramic colorants. You can experiment with different colors, patterns, and textures to create unique pieces that reflect your style and creativity.
These are just a few of the many benefits of decorating ceramic colorants. The key is to let your imagination run wild and have fun with the process.
What Will You Need?
Before diving into the world of ceramic colorants, having the right materials and tools is essential. Here are some basic supplies that you’ll need:
- Ceramics: You can decorate any type, whether it’s a ready-made piece or one you’ve made yourself.
- Glazes: Glazes are an essential component of decorating ceramic colorants. They provide the base color and surface for your design.
- Underglazes: These are pigments used under transparent or over opaque glaze to add detail and texture to your design.
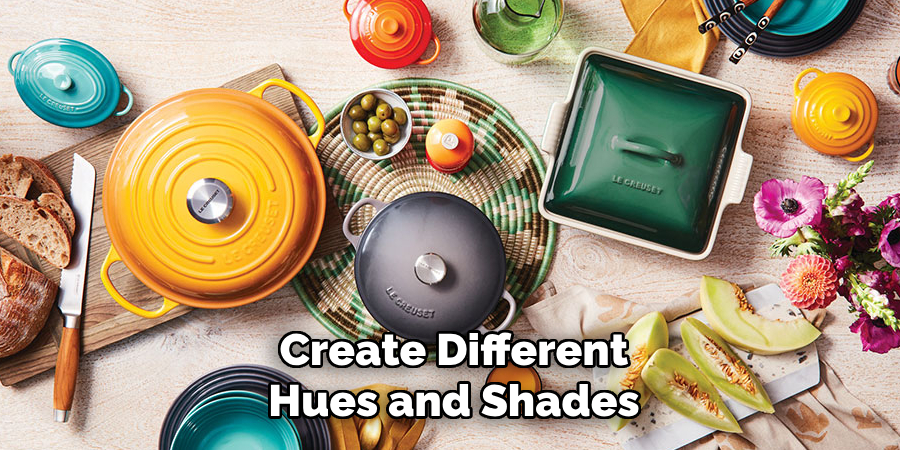
- Coloring Oxides: These are natural minerals used to create different hues and shades when added to glazes or underglazes.
- Brushes: A variety of brushes is essential for applying ceramic colorants. Make sure to have different sizes and shapes for various techniques.
- Sponges and Stamps: These tools can create unique textures and patterns on your ceramics.
Once you have all the necessary supplies, it’s time to get creative and start experimenting!
10 Easy Steps on How to Decorate Ceramic Colorants
Step 1. Prepare Your Workspace:
Before decorating with ceramic colorants, ensure your workspace is clean, organized, and well-lit. Cover your work surface with a protective material, such as a plastic sheet or newspaper, to prevent stains. Gather all your tools, colorants, brushes, and other materials within easy reach to streamline your workflow.
Having a bowl of clean water and paper towels nearby is also helpful for cleaning brushes and addressing any spills. If you’re working with fine powders, such as oxides, consider wearing a dust mask for safety and ensure proper ventilation. A tidy, well-prepared workspace fosters creativity and efficiency, allowing you to focus on your design without unnecessary interruptions.
Step 2. Choose Your Ceramic Piece:
Select a ceramic piece you want to decorate, such as a plate, mug, vase, or tile. Make sure the surface of the ceramic is clean and free of dust or grease, as this can affect how the colorants adhere.
If you are working with raw bisque-fired ceramics, they are typically ready for decoration; however, for glazed pieces, you may need to sand or etch the surface slightly to create better adhesion. Choosing the right ceramic base is important to ensure your design turns out as intended.
Step 3. Plan Your Design:
Before applying any color or pattern to your ceramic piece, take some time to plan your design. Sketch your ideas on paper to visualize the layout and composition of the artwork.
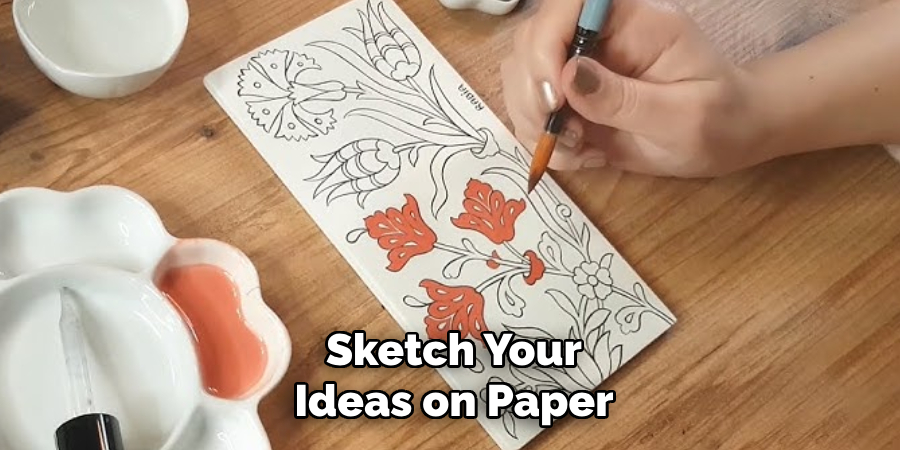
Consider the colors, shapes, and styles that you want to incorporate. Using stencils or masking tape can help create clean lines and precise shapes if you’re going for a detailed or intricate pattern. This stage allows you to experiment with ideas and make adjustments before committing to the final piece, ensuring that your decoration aligns with your vision.
Step 4. Prepare Your Materials:
Gather all the materials you’ll need to decorate your ceramic piece. This might include brushes, sponges, stencils, masking tape, and your chosen colorants like underglazes, overglazes, or acrylic paints. Make sure your work surface is clean and organized to help you stay focused during the process.
If you’re using multiple colors or intricate tools, arrange them in the order you’ll need them to maintain efficiency. Proper preparation saves time and minimizes mistakes during the decoration process.
Step 5. Apply Your Design:
Using the prepared materials, apply your chosen design to the ceramic piece. Work carefully and methodically, especially when creating intricate patterns or layering multiple colors.
Thin, even coats of paint are ideal for better coverage and a smoother finish. Allow each layer to dry before adding details or colors to avoid smudging. If you use stencils or masking tape, ensure they are firmly in place to maintain clean lines. This step is where your vision starts to come to life.
Step 6. Seal and Fire the Ceramic Piece:
Once your design is complete and fully dry, it’s time to seal and fire the ceramic piece, depending on the materials used. If you’re working with underglazes or overglazes, apply a clear glaze evenly over the surface to protect the design and give it a polished finish.
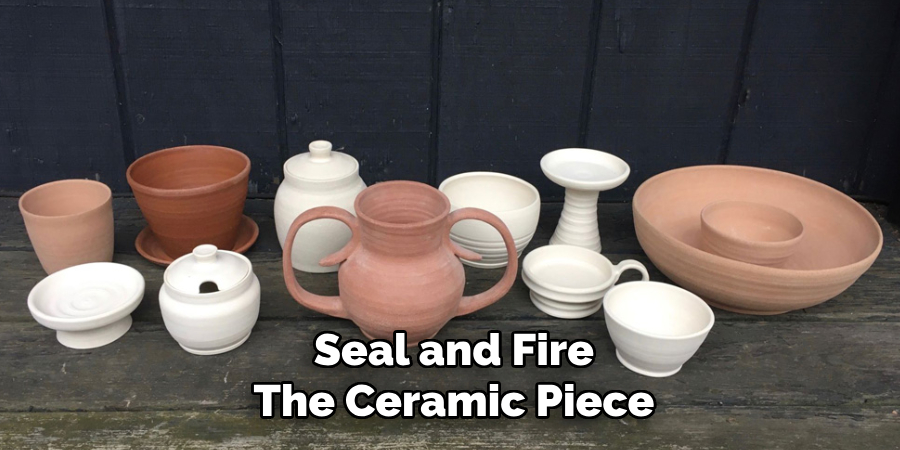
Follow the manufacturer’s instructions for drying and firing temperatures to ensure the piece is set correctly. For acrylic-painted ceramics that won’t be fired, consider applying a sealant to preserve the artwork. Firing in a kiln solidifies the decoration and enhances the vibrancy of the colors, resulting in a durable and visually striking finished piece.
Step 7. Final Touches and Display:
After firing or sealing your ceramic piece, scrutinize it for any imperfections or areas needing small touch-ups. Add minor adjustments with paint or detail work if necessary, ensuring the piece meets your expectations.
Finally, display your finished creation proudly as a functional object, a decorative piece, or a heartfelt gift. Proper care and maintenance of your ceramic item will ensure its beauty and longevity for years.
Step 8. Cleaning Up Your Workspace:
Once you have completed your ceramic project, take the time to clean up your workspace thoroughly. Remove any leftover paint, clay, or tools and store them in their designated places to maintain an organized area for future projects.
Properly dispose of waste materials, and clean brushes or other reusable tools with warm, soapy water to preserve quality. Keeping your workspace tidy not only extends the life of your tools but also ensures a pleasant and focused environment for your next creative endeavor.
Step 9. Sharing and Enjoying Your Work:
Take pride in the effort and creativity you’ve invested in your ceramic project. Share your finished piece with friends, family, or a creative community to inspire and connect with others. Consider documenting your progress through photographs or videos to reflect on it and share it on social media or personal platforms.
Display your ceramic creation in a prominent place where it can bring joy and remind you of your artistic accomplishment. Creating and sharing art fosters meaningful connections and encourages a deeper appreciation for the craft.
Step 10. Continuing to Grow Your Skills:
Artistic growth is a continuous process, and each project is an opportunity to learn and improve. Take time to reflect on your experience, noting what techniques worked well and where there’s room for development. Experiment with new styles, materials, or themes to push your creative boundaries.
Join workshops, watch tutorials, or connect with fellow artists to gather fresh inspiration and further develop your skills. Remember, your artistic journey is unique and consistent practice will help you refine your craft while keeping your passion for ceramics alive.
By following these steps and allowing your creativity to flow, you can create beautiful, personalized ceramic pieces that reflect your unique style.
5 Things You Should Avoid
- Using an Improper Surface: Always ensure the ceramic surface is clean, smooth, and free of dust or grease. Decorating on an unprepared surface can lead to uneven application and poor adhesion of the colorants.
- Skipping Testing: Avoid applying colorants directly without testing. Some glazes or underglazes may react unpredictably during firing, resulting in unintended colors or textures. Perform a small test patch first.
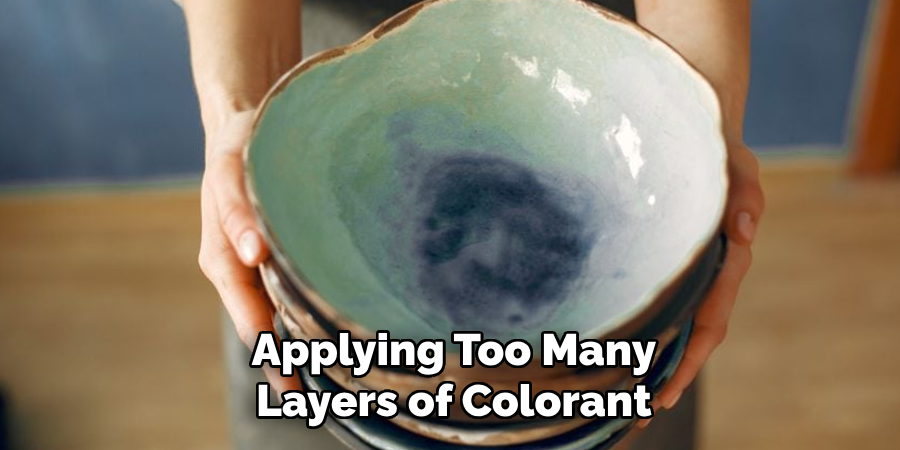
- Overloading Layers: Applying too many layers of colorant can cause smudging, cracking, or uneven coverage after firing. It’s best to apply thin, even coats and allow each layer to dry before adding the next.
- Neglecting Proper Brushes and Tools: Using the wrong tools can make achieving clean lines or precise details difficult. Ensure you use brushes and applicators that are suitable for ceramic colorant application.
- Ignoring Kiln Firing Instructions: Over or under-firing your ceramics can drastically alter the appearance of the colorants. Always adhere to the recommended firing temperature and schedule specific to the materials used.
Conclusion
How to decorate ceramic colorants effectively requires attention to detail, patience, and proper technique.
You can achieve consistent and visually appealing results by avoiding common mistakes such as uneven application, skipping testing, or overloading layers.
Additionally, using the right tools and adhering to kiln firing instructions ensures that your designs come to life as intended. You can create stunning ceramic pieces that showcase your craftsmanship and artistic vision with practice and care.
Hopefully, this guide has provided you with helpful tips and inspiration to begin your ceramic coloring journey. Remember to let your creativity flow and enjoy the process of creating beautiful and unique ceramic pieces. Happy decorating!
Specialization:
- Master of wheel-throwing, hand-building, and advanced glazing techniques
- Focus on creating both functional pottery and decorative art pieces
Recognition:
- Celebrated by collectors and art enthusiasts for creating one-of-a-kind pieces that blend artistry with functionality
- Participates in local and national exhibitions, earning accolades for his innovative designs and craftsmanship
Passion:
- Deeply committed to exploring and pushing the boundaries of ceramic artistry
- Continuously experiments with new materials, firing techniques, and artistic concepts to evolve his craft
Personal Philosophy:
- Believes in the transformative power of art, aiming to evoke emotions and connections through his ceramic creations
- Advocates for sustainability in ceramics, using eco-friendly materials and practices whenever possible