


Drawing on ceramics is a creative and enjoyable way to customize everyday items like mugs, plates, or vases. Whether you’re aiming to create personalized gifts or add a decorative touch to your home, this activity allows you to express your artistic side.
With just a few tools and some basic techniques, you can transform plain ceramic surfaces into unique works of art. This guide will walk you through the essentials steps of how to draw on ceramics, from choosing the right materials to finishing your design for a durable and polished look.
The Appeal of Custom Ceramic Art
The appeal of custom ceramic art lies in its versatility and ability to reflect personal style. Each piece becomes a canvas for creativity, allowing individuals to craft something truly unique that aligns with their tastes or the preferences of a loved one.
Whether it’s a mug adorned with a playful design, a plate featuring intricate patterns, or a vase with a heartfelt message, custom ceramic art transcends standard store-bought items by adding a personal and meaningful touch. Additionally, these handmade creations serve as timeless keepsakes or thoughtful gifts, enhancing their sentimental and artistic value.
Tools and Materials Needed to Draw on Ceramics
Creating custom ceramic art requires the right tools and materials to ensure your designs are both beautiful and durable. Here’s a list of essentials you’ll need:
- Ceramic Surface: Choose a ceramic piece to decorate, such as a mug, plate, or tile. Make sure the surface is clean and free of dust or grease.
- Porcelain or Ceramic Markers: Specially designed markers ensure vibrant colors and lasting designs that adhere well to the ceramic surface.
- Pencil and Eraser (optional): For sketching your design lightly before committing with a marker.
- Stencils or Templates (optional): Great for creating precise shapes or patterns if freehand drawing feels too challenging.
- Isopropyl Alcohol and Cotton Pads: Useful for cleaning the ceramic surface beforehand or for erasing mistakes quickly while designing.
- Sealant or Bake-On Glaze (if required): Provides a protective layer to make designs permanent and dishwasher-safe. Always follow the marker or glaze instructions for application and curing.
Having these tools and materials on hand ensures that you can create personalized ceramic art with ease and confidence.
10 Methods How to Draw on Ceramics
1. Use Underglaze Pencils for Sketch-Like Drawings
One of the most accessible and versatile methods for drawing on ceramics is using underglaze pencils. These ceramic-safe pencils work best on bisque-fired pottery and provide a dry, chalky line similar to graphite. They allow precise control for line drawings, shading, and fine detailing—perfect for replicating pencil-drawn artwork on clay.
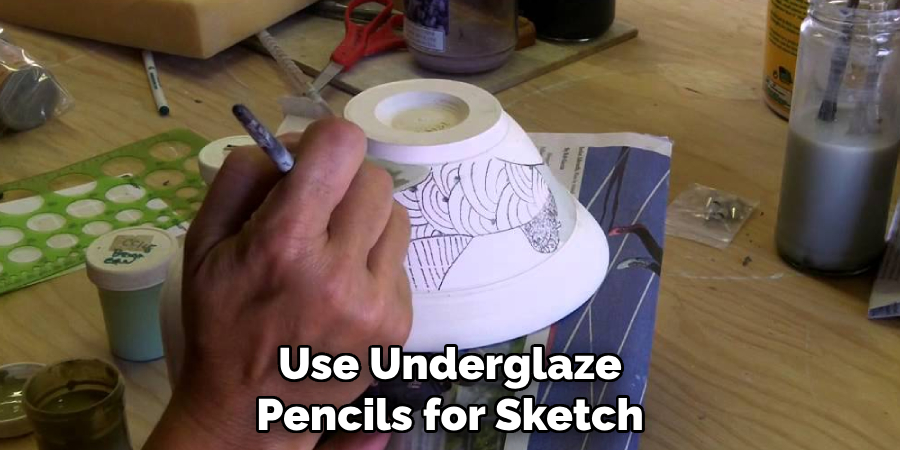
The surface should be smooth and dust-free for the cleanest results. You can layer, hatch, or stipple as you would on paper, and the designs become permanent after glaze is applied and the piece is fired. This method is ideal for illustrators looking to translate their skills onto ceramic canvases.
2. Paint with Underglaze Using Fine Brushes
Underglazes offer the widest range of colors for ceramic surface decoration and can be applied like paint using small, fine-tipped brushes. This method works best on bisque ware, though some artists apply underglaze to greenware as well.
Draw with fluid, controlled strokes, allowing for detailed images and precise edges. You can build up layers for shading and intensity, or thin the underglaze with water for delicate washes. After drying, the surface can be protected with a clear glaze and fired to preserve the illustration permanently. Brush painting is great for vibrant visuals and watercolor-like techniques.
3. Use Sgraffito to Carve Your Drawing into Clay
Sgraffito is a centuries-old technique that involves scratching a design through a layer of colored slip or underglaze to reveal the contrasting clay body underneath. Start by applying a coat of colored slip to leather-hard clay. Once it’s partially dry, use fine-point tools, needles, or carving knives to scratch your design into the surface.
This subtractive method mimics ink drawings or linocuts, producing bold, high-contrast visuals. Sgraffito is ideal for stylized patterns, botanical drawings, or calligraphy. After completing the drawing, allow the piece to dry, bisque fire it, and optionally apply a transparent glaze before a final firing.
4. Try Ceramic Transfer Papers for Consistent Line Art
For those who want to reproduce the same drawing multiple times or apply detailed illustrations, ceramic transfer paper (also known as tissue transfer or decal paper) is an excellent option. These papers come pre-printed with underglaze ink and are applied to ceramics using water and gentle pressure.
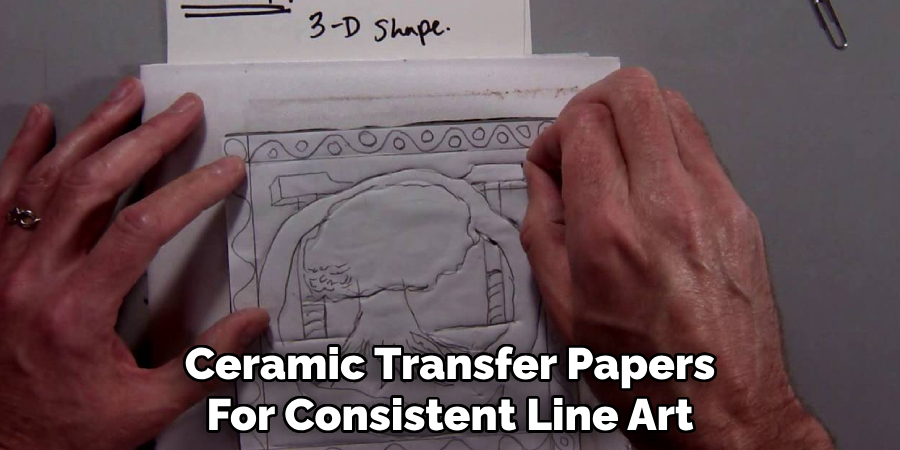
The design transfers onto the surface like a temporary tattoo. Once dry, the transferred image can be glazed and fired. Artists can also create their own custom transfers using ceramic-compatible decal printers. This method is perfect for creating uniform designs across a set of dishes or adding complex illustrations without freehand drawing.
5. Draw with Wax Resist Over Glazed or Raw Surfaces
Wax resist is a method where drawings are created by painting a wax medium onto the ceramic surface, resisting any glaze or colorant applied over it. On raw or bisqued surfaces, you can use wax to “draw” negative space into your design. On glazed surfaces, wax can preserve areas of the original color.
Apply wax resist using a fine brush, pen applicator, or stylus. Once the wax dries, paint or glaze the surrounding areas, and the wax will burn off during firing, revealing the untouched surface beneath. This technique allows for crisp lines and intricate border work.
6. Etch Drawings Using Mishima (Inlay Technique)
Mishima is a decorative inlay technique where lines are carved into leather-hard clay and filled with colored slip. Once the slip is partially set, the surface is scraped back, leaving the colored slip only in the incised lines. This method gives a look similar to ink on paper but with recessed texture.
Use Mishima for clean, graphic lines, lettering, or illustrative imagery. After the piece is bisqued and glazed, the contrast between the inlaid lines and the clay body can be striking. This labor-intensive technique is ideal for those who enjoy detailed craftsmanship and tactile designs.
7. Use Oil-Based Markers on Glazed Ceramics (For Non-Fired Art)
For decorative projects that won’t be fired—such as DIY mugs, plates, or tiles—oil-based ceramic markers are an easy and effective way to draw on glazed ceramics. These pens offer smooth application and a variety of colors. After drawing, the item is usually baked in a conventional oven to set the ink, making it semi-permanent and water-resistant (though not dishwasher safe).
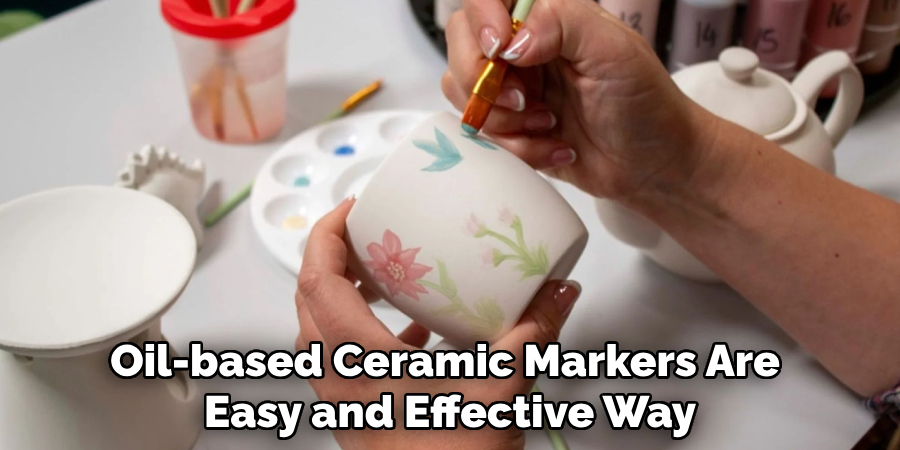
This method is perfect for personalized gifts or casual crafting. However, it’s not suitable for food surfaces unless the pens are labeled as food-safe. For long-lasting, functional ceramics, fired decoration methods are preferable.
8. Combine Slip Trailing with Drawing Techniques
Slip trailing involves drawing lines using a squeezable bottle filled with colored slip, allowing for raised decorative designs on clay. You can create patterns, outlines, or textural illustrations using different nozzle sizes. This technique works well on leather-hard clay and is often used in tandem with carving or stamping.
For a drawn look, practice consistent line pressure and spacing. After bisque firing, slip-trailed drawings can be enhanced with washes, stains, or clear glazes. Slip trailing offers a tactile, dimensional alternative to flat drawing methods and works beautifully on tiles, bowls, and decorative vessels.
9. Incorporate Layered Techniques for Depth and Interest
Artists can elevate their ceramic drawings by layering multiple surface techniques. For example, start with a wash of underglaze or oxide for tone, then add sgraffito for detail, and finish with underglaze pencil work for highlights or textures.
This mix of methods creates visual depth and complexity, much like layering paint and ink in traditional media. You might use a resist to preserve drawn lines, or apply a transparent glaze to unify contrasting elements. This approach allows your ceramic art to have richness and nuance that captivates both visually and tactilely.
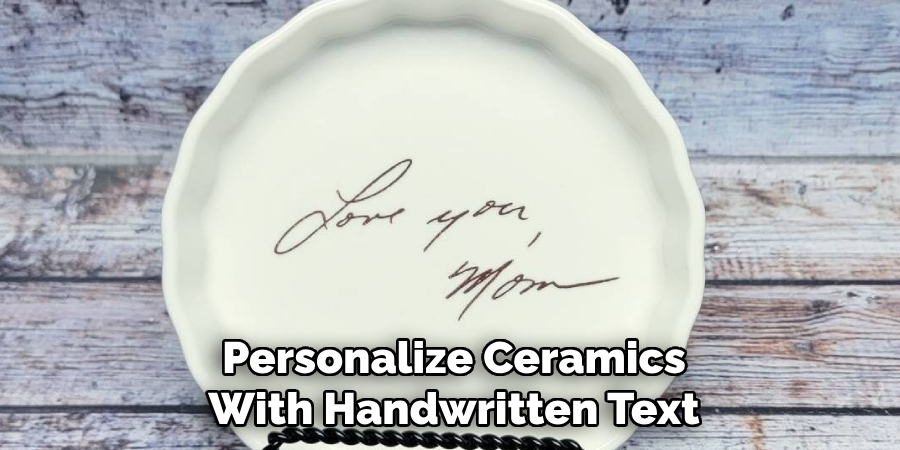
10. Personalize Ceramics with Handwritten Text or Signatures
Adding handwritten text—quotes, names, or dates—is a subtle yet powerful way to personalize ceramics. This can be achieved using underglaze pencils, fine brushes, or even calligraphy pens designed for ceramic surfaces. On bisque ware, write directly with an underglaze pencil or brush, then cover with a clear glaze.
Alternatively, carve the text into wet clay using a stylus for an engraved effect. For signatures, the bottom of a pot or tile is an ideal place. These handwritten elements transform ceramic pieces into keepsakes and functional art with meaning and narrative.
Conclusion
Drawing on ceramics opens a vibrant world of creativity, where line, texture, and color converge on a tactile canvas. Whether you use underglaze pencils for sketch-like detail, carve sgraffito into slip-coated clay, or overlay transfers with hand-drawn enhancements, the techniques described above offer myriad ways to infuse your ceramics with personal artistry.
With a careful balance of experimentation and control, each piece becomes a unique narrative frozen in fire and form. Thanks for reading, and we hope this has given you some inspiration on how to draw on ceramics!
Specialization:
- Master of wheel-throwing, hand-building, and advanced glazing techniques
- Focus on creating both functional pottery and decorative art pieces
Recognition:
- Celebrated by collectors and art enthusiasts for creating one-of-a-kind pieces that blend artistry with functionality
- Participates in local and national exhibitions, earning accolades for his innovative designs and craftsmanship
Passion:
- Deeply committed to exploring and pushing the boundaries of ceramic artistry
- Continuously experiments with new materials, firing techniques, and artistic concepts to evolve his craft
Personal Philosophy:
- Believes in the transformative power of art, aiming to evoke emotions and connections through his ceramic creations
- Advocates for sustainability in ceramics, using eco-friendly materials and practices whenever possible