


Porcelain tile is renowned for its durability, sleek appearance, and versatility, making it a popular choice for flooring, walls, and various home improvement projects. Its resistance to moisture, stains, and scratches contributes to its widespread appeal and long-lasting performance. However, its exceptional hardness and brittleness present a unique set of challenges when it comes to modification, especially drilling. Improper techniques or tools can result in cracked tiles, wasted materials, and unnecessary frustration.
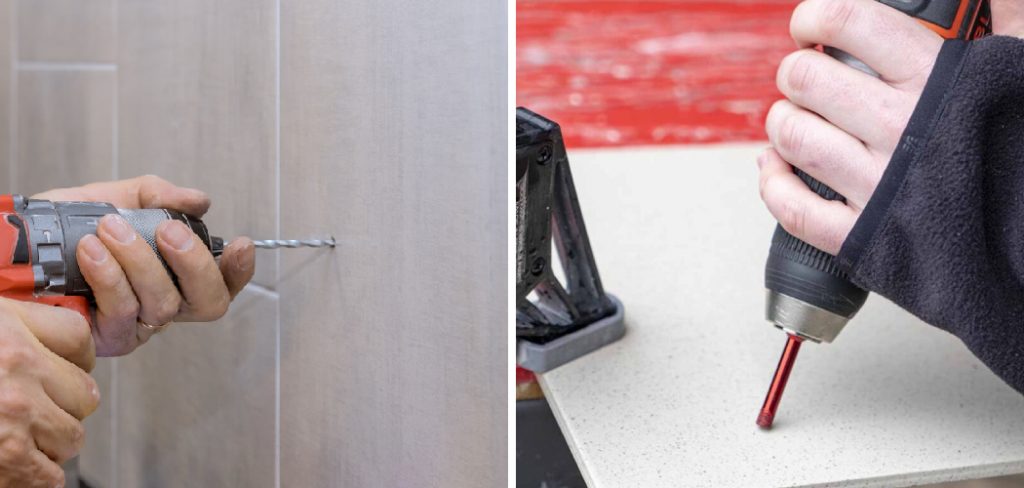
The goal of this article is to provide a comprehensive step-by-step guide on how to drill porcelain tile effectively and safely. By following the outlined methods, including choosing the right tools and preparing appropriately, you can complete your project with confidence while preserving the integrity of your tiles. Whether you are mounting fixtures, installing hardware, or completing other tasks, this guide will set you up for success without damaging your porcelain tiles.
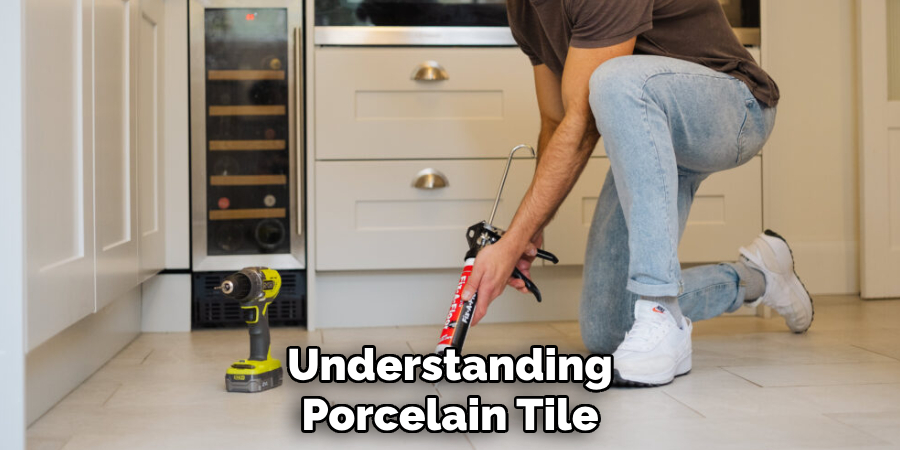
Understanding Porcelain Tile
What Is Porcelain Tile?
Porcelain tile is a type of ceramic tile made from highly refined clay and fired at extremely high temperatures. Its manufacturing process results in a dense, non-porous, and hard material that is highly resistant to water, stains, and wear.
This durability makes porcelain tile an excellent choice for both residential and commercial applications. Unlike standard ceramic tiles, porcelain undergoes a more intense firing process, giving it greater strength and durability.
Difference Between Porcelain and Ceramic Tile
While both porcelain and ceramic tiles are derived from clay, they differ significantly in density and strength. Porcelain tiles are made from finer clay and are fired at higher temperatures, which creates a harder and less porous surface compared to ceramic tiles.
This additional durability and lower water absorption rate make porcelain tiles more difficult to cut or drill, requiring specialized tools and techniques for any modifications.
Common Uses of Porcelain Tile
Porcelain tiles are widely used in floors, walls, countertops, and backsplashes due to their versatility and durability. They are available in a variety of finishes and designs, making them suitable for both functional and decorative purposes in kitchens, bathrooms, and high-traffic areas.
Why Proper Drilling Matters
Drilling porcelain tile requires careful attention to avoid cracking, chipping, or damaging the surface. Improper drilling techniques or using the wrong tools can compromise the structural integrity of the tile, leading to costly repairs or replacements. A well-planned approach using the correct methods ensures a clean, professional finish and maintains the durability and appearance of the tile.
Tools and Materials Needed
To drill porcelain tile effectively and safely, having the right tools and materials is essential. Here’s what you’ll need:
- Diamond-Tipped Drill Bit – These are specifically designed for hard materials like porcelain and ensure clean, precise holes without causing cracks or chips.
- Drill – A power drill with variable speed settings is ideal for controlling the drilling pace. Avoid high-speed settings, as they can overheat the drill bit.
- Masking Tape – Applying masking tape to the tile surface helps mark the drilling location and provides extra grip for the drill bit, preventing slipping.
- Water Spray Bottle or Sponge – Keeping the drill bit cool while drilling is critical to avoid overheating, which can damage the bit or tile. Water acts as a coolant during the process.
- Safety Gear – Safety goggles and gloves are vital to protect your eyes and hands from potential debris or sharp edges while drilling.
- Measuring Tape and Pencil – These are necessary for precise measurements and marking the exact spot where the hole is needed.
Having these tools and materials on hand will ensure a smooth and efficient drilling process while minimizing risks to the porcelain tile and your safety.
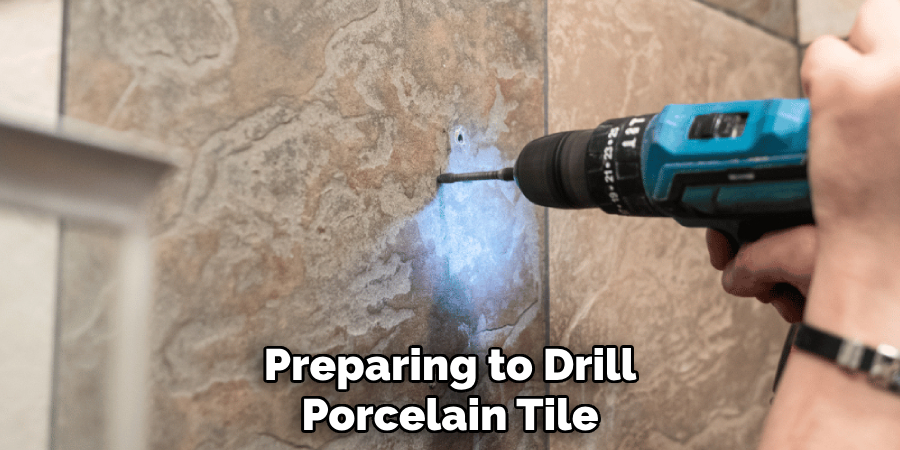
Preparing to Drill Porcelain Tile
Marking the Drill Spot
Before drilling into porcelain tile, it is crucial to mark the drill spot accurately. Use a pencil or a marker to pinpoint the exact location where the hole is required.
To prevent the drill bit from slipping on the smooth surface of the tile, apply a piece of masking tape over the marked spot. The tape provides additional grip for the drill bit and protects the tile’s surface from potential scratches or damage.
Setting Up the Work Area
A properly set-up work area is essential for successful drilling. Ensure that the porcelain tile is securely installed and supported to avoid cracking or movement during the drilling process.
Double-check the stability of the underlying surface or substrate, as this will provide the necessary support while drilling. Additionally, clear the area of any dust, dirt, or debris that could interfere with the drill’s performance or visibility. A clean workspace allows for better precision and safety.
Safety Precautions
To protect yourself during the drilling process, always prioritize safety. Wear safety goggles to shield your eyes from flying fragments or dust particles. Gloves are also recommended to safeguard your hands from sharp edges or tool-related injuries. Additionally, ensure you are working in a well-ventilated area to avoid inhaling fine dust created during drilling. Following these precautions will help you complete the task effectively while minimizing any potential risks to your health or safety.
How to Drill Porcelain Tile: Step-by-Step Drilling Process
Starting the Drill
Begin by positioning the drill bit precisely on the marked spot where the hole is to be made. Start the drill at a low speed to gradually ease the bit into the surface. Applying minimal pressure at this stage is crucial to avoid cracking or chipping delicate materials like tiles. Allow the drill bit to guide itself gently into the surface without forcing it.
Keeping the Drill Bit Cool
To maintain the integrity of both the drill bit and the material being drilled, it is important to keep the bit cool. Frequently spray water on the drill bit or use a damp sponge placed near the drilling spot to reduce heat buildup.
Overheating can weaken the drill bit and cause damage to the material, so pausing periodically to cool down the bit is essential for a successful drilling process.
Drilling Through the Tile
Once the bit is securely established in the surface, maintain steady and even pressure while continuing to drill at a slow speed. Avoid twisting, jerking, or sudden movements with the drill, as these actions can cause the material to fracture. Patience is key during this step, especially when working with fragile surfaces like tiles or glass.

Finishing the Hole
Gradually drill through the tile and into the underlying substrate with care. Once the hole is complete, remove the drill bit slowly without altering the angle to prevent damage to the edges of the hole. Finally, clean away any debris or dust from the drilled area to ensure a clean, professional finish. Following these steps meticulously will help achieve precise results while protecting both your tools and the material.
Tips and Tricks for Success
Using Masking Tape to Prevent Slippage
Applying masking tape to the surface before drilling is an easy yet effective strategy to ensure precision. The tape creates friction between the drill bit and the surface, preventing the bit from slipping. This is especially useful on smooth materials like tiles or glass. Mark your drilling point on the tape for a clear guide and improved stability during the process.
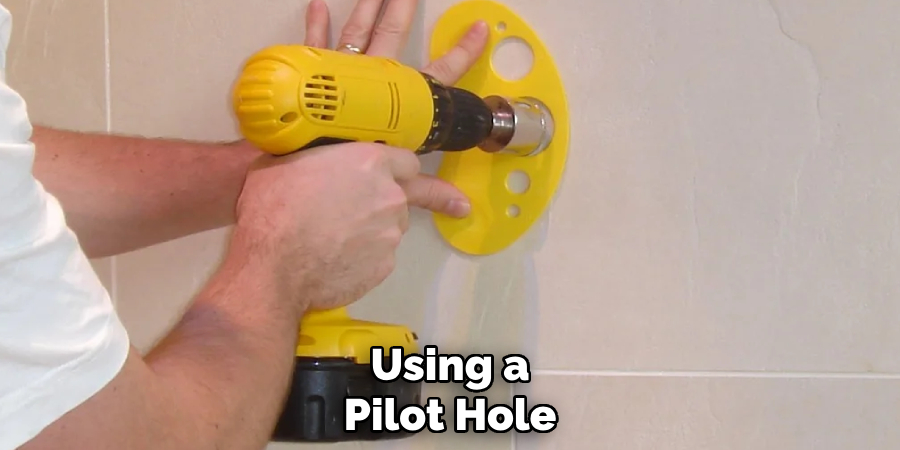
Using a Pilot Hole
Drilling a smaller pilot hole before moving to the final desired size can greatly enhance accuracy and control. The pilot hole provides a guide for the larger drill bit, reducing the risk of the bit wandering off course. This technique is particularly useful when working on dense or hard materials.
Avoiding Cracks and Chips
To avoid cracks or chips, apply even pressure and maintain a consistent, moderate speed while drilling. High speeds can overheat the bit and cause damage to the material, while excessive pressure can lead to sudden breaks. Taking your time and allowing the drill bit to do the work is key to achieving a clean hole.
When to Replace Drill Bits
Keeping your drill bits sharp is essential for clean, efficient cuts. Dull bits require more force, which can compromise precision and increase the risk of damage. Signs of a dull bit include reduced cutting efficiency, excessive noise, or visible wear on the tip. Replacing worn bits promptly will ensure the best results and protect your materials.
Common Mistakes to Avoid
Using the Wrong Drill Bits
Standard drill bits are not designed to effectively cut through hard materials like porcelain. Using them can result in uneven holes, damage to the material, or even breaking the drill bit itself. Always opt for specialized bits, such as diamond or carbide-tipped ones, for clean and efficient cuts on porcelain surfaces.
Drilling Too Fast or Applying Too Much Pressure
Excessive speed or force during drilling can lead to significant damage, including cracks or entirely broken tiles. It’s essential to drill at a slow and consistent pace, allowing the bit to gradually work through the material without unnecessary pressure.
Skipping Safety Gear
Failing to use appropriate safety gear, such as goggles or dust masks, can expose you to injuries from flying shards or harmful tile dust. Prioritize safety by equipping yourself with the proper protective equipment before starting any drilling project.
Ignoring Cooling Needs
Drilling through hard materials generates heat, which can damage both the drill bit and the material being worked on. Regularly cooling the bit with water or a specialized lubricant will prevent overheating and ensure durability for both the bit and the tile.
Maintaining Your Tools
Proper maintenance of your tools is essential to ensure their efficiency and extend their lifespan. Below are some key practices to keep your drill bits in excellent condition:
Cleaning Drill Bits After Use
After drilling, it is important to remove tile dust and debris from the drill bits. Accumulated residue can hinder performance and lead to faster wear. Use a soft brush or cloth to clean the bits thoroughly, ensuring they remain free from buildup.
Storing Bits Properly
To prevent damage, always store drill bits in a dry and secure location. A dedicated storage case is ideal, as it keeps the bits organized and protected from moisture, which can lead to rust or corrosion.
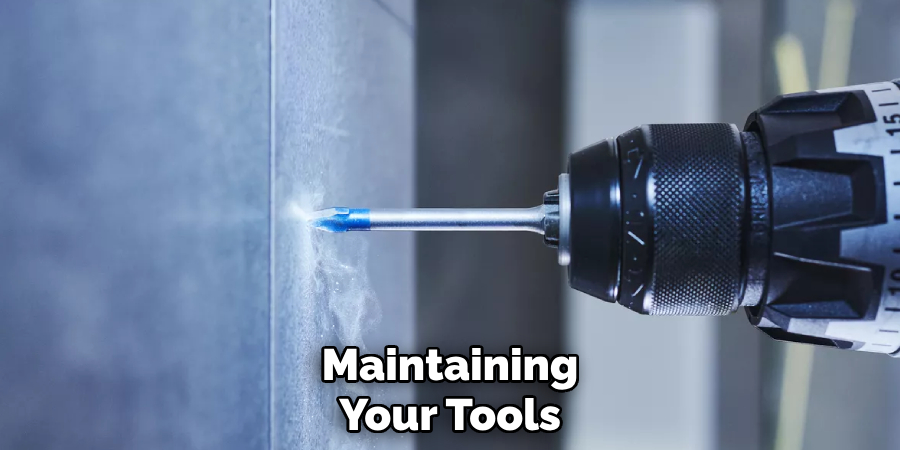
Regular Inspection
Before each use, inspect your drill bits for signs of wear or damage, such as dull edges or cracks. Replace any compromised bits promptly to avoid inefficiencies or mishaps while working. Regular care will maximize the safety and effectiveness of your tools.
Conclusion
Drilling through porcelain tile can be a precise and rewarding task when approached correctly. Proper preparation, such as selecting the right drill bits, ensures the best results. Using the appropriate tools and techniques prevents tile damage and maintains efficiency. Always drill carefully, applying steady pressure and avoiding rushing the process.
Patience and attention to safety are essential to prevent injuries and prolong the lifespan of your tools. By following this guide on how to drill porcelain tile, you can achieve professional-quality results while protecting both your materials and yourself throughout the project.
Specialization:
- Master of wheel-throwing, hand-building, and advanced glazing techniques
- Focus on creating both functional pottery and decorative art pieces
Recognition:
- Celebrated by collectors and art enthusiasts for creating one-of-a-kind pieces that blend artistry with functionality
- Participates in local and national exhibitions, earning accolades for his innovative designs and craftsmanship
Passion:
- Deeply committed to exploring and pushing the boundaries of ceramic artistry
- Continuously experiments with new materials, firing techniques, and artistic concepts to evolve his craft
Personal Philosophy:
- Believes in the transformative power of art, aiming to evoke emotions and connections through his ceramic creations
- Advocates for sustainability in ceramics, using eco-friendly materials and practices whenever possible