


Are you tired of waiting days or even weeks for your clay creations to air dry? Look no further, because drying clay in the oven can significantly speed up the process.
How to dry clay in the oven is a quick and efficient way to harden your creations without waiting for them to air dry naturally. This method is especially useful for small projects or when you need to complete your piece within a limited timeframe. By using your oven, you can control the drying process and ensure uniform results, reducing the risk of cracking.
Whether you’re working on a craft project or experimenting with clay for the first time, learning how to dry it properly in the oven can help preserve the integrity of your work while speeding up the process.
What Are the Benefits of Drying Clay in the Oven?
There are several benefits to drying clay in the oven:
- Quick and Efficient: As mentioned earlier, using an oven to dry your clay is much faster than other methods such as air drying. This means you can complete your project and move on to the next step sooner.
- Uniform Results: When using an oven, you have more control over the temperature and humidity levels, resulting in more even and consistent drying. This reduces the risk of cracking and ensures that your piece dries with a smooth finish.
- Suitable for All Types of Clay: Whether you’re working with air-dry clay or kiln-fired clay, both types can be dried effectively in an oven. This makes it a versatile method for any type of clay project.
- Faster Drying Times: As mentioned earlier, using an oven can significantly reduce drying time compared to other methods. This is especially beneficial when you’re working on multiple pieces or have a tight deadline for your project.
- Easy to Monitor: With an oven, you can easily monitor the drying progress of your clay piece. You can simply open the oven door and check on your piece without disrupting the drying process too much.
What Will You Need?
Now that you know the benefits of using an oven for drying your clay, let’s take a look at the items you’ll need to successfully dry your piece:
- A regular household oven
- A baking tray or sheet
- An oven-safe thermometer (optional, but highly recommended)
- Parchment paper or aluminum foil (optional)
- Oven mitts or gloves
Make sure to thoroughly clean the inside of your oven before using it for clay projects. Any residual food particles or grease can contaminate your clay and affect its final appearance.
10 Easy Steps on How to Dry Clay in the Oven
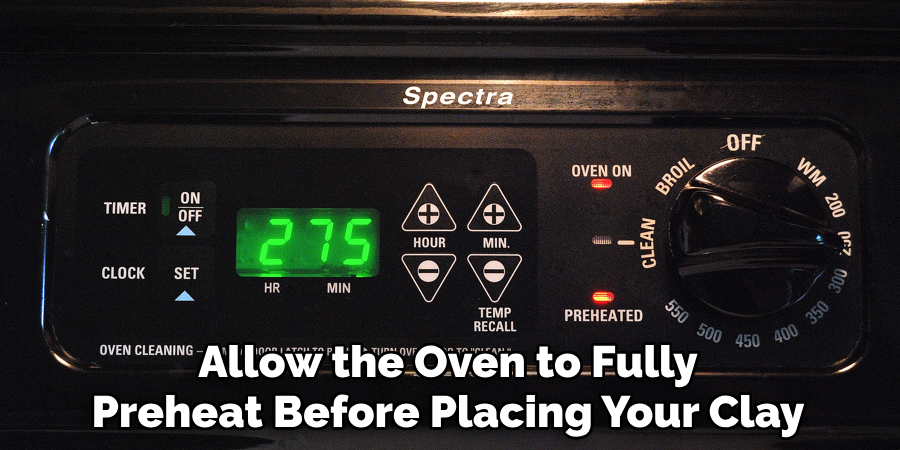
1. Preheat the Oven
Set your oven to the temperature recommended for your specific type of clay. Most polymer clays suggest a temperature of around 265°F to 275°F (129°C to 135°C). Check the packaging of your clay for exact instructions. Allow the oven to fully preheat before placing your clay inside.
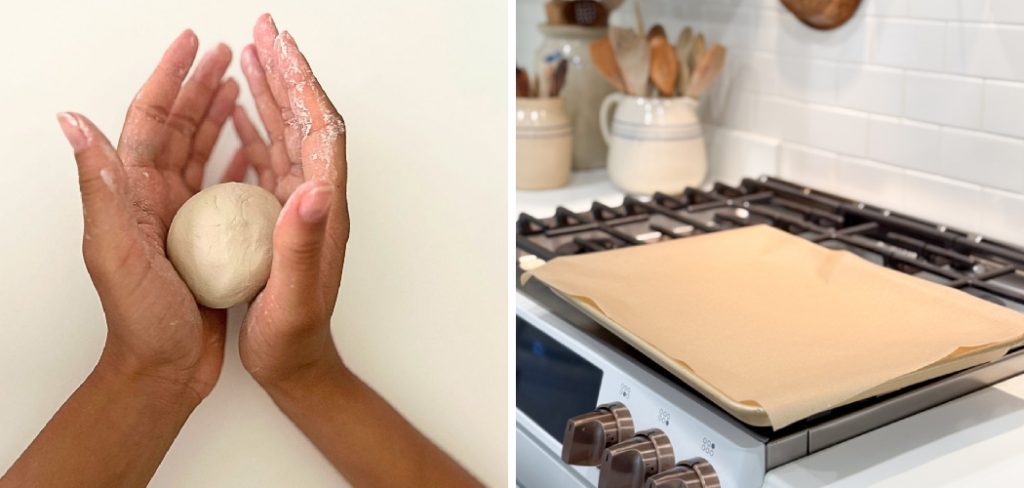
2. Prepare the Baking Surface
Choose a flat, heat-resistant surface to bake your clay on, such as a ceramic tile, a glass dish, or a dedicated baking sheet. Line the surface with parchment paper or aluminum foil to prevent the clay from sticking and to protect the surface from any potential residue.
Ensure that the baking surface is clean and free from any debris that could transfer onto your clay, as this could impact the final finish of your project. If you’re working with delicate or smaller clay pieces, consider using a piece of cardstock or heavy paper to stabilize them during the baking process.
3. Arrange the Clay
Arrange your clay pieces on your prepared baking surface with adequate space between them to ensure even heat distribution. Avoid overcrowding, as this may cause the pieces to stick together or bake unevenly.
For especially intricate or fragile designs, consider positioning them with additional supports, such as rolled-up pieces of foil, to maintain their shape during baking. Double-check the placement to ensure all items are stable before proceeding to the next step.
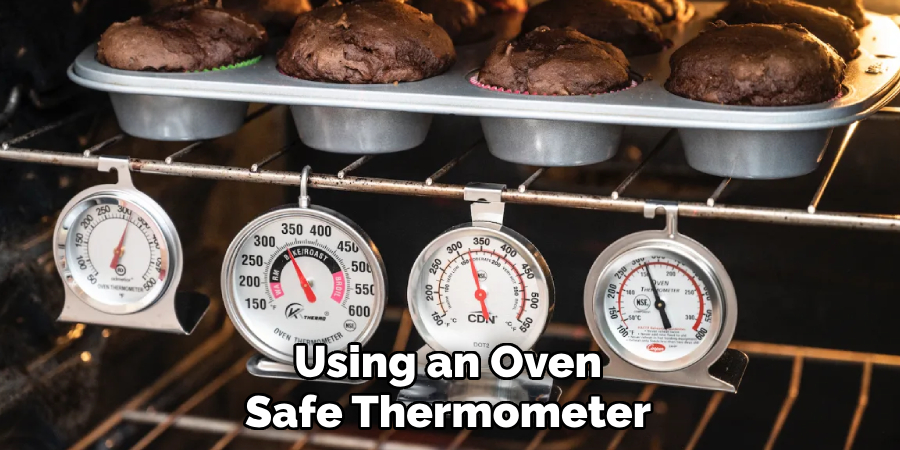
4. Use an Oven-Safe Thermometer
Using an oven-safe thermometer is essential to ensure accurate temperature readings while baking your polymer clay creations. Preheat your oven to the temperature specified by the clay manufacturer, and place the thermometer inside to verify the oven’s internal temperature. Many household ovens can have temperature fluctuations or inaccurate settings, which may lead to overbaking or underbaking your pieces. Regularly monitor the thermometer throughout the baking process to maintain consistent heat.
5. Bake According to Instructions
Once your oven has reached the proper temperature, carefully place your prepared polymer clay pieces on an appropriate baking surface, such as a ceramic tile or a sheet of parchment paper. Follow the manufacturer’s baking time guidelines, typically based on the thickness of your creations. For example, many clays advise baking at a specific temperature for 15-30 minutes per 1/4 inch of thickness.
Avoid rushing this step, as underbaking can leave your pieces fragile, while overbaking may cause discoloration or release harmful fumes. Always work in a well-ventilated area for safety, and once the baking is complete, allow the pieces to cool thoroughly before handling or finishing.
6. Monitor Closely
Pay close attention while baking to ensure your creations turn out as expected. It’s essential to set a timer and periodically check on your pieces to avoid any mishaps, such as burning or warping. Keep an eye on the oven temperature, as fluctuations could affect the final result.
If your oven doesn’t have a built-in thermometer, consider using an external one for accuracy. Vigilance during this stage helps preserve all the effort you’ve put into crafting your pieces, ensuring they come out strong, vibrant, and ready for the finishing touches.
7. Remove the Clay Carefully
Once the baking process is complete, allow the oven to cool down slightly before attempting to remove your clay pieces. Use heat-resistant gloves or oven mitts to avoid burns, as the clay and baking tray may still be hot to touch. Gently lift the pieces from the tray, taking extra care not to drop or mishandle them.
At this point, the clay may still be relatively fragile, so it’s essential to handle each piece with caution. Place the items on a flat, heat-resistant surface to cool completely. Rushing this step could lead to unintended damage, so patience is key to preserving the integrity of your finished creations.
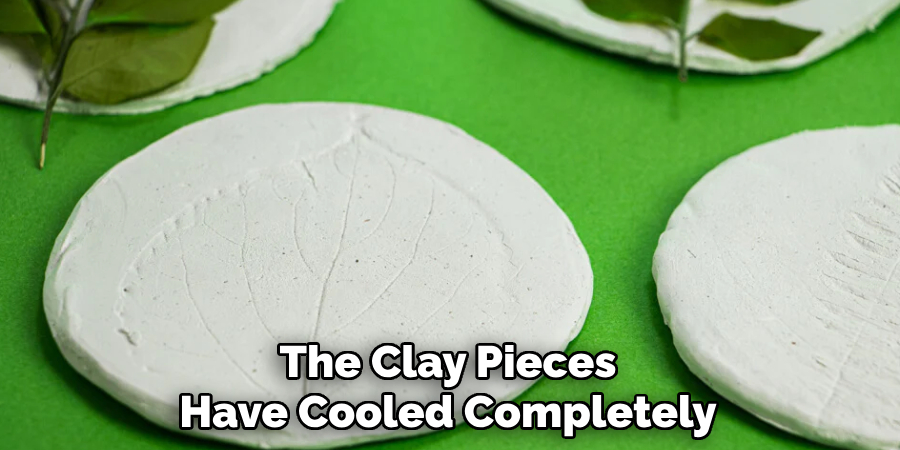
8. Allow the Clay to Cool
Once the clay pieces have cooled completely, take a moment to inspect them carefully. Check for any cracks, chips, or imperfections that may have occurred during the baking process. If you notice minor flaws, some can be corrected with fine-grit sandpaper or by patching with additional clay and rebaking, depending on the material you are using. Cooling fully is vital for ensuring your creations achieve their intended strength and durability. This step also sets the stage for any further finishing work, such as painting, sealing, or assembling multiple components.
9. Finishing Touches
Once the clay has completely cooled, you can add the final details to perfect your creation. This may involve gently sanding any rough edges or uneven surfaces using fine-grit sandpaper for a smooth finish. If desired, you can paint your pieces with acrylic paint, applying thin layers for better coverage and precision.
After painting, consider sealing your work with a clear, protective varnish to enhance durability and provide a polished appearance. Take your time during this step to ensure your creations reflect the effort and care you’ve put into them.
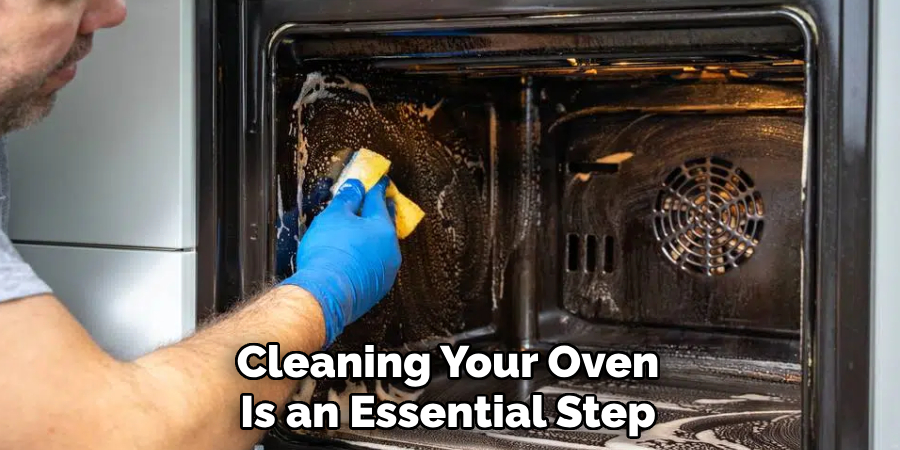
10. Clean Your Oven
Cleaning your oven is an essential step to keep it in good working condition and maintain a safe cooking environment. Start by removing any loose debris or food particles from the interior using a damp cloth or sponge. For tougher baked-on grime, apply a commercial oven cleaner or create a mixture of baking soda and water to form a paste.
Spread the paste over the dirty areas and allow it to sit for several hours or overnight to break down grease and residues. Once the cleaner has done its job, wipe it away with a damp cloth, ensuring no residue is left behind.
By following these steps, you can successfully dry clay in the oven while preserving its quality and ensuring a professional-looking finish.
5 Things You Should Avoid
- Setting the Temperature Too High
Avoid using excessively high temperatures in the oven, as this can cause the clay to crack or burn. Always follow the manufacturer’s guidelines for the recommended temperature.
- Rushing the Drying Process
Never try to speed up the drying process by increasing the heat or skipping steps. Drying clay too quickly can lead to uneven curing or warping.
- Leaving the Oven Unattended
Always monitor the oven while drying clay to ensure it doesn’t overheat or pose a fire hazard. Staying attentive is crucial for safety.
- Using Non-Oven-Safe Clay
Do not attempt to dry clay in the oven if it is not specifically labeled as oven-safe. Using the wrong type of clay can result in toxic fumes or damage to the clay and oven.
- Skipping Preheating the Oven
Avoid placing the clay in a cold oven that is then heated. This uneven heating process can cause stress on the clay, increasing the risk of cracks or imperfections. Always preheat the oven before starting.
Conclusion
How to dry clay in the oven can be an effective and efficient process if done carefully and with the proper precautions.
Always ensure that the clay you use is labeled as oven-safe to avoid hazards or damage. Remember to preheat the oven to the recommended temperature before placing the clay inside, as this ensures even heating and minimizes the risk of cracks or imperfections.
By following these steps and handling the clay with care, you can achieve great results while preserving the quality and integrity of your creations.
Specialization:
- Master of wheel-throwing, hand-building, and advanced glazing techniques
- Focus on creating both functional pottery and decorative art pieces
Recognition:
- Celebrated by collectors and art enthusiasts for creating one-of-a-kind pieces that blend artistry with functionality
- Participates in local and national exhibitions, earning accolades for his innovative designs and craftsmanship
Passion:
- Deeply committed to exploring and pushing the boundaries of ceramic artistry
- Continuously experiments with new materials, firing techniques, and artistic concepts to evolve his craft
Personal Philosophy:
- Believes in the transformative power of art, aiming to evoke emotions and connections through his ceramic creations
- Advocates for sustainability in ceramics, using eco-friendly materials and practices whenever possible