


Clay work—whether in pottery, sculpture, or DIY arts and crafts—has captivated creators for generations due to its versatility and tactile appeal.
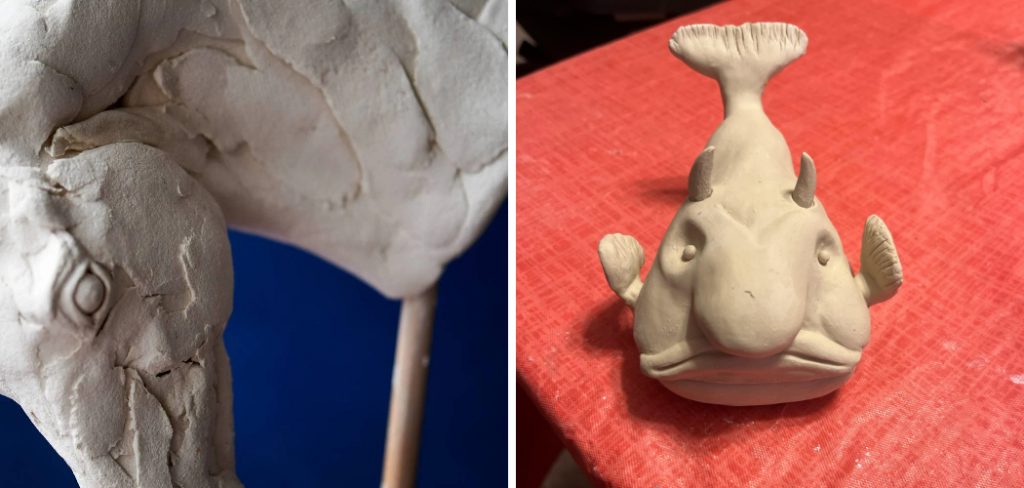
However, one of the persistent challenges for beginners and professionals alike is achieving a quick, even dry without compromising the piece’s structural integrity or finish. If you’ve ever found yourself impatiently waiting for your clay creation to dry so you can move on to the next step, you’re not alone. This article serves as a comprehensive guide on how to dry clay quickly, exploring proven methods and professional insights to help you speed up the process while preserving the quality of your work.
Understanding Drying Times for Clay
Why Does Clay Take Time to Dry?
At its core, clay is composed of natural minerals and water. This moisture is essential for molding and shaping, but it must dissipate for the clay to harden fully. As water slowly evaporates from the surface and interior of the clay, the piece transitions from plastic to leather-hard, and finally to dry or bone-dry.
The pace at which this happens is crucial: too fast, and the clay may crack; too slow, and the process can interrupt your workflow.
Factors Influencing Drying Speed
Several factors play a significant role in how long your clay project takes to dry. The type of clay is primary—porous earthenware will usually dry faster than dense stoneware or porcelain. The thickness of the clay body also matters: thicker sections retain moisture longer and require more time for water to escape.
Besides material properties, environmental conditions such as ambient temperature, humidity, and airflow dramatically affect drying rates. Understanding these variables is essential for managing your expectations and controlling the process.
Tools and Supplies for Faster Clay Drying
Essential Tools
The right tools can make all the difference in speeding up clay drying without risking flaws in the final result. One of the simplest aids is a wire rack, which elevates your clay piece, allowing air to circulate underneath and accelerating even drying.
Fans—from small desk models to oscillating floor fans—can enhance air movement around your clay, significantly reducing drying time compared to stagnant environments. Heat guns or hairdryers offer more direct control, providing targeted warmth that encourages water evaporation, but they require careful use to steer clear of overheating or uneven drying.
Optional Equipment for Professionals
For those heavily invested in ceramics or large-scale production, specialized equipment exists to further boost efficiency. Dehumidifiers can dramatically lower the moisture content in your workspace, hastening the evaporation process.
Clay dryers—commercial units designed specifically for pottery—offer advanced control over temperature and airflow, providing the optimal balance between speed and safety. These investments are particularly valuable in professional studios or educational settings where workflow and turnaround times are critical.
How to Dry Clay Quickly: Proper Techniques
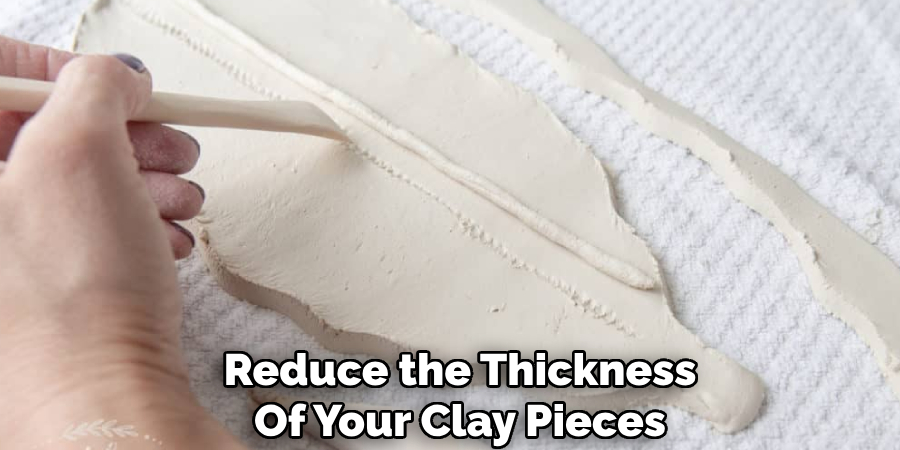
Thin Out the Clay
One of the simplest ways to encourage quick drying is to reduce the thickness of your clay pieces. Thin, uniform walls not only dry more evenly but also significantly faster than bulky or uneven constructions. When working on sculptures or pots, consider hollowing out thick sections or joining together thinner slabs. For critical areas that must remain thicker for structural reasons, gently pressing or trimming away excess material will help balance drying rates and minimize the risk of cracks.
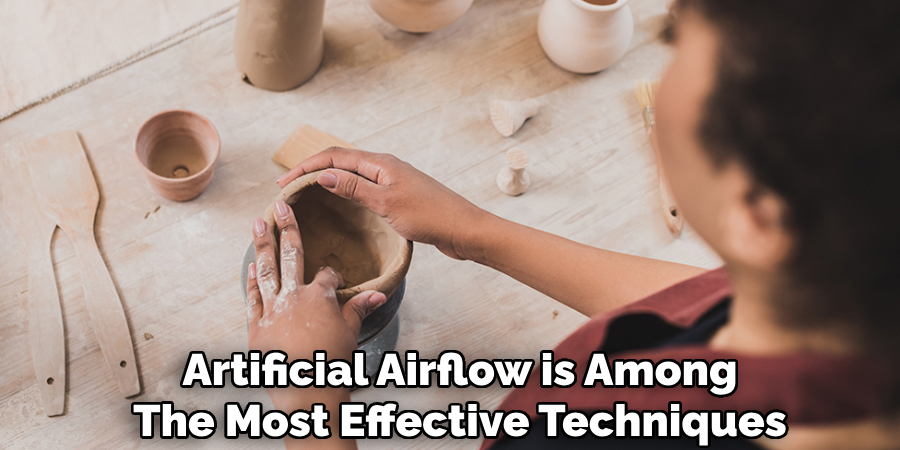
Use Air Circulation
Harnessing natural or artificial airflow is among the most effective techniques for drying clay efficiently. Place your clay project on a wire rack to expose surfaces to air from all directions, reducing the chances of trapped moisture or hidden wet spots. Positioning a fan several feet from your work, set at a low or moderate speed, can help airflow gently wick away moisture without risking drafts that may cause warping or uneven drying. Regularly rotating your piece while it dries is another helpful habit, ensuring that all sides dry at a similar rate.
Controlled Heat Application
Speeding up drying with hairdryers or heat guns demands a careful, methodical approach. Keep the device moving at all times to avoid concentrated heat, which might cause surface drying before the interior has a chance to lose its moisture, leading to cracks or delamination. Use the lowest heat setting possible and hold the device at least 12 inches away from your clay. Move in slow, sweeping motions, and give your project a few minutes to rest between heating sessions. Monitor for any signs of stress or cracking as you go and adjust the process accordingly.
Environment Adjustments for Rapid Drying
Crafting the ideal environment is just as important as applying direct tools or techniques. Increasing room temperature, either by raising your home’s thermostat or using a space heater (with proper precautions), can help drive off moisture more quickly—but avoid excessive heat that can cause surface cracking. Reducing room humidity is another powerful lever; it enables the air to absorb and carry away more moisture from your clay. Use a dehumidifier if one is available, or simply open a window when the weather permits.
Proper ventilation is crucial for successful, quick drying. Ensure your clay is not in an enclosed, humid area. If you’re drying multiple pieces, space them out well to avoid trapping moisture between them. Avoid putting your work in direct contact with windowsills, radiators, or directly under harsh sunlight, which can dry the outer layers too quickly.
Troubleshooting Common Drying Problems
Cracking During Drying
Cracking is the most common issue encountered when trying to dry clay quickly. Cracks occur mostly because of uneven drying—often when the outer surface dries much faster than the interior, causing internal stress. To prevent this, encourage gradual, even evaporation from all surfaces. If you see cracks forming, lightly mist the surface or wrap the piece in plastic for a few hours to allow inner moisture to catch up before resuming active drying.
Uneven Drying
Uneven drying often results in warped or misshapen pieces. To ensure a consistent process, always position your clay on a flat, absorbent surface—such as a board covered with canvas or a piece of plaster—which helps wick away moisture uniformly. Regularly rotate your piece and, if possible, cover it lightly with plastic sheeting or a damp cloth during the initial drying phase. This approach prevents certain areas from desiccating faster than others, giving the moisture inside a chance to redistribute evenly.
Drying Different Types of Clay
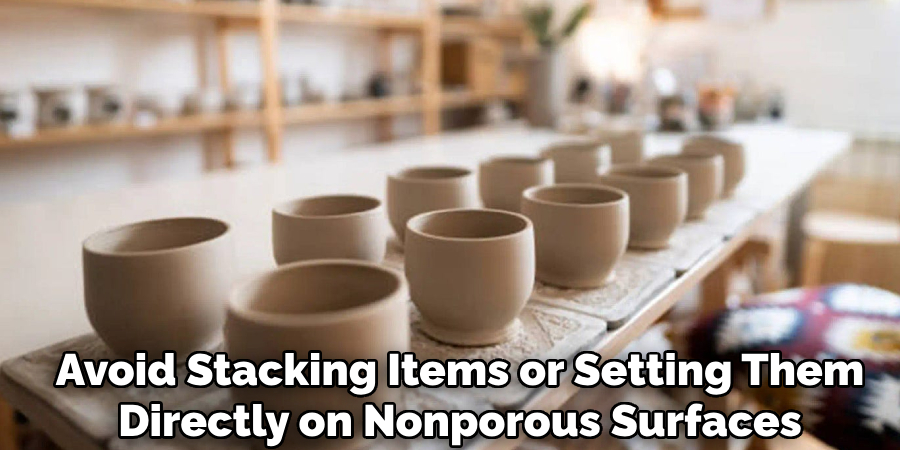
Air-Dry Clay
Air-dry clay is formulated to harden simply by exposure to air. For fast, safe drying, work with thin, even layers and place your pieces on a wire rack in a well-ventilated room. Avoid stacking items or setting them directly on nonporous surfaces, as this can trap moisture underneath. A gentle fan will speed up the process, but steer clear of strong drafts.
Polymer Clay
Unlike traditional clay, polymer clay is not actually dried but cured using an oven. To expedite this process, preheat your oven to the manufacturer’s recommended temperature, usually between 220°F and 275°F (104°C–135°C). Place clay pieces on a ceramic tile or parchment paper to ensure even heat distribution. Resist the urge to increase oven temperature to save time, as this will likely cause scorching or uneven curing.
Natural or Pottery Clay
Pottery and terracotta clays demand patience, but you can take safe shortcuts by reducing thickness and using moisture-absorbing surfaces such as plaster bats. Apply gradual airflow with a fan and maintain a stable, moderate temperature environment for best results. Cover with plastic loosely if you’re in a particularly dry climate to avoid sudden surface drying.
Tips for Large Clay Projects
Drying large or complex clay works presents unique challenges. The best way to avoid catastrophic cracking is to construct hollow sections—removing as much interior mass as possible—prior to assembly. When building multipart sculptures, dry each component separately and join only when both are leather-hard. Lay large pieces on plaster slabs or boards covered with canvas, rotating them as needed to ensure even drying. For particularly unwieldy or slow-drying elements, consider tenting your project with plastic sheeting to buffer against rapid environmental changes, gradually venting over several days until the piece is bone-dry.
Eco-Friendly Drying Techniques
Sustainability in clay work is both achievable and rewarding. Whenever possible, leverage natural sunlight to hasten drying—place your pieces near a window with indirect sun, and rotate them regularly. Avoid placing objects in direct, intense sunlight unless you’re certain the piece is uniformly thin, as rapid outer drying can crack larger works. Repurpose household materials—such as old wire racks, mesh screens, or cotton cloths—to boost airflow and absorb moisture in a planet-friendly way. Choosing to dry multiple pieces together in communal batches rather than operating fans or devices separately also saves energy.
Professional Clay Drying Solutions
For serious clay artists, educators, or production studios, professional drying solutions are essential for efficiency and scalability. Commercial clay dryers offer adjustable temperature and airflow settings that yield fast, predictable results with minimal risk of cracks or warping.

Dehumidification systems not only protect pieces from atmospheric moisture but can also accelerate drying times dramatically. Some studios invest in kilns with programmed drying schedules, allowing precise control over multi-stage drying for large or intricate items. Outsourcing to facilities with climate-controlled drying rooms is also an option for one-off projects or bulk production runs.
Conclusion
Drying clay quickly is as much a science as it is an art, demanding a balance between speed and care. By understanding the unique dynamics of moisture evaporation, utilizing the right tools, and adjusting your workspace environment, you can streamline the process while preserving the integrity of your work.
Whether you’re sculpting miniatures at home or preparing large pottery pieces in a studio, these strategies for how to dry clay quickly ensure you spend less time waiting and more time creating. With the practical techniques outlined here, you can confidently accelerate clay drying without sacrificing quality—turning creative ideas into finished pieces with newfound efficiency.
Specialization:
- Master of wheel-throwing, hand-building, and advanced glazing techniques
- Focus on creating both functional pottery and decorative art pieces
Recognition:
- Celebrated by collectors and art enthusiasts for creating one-of-a-kind pieces that blend artistry with functionality
- Participates in local and national exhibitions, earning accolades for his innovative designs and craftsmanship
Passion:
- Deeply committed to exploring and pushing the boundaries of ceramic artistry
- Continuously experiments with new materials, firing techniques, and artistic concepts to evolve his craft
Personal Philosophy:
- Believes in the transformative power of art, aiming to evoke emotions and connections through his ceramic creations
- Advocates for sustainability in ceramics, using eco-friendly materials and practices whenever possible