


Understanding “how to dry natural clay” is crucial for ensuring the durability and quality of clay creations. Proper drying techniques are essential to prevent common issues such as cracks and warping, which can compromise the integrity of the final product. The moisture content in clay plays a significant role in its flexibility and workability. The water evaporates as the clay begins to dry, causing the material to shrink and harden.

This shrinkage necessitates a controlled drying process to minimize stress within the structure, which could lead to fractures. This guide aims to equip readers with the knowledge needed to effectively manage the drying process for pottery, sculptures, or other artistic clay endeavors. By mastering these skills, artists and hobbyists alike can achieve robust and aesthetically pleasing results, enhancing their clay projects’ overall quality and longevity.
Understanding the Properties of Natural Clay
1. Water Content
When first shaped, natural clay is rich in water, which provides the material with its plasticity and workability. This abundance of water allows clay to be easily molded and sculpted into various forms. However, as the drying process begins, water gradually evaporates, shrinking the clay in the clay and becoming more fragile. This reduction in moisture content increases the risk of developing cracks if not managed correctly. Therefore, understanding water content’s role throughout the drying process is essential for preventing structural damage and ensuring a successful outcome.
2. Drying Stages
Clay drying occurs in three distinct stages, each requiring attention and care. Initially, in the Plastic Stage, the clay remains flexible and highly workable, allowing for shaping and molding. This stage is crucial for initial formations and adjustments. As drying progresses, the clay enters the Leather Hard Stage, which becomes firmer yet slightly malleable. This stage is ideal for carving details or attaching additional elements, as the clay can hold its form without collapsing. Finally, the Bone Dry Stage is reached when the clay is completely dry and hard. At this point, the clay is ready for firing but is most susceptible to breaking due to its brittleness. Monitoring these stages ensures the integrity and quality of the clay piece throughout the drying process.
How to Dry Natural Clay: Drying Techniques
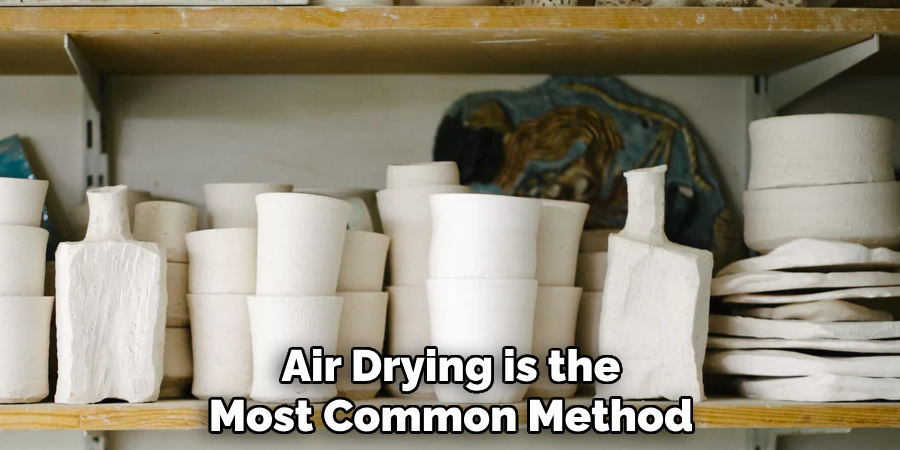
1. Air Drying
Air drying is the most common method for drying natural clay and is especially suitable for hobbyists and small-scale artists. To air dry your clay piece effectively, follow these steps:
- Step 1: Place the clay piece on a non-porous surface like a plastic or glass board. This prevents uneven moisture absorption, ensuring a uniform drying process and reducing stress points on the clay.
- Step 2: Cover the clay piece loosely with plastic or a damp cloth during the early stages. This helps to slow down the evaporation process, minimizing the risk of cracks or warping as the clay slowly loses moisture.
- Step 3: Gradually uncover the piece over several hours or days. This gradual exposure allows the clay to dry evenly, ensuring each part of the piece reaches the desired dryness at the same rate.
Tips: Rotate or turn the clay piece occasionally to promote even drying. This is particularly important for larger or thicker pieces, as it helps prevent any area from drying out too quickly or slowly.
2. Controlled Drying
Adopting a controlled drying environment can be beneficial for larger or more complex pieces. In such environments, both temperature and humidity are regulated to prevent uneven drying, which often leads to cracking:
- Place the clay in a room with consistent temperature and adequate air circulation. A stable environment ensures that all parts of the clay piece dry simultaneously, reducing the likelihood of stress fractures.
- Avoid placing the clay in direct sunlight or near heat sources, as these conditions can cause rapid drying and cracks. Instead, aim for a shaded or moderate climate environment to maintain gradual evaporation.
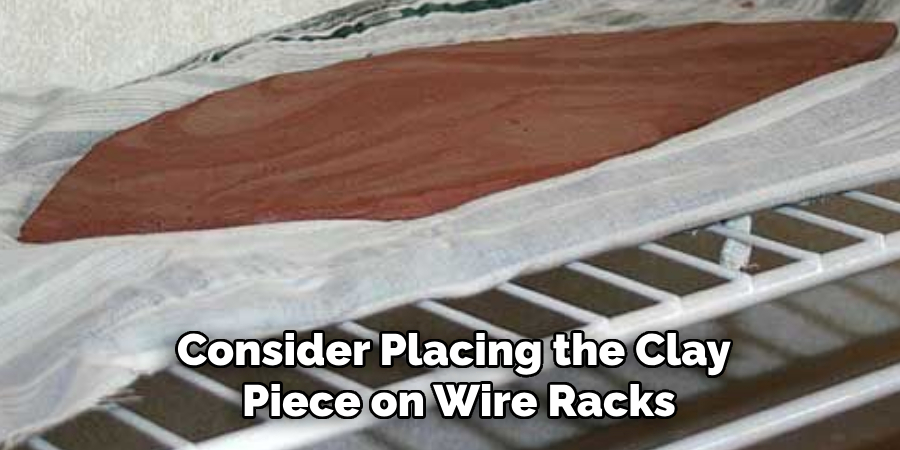
3. Using Shelves or Wire Racks
Consider placing the clay piece on wire racks for a faster drying process. This technique allows air to circulate on all sides of the clay, promoting uniform drying:
- As the clay dries, it’s crucial to flip or turn it periodically. This rotation prevents warping and ensures that top and bottom surfaces dry consistently.
- Wire racks can speed up drying, which is particularly useful when working on time-sensitive projects. Nevertheless, patience remains key to achieving the best results even with this method.
Preventing Cracks and Warping
1. Slow the Drying Process
Drying clay slowly is crucial in preventing cracks and ensuring the durability of your creations. When clay dries too quickly, the outer layers can stiffen and lock in moisture, causing stress and cracks. For larger or thicker pieces, it’s especially important to cover them with plastic during the initial drying stages. Gradually revealing them to air over several days will help achieve uniform dryness. Adopting this slow-drying technique allows the entire piece to dry evenly, minimizing the risk of fractures and maintaining structural integrity.
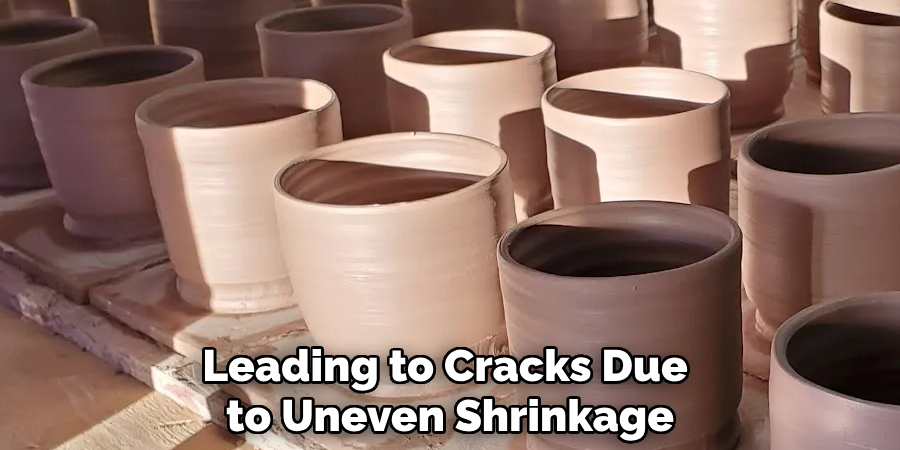
2. Avoid Direct Sunlight or Heat
Exposing clay to direct sunlight or high heat accelerates the drying process in a non-uniform manner, often leading to cracks due to uneven shrinkage. To keep your clay items from drying too fast, position them in a shaded area where they receive indirect light. Ensuring that your drying area is well-ventilated aids in controlled evaporation, providing an optimal environment for a gradual and even drying process. This careful management of drying conditions helps maintain the clay piece’s quality and longevity.
3. Manage Thickness Variations
Balancing thickness throughout a clay piece is another key aspect in preventing warping and cracks. Thicker sections dry more slowly, leading to tension and imbalance if not properly managed. Aim to keep your piece as uniformly thick as possible. However, for sculptural works with inherent variations in thickness, wrapping the thicker parts with a damp cloth slows their drying time, bringing them in harmony with thinner sections. This practice helps to ensure the piece dries evenly, maintaining its shape and integrity throughout the drying phase.
Monitoring the Drying Process
Monitoring the drying process of clay is essential to preserving the quality and durability of your creations.
1. Regular Inspections
Regularly inspect your clay piece to catch any signs of cracking or warping early on. Early detection allows for quick intervention and minor repairs. If you spot small cracks, gently wet the area and use a damp sponge or your fingers to smooth it out. This simple repair technique can save your piece and maintain its structural integrity.
2. Handle Carefully
Once your clay reaches the leather hard stage, it’s safe for further detailing, such as carving or attaching new elements. However, it’s crucial to remember that bone-dry clay is extremely fragile. Minimize handling it unnecessarily to avoid accidental breakage, and wait until it’s ready for firing before moving it.
3. Patience is Key
Drying time varies considerably based on the size and thickness of the clay piece, the type of clay used, and the surrounding environmental conditions. Depending on these factors, the process can take anywhere from a few days to a couple of weeks. Maintain patience throughout, as rushing this process can compromise the quality of your clay creation.
Final Drying Phase: Bone Dry Stage
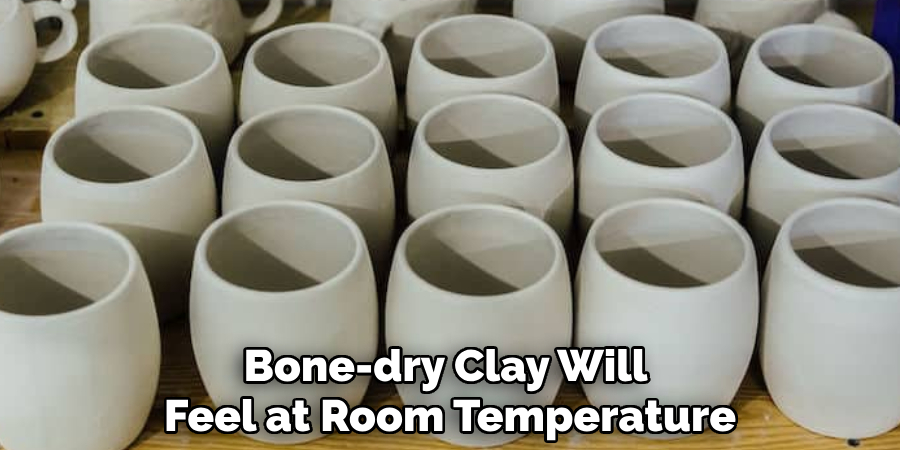
1. Determining Bone Dry Stage
Bone-dry clay is characterized by a noticeable change in color to a lighter hue, signaling that it has lost all its moisture content. To test if your clay piece has reached this critical stage, gently touch it. Bone-dry clay will feel at room temperature, whereas any lingering moisture will make the clay feel cooler to the touch. This tactile test is crucial to ensure the clay is sufficiently dry before proceeding with the next steps, be it firing or further finishing.
2. Preparing for Firing
Once your clay piece attains the bone-dry stage and no longer feels cold, it is ready to fire. Confirming that the clay is thoroughly dry is vital to avoid disastrous issues such as explosions in the kiln, which occur when trapped moisture turns to steam and expands rapidly. Ensuring complete dryness is a fundamental step to maintaining the integrity and durability of the final ceramic product.
3. Drying Alternative: Non-Fired Clay Projects
For projects utilizing air-dried clay, reaching the bone-dry stage marks the opportunity to seal and finish the piece. Although not as robust as kiln-fired pottery, air-dried clay can be strengthened by applying varnish, paint, or a clear glaze, which adds durability and enhances aesthetic appeal. While inherently more fragile, non-fired clay remains popular for decorative and craft purposes, offering creative flexibility with appropriate handling and preservation.
Conclusion
Proper drying techniques are paramount for achieving a durable, crack-free final product when working with natural clay. By mastering how to dry natural clay, you ensure that the piece maintains its structural integrity. Key steps include air drying on wire racks, which allows for uniform airflow, and managing variations in thickness to prevent stress and warping.
Controlling the drying environment, such as avoiding direct sunlight and maintaining adequate ventilation, helps in slowing down the process of even drying. Regular inspections can catch potential issues early, allowing for quick, corrective actions. Patience is essential throughout this process, and experimentation with different techniques can yield unique results tailored to specific clay types and project needs. Share your experiences and results with the community to foster a supportive network of clay artisans and enthusiasts, enriching the collective knowledge and honing the craft further.
Specialization:
- Master of wheel-throwing, hand-building, and advanced glazing techniques
- Focus on creating both functional pottery and decorative art pieces
Recognition:
- Celebrated by collectors and art enthusiasts for creating one-of-a-kind pieces that blend artistry with functionality
- Participates in local and national exhibitions, earning accolades for his innovative designs and craftsmanship
Passion:
- Deeply committed to exploring and pushing the boundaries of ceramic artistry
- Continuously experiments with new materials, firing techniques, and artistic concepts to evolve his craft
Personal Philosophy:
- Believes in the transformative power of art, aiming to evoke emotions and connections through his ceramic creations
- Advocates for sustainability in ceramics, using eco-friendly materials and practices whenever possible