The art of firing ceramics involves a fascinating transformation where soft clay evolves into durable, solid objects through heat application. This vital process is achieved by placing the prepared clay, known as greenware, into a kiln where it’s subjected to high temperatures. Firing is essential for rendering ceramic pieces functional by hardening them and also plays a crucial role in enhancing their artistic qualities through various glazes and finishes.
This article aims to delve into the intricacies of the firing process, providing a comprehensive guide on how to fire ceramics. By exploring each stage—from initial preparation to the final firing in the kiln—we aim to equip both novice and seasoned ceramicists with the knowledge they need to successfully create innovative and lasting ceramic works. Understanding these essential steps ensures that each ceramic piece is both a practical and an artistic triumph.
Types of Ceramic Firing
Ceramic firing is an essential process that transforms raw clay into beautiful, functional art pieces. The two primary types of ceramic firing are bisque firing and glaze firing.
Bisque Firing:
This is the initial firing process where clay is transformed into hard, porous bisque. During bisque firing, clay is heated to a temperature that removes all moisture and makes it more durable yet still absorbent enough to accept glaze. This step is necessary before glazing, as it stabilizes the clay body, reducing the risk of shattering when glaze firing begins. Bisque firing typically occurs from cone 06 to cone 04 (1730°F to 1940°F).
Glaze Firing:
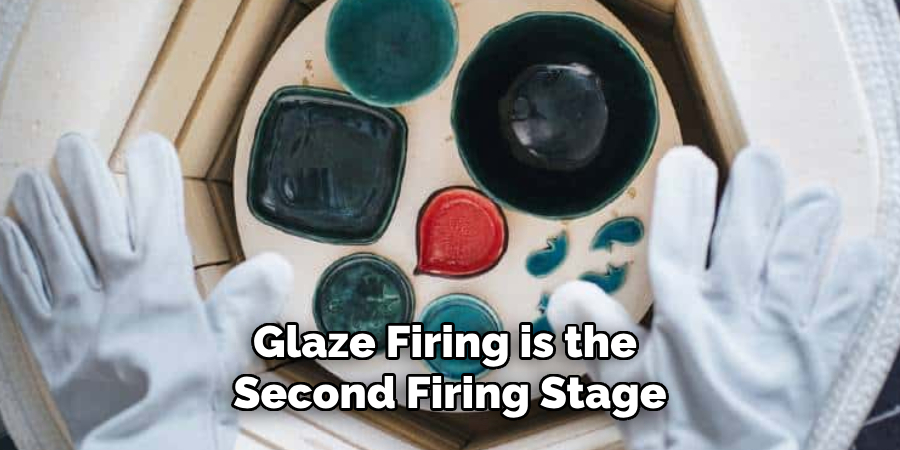
Following the bisque firing, glaze firing is the second firing stage, where the glaze is applied to the bisque melts and sets, giving ceramics their final, often glossy, finish. The glaze firing temperature depends on the type of clay and glaze used, with low-fire glazes reaching cone 06 to cone 04 and high-fire glazes achieving temperatures up to cone 10. Low-fire processes allow for brighter colors, whereas high-fire processes result in more durable and subtle finishes.
Alternative Firing Methods:
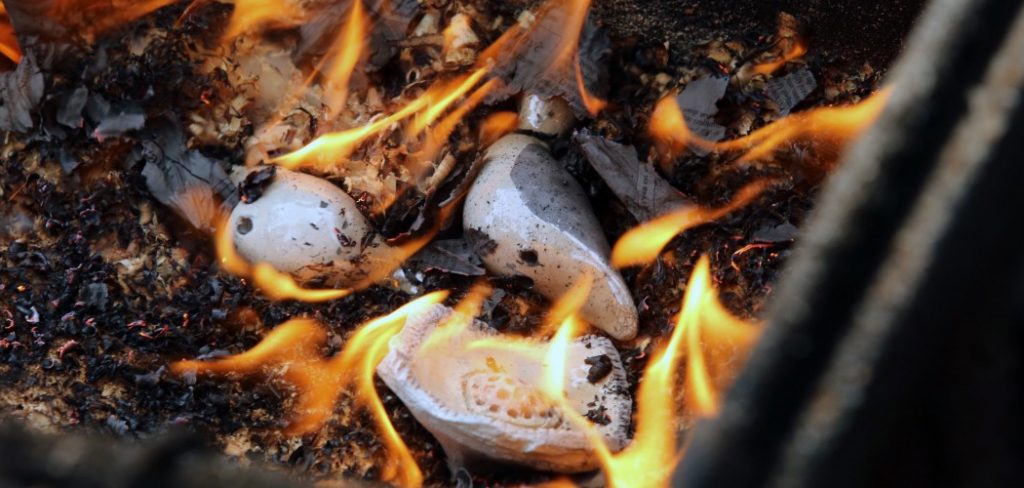
Beyond traditional kiln firing, techniques like raku, pit, and soda firing are employed for artistic effects. Raku firing yields unpredictable, dramatic finishes, while pit firing is known for its primitive, earthy aesthetics. Soda firing, however, involves adding sodium carbonate to the kiln atmosphere, creating unique surface textures and colors. These alternative methods often produce distinct results that differ significantly in appearance and texture compared to conventional kiln firing.
Preparing Ceramics for Firing
Step 1: Ensure Greenware Is Dry
Greenware refers to unfired clay that remains fragile and contains moisture, making it susceptible to damage. It is crucial to allow these pieces to air-dry completely, which typically requires 1-2 weeks, depending on their size and thickness. This extended drying period ensures all water has evaporated, reducing the risk of cracking during firing.
Step 2: Inspect for Cracks or Imperfections
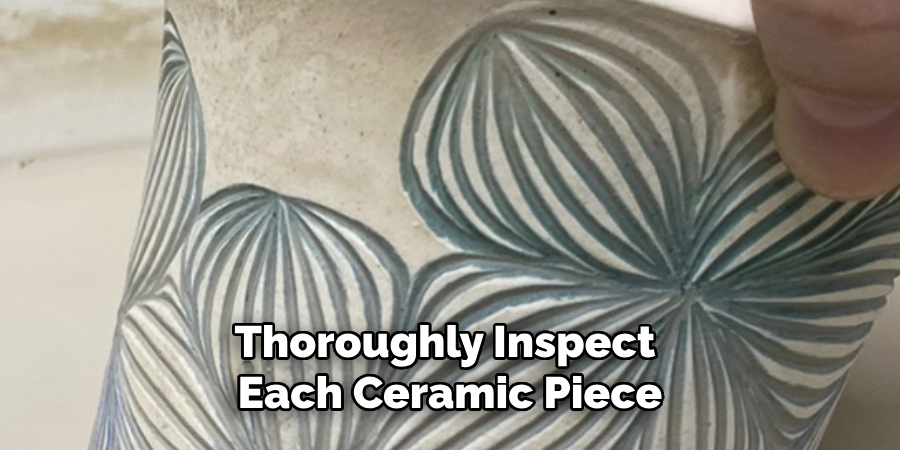
Before firing, thoroughly inspect each ceramic piece for any cracks, weak spots, or inconsistencies that could lead to kiln failures. Minor cracks can often be repaired using slip—a liquid clay mixture—or gently smoothing the area with a damp sponge to blend and strengthen the surface.
Step 3: Clean the Surface
To prepare the ceramics for bisque firing, carefully use a damp cloth or sponge to remove dust, debris, or oils caused by handling. Ensuring the surface is clean and smooth will promote even firing and enhance the final quality of the finished piece.
Choosing the Right Kiln for Firing
Understanding the various types of kilns is crucial for achieving the desired results when selecting a kiln for your ceramic projects.
Electric Kilns:
These are the most common and beginner-friendly kilns, ideal for both bisque and glaze firing. Electric kilns offer precise temperature control, convenience, and consistency, making them an excellent choice for those new to ceramics. They use electricity as a power source, allowing for ease of use and maintenance.
Gas Kilns:
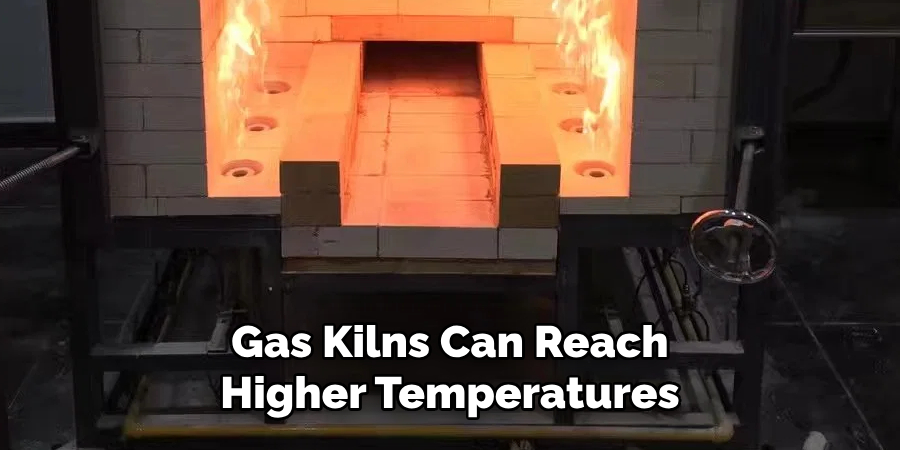
Gas kilns can reach higher temperatures, making them suitable for high-fire clays and glazes. By adjusting the fuel flow, they offer flexibility in creating specific atmospheric effects such as oxidation and reduction. Handling a gas kiln requires an understanding of adjusting oxygen levels, which influences the final appearance of glazes and clay bodies.
Wood-Fired Kilns:
These traditional kilns use wood as the fuel source, creating unique surface effects that are highly valued in artistic settings. Wood-fired kilns require more experience and control, as maintaining consistent temperatures can be challenging. They are often utilized for specialized ceramic art, producing rustic and unpredictable finishes.
Kiln Size and Capacity:
Selecting the appropriate kiln size depends on the scope of your projects. Portable kilns serve small-scale or hobbyist needs, whereas larger kilns cater to professional studios with more significant production demands. Consider the size and number of pieces you intend to fire regularly to choose a kiln that meets your capacity requirements.
How to Fire Ceramics: Step-by-Step Guide
Step 1: Load the Kiln
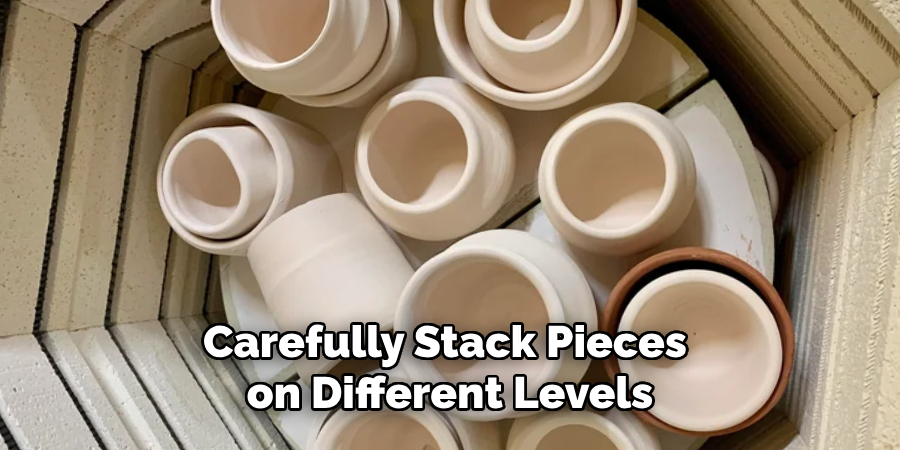
When loading the kiln for bisque firing, ensure that each piece of greenware has sufficient space between them to accommodate expansion and ensure even heating. This spacing is vital to prevent pieces from sticking together or warping during firing. Carefully stack pieces on different levels of the kiln shelves to maximize space and ensure uniform temperature distribution. Use stilts or props to provide extra support for delicate or irregular-shaped items, minimizing the risk of damage or collapse.
Step 2: Set the Kiln Temperature
Set the kiln to an appropriate temperature range for bisque firing, typically between 1730°F and 1940°F (cone 06 to cone 04). The exact temperature depends on the type of clay used; therefore, consult your clay’s specifications to determine the optimal firing temperature. Different clays have varying maturity levels, and firing them at incorrect temperatures might lead to defects such as improper hardening or excessive brittleness. Adhering to these guidelines ensures your ceramic pieces’ structural integrity and longevity.
Step 3: Start the Firing Process
Initiate the firing process by gradually increasing the kiln’s temperature to prevent thermal shock and cracking. Begin with a slow ramp-up to facilitate the even evaporation of any residual moisture in the clay. The heating stages include initial water evaporation, where moisture escapes, followed by the crucial point of vitrification. During vitrification, the clay begins to harden and transform into a porous bisque, establishing a sturdy foundation for glazing.
Step 4: Monitor the Firing
Consistently monitor the kiln’s temperature throughout the firing process. Pay special attention during the initial stages to control the heating rate, as this is when water is predominantly driven out of the clay. Use a pyrometer or kiln setter to keep track of temperature changes, making necessary adjustments to maintain consistent heating. Additionally, manage kiln venting carefully—opening vents early in the firing to allow moisture and gases to escape and closing them in later stages to regulate oxygen flow, particularly in oxidation firings.
Step 5: Allow the Kiln to Cool
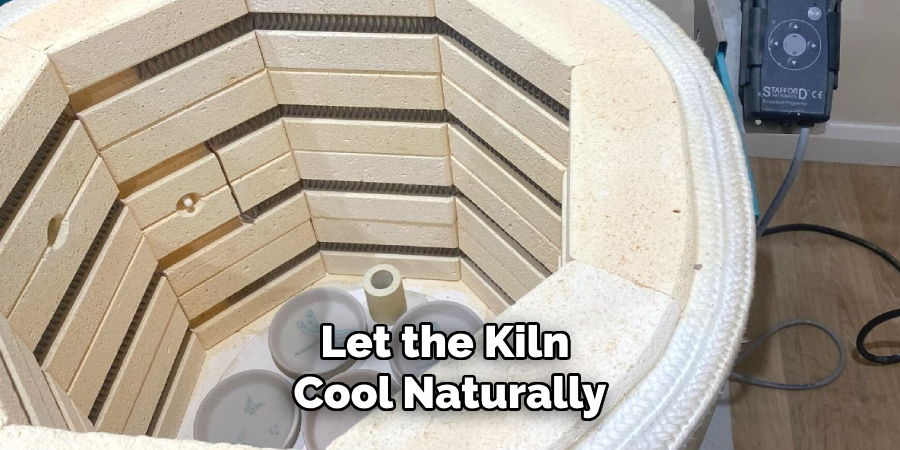
Once the bisque firing is complete, it’s imperative to let the kiln cool naturally to room temperature before opening it. This cooling period typically takes 12-24 hours, depending on the kiln’s size and the number of pieces inside. Premature opening can cause thermal shock, leading to cracking or other forms of damage to the bisque. Allowing the kiln to cool thoroughly ensures the ceramics achieve their full durability, preserving the effort invested in creating each piece.
Glazing and Glaze Firing
Step 1: Apply the Glaze
Applying glaze to ceramics is a crucial step that determines the aesthetic and functional qualities of the finished piece. There are several methods for glazing, each offering different results. Brushing is a versatile technique that allows for precision and control, making it suitable for detailed designs.
Dipping involves submerging the piece in glaze, ensuring a consistent coating; however, care must be taken to avoid drips and excess buildup. Pouring is another method useful for covering large surfaces quickly, but it requires skill to prevent uneven application. Spraying glaze with an airbrush provides an even coat, minimizing brush marks. Regardless of the method, ensuring an even glaze application is essential to prevent defects such as drips, bubbles, or thin spots that could detract from the final appearance.
Step 2: Load the Glazed Pieces into the Kiln
Once the glaze is applied, carefully load the glazed ceramics into the kiln. Use kiln stilts or setters to keep the glazed surfaces from touching the shelves, which could cause them to stick. Ensure sufficient space between each piece allows for glaze expansion and prevents them from fusing together during firing. Proper spacing also ensures even heat distribution, reducing the risk of defects. Handling the glazed items with care during loading will help maintain the integrity of the glaze layer, avoiding smudges or accidental removal.
Step 3: Set the Glaze Firing Temperature
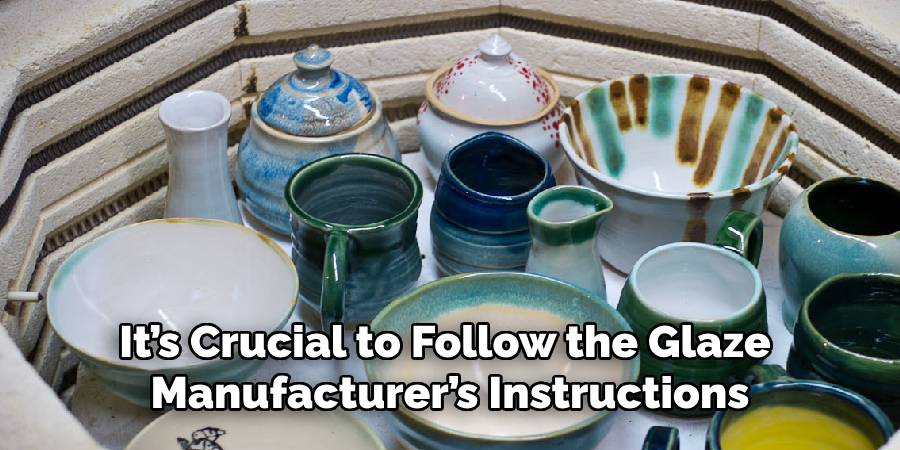
Choose the appropriate temperature setting based on the type of glaze being used. Low-fire glazes often require temperatures from Cone 06 to Cone 04, while high-fire glazes may need Cone 5 to Cone 10. It’s crucial to follow the glaze manufacturer’s instructions precisely to avoid over- or under-firing. Incorrect firing temperatures can lead to glaze defects such as crawling or blistering, so adherence to these guidelines ensures the glaze will mature properly, achieving the desired finish.
Step 4: Firing the Kiln for Glaze Maturation
During glaze firing, carefully manage the heating rate to gradually reach the final temperature needed for glaze maturation. As the temperature rises, the glaze will melt and bond to the bisque surface, transforming into either a glossy or matte finish, depending on the glaze composition. Consistent heat distribution is critical to achieving a smooth, even coating. Monitor the kiln’s performance using pyrometric tools to ensure the glaze receives the correct amount of heat for proper maturation.
Step 5: Cool the Kiln and Remove the Finished Pieces
After the glaze firing, allow the kiln to cool naturally to room temperature before removing the glazed ceramics. This cooling period is essential to prevent thermal shock, which can damage both the glaze and the underlying ceramic body. After cooling, inspect each piece thoroughly for common glaze issues like pinholes, crazing, or uneven application. Identifying these flaws can provide insights into how to refine your glazing techniques for better results in future firings. Patience during this step ensures that the finished pieces exhibit the desired visual and tactile qualities, showcasing the meticulous care taken throughout the process.
Troubleshooting Common Issues
Cracks and Warping
Cracks and warping are frequent issues in ceramics, often originating from uneven drying or rapid heating during the firing process. These defects occur when different parts of the clay body experience varying shrinkage rates. To mitigate these problems, ensure that pieces dry evenly by placing them in a controlled-humidity environment. Additionally, gradually increase kiln temperatures during firing to prevent thermal shock, which can exacerbate cracking. By patiently managing drying times and carefully controlling kiln temperatures, you can significantly reduce the risk of these defects.
Blistering or Pinholes in the Glaze
Blistering or pinholes in the glaze often result from improper application or firing schedules. Overly thick glaze layers or rapid firing can trap gases, leading to these imperfections. To address these issues, apply thinner layers of glaze and more gradually ramp up the firing temperature. Adjusting kiln venting practices can also help release trapped gases and improve the overall glaze quality.
Uneven or Dull Glaze Finish
Uneven or dull glaze finishes can occur due to underfiring or incorrect glaze application techniques. These surfaces may lack the intended visual impact or shine. Refiring glazed pieces at the correct temperature can often resolve these issues by allowing the glaze to mature properly. Ensuring uniform application and following precise firing instructions helps produce consistent and vibrant finishes in subsequent projects.
Conclusion
Firing ceramics is a transformative journey requiring mastery of various steps, from bisque firing to glaze firing. Knowing how to fire ceramics correctly involves applying precise techniques like controlled heating and accurate glaze application. Experimenting with different firing methods, temperatures, and glaze types can yield unique creations, enhancing both skill and creativity. Patience and meticulous attention to detail ensure the stability and beauty of the final piece, emphasizing the importance of thorough preparation and careful execution in successful ceramic projects. Through continuous learning and experimentation, artisans can achieve remarkable results that reflect their individual artistry.
Specialization:
- Master of wheel-throwing, hand-building, and advanced glazing techniques
- Focus on creating both functional pottery and decorative art pieces
Recognition:
- Celebrated by collectors and art enthusiasts for creating one-of-a-kind pieces that blend artistry with functionality
- Participates in local and national exhibitions, earning accolades for his innovative designs and craftsmanship
Passion:
- Deeply committed to exploring and pushing the boundaries of ceramic artistry
- Continuously experiments with new materials, firing techniques, and artistic concepts to evolve his craft
Personal Philosophy:
- Believes in the transformative power of art, aiming to evoke emotions and connections through his ceramic creations
- Advocates for sustainability in ceramics, using eco-friendly materials and practices whenever possible


