


Are you looking forward to firing low-temperature clay in a kiln but don’t know where to start? Look no further!
Firing low-temperature clay, or earthenware clay, is essential in the ceramics process. This type of clay is prized for its versatility, affordability, and vibrant glazed finish, making it a popular choice among beginners and experienced potters. The firing process involves carefully heating the clay in a kiln to reach specific temperatures, typically ranging between 1,800°F and 2,100°F (982°C to 1,150°C). Proper firing ensures the clay hardens into a durable, non-brittle form while setting any applied glaze for a polished look.
Understanding the steps and techniques for how to fire low-temperature clay in a kiln can help achieve consistent, high-quality results in your ceramic creations.
What Are the Benefits of Firing Low-temperature Clay in a Kiln?
Firing low-temperature clay in a kiln offers several advantages compared to other firing methods like air-drying or using a microwave kiln. Some benefits include:
- Strength and Durability: Low-temperature clay fired in a kiln becomes much sturdier and more durable than its unfired state. This makes it ideal for functional pieces that must withstand daily use, such as plates, cups, and bowls.
- Water-resistance: When exposed to high temperatures, the clay particles melt together, forming a dense, impermeable structure. This results in low-temperature clay being highly resistant to water absorption, making it suitable for creating objects like vases or planters.
- Versatility: Kiln firing allows various finishes and effects, such as gloss, matte, or textured surfaces. This versatility especially benefits artists seeking different styles and looks in their ceramic pieces.
- Efficiency: Firing low-temperature clay in a kiln typically takes less time than other methods. Depending on the type of clay and desired effect, it can take a few hours to a full day to complete the firing process.
What Will You Need?
Before you begin the firing process, having all the necessary materials and tools is important. Here are some essential items that you will need:
- Kiln: A kiln is a specialized oven for firing clay at high temperatures. Kilns come in various sizes and types, so choose one suitable for your needs.
- Firing Supplies: These include kiln shelves, stilts (used to hold pieces off the shelf during firing), pyrometric cones (to measure temperature), and tongs or gloves for handling hot pieces.
- Glazes: If desired, you can add color and shine to your ceramic pieces by applying glazes before firing. Choose glazes suitable for low-temperature clay, and follow the manufacturer’s instructions.
- Clay: Of course, you will need low-temperature clay to fire in the kiln. This type of clay can be easily found at art supply stores or online. Read the label to ensure it is suitable for firing in a kiln.
Once you have all the necessary materials, it’s time to start the firing process.
9 Easy Steps on How to Fire Low-temperature Clay in a Kiln
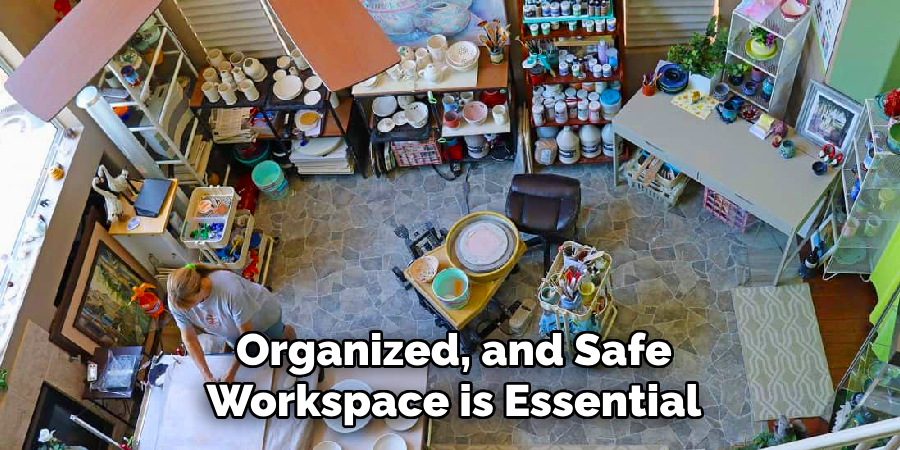
Step 1: Prepare Your Workspace
Before you begin firing, setting up a clean, organized, and safe workspace is essential. Ensure the kiln is placed in a well-ventilated area to allow any fumes to escape properly during the firing process. Remove any flammable materials, such as paper or fabric, from the surrounding area to reduce the risk of fire hazards. Ensure you have all your tools and materials, such as kiln shelves, stilts, tongs, and gloves, within easy reach.
Set up a sturdy table nearby for loading your pieces before placing them into the kiln, and ensure you have enough space to handle the fired fragments once they are cooled safely. Double-check your kiln’s power connection and ensure it functions properly before proceeding. These preparatory steps will help create a safe and efficient environment for firing low-temperature clay.
Step 2: Load Your Kiln
Carefully load your clay pieces into the kiln, ensuring adequate spacing between items. This spacing allows even heating and prevents fragments from sticking together during the firing process. Use kiln shelves and stilts to create multiple levels or support irregularly shaped objects. Avoid overloading the kiln, which can block airflow and affect the firing results. If your pieces have delicate details, handle them gently to avoid damage during loading. Once the kiln is fully loaded, close the lid securely and prepare for the firing cycle.
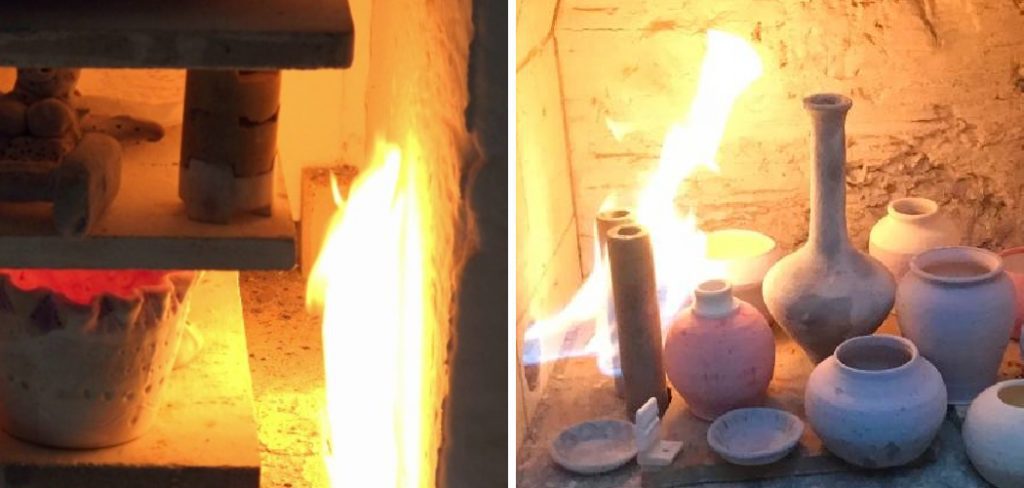
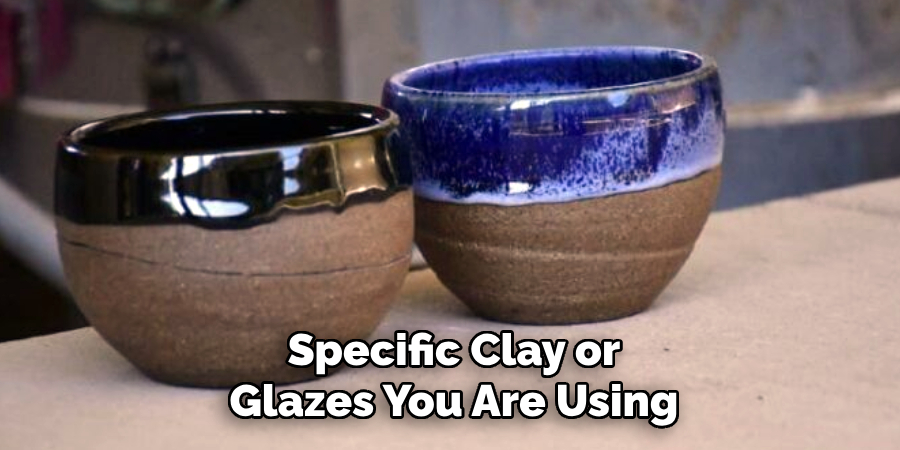
Step 3: Start the Firing Cycle
Set your kiln to the appropriate temperature for low-fire clay, typically between 1,820°F and 2,100°F (993°C to 1,150°C), depending on the specific clay or glazes you are using. Follow the manufacturer’s instructions for programming the kiln or manually adjusting the firing schedule. It is essential to increase the temperature gradually to avoid cracks or other damage caused by thermal shock. Monitor the kiln throughout the process and ensure the ventilation system functions correctly to release gases safely. Once the firing cycle is complete, allow the kiln to cool down completely before opening it to remove your pieces.
Step 4: Unload and Inspect the Finished Pieces
Once the kiln has thoroughly cooled, carefully open the lid and unload your pieces. Use kiln gloves to protect your hands from residual heat, and gently handle the items to avoid accidental damage. Inspect each piece for any cracks, glaze imperfections, or unexpected results. Set aside any items that may require additional attention or corrective measures. This is also an ideal time to take notes on the outcome of the firing process, documenting any adjustments needed for future projects. Proper unloading ensures the safety of your pieces and allows for a thorough evaluation of the results.
Step 5: Clean and Maintain the Kiln
After unloading your pieces, clean and maintain the kiln to ensure it remains in good working condition for future firings. Remove residual glaze drips or debris inside the kiln chamber using a soft brush or vacuum designed for kiln maintenance. Check the kiln shelves and replace any damaged kiln furniture as needed. Inspect the heating elements for wear and tear and ensure the kiln’s electrical components function correctly. Regular maintenance not only prolongs the kiln’s lifespan but also helps achieve consistent and reliable firing results.
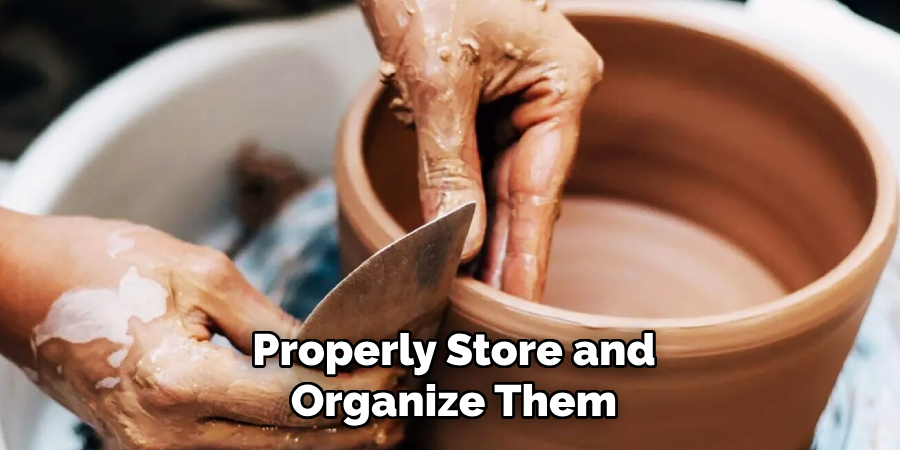
Step 6: Store and Organize Finished Pieces
Once your pieces are unloaded and inspected, properly store and organize them. Place the finished items in a clean, safe space where they won’t be at risk of damage. If you plan to use or sell the pieces, consider labeling them or documenting their details for better organization. Maintaining a catalog of finished works, including descriptions and dates, for larger projects or collections can be especially helpful. This step ensures your hard work is preserved and ready for its intended purpose.
Step 7: Use Protective Gear When Handling Finished Pieces
Due to the high temperatures in the firing process, always use appropriate protective gear when handling finished pieces. Kiln gloves or tongs are essential for handling hot items and preventing burns. Additionally, wearing a dust mask can reduce exposure to any harmful fumes or particles that may be released from the clay or glazes during firing. Safety should always be a top priority when working with ceramics.
Step 8: Experiment with Glazing Techniques
Glazing is an essential part of the ceramic-making process, allowing you to add color, texture, and finish to your pieces. There are countless glazing techniques to explore, allowing you to develop a unique style and expand your creative expression. For beginners, dipping and brushing glazes are straightforward and provide consistent results, while more experienced artists may wish to experiment with spraying, sponging, or layering multiple glazes for complex effects.
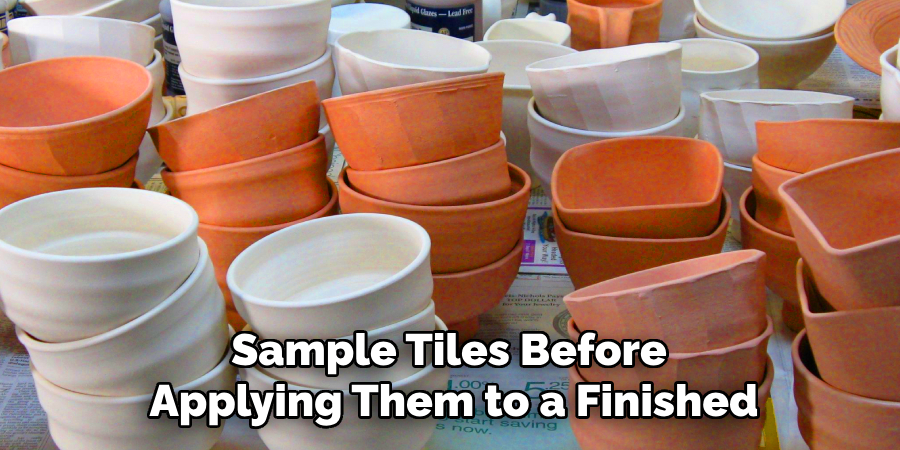
Consider testing different glaze combinations on small sample tiles before applying them to a finished piece. This can help you predict how colors and finishes will appear after firing, as the results can vary significantly based on factors like glaze thickness, firing temperature, and clay body. Additionally, try experimenting with underglazes to create fine details or designs that show through a transparent glaze coat.
Step 9: Learn and Adapt from Each Firing Experience
As with any art form, the key to improvement is practice and experimentation. Every firing experience offers an opportunity to learn and adapt for future projects. Document your methods, results, and observations after each firing to track progress and identify areas for improvement. Attend workshops or seek guidance from experienced potters to learn new techniques and refine your skills. With time and dedication, you will continue to grow as a ceramic artist and achieve success in your firings.
By following these steps and continuously learning and adapting, you can master the art of firing ceramics.
Conclusion
How to fire low-temperature clay in a kiln is a rewarding process that combines technical knowledge with artistic expression.
By understanding the properties of your clay, carefully preparing your pieces, and controlling the kiln’s firing cycle, you can achieve consistent and beautiful results. Patience and persistence are key, as each firing allows you to hone your craft and discover new possibilities.
You can confidently bring your ceramic creations to life with practice, attention to detail, and a willingness to learn from your successes and challenges.
Specialization:
- Master of wheel-throwing, hand-building, and advanced glazing techniques
- Focus on creating both functional pottery and decorative art pieces
Recognition:
- Celebrated by collectors and art enthusiasts for creating one-of-a-kind pieces that blend artistry with functionality
- Participates in local and national exhibitions, earning accolades for his innovative designs and craftsmanship
Passion:
- Deeply committed to exploring and pushing the boundaries of ceramic artistry
- Continuously experiments with new materials, firing techniques, and artistic concepts to evolve his craft
Personal Philosophy:
- Believes in the transformative power of art, aiming to evoke emotions and connections through his ceramic creations
- Advocates for sustainability in ceramics, using eco-friendly materials and practices whenever possible