Are you tired of looking at your scratched porcelain toilet bowl? Do you want to restore its original shine and smooth surface?
Scratches on a porcelain toilet can be unsightly and diminish the overall appearance of your bathroom. Fortunately, many scratches can be repaired with a few simple steps, restoring the toilet to its original pristine condition. This guide will walk you through the necessary materials and techniques needed on how to fix scratched porcelain toilet.
Whether the scratches are from cleaning tools, accidental impacts, or everyday wear and tear, with some patience and care, you can achieve a smooth and professional-looking finish. Before starting, it’s important to gather all required materials and clearly understand the repair process to ensure the best results.
What Will You Need?
To fix a scratched porcelain toilet, you will need the following materials:
- Porcelain repair kit (can be found at most hardware stores)
- Fine-grit sandpaper (400 to 600 grit)
- Water
- Clean cloth or paper towels
- Protective gloves and eyewear
Once you have gathered all the necessary materials, you can begin repairing the scratches on your porcelain toilet.
10 Easy Steps on How to Fix Scratched Porcelain Toilet
Step 1. Clean the Area:
To begin the repair process, it is crucial to start with a clean surface. Clean the area thoroughly using a mild cleaner and water. Scrubbing gently ensures that all dirt, grime, and any mineral buildup are removed from the scratched area. This step is essential because any residue left on the surface may prevent the repair materials from adhering correctly. Once cleaned, dry the area completely with a clean cloth or paper towel to eliminate any moisture that could interfere with the repair process. Ensuring the porcelain is clean and dry will set the foundation for a successful scratch repair, leading to a seamless finish.
Step 2. Sand the Scratched Area:
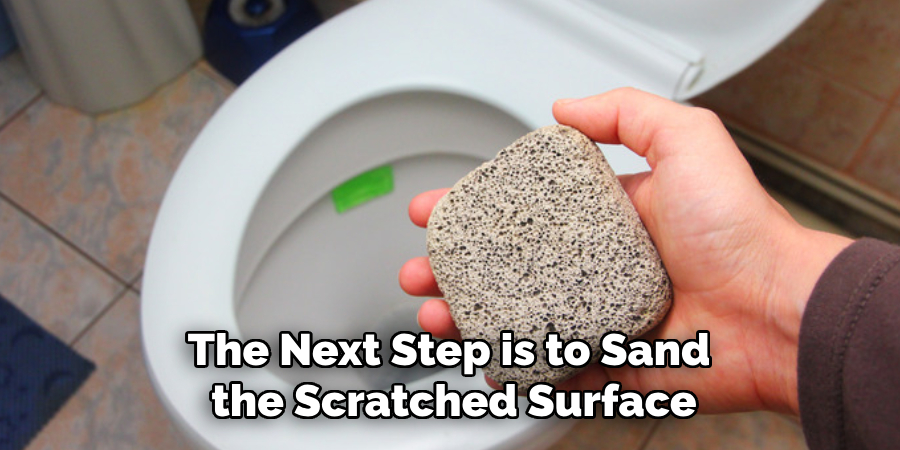
With the area clean and dry, the next step is to sand the scratched surface gently. Using fine-grit sandpaper, carefully sand the scratch with smooth, even strokes. This will help to smooth out the edges of the scratch, allowing the repair material to better adhere to the porcelain. Be sure to use gentle pressure to avoid creating additional scratches or damaging the surface further. After sanding, wipe away any dust or debris with a clean cloth, ensuring the repair kit application has a clean surface.
Step 3. Apply the Porcelain Repair Kit:
Once the scratched area is prepped and dust-free, it’s time to apply the porcelain repair kit. Following the instructions provided with the kit, mix the repair compound thoroughly. Using the applicator included or a small brush, carefully apply the compound to the scratched area, ensuring it fills the scratch. Smooth out the compound as much as possible, blending it with the surrounding surface. Following the manufacturer’s instructions for drying time is essential, as this will ensure a durable and long-lasting repair. Allow the compound to dry completely before proceeding to the next step.
Step 4. Sand the Repaired Area:
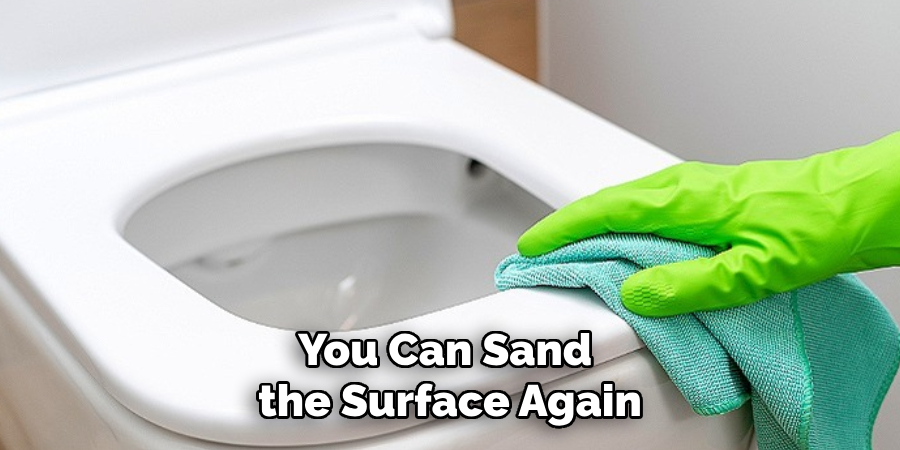
After the repair compound has dried completely, you can sand the surface again. Using fine-grit sandpaper, gently sand the repaired area to create a smooth surface that blends seamlessly with the surrounding porcelain. Use light pressure and make sure to follow the contours of the toilet to maintain its natural shape. This step helps to remove any excess compound and ensures that the repaired area is level with the rest of the surface. After sanding, clean the area with a damp cloth to remove dust and allow it to dry completely. A smooth finish is critical for both aesthetics and functionality, as it restores the toilet’s sleek appearance.
Step 5. Polish the Surface:
Once the repaired area is smooth and level, polishing will enhance the porcelain’s shine and help it blend seamlessly with the rest of the toilet. Use a soft cloth and apply a porcelain-safe polish or a gentle buffing compound to the repaired area. Work in small circular motions to polish the surface, being careful to avoid applying too much pressure. This will bring out the shine in the porcelain and help the repair become nearly invisible. If necessary, apply a second coat of polish for extra shine, allowing it to dry completely for a perfect finish.
Step 6. Inspect and Finish:
After polishing, take a moment to inspect the repaired area under good lighting conditions. Look for any inconsistencies or imperfections that might need further attention. If the scratch is still visible, consider repeating the polishing process or reapplying the repair compound as necessary. Ensure that the surface is as seamless as possible with the rest of the toilet’s finish. Once you are satisfied with the repair, thoroughly clean the entire toilet to remove any remaining dust or polishing residue. This final step will help ensure the longevity of your repair and maintain the pristine appearance of your porcelain toilet. Remember, regular maintenance and gentle cleaning practices can prevent future scratches and extend the life of your toilet’s shiny finish.
Step 7. Prevent Future Scratches:
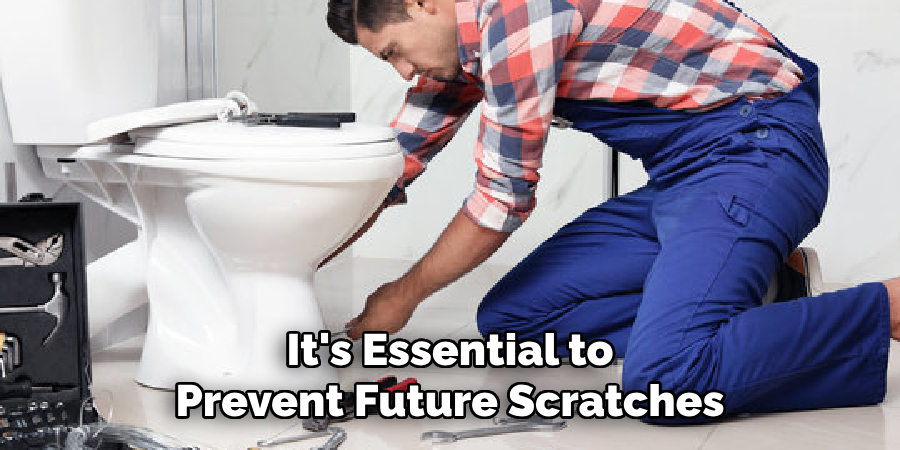
After completing the repair process, it’s essential to prevent future scratches on your porcelain toilet. Use appropriate cleaning tools and products designed for porcelain surfaces to avoid causing damage. Soft cloths or non-abrasive sponges should be used for cleaning, and harsh chemicals or scrub brushes should be avoided. Additionally, store items away from the toilet area that could cause scratches if dropped or mishandled, such as heavy cleaning tools or metal accessories. Regularly inspect your toilet for minor scratches and address them promptly to prevent more significant damage over time.
Step 8. Maintain Regular Cleaning Routine:
Establishing a regular cleaning routine is crucial for preserving the appearance and longevity of your porcelain toilet. Aim to clean your bathroom at least once a week using a mild, porcelain-friendly cleaner and a soft cloth or sponge. Regular cleaning will help prevent the buildup of grime, mineral deposits, and potential contaminants that can lead to scratches or discoloration. When cleaning, ensure that you are gentle to avoid any unnecessary wear on the surface. Implementing these practices will maintain your toilet’s pristine condition and make any future cleaning less of a chore, as the surface will have minimal buildup.
Step 9. Address Stubborn Stains:
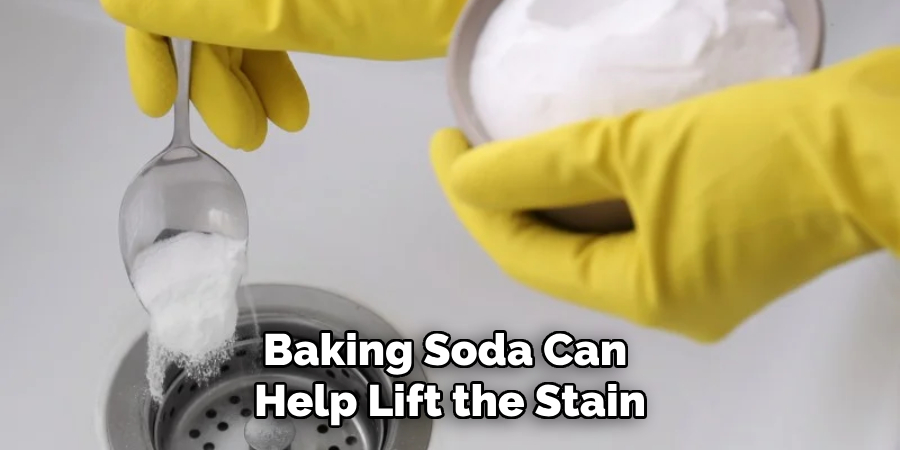
Despite regular cleaning, stubborn stains can appear on your porcelain toilet that are resistant to mild cleaners. To tackle these tricky spots, create a paste using baking soda and water. Apply the paste to the stained area and let it sit for 10-15 minutes. Use a soft sponge or cloth to scrub the paste into the stain gently.
The mild abrasive nature of baking soda can help lift the stain without scratching the surface. Rinse thoroughly with water to remove any residue, and then dry with a clean cloth. If needed, this process can be repeated until the stain is removed. Avoid using abrasive pads or harsh chemicals, which might damage the porcelain’s finish.
Step 10. Perform Regular Inspections:
To ensure your porcelain toilet’s longevity and pristine condition, incorporate regular inspections into your maintenance routine. Each month, take a few moments to visually inspect the surface for any signs of wear, scratches, or stains. Pay particular attention to frequently used areas.
If you notice any minor scratches or potential issues, address them promptly using the methods outlined in previous steps. Regular inspections can help you identify and resolve minor problems before they become larger issues, effectively preserving your toilet’s appearance and functionality. This proactive approach enhances durability and contributes to a consistently clean and appealing bathroom environment.
By following these steps and incorporating regular maintenance into your routine, you can repair any minor scratches on your porcelain toilet and prevent future damage.
5 Things You Should Avoid
- Abrasive Cleaners: Avoid using harsh or abrasive cleaners and pads, as they can further exacerbate scratches and damage the porcelain surface, leading to an uneven finish and potentially more maintenance issues.
- Metal Tools: Steer clear of using metal tools such as wire brushes, scrapers, or steel wool. These can leave additional scratches and might even chip the delicate porcelain glaze, worsening the condition of your toilet.
- Harsh Chemicals: Refrain from using strong chemicals like bleach or ammonia, which can weaken the porcelain glaze. These substances can also cause discoloration and may make existing scratches more apparent.
- Ignoring Instructions: Don’t ignore the manufacturer’s instructions or guidelines for maintaining and repairing porcelain surfaces. Following these can ensure you use appropriate methods and products that do not harm the porcelain finish.
- High-Pressure Water Jets: Avoid using high-pressure water jets to clean your toilet, as they can be too harsh on the porcelain surface, potentially leading to more cracks and damage beyond just scratches.
Conclusion
In conclusion, how to fix scratched porcelain toilet requires a careful and methodical approach to ensure the best results.
By following the outlined steps—from assessing the damage and applying the appropriate repair compound to meticulously polishing and cleaning the surface—you can effectively restore your toilet’s appearance. Additionally, adopting preventative measures such as using gentle cleaning tools and conducting regular inspections will help maintain the toilet’s finish and prevent future damage. Avoiding abrasive cleaners, metal tools, harsh chemicals, and improper techniques is crucial in protecting the porcelain.
With these practices in place, you can extend the life and beauty of your porcelain toilet, keeping it in excellent condition for years to come.
Specialization:
- Master of wheel-throwing, hand-building, and advanced glazing techniques
- Focus on creating both functional pottery and decorative art pieces
Recognition:
- Celebrated by collectors and art enthusiasts for creating one-of-a-kind pieces that blend artistry with functionality
- Participates in local and national exhibitions, earning accolades for his innovative designs and craftsmanship
Passion:
- Deeply committed to exploring and pushing the boundaries of ceramic artistry
- Continuously experiments with new materials, firing techniques, and artistic concepts to evolve his craft
Personal Philosophy:
- Believes in the transformative power of art, aiming to evoke emotions and connections through his ceramic creations
- Advocates for sustainability in ceramics, using eco-friendly materials and practices whenever possible


