Are you passionate about working with clay and creating beautiful pottery? If so, you probably heard of the term “bisque firing.”

Glazing bisque pottery is an essential step in ceramic-making that brings life, color, and functionality to your creations. After the pottery has been bisque-fired, it is ready to be coated with a glaze, which adds a decorative finish and seals the surface, making it waterproof and durable. This process involves careful preparation, selecting the right glaze, and applying it evenly to achieve the desired results.
Whether you are a beginner or an experienced potter, understanding the basics of glazing will help you transform your bisque pieces into stunning, finished works of art. Let’s dive into the world of glazing and explore how to glaze bisque pottery.
What Are the Benefits of Glazing Bisque Pottery?
Before we dive into the glazing process, let’s take a moment to appreciate the numerous benefits of glazing bisque pottery.
- Adds Color and Design: Glazes come in various colors and finishes, allowing you to add your personal touch to your pottery pieces. You can create unique pattern designs or even mimic natural textures with the right glaze.
- Improves Durability: A layer of glaze on top of bisque pottery makes it waterproof, more substantial, and more durable. This is particularly useful for functional pieces like mugs, plates, or vases that will be used regularly.
- Enhances Texture: Depending on the type of glaze you choose, the texture of your bisque piece can be improved by adding a glossy or matte finish. This adds depth and dimension to your pottery, making it more visually appealing.
- Protects the Surface: Glazing creates a barrier between the clay surface and its surroundings, protecting it from scratches, stains, and other damage.
With all these benefits in mind, let’s explore how to glaze bisque pottery properly.
What Will You Need?
To glaze bisque pottery, you will need the following materials:
- Bisque-fired pottery pieces
- Glazes of your choice
- A brush or sponge for applying the glaze
- Water and a container to mix the glaze (if necessary)
- Protective gear such as gloves and an apron (optional but recommended)
It is also helpful to have a clean workspace with good lighting and a damp towel or sponge nearby for any spills or drips.
10 Easy Steps on How to Glaze Bisque Pottery
Step 1: Prepare Your Workspace
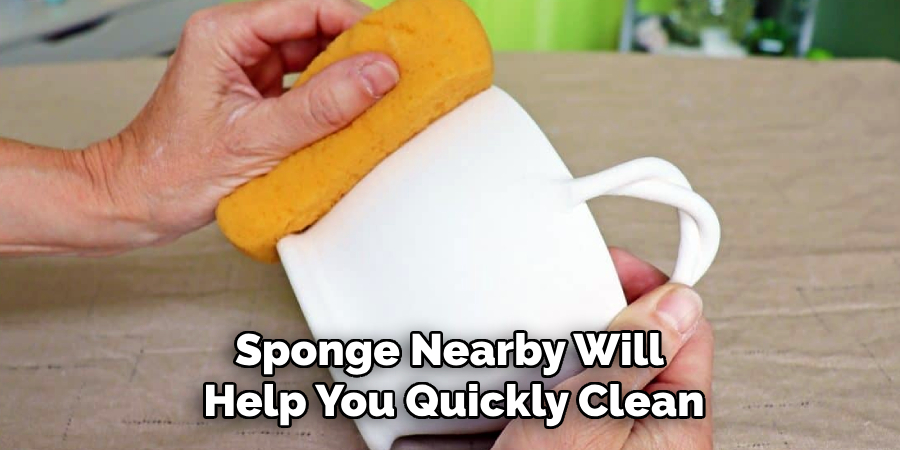
Start by setting up a clean and well-lit workspace. Lay down a protective covering to catch any spills or drips, and ensure all your materials are within easy reach. A damp towel or sponge nearby will help you quickly clean up any messes during the glazing process. Wear gloves and an apron if desired to protect your skin and clothes from glaze stains.

Step 2: Clean Your Bisque Pottery
Before you begin glazing, ensure your bisque-fired pottery is completely clean and free of dust, dirt, or oils. Use a soft, damp sponge to gently wipe your pottery’s surface. This step is crucial because even the tiniest particle can affect how the glaze adheres to the surface, potentially causing imperfections or blemishes in the final result. Allow the pottery to fully dry after cleaning to avoid unwanted interaction between moisture and the glaze. Proper cleaning sets the stage for an even, smooth glaze application and contributes to a professional-looking finish.
Step 3: Apply the Base Coat of Glaze
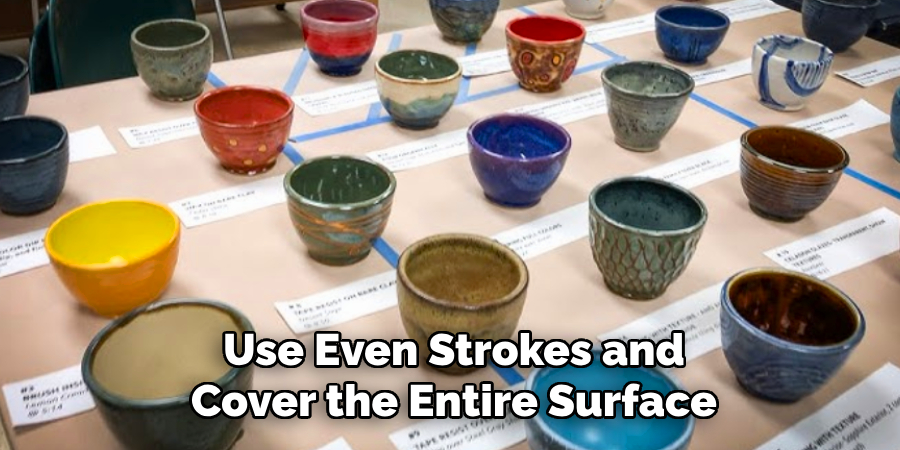
Begin by applying a base coat of glaze to your pottery. This can be done using a brush, dipping, or pouring techniques, depending on your desired effect and the type of glaze you use. If brushing, use even strokes and cover the entire surface uniformly. Avoid applying the glaze too thickly, as it can cause drips or uneven firing results. On the other hand, if you are dipping or pouring, ensure your pottery is submerged or coated evenly for consistent coverage. Allow the base coat to dry completely before adding layers or decorative details. Patience during this step ensures a more refined and attractive outcome.

Step 4: Add Decorative Details
Once the base coat is fully dry, you can add decorative details to your pottery. This step allows for creativity and personalization, as you can experiment with techniques such as using a fine brush for intricate patterns, sponges for texture, or stencils for precise designs. Layering different colors or finishes can add depth and complexity to your piece. Be sure to apply details with a steady hand and allow each layer to dry thoroughly before adding another to prevent smudging or blending. Careful application of decorative elements enhances the character and uniqueness of your finished pottery.
Step 5: Fire the Pottery
After completing the decorative details, the next step is to fire your pottery. This crucial process involves heating the piece in a kiln to harden the clay and set the finishes. Be sure to follow the recommended temperature and firing schedule for the type of clay and glaze used, as improper firing can lead to cracks or imperfections. Always handle the pottery carefully and wear protective gear when loading and unloading the kiln. Once the firing process is complete, allow the pottery to cool gradually before removing it from the kiln. This step transforms your creation into a durable and finalized piece, ready for use or display.
Step 6: Finishing Touches
Once the pottery has been fired and cooled, it’s time to apply the finishing touches. Inspect the piece for sharp edges or rough spots, and sand them down gently if needed. You may also add protective coatings, such as a clear sealant, to enhance durability and give the surface a polished look. For those who want flair, consider incorporating extra decorative elements, like gold luster or hand-painted details, which can be applied and refired in a low-temperature kiln. These final steps will elevate the presentation and functionality of your pottery, ensuring it is ready to be cherished or showcased.

Step 7: Caring for Your Pottery
Proper care is essential to ensure the longevity of your handcrafted pottery. For functional pieces like plates or mugs, avoid exposing them to sudden temperature changes, as this can cause cracking. Handwashing is often recommended over a dishwasher, especially for delicate or decorative items. If your pottery is glazed, refrain from using abrasive cleaning tools that may scratch the surface. Display pieces should be placed in safe, stable locations to prevent accidental falls. By taking these small precautions, you can preserve the beauty and integrity of your pottery for years to come.
Step 8: Troubleshooting Common Pottery Issues
Even experienced potters encounter challenges along the way, but understanding how to address them can save time and frustration. If your piece develops cracks during drying, it may be due to uneven moisture levels—ensure all parts of your work dry consistently by covering it with plastic to slow the process. Glaze imperfections, such as bubbles or pinholes, might result from improper application or firing temperatures; testing your glazes on small test tiles can help pinpoint the issue. Warping during firing often stems from uneven clay thickness— maintain consistent walls and bases when shaping your pieces. By identifying and correcting these common problems, you can improve your skills and create finished pottery that reflects your artistic vision.
Step 9: Adding Final Touches and Finishing
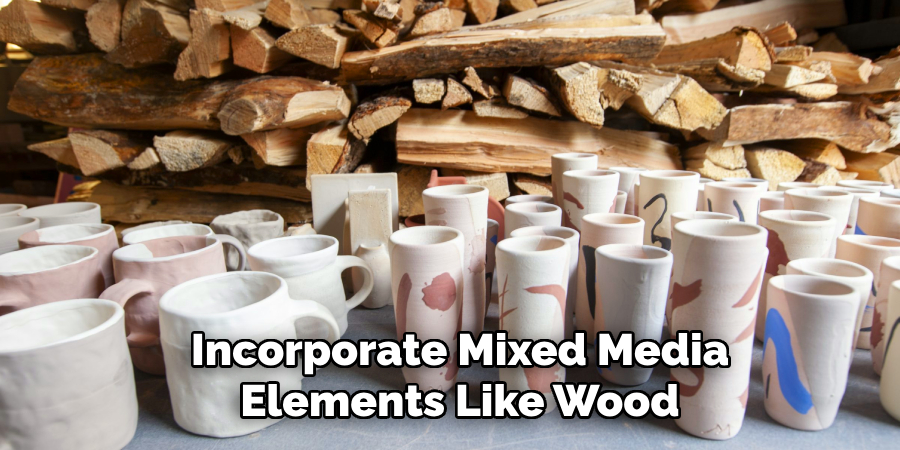
Once your pottery has been successfully fired and glazed, it’s time to add the final touches that make your piece unique. Consider techniques such as painting decorative details, adding texture with specialized tools, or applying a final sealant for additional durability and shine. You can also incorporate mixed media elements like wood or metal to enhance the design and functionality of your work. Take this opportunity to scrutinize your piece, ensuring all edges are smooth and any imperfections are addressed. These finishing steps will elevate the overall quality of your pottery and showcase your artistry and attention to detail.

Step 10: Displaying and Caring for Your Pottery
Once your pottery is complete, displaying and caring for it properly is important to ensure its longevity and highlight its beauty. Choose a display area that complements the piece, whether it’s a prominent shelf, a curated tabletop arrangement, or a dedicated exhibit space. Ensure the area is stable and free from potential hazards, such as excessive moisture or direct sunlight, which can affect the glaze over time. For functional pottery, like bowls or mugs, clean them gently with non-abrasive materials to preserve their finish.
By following these steps, you can create beautiful and personalized pottery that reflects your artistic vision while ensuring its long-term preservation.
Conclusion
How to glaze bisque pottery is both an art and a science, requiring patience, creativity, and attention to detail.
By preparing your bisque pieces properly, selecting the right glaze, and applying it carefully, you can transform a plain ceramic piece into a stunning work of art. Each step, from testing glazes to firing the final piece, offers an opportunity to learn and improve your craft.
Whether you are a beginner or an experienced potter, glazing is a rewarding experience that allows you to express your unique style while creating functional or decorative pieces that can be treasured for years to come.
Specialization:
- Master of wheel-throwing, hand-building, and advanced glazing techniques
- Focus on creating both functional pottery and decorative art pieces
Recognition:
- Celebrated by collectors and art enthusiasts for creating one-of-a-kind pieces that blend artistry with functionality
- Participates in local and national exhibitions, earning accolades for his innovative designs and craftsmanship
Passion:
- Deeply committed to exploring and pushing the boundaries of ceramic artistry
- Continuously experiments with new materials, firing techniques, and artistic concepts to evolve his craft
Personal Philosophy:
- Believes in the transformative power of art, aiming to evoke emotions and connections through his ceramic creations
- Advocates for sustainability in ceramics, using eco-friendly materials and practices whenever possible


