


Glazing a ceramic cup is an essential step in the pottery process that enhances both its aesthetic appeal and functionality. The glaze not only adds vibrant colors and unique textures but also creates a protective layer, making the cup waterproof and durable.
This guide will walk you through how to glaze ceramic cup, ensuring your ceramic cup achieves a polished and professional finish.
The Benefits of Glazing
Glazing a ceramic cup offers numerous advantages that go beyond its visual appeal. A well-applied glaze enhances the durability of the cup, forming a protective barrier that prevents moisture from seeping into the ceramic material. This ensures the cup remains waterproof and safe for everyday use.
Additionally, glazing creates a smooth surface that is easier to clean and resistant to stains, making the cup more hygienic over time. On a creative level, glazing allows for endless design possibilities, with a wide range of colors, finishes, and textures to choose from, transforming a simple ceramic cup into a unique piece of art. Lastly, the glaze adds a layer of strength to the ceramic, reducing the likelihood of cracks and chips, thereby extending the cup’s lifespan.
Tools and Materials Needed for Glazing a Ceramic Cup
To glaze a ceramic cup effectively, you will need a variety of tools and materials that support the glazing process. Here is a list of essentials:
- Ceramic Cup (Bisque Fired) – A cup that has been bisque fired is necessary as the glaze will adhere better to its porous surface.
- Glaze – Choose from a wide range of glaze types, including gloss, matte, or satin finishes, and consider the color and texture you want to achieve.
- Brushes – High-quality brushes of various sizes are ideal for detailed application or covering large areas evenly.
- Mixing Sticks – To thoroughly mix the glaze and ensure even consistency.
- Container for Dipping – A large container for dipping the ceramic cup if you opt for the dipping glaze technique.
- Glaze Tongs – Used to hold the ceramic cup while dipping it into the glaze to avoid smudging or uneven coverage.
- Sponge or Cloth – For cleaning the surface of the cup and removing excess glaze.
- Kiln – A kiln is required for final firing to set the glaze, creating the finished product.
- Wax Resist (Optional) – Useful for preventing glaze from sticking to the bottom or specific areas of the cup.
- Protective Gear – Gloves and a dust mask for safety while handling glazes that may contain fine particles or chemicals.
Having these tools and materials ready will ensure a smooth and efficient glazing process, allowing you to create a beautifully finished ceramic cup.
10 Methods How to Glaze Ceramic Cup
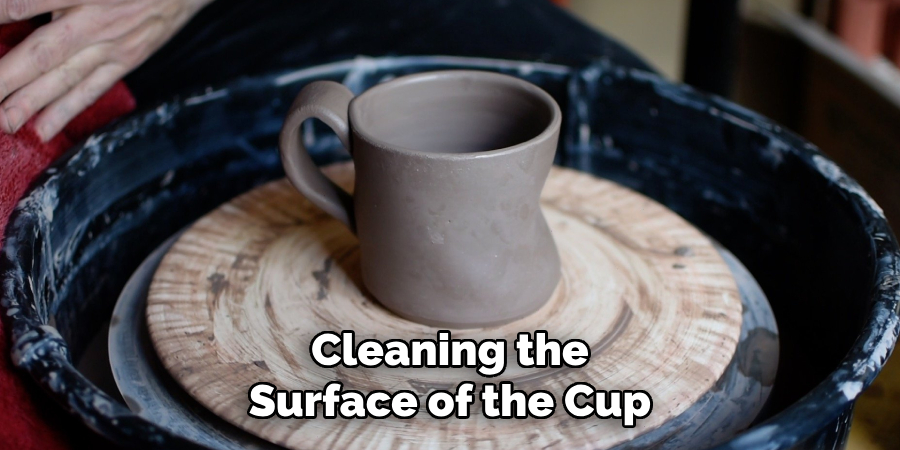
1. Clean the Ceramic Cup Thoroughly
Before starting the glazing process, ensure that your ceramic cup is entirely clean. Any dirt, dust, grease, or fingerprints left on the bisque-fired surface can hinder glaze adhesion and result in uneven coverage or blemishes in the final product.
Use a soft, damp sponge to gently clean the cup, paying close attention to seams, handles, or any textured areas where debris may accumulate. For stubborn residue, consider using a lint-free cloth dampened with a mild cleaning solution, but ensure the cup dries thoroughly before moving on. Proper cleaning sets the stage for a smooth and flawless glaze application.
2. Select the Right Type of Glaze
The type of glaze you choose has a profound impact on the appearance and utility of the finished ceramic cup. Decide whether you prefer a glossy, matte, satin, transparent, or opaque finish. Additionally, for food-safe ceramic cups, ensure the glaze is non-toxic and designed for items that will hold liquids.
Check the compatibility of the glaze with your clay body and the firing temperature of your kiln to avoid defects like crazing, pinholes, or crawling. If you’re uncertain, testing the glaze on a small sample tile can help you understand how it will interact with your ceramic cup during firing.
3. Prepare and Mix the Glaze
Properly mixed glaze is critical for achieving an even and consistent finish. Commercial glazes often settle during storage, leaving heavy particles at the bottom of the container. Use a clean wooden stick, whisk, or electric mixer to thoroughly stir the glaze, ensuring it has a uniform consistency.
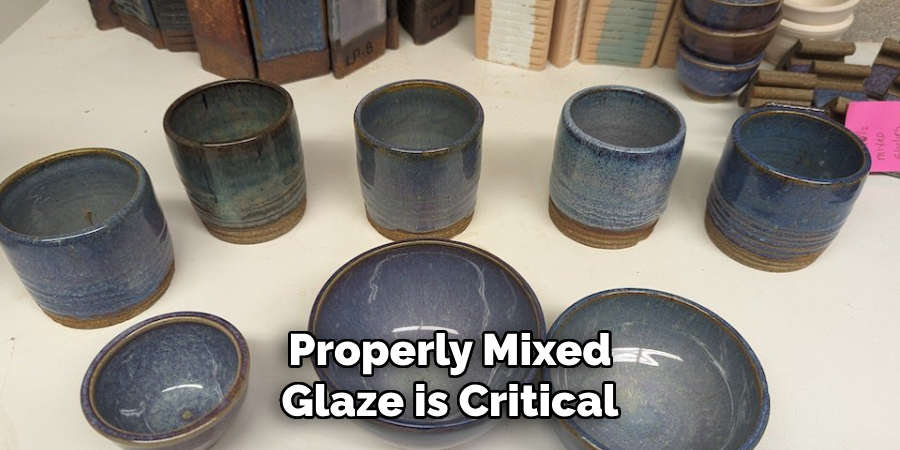
If lumps or impurities persist, strain the glaze through a fine-mesh sieve to remove unwanted particles. For powdered glazes, follow the manufacturer’s instructions to mix the powder with water, and allow the mixture to sit for at least an hour before stirring again. A well-prepared glaze ensures smooth application and minimizes the risk of imperfections.
4. Dip the Ceramic Cup for an Even Coat
Dipping is one of the most efficient methods for applying glaze to a ceramic cup, offering full coverage with minimal effort. Hold the cup by the rim or base, and immerse it into the glaze at a steady angle. Submerge the cup completely, then withdraw it at the same angle to avoid uneven layers.
Allow excess glaze to drip off naturally, gently tapping the cup to encourage even distribution. Rotate the cup slowly to prevent pooling in any one area. Dipping creates a uniform surface, making it an ideal technique for simple designs or monochromatic finishes.
5. Brush the Glaze for Detailed Designs
For more intricate patterns or precise color placement, brushing glaze onto a ceramic cup is a preferred technique. Use high-quality, soft-bristled brushes to apply thin and even coats. Start with horizontal or vertical strokes, depending on the design, and avoid overloading the brush to prevent drips or streaks.
Allow each layer to dry completely before applying subsequent coats, especially when layering different colors. Brushing offers maximum control, making it suitable for creating custom patterns, logos, or gradient effects on your ceramic cup.
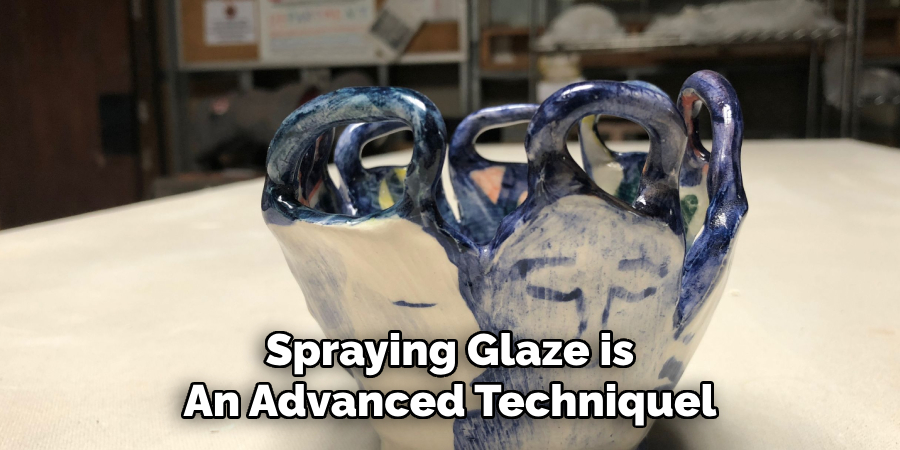
6. Spray Glaze for a Smooth Finish
Spraying glaze is an advanced technique ideal for achieving an ultra-smooth, professional finish on ceramic cups. Using an airbrush or spray gun, fill the reservoir with a well-mixed glaze and adjust the nozzle to produce a fine mist. Position the spray gun 8-12 inches from the surface and apply the glaze in even, sweeping motions.
Rotate the cup while spraying to ensure complete coverage. This method is particularly useful for large batches or when blending multiple glazes for a unique effect. Spraying requires a well-ventilated workspace and protective gear, including a mask and gloves, for safety.
7. Create Patterns Using Wax Resist
Wax resist is a versatile tool for adding decorative patterns or unglazed accents to your ceramic cup. Before applying glaze, use a fine brush to paint wax resist onto areas you wish to protect from the glaze. Once the wax is dry, apply the glaze using your preferred method. The wax repels the glaze, leaving the coated areas unglazed.
After firing, the wax burns away, revealing the underlying clay or a contrasting glaze layer beneath. Wax resist is perfect for creating intricate designs, geometric patterns, or personal signatures on ceramic cups.
8. Experiment with Layering Glazes
Layering multiple glazes on a ceramic cup can produce visually stunning effects, such as color gradients, drips, or textures. Start by applying a base glaze using dipping, brushing, or spraying. Once the base layer is dry, add additional layers of different glazes.
Use a sponge, brush, or spray gun to apply the second layer, experimenting with overlapping techniques to achieve unique results. Keep in mind that some glazes interact chemically during firing, creating unexpected and dynamic finishes. Test your layering combinations on sample tiles before applying them to your ceramic cup.
9. Prepare the Bottom of the Cup
Before firing, it’s crucial to ensure that the bottom of the ceramic cup is free of glaze. Glaze on the bottom can melt during firing, causing the cup to stick to the kiln shelf and ruin the piece. Use a damp sponge to carefully wipe away any glaze from the base, leaving a clean margin around the bottom edge. Alternatively, apply wax resist to the bottom before glazing to simplify the cleaning process. For extra protection, use kiln stilts or place the cup on a kiln shelf coated with kiln wash.
10. Fire the Glazed Cup in the Kiln
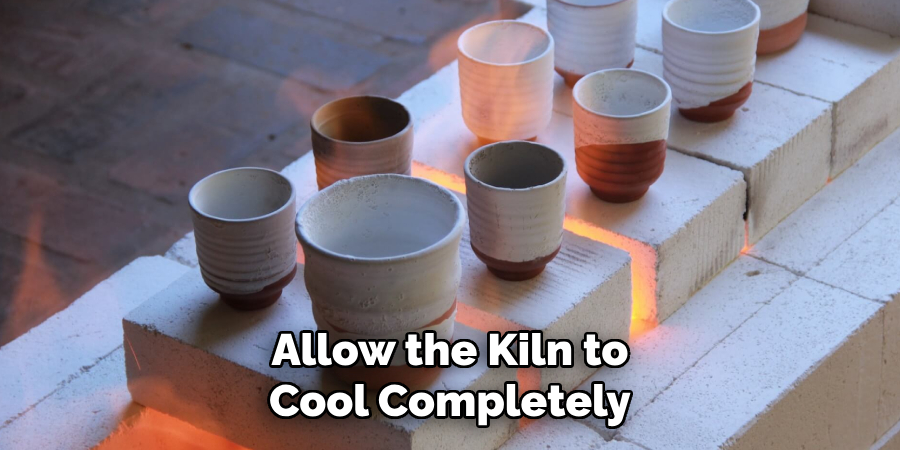
The final step in the glazing process is firing the ceramic cup in a kiln. Place the glazed cup on the kiln shelf, ensuring it is stable and not touching other pieces. Set the kiln to the appropriate temperature for the glaze and clay body, typically ranging between 1,820°F (cone 06) and 2,345°F (cone 10), depending on the type of ceramic.
Monitor the firing process carefully to avoid defects caused by overfiring or uneven heat distribution. Allow the kiln to cool completely before opening it to inspect the finished piece. Proper firing transforms the raw glaze into a vibrant, durable coating.
Conclusion
Glazing a ceramic cup is an intricate yet rewarding process that combines technical skill with artistic expression. Each method outlined here, from cleaning and preparing the surface to applying and firing the glaze, contributes to the creation of a functional and visually stunning piece.
By mastering these techniques, you can experiment with endless possibilities, transforming simple ceramic cups into unique works of art. Follow these simple instructions outlined in this blog post about how to glaze ceramic cup, and you’ll be able to get the job done with ease.
Specialization:
- Master of wheel-throwing, hand-building, and advanced glazing techniques
- Focus on creating both functional pottery and decorative art pieces
Recognition:
- Celebrated by collectors and art enthusiasts for creating one-of-a-kind pieces that blend artistry with functionality
- Participates in local and national exhibitions, earning accolades for his innovative designs and craftsmanship
Passion:
- Deeply committed to exploring and pushing the boundaries of ceramic artistry
- Continuously experiments with new materials, firing techniques, and artistic concepts to evolve his craft
Personal Philosophy:
- Believes in the transformative power of art, aiming to evoke emotions and connections through his ceramic creations
- Advocates for sustainability in ceramics, using eco-friendly materials and practices whenever possible