


Glazing ceramic flower pots serve as both a practical and artistic endeavor, enhancing the pot’s aesthetics while offering significant protection against moisture. Glazing ensures the pot’s longevity by providing a durable finish, making it resistant to the elements and everyday wear.
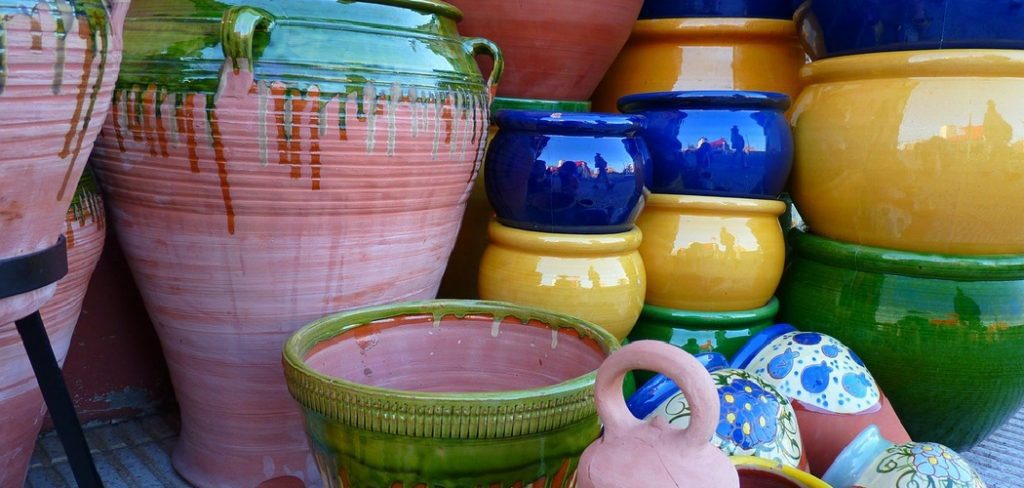
The process not only adds a brilliant shine, making cleaning easier but also prevents water from seeping into the ceramic, thereby preserving the pot’s integrity. This article provides a comprehensive guide on how to glaze ceramic flower pot, detailing each step from preparation to finishing touches. You will learn the necessary materials and techniques to achieve a smooth, professional glaze. Whether you are a novice or experienced in glazing, these instructions aim to support your endeavor in creating beautifully glazed pots while encouraging experimentation with colors and styles to infuse your unique personality into each piece.
Materials Needed
Glazing ceramic flower pots require specific materials to ensure a successful process and outcome. Below is a list of the essential items needed for the task.
List of Materials
- Ceramic flower pot: The base item for your project.
- Ceramic glaze: Chosen based on desired finish and use.
- Brushes or spray guns: For applying the glaze.
- Protective gloves: To protect hands from glaze chemicals.
- Plastic drop cloth: To guard surfaces from spills.
- Water, sponge, and bucket: For cleaning and preparation.
Optional Tools
To enhance the glazing process, consider the following optional tools:
- Wax resist: Helps prevent glaze from adhering to certain areas.
- Extra sponges: For precise cleaning and manipulation.
- Underglaze: To add special patterns or colors before glazing.
- Paint sprayer: Provides even application for large projects.
- Glaze dipping tongs: Useful for submerging the pot into the glaze.
- Kiln: Essential for firing if completing the process at home.
Preparing the Ceramic Pot for Glazing
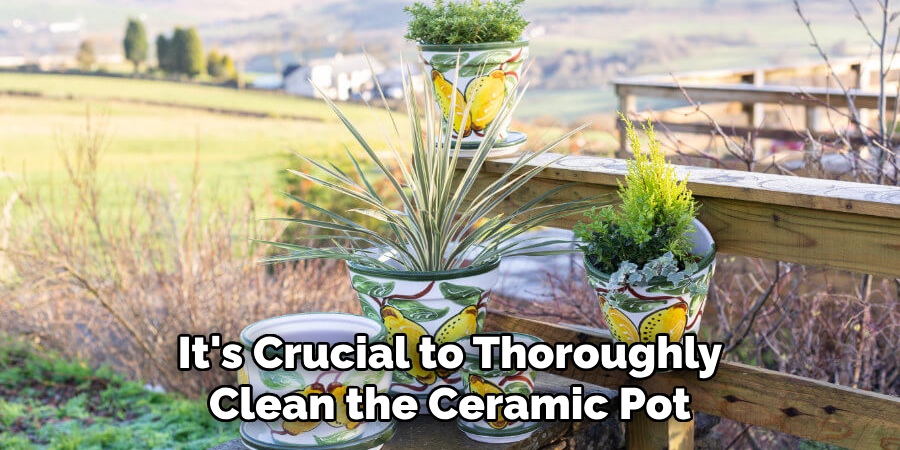
Cleaning the Pot
To ensure a successful glaze application, it’s crucial to thoroughly clean the ceramic pot. Remove any dust, dirt, and oils that can hinder the glaze from adhering properly. Use water and a sponge or a soft brush to gently scrub the pot, making sure to reach all nooks and crannies. Pay special attention to the rim and base, where residues tend to accumulate. After cleaning, rinse the pot with clean water and allow it to dry completely. A dry surface is essential because any remaining moisture can cause issues with the glaze application.
Preparing the Surface
Once the pot has dried, it’s important to prepare the surface for better glaze adhesion. If the pot has a glossy or particularly smooth finish, lightly roughen the surface using fine-grit sandpaper. This texture will help the glaze adhere more effectively. After sanding, check the pot for any cracks or imperfections, as these can impact the final look and durability. Use ceramic filler to repair any defects, ensuring the surface is even. Smooth out any repaired areas with sandpaper and clean the pot again to remove sanding residues before moving on to glazing.
Choosing the Right Glaze
Types of Ceramic Glaze
Selecting the appropriate ceramic glaze is crucial for achieving your flower pot’s desired appearance and functionality. Glazes come in various finishes, such as glossy, matte, satin, and transparent. Glossy glazes offer a shiny, smooth surface, perfect for those seeking a vibrant and reflective look.
Matte glazes give a subdued and earthy feel, suitable for minimalistic designs. Satin glazes strike a balance by providing a soft sheen without being overly reflective, whereas transparent glazes highlight the natural color of the ceramic by offering a clear finish. Choose a glaze that aligns with the aesthetic and purpose—whether the pot is intended as an indoor decorative piece or part of an outdoor garden setting.
Factors to Consider
When selecting a glaze, consider how temperature resistance and durability impact its performance in different environments. Some glazes have higher temperature tolerances, making them more suitable for outdoor use where extreme weather may occur. Additionally, consider color changes during the firing process; some glazes may shift in hue or intensity, affecting the final appearance. Ensure the glaze is compatible with the flower pot’s material and intended placement to maintain aesthetics and functionality over time. Ultimately, each choice should reflect both practical needs and personal style preferences.
How to Glaze Ceramic Flower Pot: Glazing Methods
Brushing on Glaze
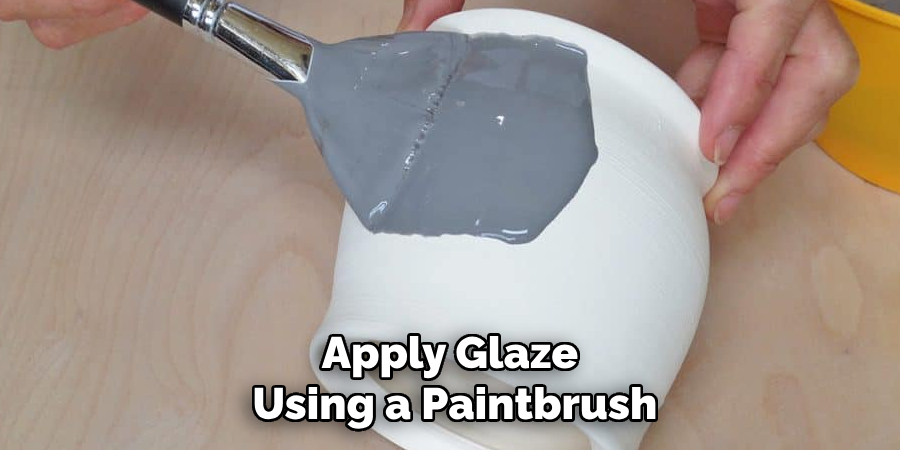
To apply glaze using a paintbrush, first ensure that you have chosen the right type of brush—opt for one with soft, well-formed bristles to aid in smooth application. Begin by pouring a small amount of glaze into a shallow dish, then dip the brush lightly into it, ensuring it is not overloaded. Start applying the glaze to the ceramic pot using long, smooth strokes, working in small sections to prevent the glaze from drying too quickly. Maintain an even stroke and avoid excessive pressure to prevent streaks or pooling. Pay careful attention to edges and crevices, ensuring thorough coverage while preventing drips and uneven texture.
Dipping the Pot in Glaze
Dipping the ceramic pot in the glaze is an effective way to achieve an even coat. Begin by filling a large bucket with your chosen glaze, ensuring there is enough depth to fully submerge the pot. Holding the pot securely with both hands or using glaze dipping tongs, slowly immerse it into the glaze, stopping just short of the rim. Lift the pot gradually, allowing excess glaze to drain back into the bucket to prevent pooling and thickness in unwanted areas. Rotate the pot gently while dripping off the excess to ensure even coverage around the entire surface, including the rim and base, maintaining uniformity.
Spraying the Pot with Glaze
Using a paint sprayer can provide a smooth, professional finish on your ceramic pot. Begin by filling the sprayer with the chosen glaze and adjusting the nozzle for fine misting. Hold the sprayer approximately 6 to 8 inches away from the pot to avoid drips or overly concentrated areas of glaze. Work in thin, overlapping strokes to cover the entire pot, starting from the top and circling downward. Keep the sprayer in constant motion to prevent over-spraying in any one spot, ensuring the glaze is applied evenly while controlling the thickness and consistency.

Drying the Glaze
Initial Drying Process
After applying the glaze to your ceramic pot, it’s crucial to allow the first coat to dry thoroughly before considering additional coats. Drying should occur in a well-ventilated area to ensure that the glaze cures properly and prevents moisture from interfering with the finish. Humidity can cause issues such as clouding or uneven texture, so it’s advisable to leave the pot in a dry place away from damp conditions. Depending on the room’s temperature and airflow, drying time can vary, so be patient and wait until the glaze is completely dry to the touch before proceeding with a second coat.
Checking for Evenness
Once the initial coat of glaze has dried, inspect the pot closely for any areas where the glaze may have been applied unevenly or where coverage is lacking. Use a bright light or direct sunlight to help identify these spots. If any uneven areas are found, apply an additional coat of glaze only to those sections. For a smoother finish, lightly sand the surface with fine-grit sandpaper between coats, if needed. This step will smooth out any minor imperfections left by the first coat, ensuring an even, polished surface once the glazing is complete. Remember to clean off sanding dust before applying any additional glaze.
Firing the Ceramic Pot
Importance of Firing
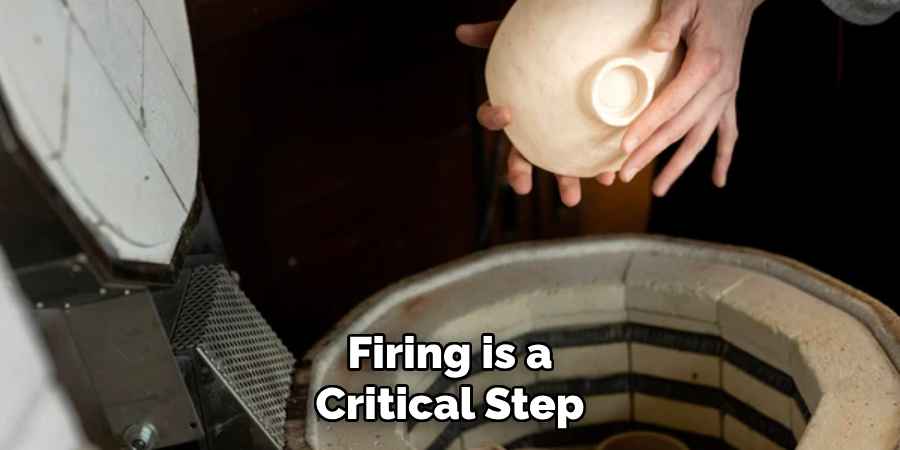
Firing is a critical step in the ceramic process as it hardens the glaze and makes it permanent, transforming the pot from a fragile piece into a durable work of art. The high temperatures of the kiln fuse the glaze to the ceramic surface, creating a weather-resistant and aesthetically appealing finish. The recommended firing temperature will vary based on the type of glaze—low-fire glazes usually require temperatures between 1,830°F (999°C) and 2,100°F (1,149°C), while high-fire glazes may necessitate temperatures reaching 2,300°F (1,260°C) or higher, including adjustments based on the specific glaze formulation.
How to Fire the Pot
Begin by carefully loading the ceramic pot into the kiln, ensuring there is adequate space between the pot and other items to accommodate expansion and prevent damage. Position the pot on stilts or kiln shelves that are resistant to the high temperatures expected during firing. As you start the kiln, gradually increase the temperature over several hours to minimize thermal shock and potential cracking.
Monitoring the kiln’s progress closely is crucial, as well as using witness cones or electronic controls to ensure accurate temperature readings. Once the desired temperature is reached and maintained for the required time, allow the kiln to cool down gradually at a controlled rate to avoid fractures or stress on the pot. Patience is key during cooling, as opening the kiln too soon could compromise the integrity of the glaze and ceramic piece.
Troubleshooting Common Issues
Uneven Glaze Application
A second coat of glaze can often rectify uneven glaze application, such as streaks, runs, or missed spots. Before reapplying, inspect the pot carefully and lightly sand any troublesome areas with fine-grit sandpaper to achieve a smoother surface. Once sanded, clean the pot to remove dust and apply an additional coat of glaze using consistent strokes. Pay particular attention to even coverage during reapplication to ensure a uniform finish after firing.
Cracked or Bubbling Glaze
To prevent cracked or bubbling glaze, it is crucial to avoid applying it too thickly. Ensure the glaze mixture is properly prepared, maintaining a balanced consistency, and be meticulous about its application. Additionally, adhering to recommended firing schedules is essential to prevent thermal shock. If the glaze bubbles or cracks after firing, consider re-glazing the affected areas and refiring the pot. This process can help to achieve a more polished and durable finish, correcting any initial imperfections.
Final Touches
Removing Excess Glaze
Before firing, it’s important to remove any excess glaze from the rim or bottom of the pot to prevent unwanted sticking or pooling during firing. Use a damp sponge or cloth to gently wipe away the excess, ensuring a clean surface that won’t fuse to kiln shelves.
Inspecting the Final Product
Once the pot is glazed and fired, thoroughly inspect it for any imperfections, such as pinholes or uneven texture. Assess whether additional touch-ups are necessary. Ensure the glaze is properly cured, providing a durable finish suitable for planting or display.
Conclusion
The process of “how to glaze ceramic flower pot” involves careful preparation and understanding of the techniques involved. Start with a clean, dust-free pot, then apply glaze using a spray or brush, ensuring even coverage. Follow the proper drying, firing, and troubleshooting steps for optimal results. To maintain your glazed ceramic flower pot, keep it clean and avoid using harsh cleaning methods. Ensure the pot is placed in a stable environment that complements its durability and aesthetic. Finally, embrace experimentation with different glaze colors and techniques to create unique, personalized designs that reflect your artistic style.
Specialization:
- Master of wheel-throwing, hand-building, and advanced glazing techniques
- Focus on creating both functional pottery and decorative art pieces
Recognition:
- Celebrated by collectors and art enthusiasts for creating one-of-a-kind pieces that blend artistry with functionality
- Participates in local and national exhibitions, earning accolades for his innovative designs and craftsmanship
Passion:
- Deeply committed to exploring and pushing the boundaries of ceramic artistry
- Continuously experiments with new materials, firing techniques, and artistic concepts to evolve his craft
Personal Philosophy:
- Believes in the transformative power of art, aiming to evoke emotions and connections through his ceramic creations
- Advocates for sustainability in ceramics, using eco-friendly materials and practices whenever possible