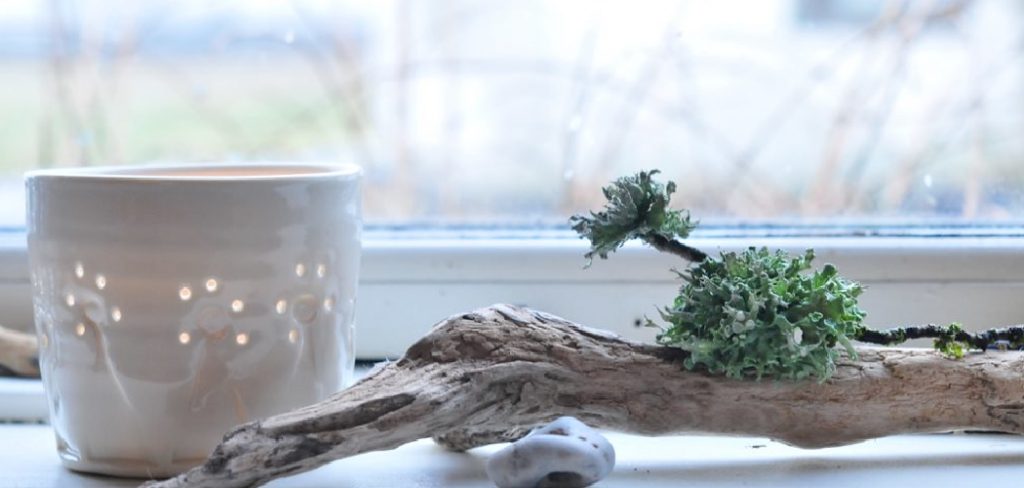
Creating a glaze that captures the essence of driftwood on ceramic can infuse a natural, rustic charm into your pottery projects. This technique involves layering different glazes to mimic the weathered and textured appearance of driftwood, drawing inspiration from the elements that sand, sea, and time bestow upon wood washed ashore.
In the following sections on how to glaze driftwood on ceramic, we’ll explore the materials needed, techniques to apply, and tips to master this unique glazing method, ensuring your ceramic pieces boast the organic allure of driftwood.
Why Glaze Driftwood on Ceramic?
Before diving into the process of glazing driftwood on ceramic, it’s essential to understand why this technique is beneficial and how it can enhance your pottery projects.
One of the main reasons for using this method is to add texture and dimension to your ceramics. By layering different glazes, you can create depth and mimic the rough surface of driftwood. This adds visual interest and creates a tactile experience for viewers.
Additionally, glazing with a driftwood-inspired palette can bring an earthy and natural feel to your pieces. It’s a great way to incorporate elements from nature into your art, connecting it with the outdoors and creating a unique aesthetic.
Materials Needed
Ceramic Piece(S) to Glaze:
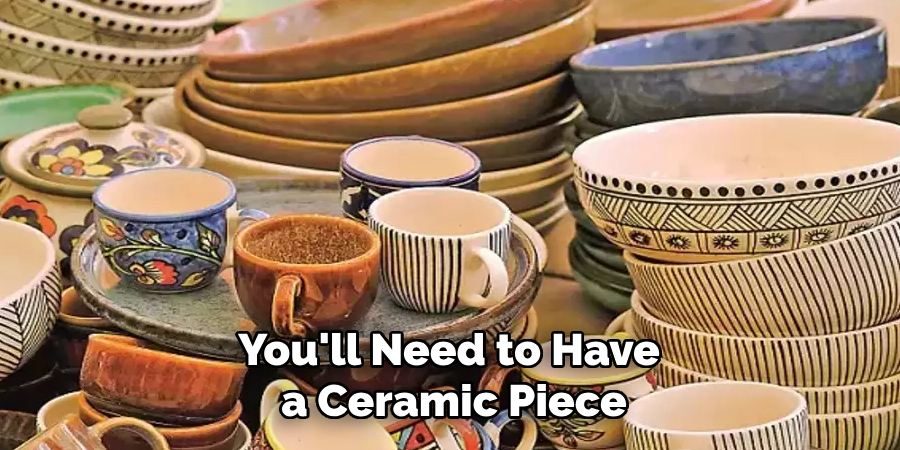
Before you can begin glazing, you’ll need to have a ceramic piece or pieces ready. This can be in the form of unfired greenware, bisque-fired pottery, or glazed pieces that need an additional layer.
Driftwood-Inspired Glazes:
To achieve the desired effect, you’ll need a variety of glazes in colors inspired by driftwood. Think earthy browns, greys, and muted blues. You can purchase pre-made glazes or mix your own using oxides and stains.
Brushes:
Having a selection of different-sized brushes on hand will make it easier to apply layers of glaze with precision and control.
Water:
A small container of water will come in handy for thinning out glazes and cleaning brushes between layers.
Wax Resist:
This is used to create texture and resist areas of glaze, mimicking the grainy appearance of driftwood. You can purchase a wax resist product or make your own using beeswax and turpentine.
Sponge:
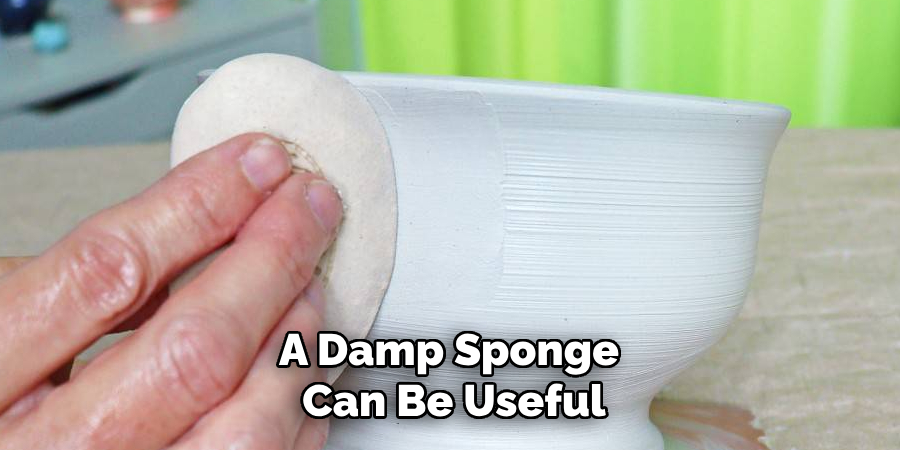
A damp sponge can be useful for blending colors and creating a smooth finish on your glazed piece.
8 Step-by-step Guidelines on How to Glaze Driftwood on Ceramic
Step 1: Prepare Your Ceramic Piece
Before you start the glazing process, it’s crucial to properly prepare your ceramic piece. Begin by ensuring the surface is clean and free from any dust or debris, as these can negatively impact the final result. If you’re working with bisque-fired pottery, gently wipe the surface with a damp sponge to remove any lingering particles.
For greenware, handle it with care to avoid damaging the more fragile state. If your piece already has a layer of glaze that requires additional work, check that it is free from chips or cracks. Preparing your ceramic piece thoroughly sets a solid foundation for the glazing process and helps achieve the desired driftwood effect.
Step 2: Apply the First Layer of Glaze
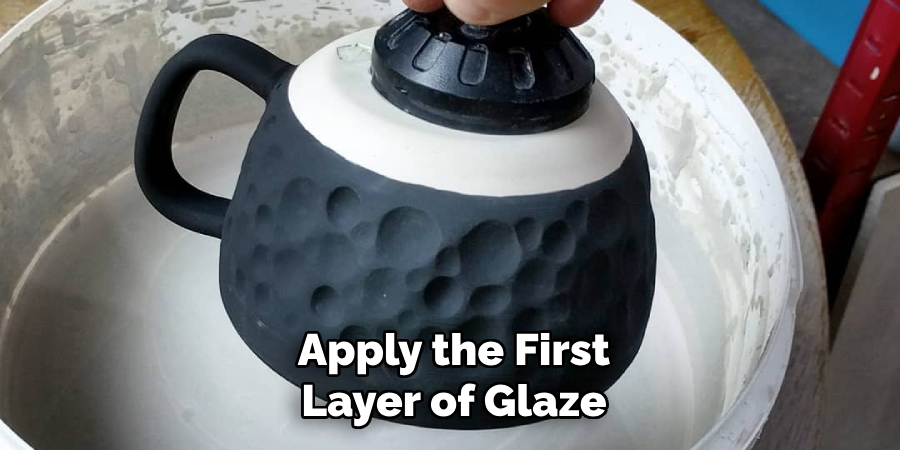
Once your ceramic piece is prepared, the next step is to apply the first layer of glaze. Select a glaze that serves as the base color—typically a light, earthy tone such as sandy beige or pale grey. Use a medium-sized brush to apply the glaze evenly across the surface of your piece, ensuring all areas are well-coated. The goal is to create a soft, uniform base that will enhance the appearance of the subsequent glaze layers.
Remember to stroke in the same direction to maintain consistency and prevent streaking. Allow the piece to dry completely before moving on to the next layer, as this will help establish a solid foundation for achieving the driftwood-like finish.
Step 3: Create Texture with Wax Resist
After the base layer of glaze has fully dried, it’s time to add texture to your ceramic piece using wax resist. The wax resist will help create areas where the glaze does not adhere, simulating the natural grain and patterns found in driftwood. Using a fine brush, apply the wax to resist sparingly across the surface. Focus on areas where you want the underlying glaze to remain visible and where you wish to mimic the intricate textures of driftwood.
It’s important to apply the wax in an organic pattern, avoiding symmetry to achieve a more natural look. Allow the wax to dry thoroughly before proceeding to the next glazing layer. This step not only adds dimension to your work but also introduces a dynamic, rustic element that brings your driftwood-inspired ceramic creation to life.
Step 4: Add a Second Layer of Glaze
Once the wax resist is dry, it’s time to apply the second layer of glaze. This can be a slightly darker color than the first layer and should be applied with broad strokes using a large brush. The goal is to cover most of the surface, leaving some areas visible where you’ve applied wax resistance in the previous step.
Take care not to cover up too much of the base layer, as this will help create depth and add variation to your finished piece. Allow this layer to dry completely before moving on to the next step.
Step 5: Apply Additional Layers of Glaze
For more intricate pieces or for a more dramatic effect, you can continue adding layers of glaze in different colors. Vary the application techniques by using smaller brushes and applying more pressure to create darker areas. Remember to leave some areas exposed to keep the driftwood-inspired texture visible.
The number of additional layers will depend on the desired effect and personal preference. However, be careful not to overdo it and risk losing the natural look of driftwood.
Step 6: Blend Colors
Once you’ve applied all your glaze layers, use a damp sponge to gently blend colors together, creating a smooth transition between shades. This step helps create a more cohesive look and adds depth to your piece.
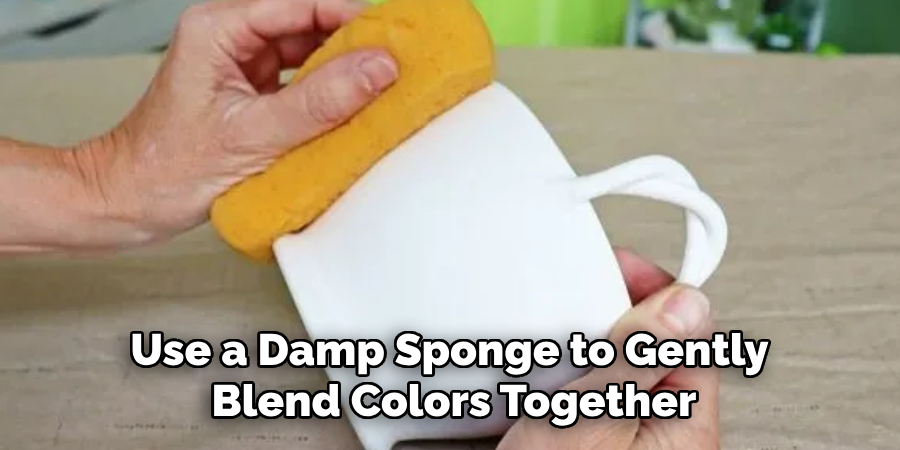
The key is to use a light hand and blend gently to avoid removing too much of the glaze layers. You can also use a dry brush technique to create subtle textural effects.
Step 7: Fire Your Piece
Once your ceramic piece is completely glazed and dried, it’s time to fire it in the kiln. Follow the recommended firing temperature for your specific glazes and clay body, as this will ensure the best results.
After firing, allow your piece to cool down before handling. This step is crucial for achieving the final driftwood effect, as the heat from firing helps melt and blend different layers of glaze together.
Step 8: Finishing Touches
To further enhance the driftwood-inspired look, you can add additional details such as woodgrain patterns or subtle speckles, using oxides and stains. These small touches can make a big difference in achieving a realistic and visually appealing piece.
Finally, consider adding a glossy clear glaze layer to seal and protect your ceramics. This will also give your piece a smooth finish and highlight all the intricate layers of glaze beneath.
Following these steps on how to glaze driftwood on ceramic will help you create a beautiful and unique ceramic piece with a driftwood-inspired finish. Experiment with different glaze colors and techniques to achieve various effects, and have fun incorporating this natural element into your ceramics. Happy glazing!
Frequently Asked Questions
Q: Can I Achieve the Driftwood Effect Using Other Types of Glazes Besides Ceramic Glazes?
A: While ceramic glazes are specifically formulated for use on clay, you can experiment with other types of glazes such as acrylic or watercolor paints. However, these may not provide the same durability and finish as ceramic glazes.
Q: How Do I Prevent Glaze from Dripping Off My Piece?
A: To avoid dripping or running glaze, make sure to apply thin layers and allow each layer to dry completely before adding another one. Additionally, use a sponge to gently dab any excess glaze that may accumulate on the bottom of your piece during application.
Q: Can I Glaze Already-Fired Pottery?
A: Yes, it is possible to add additional layers of glaze onto already-fired pottery. This process is known as overglazing and requires special techniques such as using adhesive agents to help the new glaze adhere to the previously fired surface.
Q: How Do I Achieve a More Matte Finish on My Driftwood-Inspired Piece?
A: To achieve a matte finish, you can use a satin or matte glaze instead of a glossy one. You can also experiment with different application techniques such as sponging or dry brushing to create texture and reduce shine.
Conclusion
With these steps and tips on how to glaze driftwood on ceramic, you can easily achieve a stunning driftwood-inspired finish on your ceramic pieces. Remember to experiment with different glaze colors and application techniques for unique effects, and have fun embracing the beauty of nature in your ceramics. Whether you’re a beginner or an experienced potter, this technique is a great way to add depth and character to your work. Enjoy the process and happy glazing!
Specialization:
- Master of wheel-throwing, hand-building, and advanced glazing techniques
- Focus on creating both functional pottery and decorative art pieces
Recognition:
- Celebrated by collectors and art enthusiasts for creating one-of-a-kind pieces that blend artistry with functionality
- Participates in local and national exhibitions, earning accolades for his innovative designs and craftsmanship
Passion:
- Deeply committed to exploring and pushing the boundaries of ceramic artistry
- Continuously experiments with new materials, firing techniques, and artistic concepts to evolve his craft
Personal Philosophy:
- Believes in the transformative power of art, aiming to evoke emotions and connections through his ceramic creations
- Advocates for sustainability in ceramics, using eco-friendly materials and practices whenever possible


