


Are you looking to learn how to glue your ceramic figurines? Gluing ceramic figurines is a simple and fun craft project that people of all ages can enjoy.
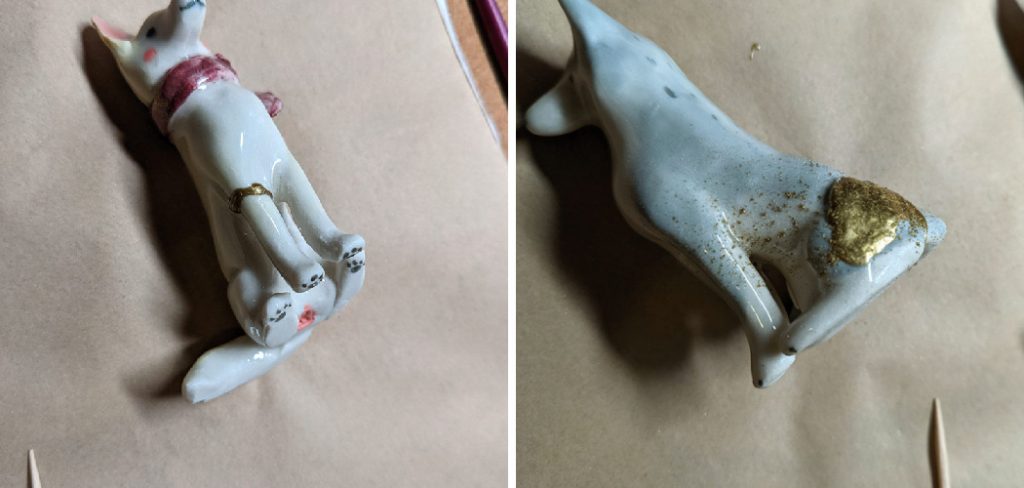
Repairing broken ceramic figurines can restore cherished keepsakes or valuable collectibles to their original beauty. While the process may seem intimidating at first, gluing ceramic figurines is a straightforward task that requires patience, precision, and the right tools. Whether you’re dealing with a minor chip or a more significant break, following proper techniques can ensure a strong and nearly invisible repair.
This guide on how to glue ceramic figurines will walk you through the steps necessary to effectively glue ceramic figurines, so you can preserve their sentimental or decorative value for years to come. Let’s get started!
What Are the Benefits of Gluing Ceramic Figurines?
Gluing ceramic figurines not only helps to repair any damage, but it also provides several other benefits. Here are some reasons why you should consider repairing your ceramic figurines instead of tossing them out:
- Cost-effective: Instead of buying a new figurine, gluing can save you money and keep your budget in check.
- Eco-friendly: Repairing instead of replacing reduces waste and helps the environment.
- Preserves Sentimental Value: Oftentimes, ceramic figurines hold sentimental value for their owners. By repairing them, you can continue to cherish them for many years to come.
- Maintains Decorative Appeal: If the damaged figurine is part of a decorative set, repairing it can help keep the overall aesthetic and prevent the need to find a replacement.
- Creative Outlet: Gluing broken figurines back together can be a fun and creative activity, especially for those with artistic inclinations. You can even add your own personal touch by using different colored glues or incorporating other materials into the repair process.
What Will You Need?
To repair a broken figurine, you will need the following supplies:
- A Clean and Flat Work Surface: This can be a table or desk covered with a soft cloth or towel to prevent damage to the figurine.
- Adhesive Glue: Look for one that is specifically designed for repairing ceramic or porcelain items.
- Small Tools: Tweezers, toothpicks, and cotton swabs can be helpful in carefully applying glue and removing excess glue from delicate areas.
- Rubber Bands or Clamps: These can help hold the pieces of the figurine together while the glue dries.
- Optional Materials for Decorative Touches: Paint, glitter, beads, and other small decorations can add a personal touch to the repaired figurine.
10 Easy Steps on How to Glue Ceramic Figurines
Step 1. Prepare Your Workspace:
Ensure that your workspace is clean, well-lit, and free of any clutter. Lay down a protective surface, such as a sheet of wax paper or an old towel, to catch any glue drips and protect the area.
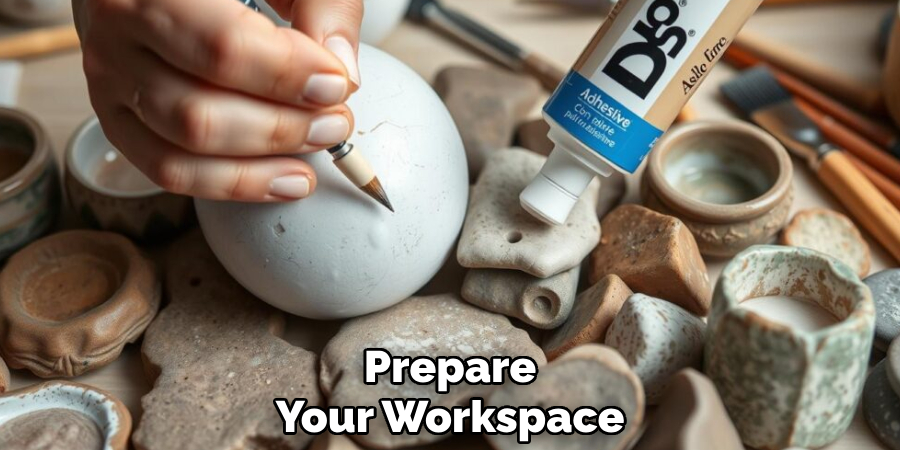
Ensure that all necessary tools and materials, including glue, brushes, and clamps, are within easy reach. Proper organization will help prevent accidents and allow you to focus on the delicate repair process.
Step 2. Clean the Pieces:
Carefully examine each broken piece for dirt, dust, or old adhesive residue. Use a soft, damp cloth or a cotton swab dipped in mild, soapy water to gently clean the surfaces. For stubborn residue, consider using rubbing alcohol or an adhesive remover, but be cautious to avoid damaging the ceramic.
Once clean, allow all pieces to dry completely before proceeding to the repair process, as moisture can weaken the bond of the glue.
Step 3. Arrange the Pieces:
Lay out all the broken pieces on a flat surface, preferably on a soft cloth or towel to prevent further damage. Start by visually inspecting the fragments and grouping them by size or location in the original object, which will make the assembly process more efficient. Try to fit the pieces together like a puzzle to familiarize yourself with their placement and identify any missing fragments.
It may help to number the pieces with small pieces of tape or mark them with a pencil to keep track of the order in which they will be joined. Take your time during this step, as proper arrangement ensures a smoother repair process and helps to achieve a seamless final result.
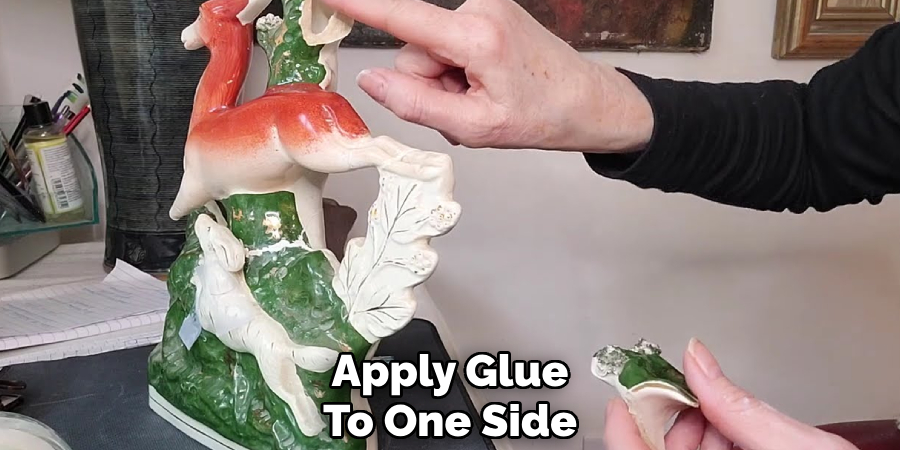
Step 4. Apply Glue to One Side:
Before proceeding to apply glue, it is essential to ensure the surface of the broken object is clean and dry. Dust, grease, or moisture can prevent the adhesive from bonding securely, so take the time to wipe down the surfaces with a damp cloth and allow them to dry completely.
Once the surfaces are prepared, carefully apply glue to one of the broken edges using a precise applicator for better control. A thin, even layer of adhesive is usually sufficient—avoid overapplying, as excess glue can seep out and cause an uneven finish.
Step 6. Join the Pieces Together:
Press the broken pieces together carefully, ensuring they align perfectly. Hold the pieces firmly in place for the duration specified by the adhesive’s instructions, as this allows the bond to set correctly.
If needed, use clamps, tape, or other supports to keep the pieces secure and stable while the glue cures. Check to ensure no gaps remain between the joined surfaces, as this will result in a stronger and more seamless repair.
Step 7. Use Clamps or Rubber Bands:
Using clamps or rubber bands is crucial to ensure that the broken pieces remain secured in place while the adhesive cures. Position the clamps carefully to apply even pressure, avoiding any risk of misalignment. If clamps are unavailable or unsuitable for the item, strong rubber bands can be a helpful alternative, ensuring the pieces stay tightly pressed together.
Check regularly to confirm that the pressure is evenly distributed and that the alignment remains correct. Leaving the clamps or rubber bands in place for the recommended curing time will result in a more durable and lasting repair.
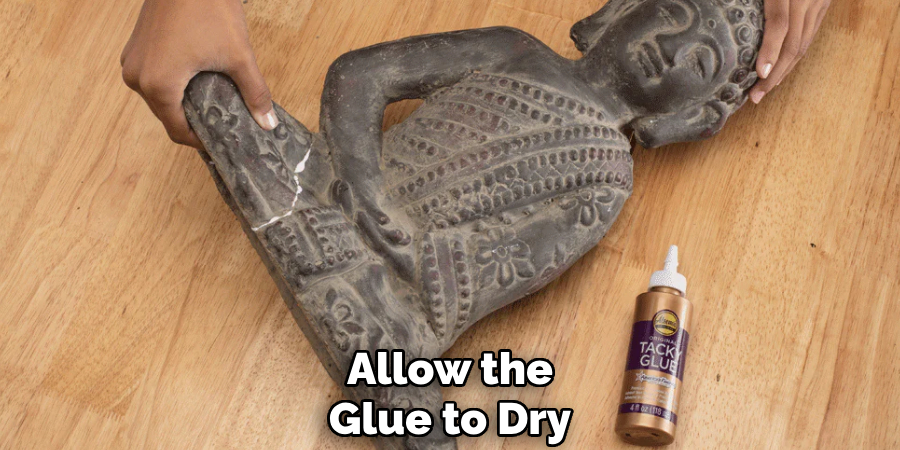
Step 8. Allow the Glue to Dry:
Allow the glued item to sit undisturbed for the full curing time specified by the adhesive manufacturer. This can range from a few hours to 24 hours or more, depending on the type of glue used. Ensure the item is placed in a dry, well-ventilated area, away from any potential disturbances such as moisture, dust, or movement.
Avoid the temptation to test the bond prematurely, as this may weaken the adhesive and compromise the repair. Patience is key to achieving a strong and reliable result.
Step 9. Inspect the Repair:
Carefully examine the repaired item to ensure the adhesive bond has fully cured and the joint or surface is secure. Look for any gaps, misalignments, or areas where the glue may not have set correctly.
Gently test the repaired area by applying light pressure to confirm its stability. If any issues are identified, consider reapplying adhesive or reinforcing the repair as needed. Once you are satisfied with the quality of the repair, the item is ready for use.
Step 10. Add Decorative Touches:
Adding decorative touches allows you to personalize and enhance the appearance of your repaired item. Depending on the material and purpose of the item, you can use paint, decals, or embellishments such as fabric, ribbons, or beads to create a unique finish.
Ensure the surface is thoroughly cleaned before applying any decorative elements to ensure proper adhesion. Use high-quality materials that complement the item, and consider sealing your design with a protective coating for durability. This final step not only restores functionality but also transforms the item into something truly special.
Your ceramic figurine is now repaired and ready for display.
5 Things You Should Avoid
1. Using the Wrong Type of Glue
Not all adhesives are suitable for ceramic repairs. Avoid using general-purpose glues or weak adhesives, as they may not provide the strength required to hold the figurine together.
2. Skipping Surface Preparation
Failing to clean and dry the broken pieces before applying glue can significantly reduce adhesion strength. Dust, dirt, or moisture can interfere with the bonding process, so ensure all surfaces are thoroughly cleaned and completely dry.
3. Rushing the Application
Applying glue unevenly or using too much can result in excess seepage and a messy repair. Take your time to carefully apply a thin, even layer of adhesive, and ensure the parts are positioned perfectly before the glue sets.

4. Ignoring Drying Times
Impatience can ruin the repair. Avoid handling the figurine or testing the bond before the glue has fully cured. Check the manufacturer’s recommended drying and curing times, and allow ample time for the adhesive to achieve full strength.
5. Overlooking Protective Measures
Glue can be harmful if it comes into contact with your skin, eyes, or surrounding surfaces. Always work in a well-ventilated area, wear gloves if necessary, and protect your workspace to avoid accidents or damage.
Conclusion
How to glue ceramic figurines requires attention to detail and patience, but the results are well worth the effort.
By selecting the right adhesive, preparing the surfaces carefully, and following correct application techniques, you can restore your figurine to its original condition. Avoid common mistakes such as rushing the process, using the wrong glue, or neglecting safety precautions.
With time and care, your repaired ceramic figurine can regain both its aesthetic and sentimental value.
Specialization:
- Master of wheel-throwing, hand-building, and advanced glazing techniques
- Focus on creating both functional pottery and decorative art pieces
Recognition:
- Celebrated by collectors and art enthusiasts for creating one-of-a-kind pieces that blend artistry with functionality
- Participates in local and national exhibitions, earning accolades for his innovative designs and craftsmanship
Passion:
- Deeply committed to exploring and pushing the boundaries of ceramic artistry
- Continuously experiments with new materials, firing techniques, and artistic concepts to evolve his craft
Personal Philosophy:
- Believes in the transformative power of art, aiming to evoke emotions and connections through his ceramic creations
- Advocates for sustainability in ceramics, using eco-friendly materials and practices whenever possible