


Are you new to working with air-dry clay? Or have you been using it for a while but want to improve your techniques and final results? Either way, learning how to harden air dry clay is key to creating long-lasting and durable clay projects.
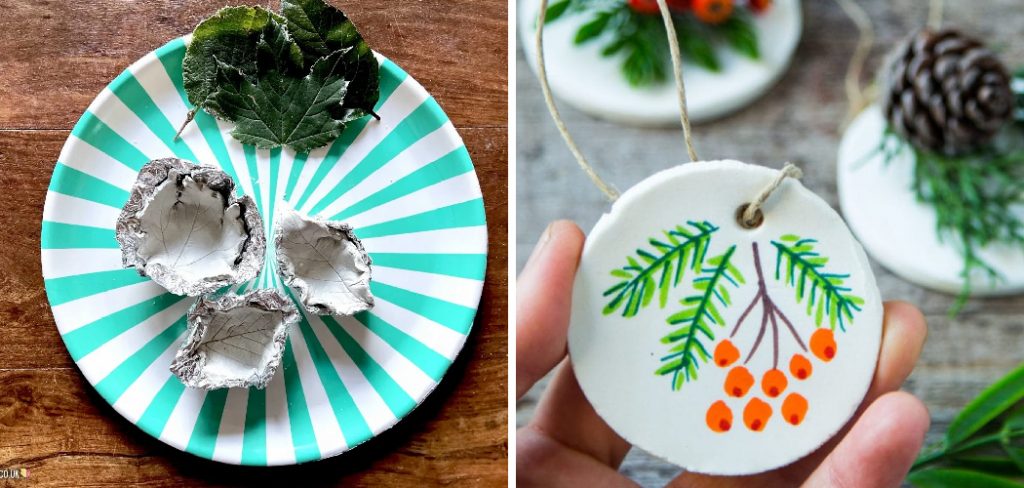
Air-dry clay is a versatile and easy-to-use material, popular among artists and craft enthusiasts for creating various projects. Unlike traditional clay that requires firing in a kiln, air clay naturally hardens when exposed to air, making it highly accessible for both beginners and professionals. However, achieving a strong and durable finish requires specific techniques to ensure the clay hardens appropriately.
This guide on hardening air-dry clay will walk you through the steps and tips to effectively harden air-dry clay, helping you preserve your creations for years to come.
What Are the Benefits of Hardening Air Dry Clay?
Before we dive into the techniques, let’s first understand why hardening air clay is essential. Here are some benefits of adequately hardened air dry clay:
- Durability: Hardened air-dry clay is sturdy and can withstand handling, transportation, and even outdoor elements.
- Water Resistance: Once fully hardened, air-dried clay becomes water-resistant, making it suitable for projects like plant pots or outdoor decorations.
- Paintability: Hardened air-dry clay provides a smooth surface that can be easily painted with various mediums to add color and details to your project.
- Versatility: With proper hardening techniques, you can create various shapes and structures with air clay without worrying about them collapsing or breaking.
What Will You Need?
To harden air-dry clay, you will need the following:
- Air dry clay
- Sandpaper (optional)
- Water
- Paintbrush
- Sealant or varnish (optional)
Once you have your materials ready, follow these steps to harden air-dry clay:
8 Easy Steps on How to Harden Air Dry Clay:
Step 1: Prepare Your Clay Project
Before starting the hardening process, ensure your clay project is complete and that any desired details, textures, or shapes are entirely crafted. Make sure to smooth out any rough edges or seams while the clay is still pliable, as adjustments become more challenging once the clay starts drying.
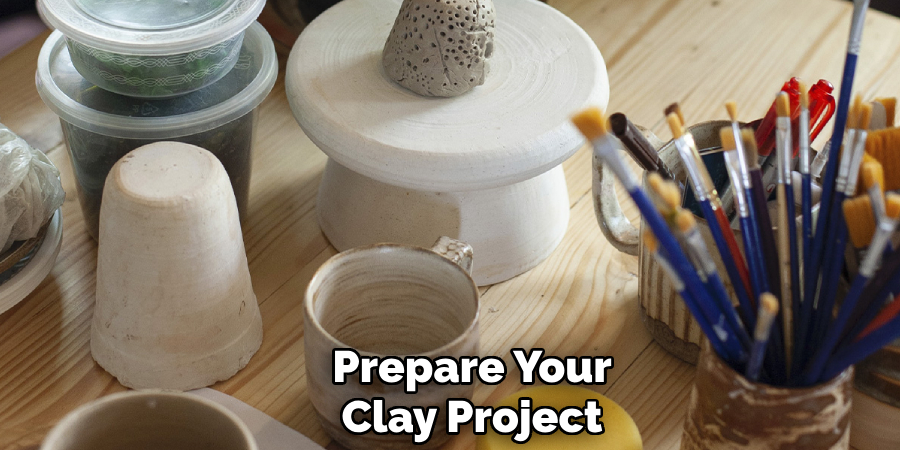
Use water to refine the piece by gently wetting your fingertips or a small tool to smooth and shape the surface. Carefully inspect your project for imperfections or areas requiring touch-ups to ensure it looks exactly how you want it when hardened. Remember, this is your last chance to modify before drying begins.
Step 2: Find a Suitable Drying Location
Choose a well-ventilated area where your clay project can dry undisturbed. Avoid places with excessive humidity, which may slow the drying process or cause the clay to crack. A flat, stable surface is ideal to prevent the clay from warping or collapsing while it hardens.
Ensure the location is away from direct sunlight, as intense heat can cause uneven drying and lead to cracks. If possible, use a surface lined with wax paper or a soft cloth to protect the clay and the workspace. Proper placement during drying is critical to achieving a smooth and durable finished piece.
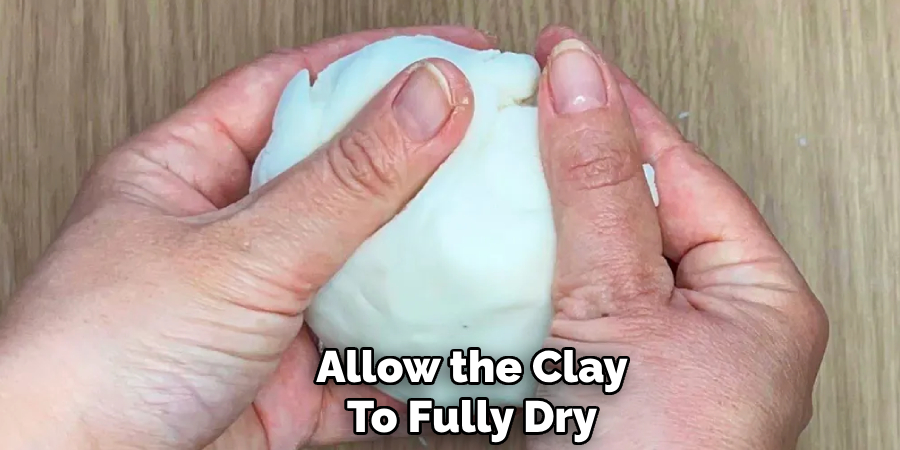
Step 3: Allow the Clay to Fully Dry
Patience is key while waiting for your clay project to dry completely. Depending on the size and thickness of the piece, this process can take anywhere from 24 hours to several days. Avoid handling the clay during this time, as it will still be fragile and susceptible to damage.
To ensure even drying, you can occasionally turn the piece over or rotate it if the design allows. Check for any remaining dampness before moving on to the next stage, as rushing this step could compromise the structural integrity of your project.
Step 4: Sand and Refine Your Piece
Once your clay project has dried completely, it’s time to refine it by sanding away any rough edges or imperfections. Use fine-grit sandpaper to smooth the surface gently, working carefully to avoid applying too much pressure and damaging the piece. You can also shape small details during this step for a more polished look.
Wear a mask to prevent inhaling fine clay dust, and work in a well-ventilated area. Proper sanding ensures a clean and professional finish, preparing your piece for painting or sealing.
Step 5: Paint or Seal Your Piece
After sanding and refining your clay project, you can add color or a protective finish. Use acrylic paints for vibrant, long-lasting hues, or experiment with glazes for a glossy, ceramic-like appearance.
Apply the paint in thin, even layers, allowing each to dry completely before adding additional coats. For a more natural look, you can opt to seal the piece without painting, using a clear varnish or sealant to protect it from moisture and wear. Sealing also enhances durability and prevents cracking over time.
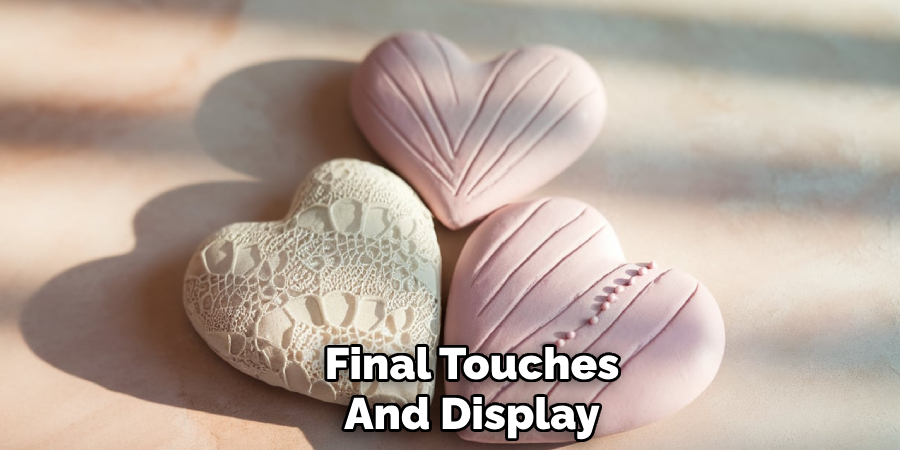
Step 6: Final Touches and Display
Once your piece is painted, sealed, and thoroughly dried, it’s time for the final touches. Scrutinize your project and make any last-minute adjustments, such as touching up paint or lightly sanding any rough edges that may have appeared during the finishing process.
If your piece is functional, like a dish or a planter, ensure it is completely sealed to protect against wear and tear. Finally, find the perfect spot to display your creation, or consider gifting it to someone special. Your carefully crafted clay project is now ready to be admired and enjoyed!
Step 7: Caring for Your Clay Creation
Proper care ensures that your handmade clay creation remains beautiful and lasts for years to come. Avoid exposing it to extreme temperatures or excessive moisture, as these can weaken the material over time. If your piece is decorative, dust it gently with a soft cloth to preserve its finish.
Clean them with a damp cloth and mild soap for functional or sealed items, avoiding harsh scrubbing or abrasive cleaners that may damage the surface. With regular maintenance, your clay project will remain a cherished part of your home or collection.
Step 8: Troubleshooting Common Issues
Sometimes, challenges can arise during the creation or finishing process, but with a few tips, they can be quickly resolved. If cracks develop while your clay is drying, try smoothing them out with water and a soft tool. For air bubbles that surfaced during sculpting, ensure you knead the clay thoroughly before shaping to remove trapped air. If the paint or glaze appears uneven, apply an additional coat once the first layer has dried completely.
By following these simple steps, you can quickly harden air-dry clay and create beautiful, lasting creations.
5 Things You Should Avoid
- Skipping the Drying Process: Avoid rushing the drying process by using external heat sources like hair dryers or ovens. Quick drying can cause cracking due to uneven moisture loss. Always allow your clay to air dry naturally in a well-ventilated area.
- Using Too Much Water: While adding water can help smooth out cracks or imperfections, too much can make the clay overly soft, sticky, or prone to crumbling once dried. Use water sparingly and only when needed.
- Handling the Clay Excessively While It Dries: Touching or moving the clay frequently during the drying stage can deform the shape or lead to cracks. Once you’ve finished sculpting, place the piece in a safe, stable spot and allow it to dry undisturbed.
- Applying Paint or Sealant Too Soon: Painting or sealing the clay before it has dried completely can trap moisture inside, leading to cracking or bubbling. Make sure the clay is fully dry, both inside and out, before applying any finish.
- Ignoring Humidity Levels: Drying clay in environments with high humidity can significantly slow the process and increase the risk of cracks. Choose a dry, ventilated space to allow moisture to evaporate evenly and effectively.
How Do You Rehydrate Old Air Dry Clay?
If you have old or hardened air-dry clay that you want to reuse, there are a few methods for rehydrating it. Here are two simple options:
- Using Water: Place your clay in a bowl and add small amounts of water, kneading it until it becomes soft and pliable. This method may take some time, but be patient and continue adding water until your clay is workable again.
- Microwaving Method: Break the hardened clay into small pieces and place them in a microwave-safe bowl with a damp paper towel on top. Microwave for 10 seconds at a time, checking the consistency after each interval until it has softened enough to work with. Be cautious not to overheat the clay, as it may become too sticky and difficult to handle.
These methods may not work for all types of air-dry clay, so it’s best to test a small amount first before attempting to rehydrate an entire project.
Conclusion
Hardened air-dry clay can open up endless creative possibilities for art and craft projects.
Always allow enough drying time in a dry, well-ventilated area to ensure it hardens appropriately, and remember that thicker pieces may take longer to dry. Avoid sealing or painting the clay until it is fully hardened, as this can trap moisture and compromise the structure. By following these steps and handling the material carefully, you can create durable and lasting designs with air-dry clay.
Hopefully, the article on how to harden air dry clay has given you the confidence to explore this versatile and budget-friendly medium. Don’t be afraid to experiment with different techniques and finishes to create unique, one-of-a-kind pieces that showcase your creativity and style. Happy crafting!
Specialization:
- Master of wheel-throwing, hand-building, and advanced glazing techniques
- Focus on creating both functional pottery and decorative art pieces
Recognition:
- Celebrated by collectors and art enthusiasts for creating one-of-a-kind pieces that blend artistry with functionality
- Participates in local and national exhibitions, earning accolades for his innovative designs and craftsmanship
Passion:
- Deeply committed to exploring and pushing the boundaries of ceramic artistry
- Continuously experiments with new materials, firing techniques, and artistic concepts to evolve his craft
Personal Philosophy:
- Believes in the transformative power of art, aiming to evoke emotions and connections through his ceramic creations
- Advocates for sustainability in ceramics, using eco-friendly materials and practices whenever possible