


Ceramic clay trees are stunning decorative and artistic installations that blend natural aesthetics with creative craftsmanship. These intricate pieces serve as unique focal points in various settings, ranging from modern home decor to serene garden landscapes and even large-scale artistic displays. Their timeless beauty and versatility make them popular for enhancing indoor and outdoor spaces.
However, proper installation is essential to fully enjoy their charm and durability. Learning how to install ceramic clay tree ensures not only stability but also longevity, protecting the structure from damage and the effects of external elements. Whether adorning a living room corner or standing as a showstopper in a backyard garden, ceramic clay trees elevate the atmosphere, adding elegance and personality to their surroundings. Proper care and installation allow these artistic creations to maintain their beauty for years, making them an invaluable addition to any space.
Understanding Ceramic Clay Trees
What Are Ceramic Clay Trees?
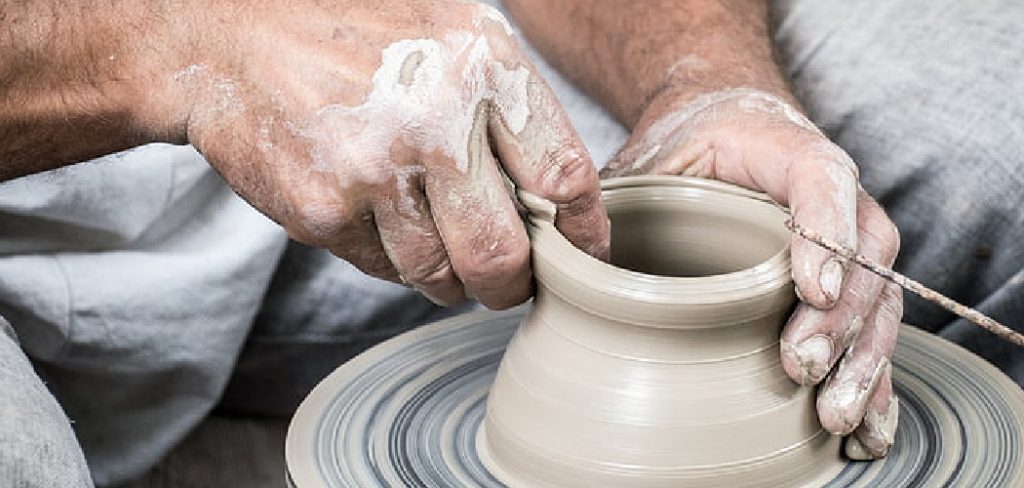
Ceramic clay trees are sculptures or decorative pieces crafted from fired ceramic clay. These artistic creations mimic the form and flow of natural trees, blending human creativity with the beauty of nature. Each piece is made through a meticulous process of shaping, firing, and glazing, creating unique works of art that vary in texture, color, and style. While some are abstract in design, others closely resemble real-life trees, making them versatile for different aesthetic preferences.
Types of Ceramic Clay Trees
Depending on the intended use and setting, there are several ceramic clay trees to consider. Freestanding sculptures can serve as bold statement pieces, ideal for open spaces such as gardens, patios, or large indoor areas. On the other hand, wall-mounted ceramic trees provide a space-saving yet equally stunning option, perfect for adding depth and personality to walls. Buyers can also choose between pre-made ceramic trees, which offer ready-to-use convenience, and custom pieces, tailored to specific designs and dimensions.
Material and Weight Considerations
When selecting ceramic clay trees, assessing their weight and durability is crucial. Firing the clay makes it strong and resistant to weather, though larger or more intricate designs may be quite heavy. Proper installation and support ensure the sculptures remain secure and undamaged, whether placed indoors or outdoors.
Preparing the Clay
Conditioning the Clay
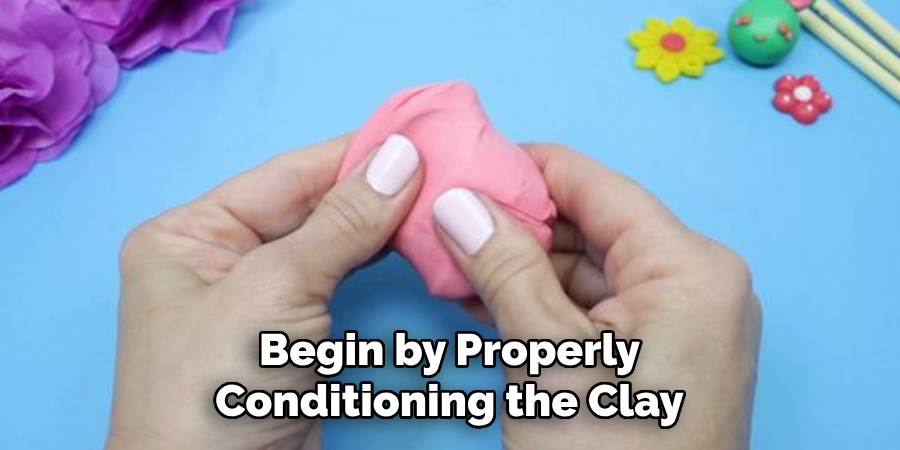
Begin by properly conditioning the clay to ensure it is soft and workable. Knead the clay thoroughly to eliminate any air bubbles that could weaken the structure during the firing process. This step is essential for maintaining the integrity and durability of the finished colander. Once the clay is evenly conditioned, divide it into smaller, manageable pieces for easier handling as you shape the colander.
Choosing the Right Clay
Selecting the appropriate type of clay is crucial for the functionality and aesthetic of the colander. Stoneware clay is highly recommended due to its strength, ability to withstand high temperatures, and low moisture absorption, making it ideal for kitchen use. Alternatively, earthenware clay is suitable for those seeking a warm, rustic aesthetic. Consider the intended use and style of the colander when deciding on the clay type.
Measuring and Rolling the Clay
To prepare the clay for shaping, use a rolling pin to roll it out to a consistent thickness of about 1/4 inch. This thickness is ideal for creating a sturdy yet functional colander. Measure the desired dimensions, including the diameter and height, to ensure the finished piece meets your specific requirements. Accurate measurements and even rolling are key to achieving a professional-quality result.
How to Install Ceramic Clay Tree: Installing Freestanding Ceramic Clay Trees
Positioning the Tree
To begin, place the ceramic clay tree on a flat, stable surface to ensure that it stands securely. Uneven surfaces can lead to instability, which increases the risk of tipping over. Use rubber pads or felt underneath the base of the tree to protect your floors or tabletops from scratches or damage. These materials not only safeguard surfaces but also help to reduce slipping, maintaining the tree’s position.
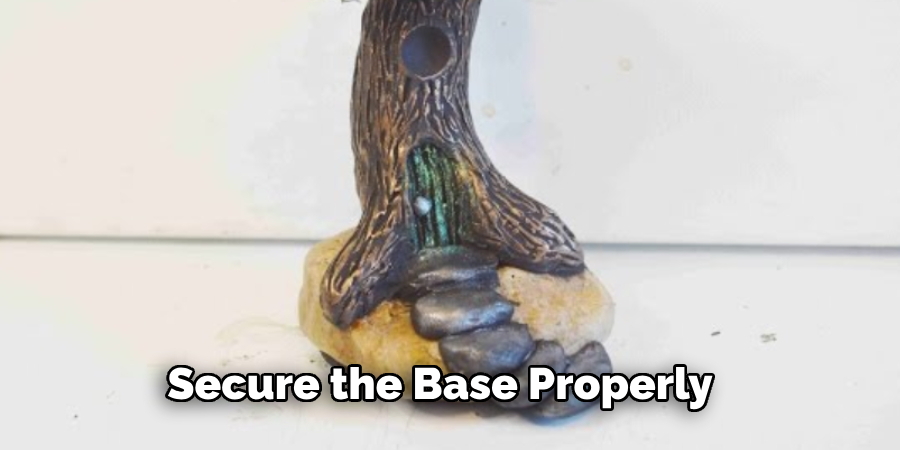
Securing the Base
For larger ceramic trees or those with delicate designs, it’s crucial to secure the base properly. Attach discreet brackets or use small weights around the base to enhance stability. The brackets can be screwed into the display surface or attached with adhesives if permanent installation is not desired. Ensure any added weights are evenly distributed to prevent warping or unnecessary stress on the ceramic structure.
Safety Precautions
When selecting a position for your ceramic clay tree, prioritize safety by avoiding high-traffic areas where it might be accidentally bumped or knocked over. Ensure the tree is placed out of reach of small children or pets who may inadvertently cause damage. If the tree is tall or particularly heavy, consider anchoring it to a wall or displaying it in a protected alcove. Taking these steps ensures the longevity of your ceramic piece while creating a safe, decorative environment.
Installing Wall-Mounted Ceramic Clay Trees
Attaching Wall Brackets
To safely install a wall-mounted ceramic clay tree, begin by attaching sturdy wall brackets. Select brackets appropriate for your ceramic piece’s weight and dimensions. Position the brackets on the wall where the tree will be mounted, and use a level to ensure they are straight. Mark the spots where the screws will go, then drill holes into the wall. Insert appropriate wall anchors, particularly for heavier items or if attaching to drywall. Secure the brackets firmly using screws, confirming they are tightly fixed to handle the weight of the ceramic tree.
Securing the Tree to the Wall
Once the brackets are in place, carefully position the ceramic tree to align it with the brackets. Depending on the design of your tree and the bracket system, use adhesive or screws to attach the tree securely to the brackets. Adhesives should be strong enough to hold the weight while being non-damaging to the ceramic surface. If screws are used, ensure they are tightened carefully to avoid cracking or chipping the ceramic material. For additional reinforcement, use padded supports if the design allows.
Double-Check Stability
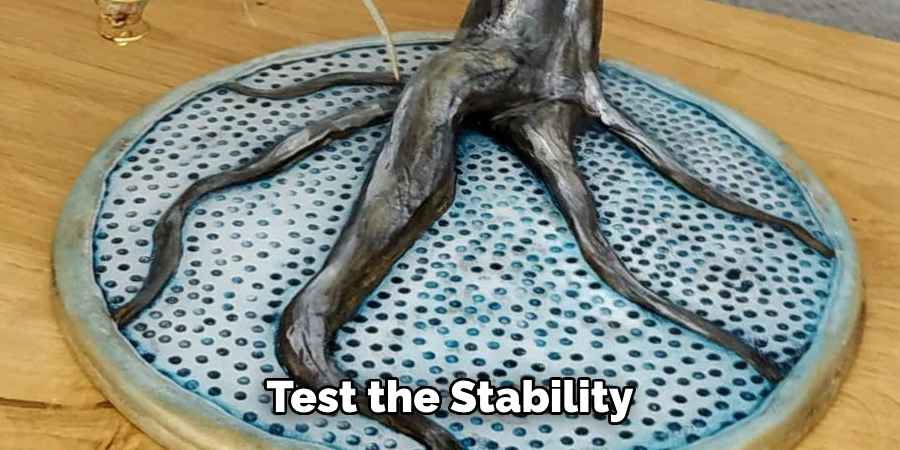
Before stepping back to admire your work, test the stability of the installation thoroughly. Gently shake the tree to check for any movement. If there is instability, tighten the screws or adjust the adhesive as necessary. Repeat this process until the ceramic clay tree is securely mounted without wobbling. Ensuring the structure is stable protects the investment in your ceramic piece and guarantees the safety of the surrounding area. Proper installation provides confidence that your wall-mounted ceramic clay tree will remain an eye-catching and secure addition to your space.
Maintaining Ceramic Clay Trees
Cleaning the Surface
To keep your ceramic clay tree looking its best, use a soft cloth and mild soap to remove any dust, dirt, or residue that may accumulate over time. Avoid abrasive cleaners or scrubbers as these can damage the delicate surface. Gently wipe the ceramic tree and rinse with clean water if necessary. For intricate designs, use a soft brush to clean hard-to-reach areas.
Inspecting for Damage
Regularly inspect your ceramic clay tree for signs of damage, such as cracks or chips. Catching these issues early allows you to address them before they worsen. Small chips can often be repaired using ceramic repair kits or professional services. For significant damage, consult a specialist to ensure the piece is restored properly without further compromising its structural integrity.
Protecting Against Weather
If your ceramic clay tree is installed outdoors, shielding it from weather-related wear and tear is essential. Apply a weather-resistant sealant to protect the surface from moisture, UV rays, and temperature fluctuations. Reapply the sealant periodically, as per the manufacturer’s guidelines, to maintain its effectiveness. This extra layer of protection ensures longevity and preserves the beauty of your ceramic artwork.
Creative Styling Ideas
Lighting Enhancements
The right lighting can transform your ceramic clay tree into a stunning focal point. String fairy lights delicately around the branches to create a warm, magical glow during the evening. Alternatively, consider placing spotlights at the tree’s base to emphasize its intricate design details. Solar-powered lights are a convenient, eco-friendly option for outdoor setups, ensuring your tree remains beautifully illuminated without added electricity costs.
Seasonal Decorations
Celebrate holidays and special occasions by dressing up your ceramic clay tree with seasonal decorations. For winter festivities, hang colorful ornaments, miniature snowflakes, or ribbons to evoke a festive spirit. Spring and summer months are perfect for adorning the tree with fresh or artificial flowers to add vibrant, natural elements. Adjust decorations throughout the year to match themes or events and keep the display fresh and engaging.
Incorporating Surrounding Décor
Harmonize the ceramic clay tree with its environment by strategically pairing it with complementary decor. Surround the base with potted plants or flower arrangements to enhance its organic appeal. Include sculptures, garden furniture, or decorative stones to create a cohesive aesthetic. For indoor setups, position the tree near sleek shelves or minimalist décor to balance modern and artistic vibes, elevating the overall visual impact of the space.
Conclusion
Understanding how to install ceramic clay tree properly begins with selecting an ideal location that complements your space, whether indoors or outdoors. Ensure the tree is placed on a stable surface to prevent accidents and enhance its longevity. Take steps to secure the base firmly, especially for outdoor installations exposed to wind or movement. Once installed, the creative possibilities are endless—experiment with seasonal decorations and surrounding décor to make the ceramic clay tree a captivating centerpiece. Combining functionality with artistic expression can transform any area into a visually dynamic and inviting environment.
Specialization:
- Master of wheel-throwing, hand-building, and advanced glazing techniques
- Focus on creating both functional pottery and decorative art pieces
Recognition:
- Celebrated by collectors and art enthusiasts for creating one-of-a-kind pieces that blend artistry with functionality
- Participates in local and national exhibitions, earning accolades for his innovative designs and craftsmanship
Passion:
- Deeply committed to exploring and pushing the boundaries of ceramic artistry
- Continuously experiments with new materials, firing techniques, and artistic concepts to evolve his craft
Personal Philosophy:
- Believes in the transformative power of art, aiming to evoke emotions and connections through his ceramic creations
- Advocates for sustainability in ceramics, using eco-friendly materials and practices whenever possible