


Basement flooring plays a crucial role in enhancing any home’s durability and overall aesthetics. Given the unique basement conditions, such as higher humidity levels and the potential for dampness, choosing the right flooring material is essential. Ceramic tiles are an excellent choice for basement floors due to their exceptional moisture resistance, ease of maintenance, and long-lasting durability.
They provide a clean, polished look while withstanding the test of time, making them both a practical and visually appealing solution. The benefits of ceramic tiles extend beyond their functionality, as they are available in various designs, colors, and textures to suit various styles. This guide will provide a step-by-step explanation of how to install ceramic tile on a basement floor, from thorough preparation to the final finishing touches, ensuring a durable and stylish result that meets the challenges of basement environments.
Preparing the Basement Floor
Proper preparation of the basement floor is crucial to ensure the successful installation of ceramic tiles.
Clearing the Area
Begin by removing all furniture, old flooring, and debris from the basement. This clears the workspace and allows for a thorough examination of the subfloor beneath. A clean and clutter-free surface is essential for achieving a smooth and durable finish.
Inspecting the Subfloor
Before proceeding further, inspect the subfloor for any potential issues. Look for cracks, uneven surfaces, or signs of moisture. These conditions can compromise the durability of the tile installation. Place a plastic sheet securely on the floor and leave it for 24 hours to test for moisture. If condensation appears beneath the sheet, additional moisture mitigation will be required. Alternatively, use a moisture meter for precise readings.
Repairing and Leveling
After addressing any moisture concerns, patch any cracks in the concrete subfloor using a concrete filler. Once the cracks are filled and smooth, apply a self-leveling compound to even out the surface. This step is particularly important to prevent uneven tile alignment during installation. Allow the repairs and leveling materials to cure fully before moving on to the next step.
Choosing the Right Ceramic Tile and Materials
Tile Selection
Selecting the right ceramic tile is crucial for both functionality and aesthetics. Consider size, style, and slip resistance to suit your space. For larger rooms, bigger tiles can create a more open feel, while smaller tiles work well in tighter areas or intricate designs. Style is essential, with options ranging from classic neutral tones to bold patterns. Prioritize slip-resistant tiles, especially to enhance safety in potentially damp environments such as basements. For basement installations, porcelain tiles are preferred because of their higher moisture resistance and durability compared to standard ceramic tiles.

Materials Needed
Gathering the correct materials ahead of time ensures a smoother installation process. Key items include adhesive mortar to securely bond the tiles to the subfloor, grout to fill the spaces between tiles, and tile spacers to maintain consistent gaps during placement. A tile cutter is essential for customizing tile sizes and fitting edges. Depending on the moisture levels in your area, consider using a moisture barrier or underlayment for added protection. These materials collectively lay the foundation for a long-lasting and professional finish.
Planning the Tile Layout
Measuring and Marking
Before starting the tile installation, measuring and marking the layout accurately for a seamless and professional result is essential. Begin by measuring the dimensions of the room and determining its center. Snap chalk lines across the floor to outline a centered starting point, which ensures the tiles are evenly distributed across the space. This step is crucial for avoiding uneven patterns or misaligned tiles as the project progresses.
Dry Laying Tiles
To ensure symmetry and prevent narrow or awkward edge tiles, dry-lay a sample section of the tiles on the floor. This process allows you to visualize the layout and adjust before applying adhesive. Focus on high-visibility areas and ensure the tiles align well with the center lines. Adjust the spacing with tile spacers to account for grout lines and maintain uniformity.

Cutting Tiles
Once the layout is confirmed, prepare to cut tiles to fit edges, corners, or irregular spaces. Use a tile cutter for straight cuts or a wet saw for more intricate shapes and curves. Proper cutting ensures the tiles fit flawlessly, complementing the existing layout. Taking time to cut accurately guarantees the flooring project’s precise and polished finish.
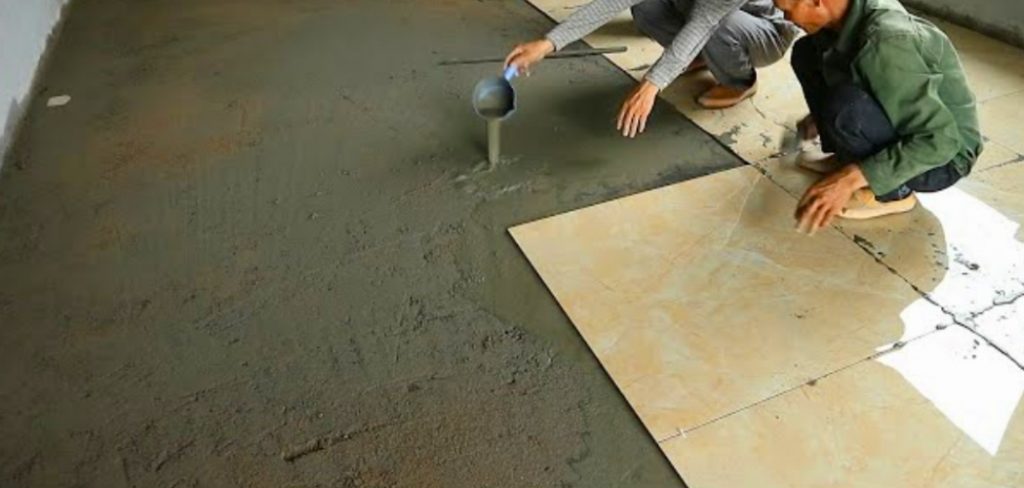
How to Install Ceramic Tile on a Basement Floor: Applying Mortar and Laying Tiles
Mixing and Spreading Mortar
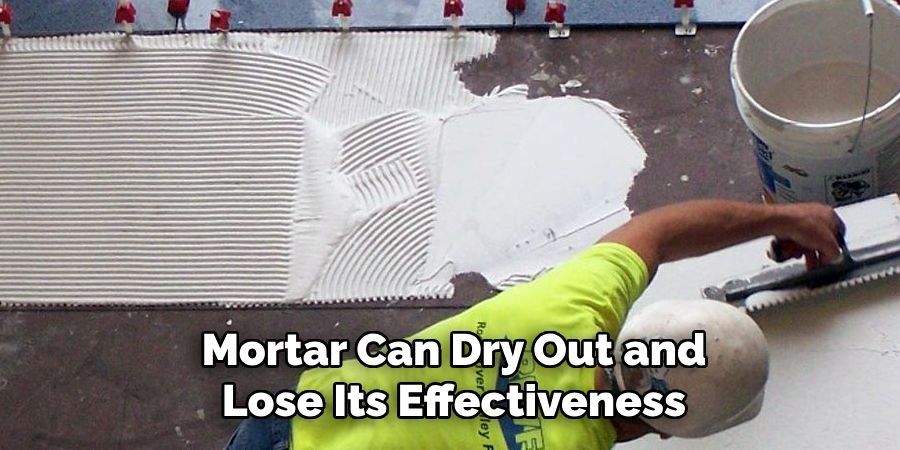
Achieving the proper consistency for mortar ensures strong adhesion and a long-lasting finish. Follow the manufacturer’s instructions when mixing the mortar, aiming for a smooth, peanut butter-like texture. Avoid mixing too much at once, as mortar can dry out and lose its effectiveness. Once mixed, use a notched trowel to spread the mortar onto the subfloor or wall in small sections, working in areas you can cover with tiles before the mortar sets. The notches on the trowel help create grooves in the mortar, providing a better grip for the tiles.
Placing Tiles
Begin laying tiles one at a time, pressing them firmly into the freshly spread mortar. Ensure the tiles are properly seated by gently twisting them into place as you lay them down. Use tile spacers to maintain consistent gaps between tiles, which will later be filled with grout. This step helps achieve clean lines and a professional finish. Continue placing tiles methodically, working your way across the surface, and don’t disturb tiles already in place.
Checking Alignment
Regularly check that the tiles are level and properly aligned as you work. Use a level to spot any uneven tiles and adjust while the mortar is still wet. Adjust the placement as needed to maintain straight lines and ensure tiles are sitting evenly with one another. Periodically step back to inspect your work and confirm the layout is consistent with the grid plan you established during preparation. Properly aligned tiles will create a cohesive and aesthetically pleasing result.
Grouting the Tiles
Preparing the Grout
Start by preparing the grout according to the manufacturer’s instructions. Mix the grout to a creamy, peanut-butter-like consistency to ensure easy application and proper adhesion. When selecting a grout color, choose one that complements the tiles and enhances the overall design of your surface. Allow the freshly mixed grout to rest for a few minutes to cure slightly before application, as this can improve its workability.
Applying Grout
Once the grout is ready, use a rubber float to apply it to the surface. Hold the float at a 45-degree angle and spread the grout diagonally across the tiles to thoroughly fill the gaps between them. Be sure to press firmly to avoid any air pockets or voids. After applying grout to a small section, use the edge of the float to scrape away excess grout from the tile surfaces while leaving the gaps fully filled. Then, take a damp sponge and carefully wipe the tiles to remove residual grout haze, rinsing the sponge often to keep it clean. Work systematically to avoid missing any areas and ensure a uniform finish.
Finishing Touches
Once the grout has had time to set—following the curing time specified by the manufacturer—polish the tiles using a soft, dry cloth to remove any remaining haze and enhance their shine. Apply a grout sealer after the grout has fully cured for added durability and moisture resistance. This step will protect your work from stains and water damage, maintaining a polished and long-lasting finish.
Cleaning and Sealing the Floor
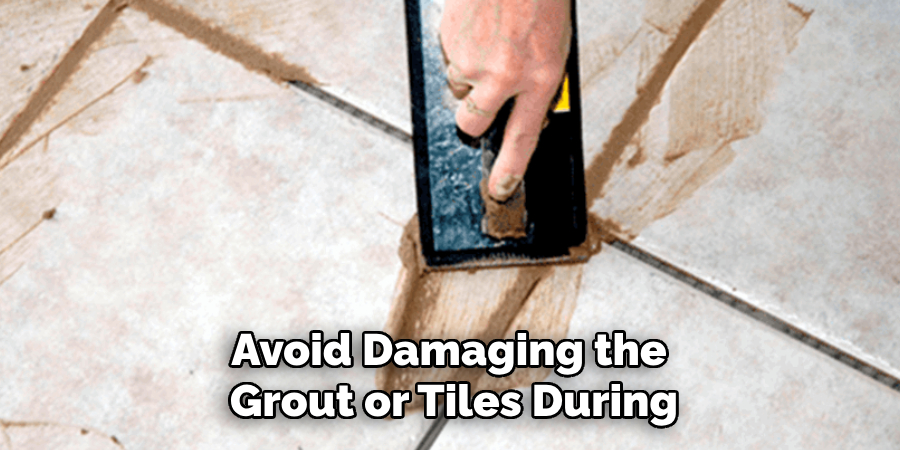
Post-Installation Cleaning
After the grout has fully cured, removing any remaining grout haze from the tile surfaces is essential. Use a soft, dry cloth to gently buff the tiles, or for more stubborn haze, apply a specialized grout cleaner according to the manufacturer’s instructions. Be cautious to avoid damaging the grout or tiles during this process. Cleaning thoroughly at this stage ensures the tiles retain their intended appearance and texture.
Sealing Tiles and Grout
Apply a high-quality tile and grout sealer to protect your tile installation from stains, moisture, and general wear. Choose a sealer that is compatible with your specific type of tile and grout. Using a small brush or applicator, carefully apply the sealer to the grout lines and the tile surface if necessary. Allow the sealer to penetrate for the recommended time, then wipe away any excess with a clean cloth. This step will enhance the durability and longevity of your tile installation.
Final Inspection
Perform a thorough inspection of the area to ensure all tiles are secure and no gaps or imperfections remain. Address any loose tiles or grouting issues immediately. A proper final check guarantees a flawless, long-lasting result.
Maintenance Tips for Ceramic Tile in Basements
Regular maintenance ensures your ceramic tile flooring remains in excellent condition. Start by cleaning the tiles routinely with a mild detergent and warm water to remove dirt and grime without harming the surface. Avoid using abrasive cleaners or tools; they can scratch and dull the tiles over time.
Periodically reseal the grout lines to maintain their water resistance and protect them from stains or mold. This is especially important in basement areas where moisture levels may fluctuate. Additionally, inspect the tile flooring occasionally for signs of shifting, cracking, or loose tiles. Addressing these issues early can prevent more extensive damage and maintain the structural integrity of the installation.
By following these simple maintenance practices, you can preserve the durability and appearance of your ceramic tile flooring for many years, even in a challenging basement environment.
Conclusion
Installing ceramic tile on a basement floor involves careful preparation, precise layout, diligent installation, and thorough finishing to achieve a professional and durable result. Each step plays a crucial role in ensuring the flooring is both functional and visually appealing. A well-installed ceramic tile floor in a basement offers numerous benefits, including increased durability, moisture resistance, and improved aesthetics. To maximize these advantages, proper maintenance is essential. Following the tips outlined in this guide on “how to install ceramic tile on a basement floor,” you can enjoy a long-lasting and beautiful flooring solution that enhances your basement space.
Specialization:
- Master of wheel-throwing, hand-building, and advanced glazing techniques
- Focus on creating both functional pottery and decorative art pieces
Recognition:
- Celebrated by collectors and art enthusiasts for creating one-of-a-kind pieces that blend artistry with functionality
- Participates in local and national exhibitions, earning accolades for his innovative designs and craftsmanship
Passion:
- Deeply committed to exploring and pushing the boundaries of ceramic artistry
- Continuously experiments with new materials, firing techniques, and artistic concepts to evolve his craft
Personal Philosophy:
- Believes in the transformative power of art, aiming to evoke emotions and connections through his ceramic creations
- Advocates for sustainability in ceramics, using eco-friendly materials and practices whenever possible