


Ceramic wash basins are a popular choice for both bathrooms and kitchens due to their durability and timeless style. Known for their sleek and elegant appearance, these basins offer a versatile design that complements various interior styles, from modern to traditional. One of the main benefits of ceramic wash basins is that they are incredibly easy to clean, requiring minimal maintenance while retaining their glossy finish over time.
Additionally, they are resistant to stains and scratches, ensuring longevity and preserving their aesthetic appeal. This article aims to provide a step-by-step guide on how to install ceramic wash basins, catering to homeowners or renovators seeking to enhance their spaces. We will walk you through the essential stages of preparation, the installation process itself, and the final touches needed to ensure a professional finish. Whether you’re updating a guest bathroom or designing your dream kitchen, this guide will simplify the process and help achieve a flawless installation.
Types of Ceramic Wash Basins
When selecting a ceramic wash basin, it’s important to consider the different types available and their specific benefits. This choice can significantly influence the overall aesthetic and functionality of your bathroom or kitchen space.
Undermount Basins
Undermount basins are designed to be installed beneath the countertop, creating a seamless and integrated look that is well-suited for modern bathrooms and kitchens. This design enhances the visual appeal of the space and makes cleaning the countertop easier, as there are no edges to accumulate dirt or water. Undermount basins are particularly favored in minimalist design schemes, where a sleek, streamlined appearance is desired. The concealed rim of the sink allows for more counter space, adding to the functional and aesthetic advantages.
Top-Mount Basins
Top-mount basins, or drop-in or self-rimming basins, are characterized by their ease of installation as they sit on top of the counter. This type of basin is ideal for traditional setups and is an excellent choice for those seeking a straightforward installation. The exposed rim of top-mount basins provides an opportunity to incorporate additional style elements, such as intricate rim designs or contrasting materials. They are versatile, compatible with various countertop materials, and generally more cost-effective than other basin types.
Wall-Mounted Basins
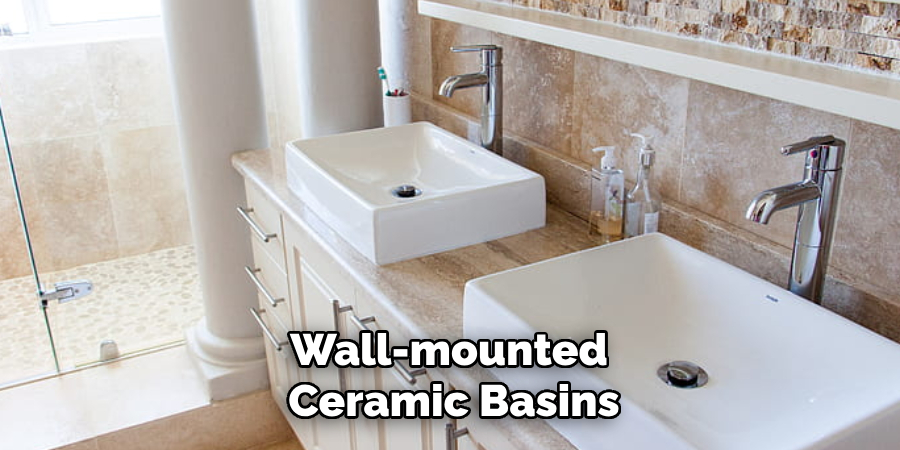
Wall-mounted ceramic basins are a popular choice for smaller bathrooms or powder rooms where space is limited. These basins are affixed directly to the wall, omitting the need for countertops or vanities, which frees up floor space and creates a minimalist and airy feel. This type of basin is particularly suitable for compact spaces, offering both functional space-saving advantages and a contemporary appearance. Wall-mounted basins are also accessible for various heights, making them a practical choice for family bathrooms where accessibility is a concern.
Preparing the Installation Area
Proper preparation of the installation area is crucial to ensure a successful and seamless installation of your ceramic wash basin. Begin by clearing any clutter from the workspace, allowing ample room to accurately measure and mark positions. Verifying that the surface is clean, dry, and level is vital to avoid future complications. Inspect the chosen location for any structural weaknesses and consider reinforcing the area with additional mounting brackets if the basin will be mounted on a wall or if a particularly heavy basin is involved. Preparing diligently at this stage will not only support a smooth installation process but also help maintain the basin’s integrity over time.
Measuring and Marking the Position
Accurately measuring and marking the position of your wash basin is essential to ensure proper height and alignment. Start by determining the desired height, typically 30 to 36 inches from the floor, for comfort and accessibility. Use a level to extend horizontal lines across the surface area, providing a guide for installation. Mark the spots for faucet holes and drain placement precisely, ensuring they align perfectly with existing plumbing or planned fixtures. These careful measurements are vital for achieving both functionality and visual appeal.
Preparing the Counter or Wall
Ensuring the stability and readiness of the surface where the wash basin will be installed is a key step. Begin by cleaning the designated area thoroughly, removing any dust or debris that could interfere with the adhesive or mounting process. Confirm that the surface is completely dry before proceeding. If installing a wall-mounted basin, evaluate the support structure and install additional mounting brackets if necessary to handle the weight. This added reinforcement helps prevent future sagging or detachment, making your installation more robust and enduring.
How to Install Ceramic Wash Basins: Installing the Drain and Faucet Assembly
Installing the Drain Assembly
- Attaching the Drain to the Ceramic Basin:
Start by positioning the drain flange over the drain hole in the basin. Gently insert the drain body through the flange, ensuring it fits snugly and rests flat against the ceramic surface. It’s crucial to ensure the components align perfectly, preventing any potential for future leaks.
- Securing with Plumber’s Tape and Silicone Sealant:
Apply the plumber’s tape around the drain threads to achieve a watertight seal. This step is key in preventing leaks and ensuring long-lasting adhesion. Once the tape is in place, apply a bead of silicone sealant around the underside of the flange and the top side of the basin where the flange will sit. This sealant forms a barrier against moisture seepage.
- Ensuring Proper Alignment and Sealing:
Carefully tighten the drain assembly’s nut beneath the basin, maintaining the alignment of the components. Be cautious not to overtighten, as excessive force could damage the ceramic or the assembly itself. Check the alignment once more to confirm a perfect fit, and clean any excess sealant for a tidy finish.

Faucet Installation
- Installing the Faucet:
Start by positioning the faucet in its designated holes on the basin or countertop. Insert the faucet’s mounting hardware through the sinkholes and secure it underneath the counter with a hand-tight final adjustment. Ensure that each component is in the correct placement before proceeding.
- Tightening the Faucet Mounts and Connecting Water Supply Lines:
Once the faucet is positioned, tighten the mounting nuts with a wrench to secure the faucet firmly. Connect the hot and cold water supply lines to their corresponding input valves, ensuring no kinks or unusually sharp bends affect the hose.
- Tips for Secure and Aligned Faucets:
It is vital to verify that the faucet is perfectly aligned and remains stable during usage. If adjustments are necessary, gently reposition the faucet before finalizing the mounts. After tightening, check for any wobbling and reinforce as needed. Inspect all connections for leaks by running water through the system and adjusting the seals and fixtures as necessary to ensure a completely leak-free installation.
How to Install Ceramic Wash Basins: Installing the Ceramic Wash Basin
Undermount Installation
To begin the undermount installation of your ceramic wash basin, first, prepare the underside of your countertop by ensuring it’s clean and free from dust or debris. Apply a continuous bead of adhesive or silicone sealant around the edge of the cut-out where the basin will sit.
This will help in creating a strong bond between the basin and the countertop. Carefully position the ceramic basin under the countertop, aligning it with the cut-out. Use mounting clips or brackets to securely attach the basin to the underside of the counter. This step is crucial for ensuring the basin remains securely in place. Allow the adhesive to cure for the recommended time, as indicated by the adhesive manufacturer, to ensure the basin is fully secured before proceeding with further installation steps, such as plumbing connections.
Top-Mount Installation
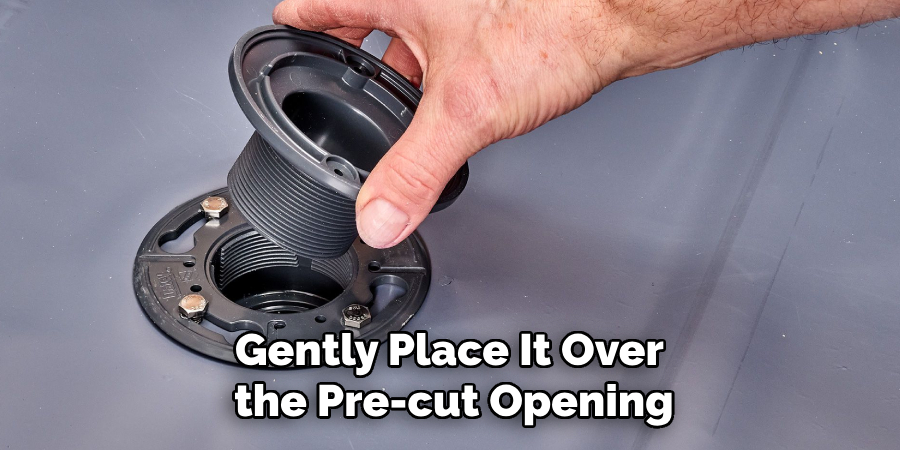
For a top-mount ceramic basin, gently place it over the pre-cut opening on the countertop, ensuring that it sits evenly and the edges are uniformly spaced. This alignment is crucial for aesthetic appeal and functionality. Once positioned, apply a continuous line of silicone caulk around the perimeter to seal the basin and prevent any water seepage beneath it. This step is essential to maintain the integrity and cleanliness of your countertop. Secure the basin in place using brackets or screws as necessary, depending on the basin design and countertop type. This additional support ensures the basin remains stable during use. Allow the caulk to set before connecting the sink with the plumbing system.
Wall-Mounted Installation
For wall-mounted basins, begin by reinforcing the wall structure and supporting the basin’s weight. Use appropriate anchors to secure the basin to the wall, check for level, and make any necessary adjustments to ensure stability and proper alignment.
Connecting the Water Supply and Drainage
Water Supply Connection
Begin the water supply connection by aligning the hot and cold water supply lines with their respective input ports on the faucet. Use plumber’s tape to wrap around the threaded ends of the supply lines, which helps ensure a proper seal and prevents leaks. Carefully connect the lines to the faucet, and be mindful to avoid cross-threading, which ensures that connections are tight and secure. Use a wrench to finalize the connections, ensuring they are firm but not over-tightened to avoid damaging the threads. Double-check all connections for potential leaks by slowly turning on the water supply and inspecting for drips or moisture.
Drainage System Setup
Connect the drain assembly to the wastewater plumbing lines underneath the basin or counter to set up the drainage system. Begin by hand-tightening the connections to make sure they align properly with the plumbing. Use a wrench to secure the connections, ensuring they are tight and create a reliable seal. It’s crucial to ensure the flanges and fittings are properly seated to prevent leaks. Once installed, test the system by running water through the basin. Observe the drainage performance for any leaks and adjust the fittings as necessary to achieve a watertight seal, ensuring the system functions smoothly.
Sealing and Finishing Touches
Sealing Around the Basin
For both top-mount and under-mount installations, apply a thin bead of silicone sealant around the basin’s edge to guard against water damage. This step is crucial in maintaining the durability and longevity of your installation by preventing moisture from seeping beneath the basin. After applying the sealant, use a moistened finger or a sealant finishing tool to smooth the bead, ensuring a clean and professional appearance.
Final Adjustments

Ensure that the basin is perfectly level and securely fastened to the countertop or wall, confirming it remains stable during use. Thoroughly inspect all faucet and drain connections for any signs of leaks, making necessary adjustments to achieve a watertight seal. Once all components are properly installed, clean up any excess sealant. Ensure that every element is neatly installed for an aesthetically pleasing and fully functional result.
Conclusion
In summary, understanding how to install ceramic wash basins involves careful preparation, correct alignment of components, and meticulous sealing. From preparing the area and mounting the basin to connecting the water supply and drainage, each step plays a vital role in the success of your installation. Take the necessary time and care during installation to ensure durability and professionalism in your work. Once completed, you’ll appreciate the functionality and aesthetic appeal of a well-installed ceramic wash basin, enhancing your bathroom or kitchen with its sleek design and efficient use. Enjoy the satisfaction of a job well done.
Specialization:
- Master of wheel-throwing, hand-building, and advanced glazing techniques
- Focus on creating both functional pottery and decorative art pieces
Recognition:
- Celebrated by collectors and art enthusiasts for creating one-of-a-kind pieces that blend artistry with functionality
- Participates in local and national exhibitions, earning accolades for his innovative designs and craftsmanship
Passion:
- Deeply committed to exploring and pushing the boundaries of ceramic artistry
- Continuously experiments with new materials, firing techniques, and artistic concepts to evolve his craft
Personal Philosophy:
- Believes in the transformative power of art, aiming to evoke emotions and connections through his ceramic creations
- Advocates for sustainability in ceramics, using eco-friendly materials and practices whenever possible