Porcelain flooring has become popular for homeowners due to its exceptional durability and stylish appeal. It’s an ideal solution for various rooms in the home, including kitchens, bathrooms, and entryways, where both elegance and practicality are key. One of the standout benefits of porcelain tiles is their water resistance, making them suitable for areas prone to moisture. Furthermore, they are easy to maintain and are available in an extensive array of design options, featuring various patterns and finishes to suit any aesthetic. This article aims to be a comprehensive, step-by-step guide for DIY enthusiasts on how to install porcelain flooring correctly. By following these practical tips, you can achieve a professional-looking result that enhances your living space.
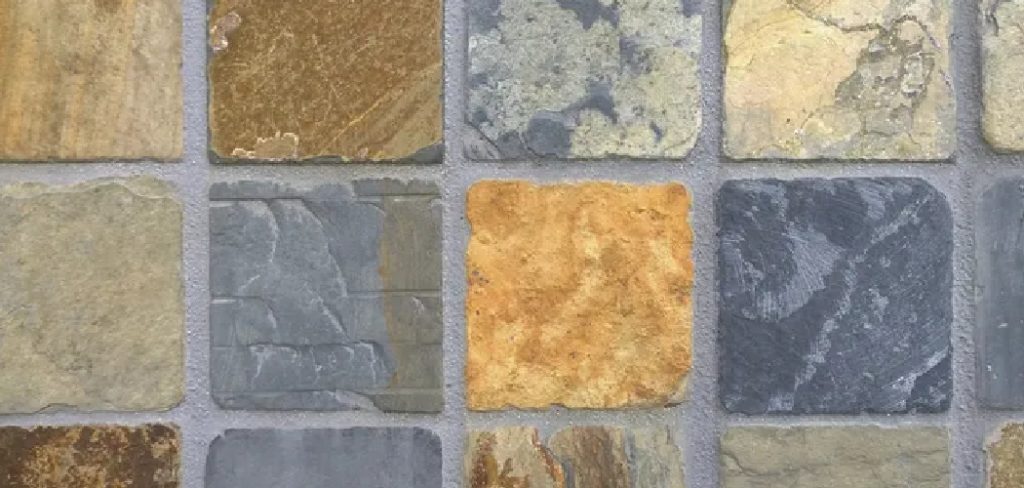
Tools and Materials Needed
Before installing porcelain flooring, it is crucial to assemble all the necessary tools and materials to ensure a smooth process. Here’s a comprehensive list to guide you:
List of Tools:
- Tile cutter or wet saw: For making precise cuts, especially along edges and corners.
- Notched trowel: Essential for evenly spreading tile adhesive on the subfloor.
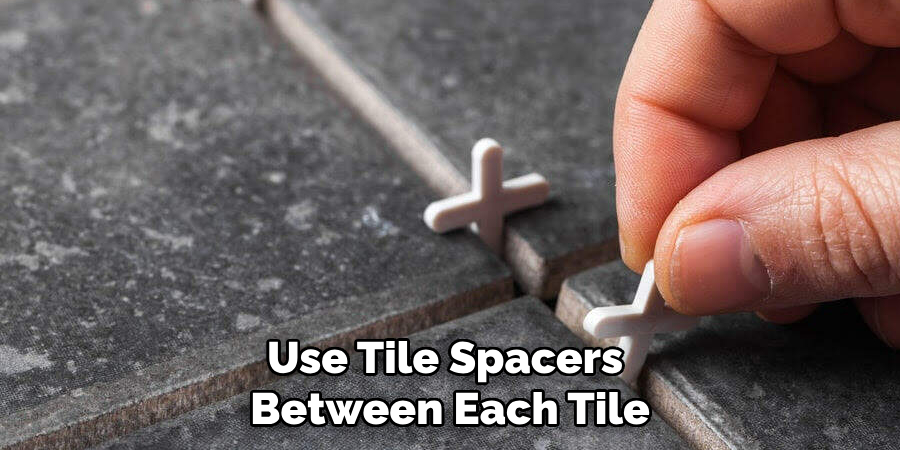
- Tile spacers: To maintain uniform grout lines between tiles.
- Tape measure and chalk line: This is for accurate measurement and initial layout marking.
- Level: To ensure each tile is even and properly aligned.
- Rubber mallet: This is for gently tapping tiles into place without damage.
- Grout float: For pressing grout into joints between tiles.
- Bucket and sponge: For mixing materials and cleaning excess grout.
List of Materials:
- Porcelain tiles: Choose based on area usage and design preferences.
- Tile adhesive or thin-set mortar: Used to secure tiles to the subfloor.
- Grout: Fills the spaces between tiles, providing a finished look.
- Backer board: Necessary if reinforcing the subfloor for added stability.
- Tile leveling system: Optional but useful for achieving a precise level installation.
- Silicone caulk: This is used to seal edges and expansion joints to prevent water damage.
Having all tools and materials ready before installation is paramount to avoid unnecessary delays. When selecting porcelain tiles, consider the room’s moisture levels, desired aesthetics, and slip resistance. These elements ensure the tiles are safe and suitable for their intended environment while enhancing the space’s overall design.
Preparing the Subfloor
Creating a strong foundation is essential for a successful porcelain tile installation, as a stable subfloor ensures longevity and aesthetic appeal.
Step 1: Inspecting the Subfloor
Before beginning the installation, a thorough inspection of the subfloor is crucial. The subfloor must be stable, clean, and level to support the weight and pressure of the porcelain tiles effectively. Begin by checking for cracks, moisture, or uneven areas that could compromise the tile installation. Use a level to assess the surface for evenness and make note of any dips or high spots. Ensure that the subfloor is dry, as any moisture can weaken the adhesive used for securing the tiles, leading to warping or lifting over time.
Step 2: Removing Existing Flooring (if necessary)
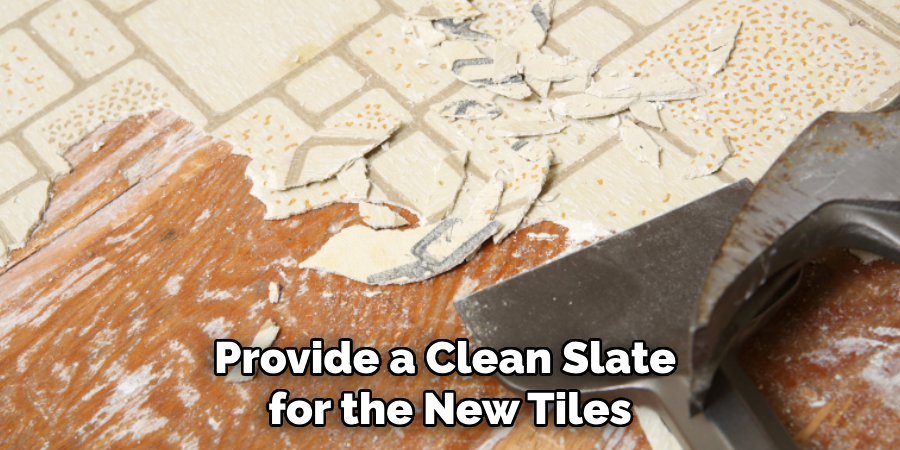
If the area already has flooring, it may need to be removed to provide a clean slate for the new tiles. When removing existing flooring materials such as carpet, vinyl, or old tiles, proceed with caution to avoid damaging the subfloor beneath. Use appropriate tools like a pry bar or flooring scraper to gently lift and detach the materials. Remove any adhesives, staples, or nails that could interfere with the new installation. Properly dispose of the old flooring materials in accordance with local disposal regulations to maintain a clean and safe work environment.
Step 3: Installing a Tile Backer Board (if needed)
In certain cases, installing a tile backer board is necessary, particularly when the subfloor is made of wood or shows signs of unevenness. Backer boards provide additional stability and a moisture barrier, which are crucial for preventing tile movement and damage. Install, measure, and cut the backer board to fit the space. Lay the pieces out, ensuring the seams are staggered to maintain integrity. Secure the board to the subfloor using appropriate screws, maintaining a uniform surface. Ensure the screws are flush and the surface is smooth, as this will support a firm and even tile application.
Step 4: Applying a Leveling Compound (if necessary)
In cases where uneven areas persist on the subfloor, a leveling compound should be applied. Begin by cleaning the area thoroughly, then mix the compound according to the manufacturer’s instructions. Pour the compound over the uneven areas, using a trowel to spread it evenly across the surface. Work quickly, as the compound will begin to set rapidly. Check the surface with a level to confirm it is smooth and even throughout. A perfectly level subfloor prevents future issues such as tiles cracking or shifting, ensuring a long-lasting and stable installation.
Planning the Layout
Planning the layout of your porcelain tile flooring is crucial in ensuring a professional and aesthetically pleasing installation. A well-thought-out plan helps to reduce waste and ensures that any necessary cuts are minimal and well-distributed throughout the space.
Step 1: Measuring the Room and Creating a Layout Plan
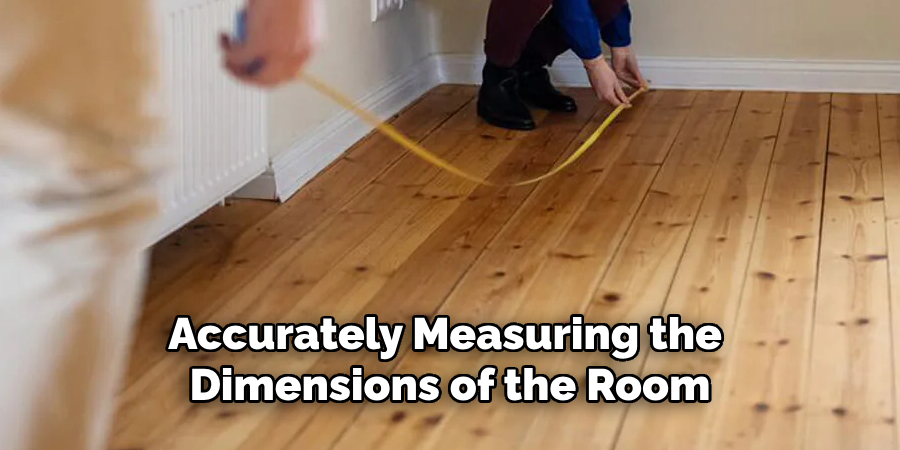
Begin by accurately measuring the dimensions of the room. Use a tape measure to determine the length and width, then calculate the total square footage. This information is vital for estimating the quantity of tiles required. Next, find the room’s center point by dividing each dimension in half and marking the spot where the lines intersect. Use a chalk line to draw grid lines extending from this point in both directions, forming a crosshair pattern on the subfloor. Starting the tile installation from the center helps create a balanced and symmetrical look, minimizing the risk of uneven cuts at the room’s edges. Before applying adhesive, consider dry-laying the tiles according to your plan. This technique allows you to visualize the final look and adjust the design, ensuring a harmonious and proportionate layout.
Step 2: Considering Tile Pattern Options
Selecting the right tile pattern can greatly influence the room’s overall aesthetic and atmosphere. Popular patterns include the traditional straight lay, where tiles are aligned in a grid-like fashion; diagonal, which adds visual interest and can make a narrow room appear larger; herringbone, known for its dynamic and sophisticated zigzag effect; and staggered, which mimics a brick wall for a classic homely feel. The choice of pattern can significantly affect the perceived dimensions of the space. For example, diagonal and herringbone patterns may enhance the room’s depth and dynamism. When choosing a pattern, consider the room’s design elements and aim to minimize unnecessary cuts, which can save material and enhance visual continuity.
Step 3: Marking the Starting Point
Once the layout and pattern have been planned, it’s time to mark the starting point on the subfloor. Typically, this is either the center of the room or a prominent focal area, such as a doorway, that will draw attention. Using a pencil or chalk, create a mark at the starting point and verify the alignment of the grid. Ensure tiles are spaced properly by using tile spacers, which will help maintain uniform grout lines and professional results. Properly spacing each tile is imperative to the installation process, ensuring that the spacing remains consistent throughout the room and that the finished floor is both attractive and functional.
How to Install Porcelain Flooring: Installing the Porcelain Tiles
Step 1: Mixing and Applying the Tile Adhesive
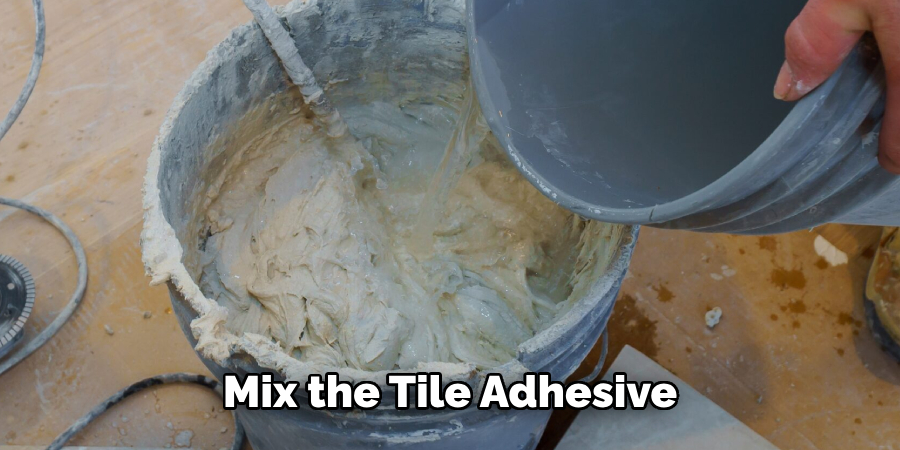
Begin by reading the manufacturer’s instructions to mix the tile adhesive, often referred to as thin-set mortar. Typically, you’ll add the dry mix to a specified amount of water in a bucket, stirring with a mixing paddle until it reaches a smooth, peanut butter-like consistency. Avoid mixing too much at once, as the adhesive can harden quickly. Once mixed, use a notched trowel to apply the adhesive onto the subfloor, starting from the room’s center or your marked starting point. Hold the trowel at a consistent angle to create parallel ridges in the adhesive, which helps achieve an even bond when placing the tiles.
Step 2: Laying the First Tile
To lay the first tile, gently place it into the adhesive, aligning it with your grid lines or starting point. Press down firmly, but not excessively, to ensure good contact without squeezing out the adhesive. Use a level to check that the tile is flat and even. If adjustments are needed, reposition the tile while the adhesive is still pliable. This initial tile sets the standard for the rest of your layout, so take care to position it precisely to avoid compounding errors later in the process.
Step 3: Laying Subsequent Tiles and Using Spacers
Continue the installation by laying the next tiles adjacent to the first one. Use tile spacers between each tile to maintain uniform gaps, which are essential for neat grout lines. As you work, periodically check that the tiles remain level across the surface. A tile leveling system can be beneficial for keeping tiles aligned both horizontally and vertically. If any tile appears lower than the rest, gently tap it with a rubber mallet to level it. Maintaining this precision will ensure a smooth, professional finish.
Step 4: Cutting Tiles for Edges and Corners
As you reach the room’s edges or encounter obstacles like cabinets and doorways, you will need to cut tiles to fit. Use a tile cutter for straight cuts or a wet saw for more intricate cuts and curves. Measure the space accurately before cutting to ensure the tiles fit snugly against walls without leaving noticeable gaps. Properly cut and fitted tiles enhance the room’s overall symmetry and cohesiveness, contributing to a seamless tile installation.
Step 5: Allowing the Adhesive to Set
Once all tiles are in place, allowing the adhesive to set properly is vital, usually for at least 24 hours. Avoid disturbing or walking on the tiles during this time to ensure they remain in their intended positions. Clear the work area to prevent accidental shifts or debris from compromising the setting process. A well-set adhesive will create a durable and long-lasting bond, essential for the stability and integrity of the porcelain tile floor.
Grouting the Tiles
Step 1: Mixing and Applying the Grout
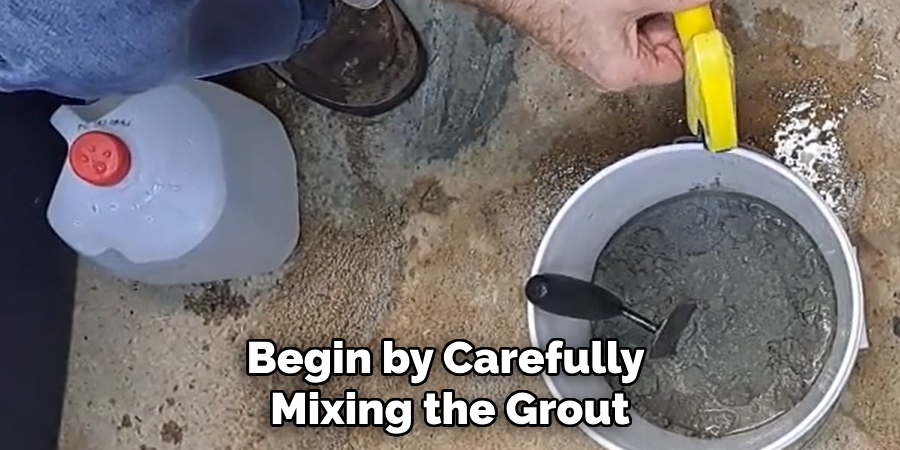
Begin by carefully mixing the grout according to the manufacturer’s instructions, aiming for a smooth, easily workable, peanut butter-like consistency. Start by adding the dry grout mix into a specified amount of water, stirring thoroughly until there are no lumps. Once mixed, use a grout float to apply the grout to the tile surface. Hold the float at a 45-degree angle and press the grout into the gaps between the tiles, ensuring the grout is compacted and fills the joint completely. Work methodically across the tiles and remove excess grout by dragging the float diagonally across the surface.
Step 2: Wiping Away Excess Grout
Once the grout is applied, wiping away the excess while it is still wet is essential to avoid grout haze. Using a damp sponge, gently wipe the tile surface, not disturbing the grout lines. Hold the sponge parallel to the tiles and use light pressure. Rinse the sponge frequently in clean water to maintain its effectiveness, and wring it out thoroughly to avoid introducing excess water, which can weaken the grout.
Step 3: Cleaning the Tile Surface
After the grout has had some time to set and is starting to firm up but not fully hardened, clean the tile surface. Use a clean, damp cloth or sponge to wipe down the surface, which will help to remove any remaining grout residue. During this process, check the grout lines for any visible gaps or uneven areas, making touch-ups as necessary to ensure a smooth, professional finish. Ensure the surface is clean before the grout fully hardens to prevent long-term staining or blemishes.
Finishing Touches and Maintenance Tips
Step 1: Applying Caulk Around the Edges
Once the grout has been set, apply silicone caulk along the edges where the tiles meet walls or cabinets. This is essential for achieving a clean, finished look while also preventing water seepage. For precise application, begin by cutting the caulk tube’s nozzle at a 45-degree angle. Carefully run a continuous bead of caulk along the edge, then smooth it with a damp finger or caulk smoothing tool for a neat appearance.
Step 2: Sealing the Grout (Optional)
Sealing the grout can benefit greatly, particularly in high-traffic or wet areas like bathrooms and kitchens. A grout sealer helps to prevent stains and moisture damage. To apply, use a small paintbrush or sponge applicator and carefully coat the grout lines. Allow the sealer to penetrate for the time the manufacturer recommends, then wipe away any excess. Reapply the sealer every year for ongoing protection.
Step 3: Regular Cleaning and Maintenance
To maintain porcelain tiles, regularly sweep to remove dirt and debris, and mop with a mild cleaner to keep the surface pristine. Avoid using abrasive cleaners or tools that might scratch the tiles. Apply a gentle cleaning solution and a soft cloth or mop for tougher messes. These steps will help ensure your tile installation remains attractive and durable over time.

Conclusion
Installing porcelain flooring is a rewarding DIY project that can transform any space with its durability and elegance. You can achieve a professional result by carefully following the steps—from preparing the subfloor, laying and cutting tiles, and applying grout to adding finishing touches like caulking and sealing. Each step in the process is crucial for ensuring the longevity and attractiveness of your floor. Taking your time and paying attention to detail will yield a stunning installation. Armed with this guide on how to install porcelain flooring, DIYers can confidently enjoy the benefits of a beautiful, long-lasting tile floor.
Specialization:
- Master of wheel-throwing, hand-building, and advanced glazing techniques
- Focus on creating both functional pottery and decorative art pieces
Recognition:
- Celebrated by collectors and art enthusiasts for creating one-of-a-kind pieces that blend artistry with functionality
- Participates in local and national exhibitions, earning accolades for his innovative designs and craftsmanship
Passion:
- Deeply committed to exploring and pushing the boundaries of ceramic artistry
- Continuously experiments with new materials, firing techniques, and artistic concepts to evolve his craft
Personal Philosophy:
- Believes in the transformative power of art, aiming to evoke emotions and connections through his ceramic creations
- Advocates for sustainability in ceramics, using eco-friendly materials and practices whenever possible


