


Building a homemade kiln can be a rewarding project, whether you are a pottery enthusiast, a glass artist, or simply curious about crafting your own tools. Proper insulation is crucial to ensure your kiln reaches and maintains the required high temperatures while remaining energy efficient and safe to use.
Insulating your homemade kiln correctly not only improves its performance but also prolongs its lifespan. This guide will walk you through how to insulate a homemade kiln, taking into account the materials, techniques, and safety considerations you need to know.
Types of Insulating Materials for Kilns
When insulating a homemade kiln, selecting the right materials is paramount to achieving high efficiency and safety. There are several types of materials commonly used for kiln insulation, each with unique properties suited for different needs:
- Ceramic Fiber: Lightweight and highly effective, ceramic fiber blankets or boards are one of the most popular options for kiln insulation. They offer excellent thermal resistance, are easy to cut and shape, and can withstand temperatures up to 2600°F (1427°C). Their flexibility makes them ideal for lining the interior walls of a kiln.
- Refractory Bricks: Also known as insulating firebricks, these bricks are designed specifically to endure extreme heat. They are denser and sturdier than ceramic fiber but still provide good insulation. Refractory bricks are often used in the construction of kilns due to their durability and ability to retain heat efficiently.
- Vermiculite and Perlite: These lightweight, granular materials are often mixed with binders to create heat-resistant panels or coatings. Though not as robust as ceramic fiber or refractory bricks, they are a budget-friendly option for adding an extra layer of insulation.
- Kaowool: A specific type of ceramic fiber, Kaowool is known for its high insulating capacity and ease of use. It is versatile and can be used for both rigid and flexible applications, making it a favorite for DIY kiln builders.

10 Methods How to Insulate a Homemade Kiln
1. Choose the Right Insulation Materials
The first step in insulating a homemade kiln is selecting the right materials. Kilns require high-temperature insulation, typically materials that can withstand temperatures upwards of 2000°F (1093°C). Common insulation materials include ceramic fiber, mineral wool, perlite, vermiculite, and calcium silicate board.
Ceramic fiber is the most widely used due to its excellent thermal resistance and flexibility, making it suitable for lining kiln walls, floors, and lids. Mineral wool is another popular choice for its affordability and ease of handling. When selecting your insulation, make sure to choose materials that match the temperature range your kiln will be operating at to avoid thermal failure or safety issues.
2. Use Ceramic Fiber Blankets for Wall Insulation
Ceramic fiber blankets are an excellent choice for insulating the walls of a homemade kiln. These blankets are lightweight, flexible, and highly effective at retaining heat. To insulate the walls, first measure the dimensions of your kiln and cut the ceramic fiber blanket to size, ensuring it fits snugly around the interior walls.
Attach the blanket securely using high-temperature adhesive or wire, ensuring that there are no gaps or spaces where heat can escape. Layering the blankets can also help achieve a thicker insulation layer for better heat retention. The flexibility of ceramic fiber allows for an even coverage that molds to the shape of the kiln, providing superior insulation performance.
3. Install a Firebrick Base for Floor Insulation
The floor of the kiln is particularly vulnerable to heat loss, as it is the surface where heat is transferred to the ceramic or metal items being fired. To insulate the floor, consider using firebricks, which are designed to withstand extreme temperatures. Firebricks are dense, durable, and offer excellent heat retention properties.
Lay the firebricks in a staggered pattern to ensure an even distribution of heat. For additional insulation, you can place a layer of ceramic fiber blanket underneath the firebricks to further reduce heat loss. This combination of firebricks and fiber insulation provides a strong, heat-resistant foundation for the kiln’s floor.
4. Line the Kiln Lid with Insulating Material
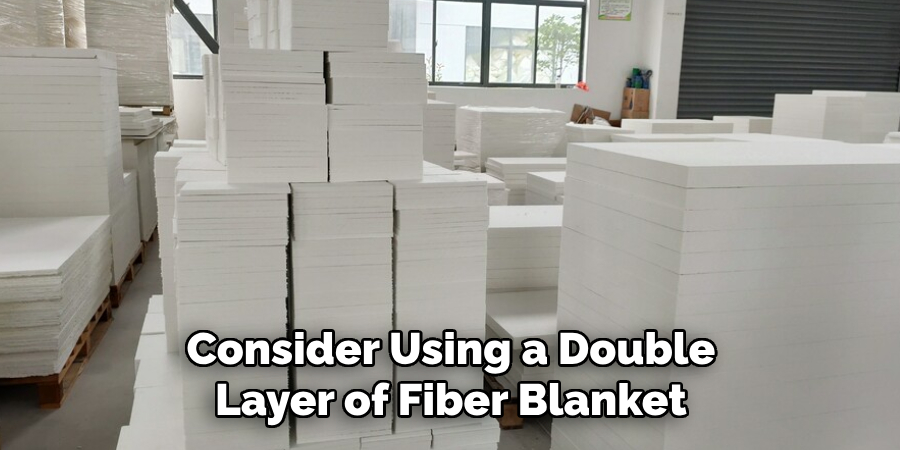
The lid of your homemade kiln is another critical area that requires proper insulation. Heat tends to escape through the lid if it’s not insulated properly, leading to inefficient firing and increased energy consumption. Insulate the lid by applying a layer of ceramic fiber blanket, mineral wool, or a combination of both.
You can use high-temperature adhesive to secure the insulation material to the lid’s surface, ensuring it remains in place during firing. For extra insulation, consider using a double layer of fiber blanket or adding a layer of rigid insulation board on top of the fiber blanket. This setup will significantly reduce heat loss and help maintain a consistent internal temperature during firing.
5. Add Insulation to the Kiln’s Exterior
In addition to insulating the interior components of the kiln, it’s important to insulate the exterior to minimize heat dissipation to the surrounding environment. Insulating the exterior helps prevent heat from escaping and protects the structural integrity of the kiln. You can apply a layer of mineral wool or ceramic fiber insulation to the outside of the kiln’s frame.
Make sure to cover the entire exterior surface, including the top and bottom. After applying the insulation, you can use a layer of metal sheeting or another protective cover to shield the insulation from physical damage, moisture, or debris. This external insulation improves the overall energy efficiency of the kiln and keeps the surrounding environment cooler.
6. Install Rigid Insulation Boards for Structural Support
For added structural integrity and insulation performance, consider using rigid insulation boards in combination with flexible materials like ceramic fiber blankets. Rigid insulation boards, made from materials such as calcium silicate or refractory cement, provide excellent heat retention and support the kiln’s framework.
These boards are particularly useful for insulating the sides and top of the kiln, providing a sturdy and long-lasting solution. When installing rigid insulation boards, cut them to the necessary dimensions and securely attach them to the kiln’s outer frame using high-temperature adhesives or fasteners.
The combination of rigid boards and flexible insulation creates a durable and well-insulated structure that enhances the kiln’s overall performance.
7. Seal the Gaps and Joints with High-Temperature Caulk
Gaps and joints in your kiln’s structure can lead to significant heat loss and energy inefficiency. To address this, use high-temperature caulk or sealant to fill any cracks or seams in the kiln’s construction. This includes sealing the joints between the walls and the floor, around the lid, and any other areas where gaps might occur.
High-temperature caulk is specifically designed to withstand the extreme heat inside a kiln and will ensure that the insulation remains intact and effective throughout the firing process. Properly sealing these areas will enhance the kiln’s heat retention capabilities and prevent unnecessary heat escape.
8. Consider Insulating the Kiln’s Wiring and Electrical Components
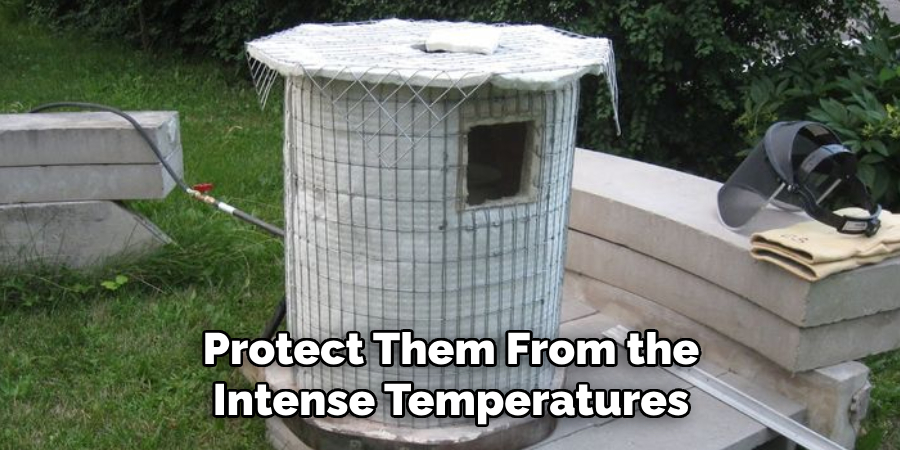
The electrical components, such as heating elements, thermocouples, and wiring, should be carefully considered when insulating a homemade kiln.
These components must be insulated to prevent heat loss and protect them from the intense temperatures inside the kiln. When running wires or installing heating elements, make sure to use high-temperature wire insulation and heat-resistant materials.
Additionally, ensure that the thermocouples are positioned in areas where they won’t be affected by heat loss and are properly shielded to ensure accurate temperature readings. Properly insulating the electrical components prevents heat damage, ensures accurate temperature control, and contributes to the overall energy efficiency of the kiln.
9. Allow for Ventilation and Heat Expansion
While insulating your kiln is essential, it’s also important to allow for proper ventilation and accommodate heat expansion. Insulation should not be so tightly packed that it restricts the natural expansion of the kiln during firing. Too much pressure from insulation can cause the kiln to crack or warp over time.
Design the kiln with small vents or openings that allow for the release of gases and steam, ensuring that the kiln’s interior remains safe and stable during firing. Additionally, ensure that the insulation material can withstand the thermal expansion that occurs at high temperatures without compromising the integrity of the kiln’s structure.
10. Test the Kiln After Insulating
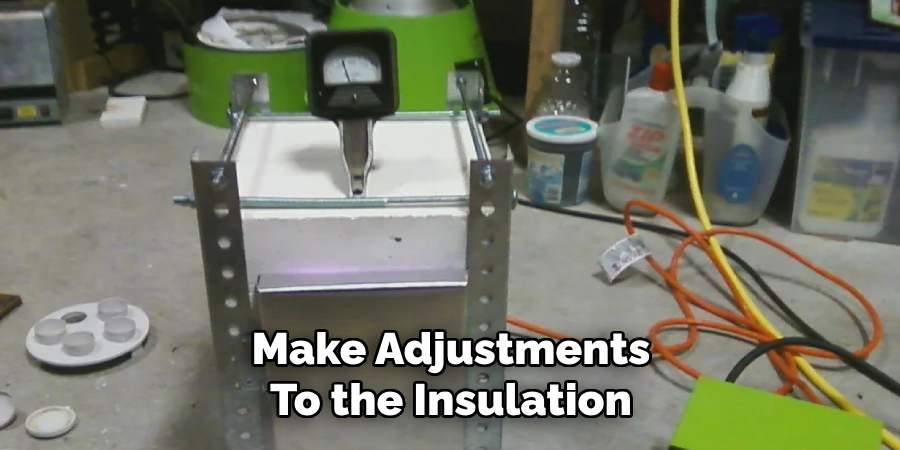
After completing the insulation process, it’s crucial to test the kiln to ensure that it is functioning correctly. Perform a test firing with a low temperature to allow the kiln to acclimate to the new insulation. Monitor the temperature inside the kiln, checking for any areas where heat loss may still be occurring.
If necessary, make adjustments to the insulation, such as adding more material or sealing additional gaps. Testing the kiln before performing a full firing ensures that you can address any issues before subjecting the kiln to the full heat of a firing cycle, preventing potential damage to the kiln or your ceramics.
Conclusion
Insulating a homemade kiln is an essential process for ensuring efficiency, durability, and safety during firing. From selecting the right insulation materials to properly sealing gaps and joints, each method plays a vital role in achieving consistent temperature control and reducing energy consumption. So, there you have it – a quick and easy guide on how to insulate a homemade kiln.
Specialization:
- Master of wheel-throwing, hand-building, and advanced glazing techniques
- Focus on creating both functional pottery and decorative art pieces
Recognition:
- Celebrated by collectors and art enthusiasts for creating one-of-a-kind pieces that blend artistry with functionality
- Participates in local and national exhibitions, earning accolades for his innovative designs and craftsmanship
Passion:
- Deeply committed to exploring and pushing the boundaries of ceramic artistry
- Continuously experiments with new materials, firing techniques, and artistic concepts to evolve his craft
Personal Philosophy:
- Believes in the transformative power of art, aiming to evoke emotions and connections through his ceramic creations
- Advocates for sustainability in ceramics, using eco-friendly materials and practices whenever possible