Ceramic cups are ubiquitous in households, cherished for their durability and aesthetic appeal when drinking beverages like coffee, tea, and water. The timeless elegance of a handmade ceramic cup adds a personal touch to everyday routines, elevating the experience of sipping a morning brew or enjoying an evening tea. Crafting a ceramic cup can be a rewarding and accessible project, especially for beginner potters eager to explore the world of ceramics.
It offers a unique opportunity for self-expression and creativity, resulting in a functional piece that reflects the maker’s artistry. This guide aims to demystify the process and provide clear, step-by-step instructions on “how to make a ceramic cup,” covering everything from shaping the clay to the intricate stages of firing and glazing, helping you embark on this creative journey with confidence and enthusiasm.
Materials and Tools Needed
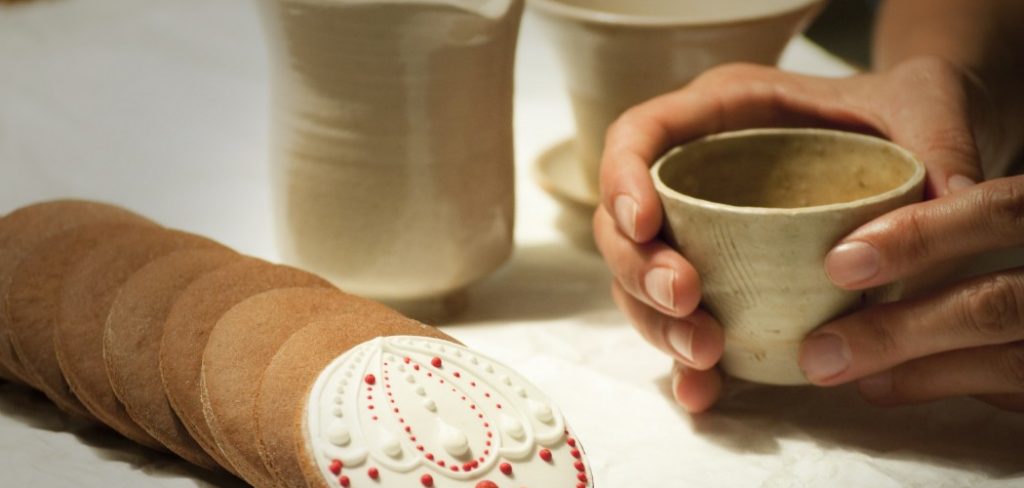
Creating a ceramic cup requires specific materials and tools to ensure a successful and enjoyable crafting process. Basic materials include clay, such as stoneware, porcelain, or earthenware, each providing unique qualities and finishes. Water is essential for shaping and smoothing the clay, while slip, a liquid form of clay, is crucial for securely attaching different parts of the cup. Depending on your preferred method, you will need either a pottery wheel for wheel-thrown cups or various hand-building tools for slab or coil-built creations. A rolling pin is necessary for rolling out clay in hand-building, providing an even thickness for shaping.
Tools like a wire cutter aid in cutting the clay, while a sponge is invaluable for smoothing surfaces and cleaning. Ribs, metal, or rubber help shape and refine the form. Additional detailing requires a needle tool and a trimming tool. For decoration, glazes or underglazes are used to achieve your desired finish. Finally, a kiln is indispensable for firing the completed cup, ensuring it is durable and ready for use. Selecting the right type of clay and tools tailored to either wheel-throwing or hand-building methods is vital for achieving the best results.
Preparing the Clay
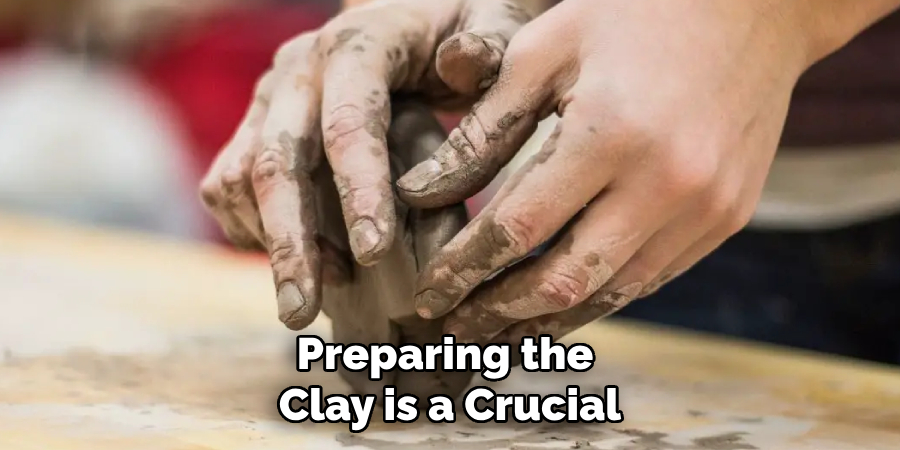
Preparing the clay is a crucial step in crafting a ceramic cup, as it sets the foundation for a successful project.
Step 1: Knead the Clay (Wedging)
Wedging is essential to remove air bubbles and create an even consistency in the clay, preventing cracks and ensuring durability during firing. This process involves pushing the clay in a rhythmic motion, which helps align the clay particles and enhances workability. Stoneware is often recommended for a durable cup, while porcelain offers a smooth, fine finish perfect for intricate designs.
Step 2: Measure and Cut Clay
Once the clay is well-wedged, measure and cut a piece weighing about 1 to 2 pounds. This amount is ideal for crafting a well-proportioned cup that balances functionality with form. Ensuring the right quantity of clay will facilitate easier shaping and result in a balanced final product.
How to Make a Ceramic Cup: Wheel-Throwing Method
Wheel-throwing is a traditional method for shaping clay into various forms, including a ceramic cup. This process requires skill and practice, but it can yield impressive results with guidance and patience.
Step 1: Center the Clay on the Wheel
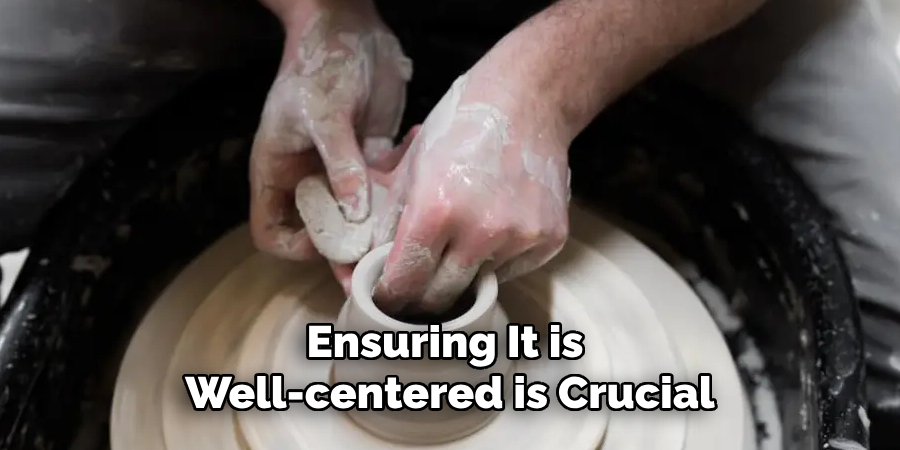
Begin by firmly placing the wedged clay on the pottery wheel’s center. Ensuring it is well-centered is crucial for symmetrical shapes. As the wheel spins, gradually apply water to keep the clay moist and flexible. Use both hands to steady the clay, pressing it down and inward until it rotates evenly without wobbling. This centering action is foundational and will allow the subsequent steps to proceed smoothly.
Step 2: Open the Clay
Once centered, use your thumbs to press gently into the middle of the clay while the wheel spins. Gradually increase the pressure to create an opening in the center. It’s important to ensure that the bottom of the opening is thick enough to support the cup’s structure, typically around 1/4 inch. As you press down, you are simultaneously forming the initial inner walls of the cup, which will take shape in the following steps.
Step 3: Pull the Walls Up
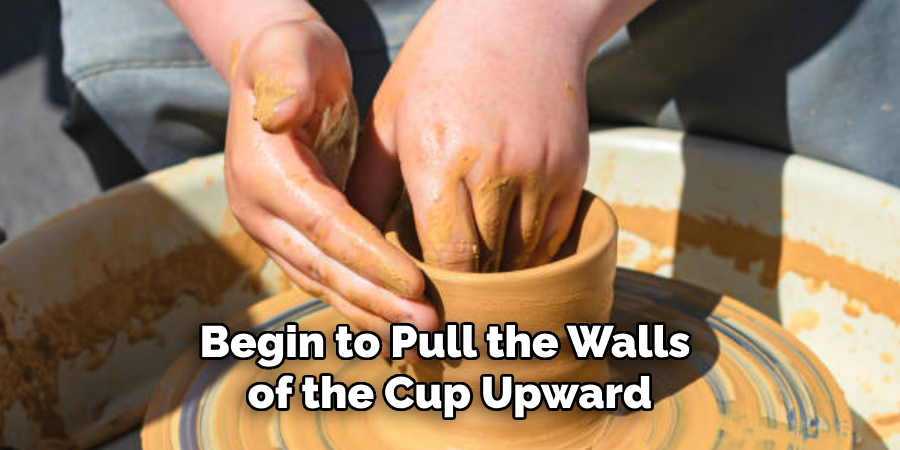
With the opening made, begin to pull the walls of the cup upward. Use both hands, with the fingers inside and outside the cup, to guide the clay upwards. Gradually increase the height while maintaining even pressure to avoid thin spots or uneven thickness. Control is key here to achieve an even consistency in the walls; aim for about 1/4 to 1/3 inch thick. This step defines the basic height and form of the cup.
Step 4: Shape the Lip and Body
With the basic form established, focus on shaping the lip and body of the cup. Use your fingers or a rib tool to refine the rim, smoothing out any irregularities and ensuring it is slightly rounded for a comfortable drinking edge. Adjust the curve and height of the cup’s body to achieve a balanced aesthetic and functional form. Strive for a smooth surface, free from any lumps or bumps, to create an appealing finish capable of holding liquid effectively.
Step 5: Trim the Bottom
Once satisfied with the shape, it’s time to trim the bottom of the cup, removing any excess clay. Use a trimming tool to level the base, leaving enough thickness for strength and longevity. Consider adding a footing to the bottom for added stability and visual interest. This raised base enhances the cup’s aesthetics and functionality, offering a more finished look.
How to Make a Ceramic Cup: Hand-Building Method
Hand-building offers a more tactile approach to creating a ceramic cup, allowing for unique customization and artistic expression. This method is particularly well-suited to those who prefer working with their hands without the need for a pottery wheel.
Step 1: Roll Out the Clay (Slab Method)
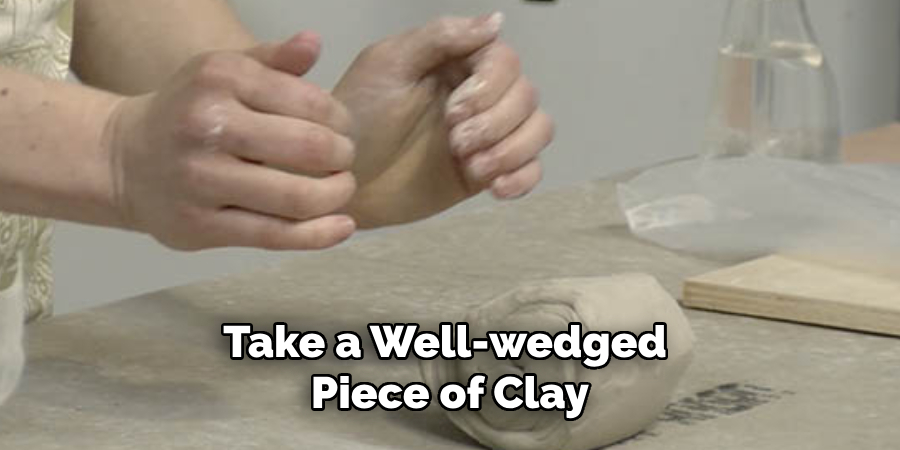
To begin the slab method, take a well-wedged piece of clay and flatten it into a slab using a rolling pin. Aim for an even thickness, typically around ¼ inch, to ensure uniformity and structural integrity. Keeping the rolling consistent on both sides is important to achieve a slab large enough to wrap into the cup’s body. When rolling out the clay, use guide sticks or a thickness guide to assist in maintaining consistency.
Step 2: Cut and Shape the Slab
With the slab prepared, cut a rectangular piece that will form the main body of the cup. Use a ruler and sharp cutting tool to ensure clean, straight edges. Carefully wrap the slab into a cylindrical shape, overlapping slightly where the edges meet. To attach these edges securely, score both surfaces using a needle tool to create cross-hatch marks, then apply slip as an adhesive. Press the edges firmly together, blending them to form a seamless joint.
Step 3: Create the Bottom of the Cup
Next, trace and cut out a circular piece of clay to serve as the base of the cup. Position the cylindrical body over this circular piece and attach the base to the edges of the cylinder using the same scoring and slipping technique as before. This ensures a strong bond and prevents leaks. Gently press and smooth around the joint to reinforce the connection.
Step 4: Add the Handle (Optional for Both Methods)
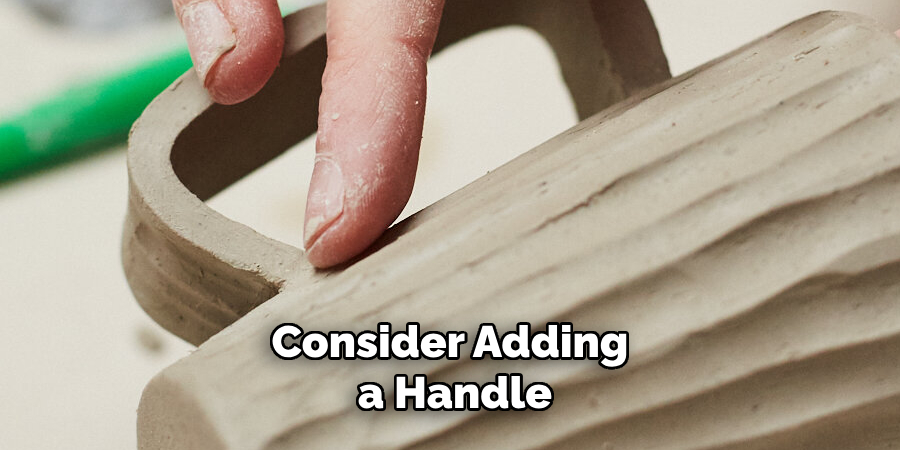
For an added touch of functionality, consider adding a handle. You can shape a handle by either rolling out a coil or cutting a strip of clay, ensuring it complements the size and design of your cup. Score and slip the attachment points on the side of the cup where the handle will connect, then press the handle into place. Gently refine the shape and smooth the connection areas, ensuring that the handle is evenly proportioned to the cup’s body and comfortably fits a hand.
Step 5: Smooth the Surface
The final step involves smoothing the cup’s surface to create an even and polished finish. Use a damp sponge or rib tool to gently blend any seams or joints, eliminating imperfections. Pay close attention to the overall shape, refining it further if necessary so that the cup dries with a consistent and attractive form. Allow the cup to dry slowly before proceeding to the firing process, ensuring it maintains its crafted beauty and functionality.
Drying and Bisque Firing
Step 1: Let the Cup Air Dry
After shaping your cup, it is crucial to let it air dry slowly and evenly to prevent any cracking. Place the cup in a cool, dry area, free from direct sunlight or drafts, which can cause uneven drying. Depending on the size and thickness of the cup, allow it to dry for 1-2 weeks. Patience during this stage ensures the cup maintains its shape and integrity before firing.
Step 2: Bisque Firing
Once the cup is completely dry, it is ready for bisque firing. This process involves placing the cup in a kiln and firing it at a low temperature, typically between cone 06 and cone 04. The bisque firing hardens the clay, transforming it from its fragile greenware state to a more durable form. This step is essential to strengthening the cup and making it ready to absorb glaze effectively.
Step 3: Cool the Cup
After the bisque firing is complete, letting the kiln cool gradually and completely before removing the cup is important. This slow cooling process prevents thermal shock, which can cause cracking or other damage. At this point, the cup will have developed a porous surface, ready to absorb the glaze during the next stage of its creation.
Glazing the Cup
Step 1: Choose a Glaze
Selecting the right glaze is crucial for achieving your desired finish and functionality. Glazes come in various types, such as matte, glossy, and colored, each offering a distinct appearance. Matte glazes provide a soft, subdued finish, while glossy glazes reflect light for a vibrant shine. Consider the cup’s purpose—whether decorative or functional—and choose a food-safe glaze if it will be used for drinking. Read the glaze label or consult with a supplier to ensure it meets safety standards.
Step 2: Apply the Glaze
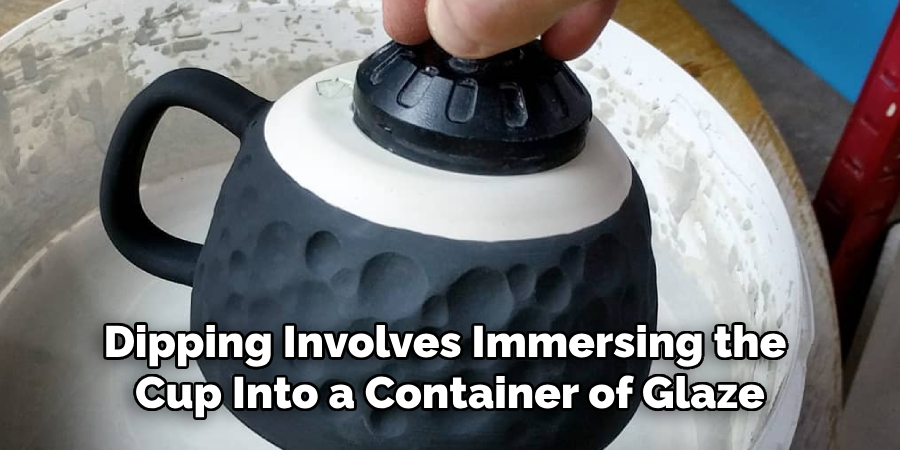
There are several techniques for applying glaze: dipping, brushing, and spraying. Dipping involves immersing the cup into a container of glaze for even coverage. Brushing allows for detailed control, making it suitable for intricate designs or patterns. Spraying can achieve a smooth finish with an airbrush. Whichever method you choose, aim for an even coat to avoid drips or streaks. Practice consistency in your application technique and check for any missed spots that may result in an uneven finish.
Step 3: Let the Glaze Dry
After applying the glaze, allow it to dry thoroughly before the final firing. Drying times can vary, so ensure the glaze is fully set and no longer tacky to the touch. It’s crucial to wipe away any excess glaze from the cup’s bottom, preventing the piece from sticking to the kiln shelf during firing and preserving both the cup and the kiln furniture. This step ensures a clean, professional result that is ready for final finishing.
Glaze Firing the Cup
Step 1: Load the Kiln
Carefully place the glazed cup into the kiln, ensuring it does not touch other pieces or the shelves. Maintain sufficient space between pieces to avoid fusing during firing. If necessary, use kiln stilts to elevate the cup and support it securely, preventing the glaze from sticking to the kiln shelf. Proper placement helps ensure an even firing and prevents damage to both the cup and other kiln contents.
Step 2: Fire the Kiln
Set the kiln to the appropriate temperature for glaze firing—typically between cone 5 and cone 10, depending on the type of glaze used. The firing process melts the glaze, allowing it to fuse smoothly with the cup’s surface. Depending on the glaze, this results in a strong, glossy, or matte finish. This step is crucial for achieving the cup’s final appearance and durability.
Step 3: Allow the Kiln to Cool
Let the kiln cool gradually and completely before opening it to prevent thermal shock, which can cause cracking or damage to the cup. To ensure safety, open the kiln only when it has returned to room temperature. Once cooled, carefully remove the cup, which should now exhibit a beautiful, hardened glaze finish, ready for use or display.
Conclusion
In conclusion, the process of how to make a ceramic cup involves a series of meticulous steps, from preparing the clay and shaping the cup to the essential stages of drying, bisque firing, glazing, and final glaze firing. Each step requires precision and patience to achieve a durable and beautifully finished product. As you advance in making ceramic cups, practice, and experimentation with different techniques, whether wheel-throwing or hand-building, will sharpen your skills and creativity. Ultimately, the satisfaction of crafting a functional, handmade ceramic cup brings immense joy, making it perfect for daily use or a heartfelt gift.
Specialization:
- Master of wheel-throwing, hand-building, and advanced glazing techniques
- Focus on creating both functional pottery and decorative art pieces
Recognition:
- Celebrated by collectors and art enthusiasts for creating one-of-a-kind pieces that blend artistry with functionality
- Participates in local and national exhibitions, earning accolades for his innovative designs and craftsmanship
Passion:
- Deeply committed to exploring and pushing the boundaries of ceramic artistry
- Continuously experiments with new materials, firing techniques, and artistic concepts to evolve his craft
Personal Philosophy:
- Believes in the transformative power of art, aiming to evoke emotions and connections through his ceramic creations
- Advocates for sustainability in ceramics, using eco-friendly materials and practices whenever possible


